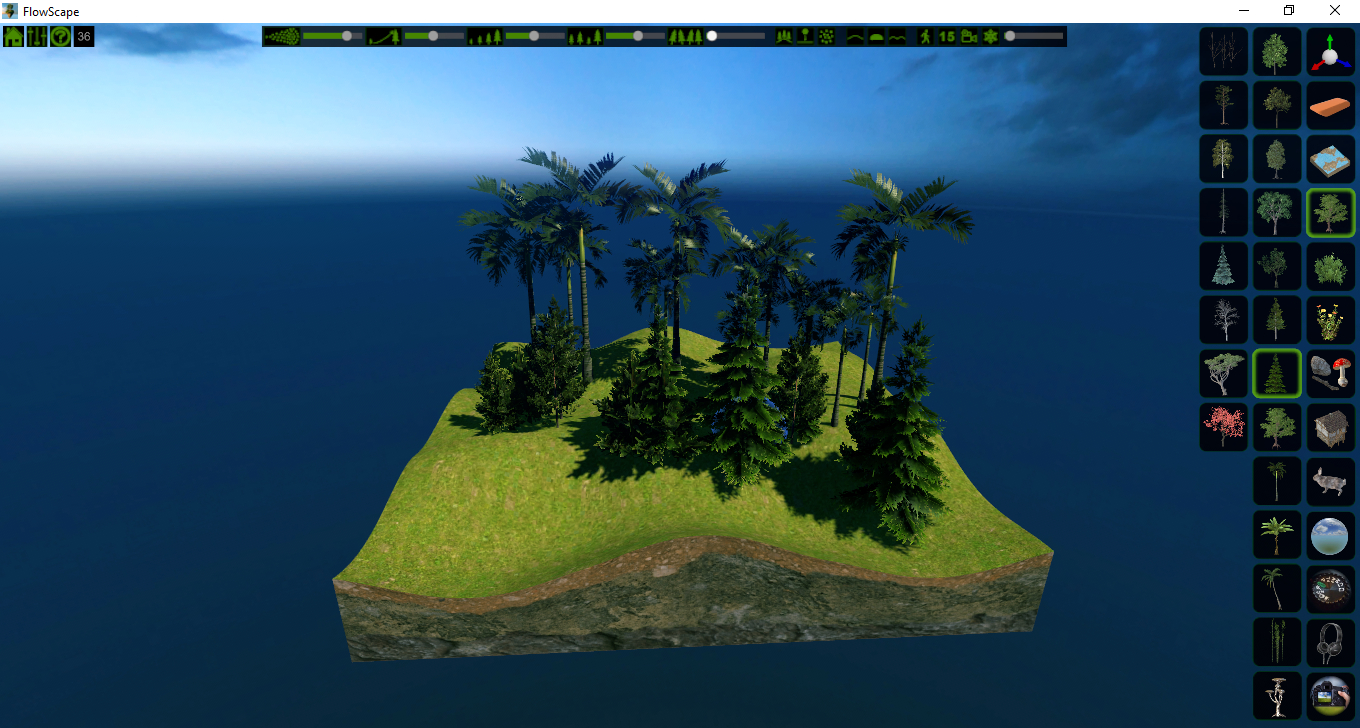
Welcome to my Guide to FlowScape Controls. Sometimes figuring out controls on a new game can be tough and a little disheartening. Hopefully my guide will help you navigate through the FlowScape UI so that you can make fun scenes and maps. As a note, you can find all of this information in the Help Guide within FlowScape itself if you get stuck while in game.
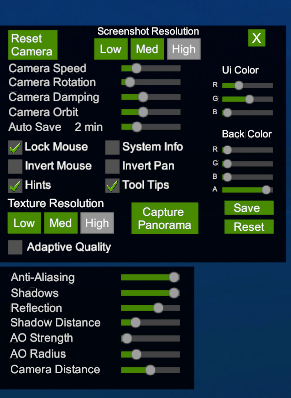
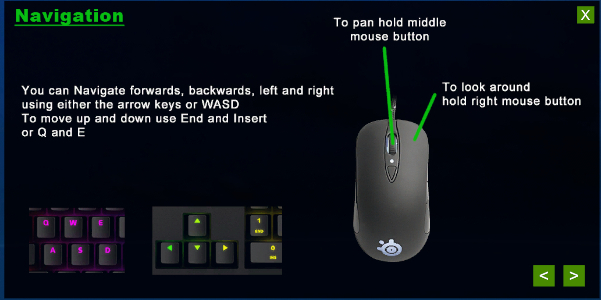
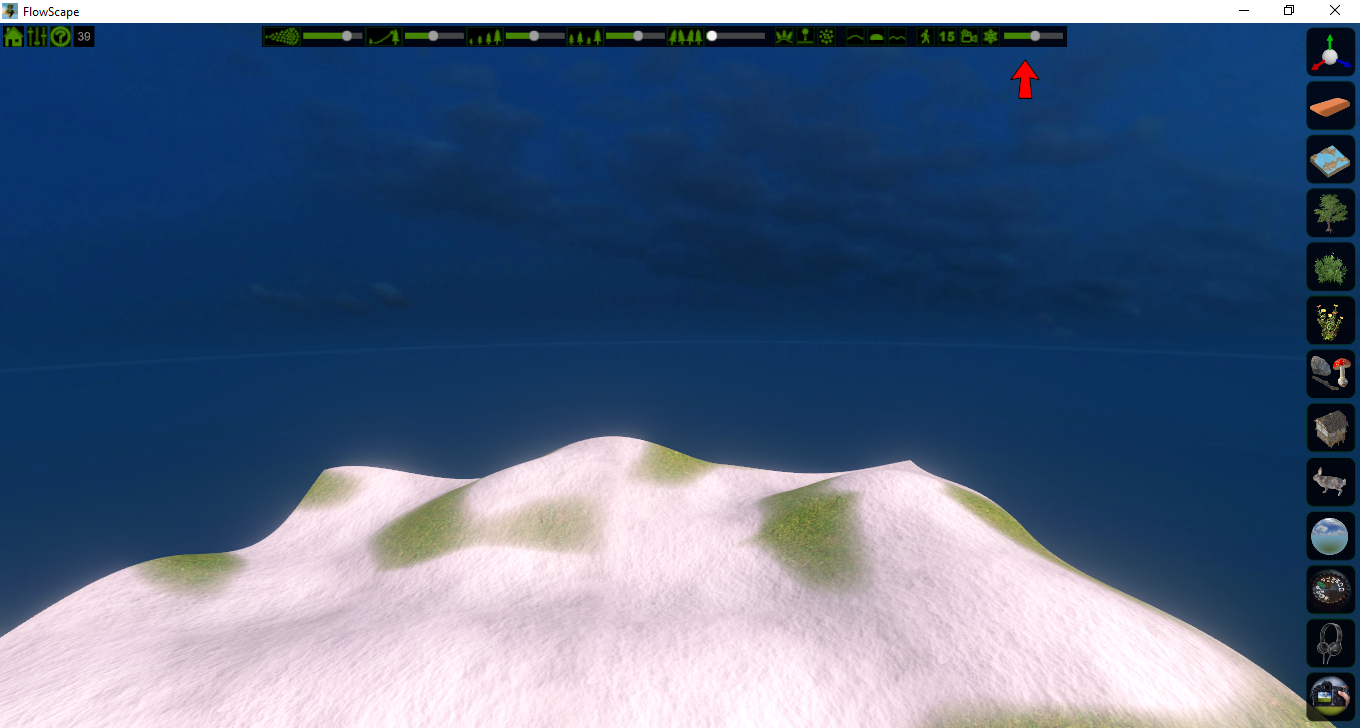
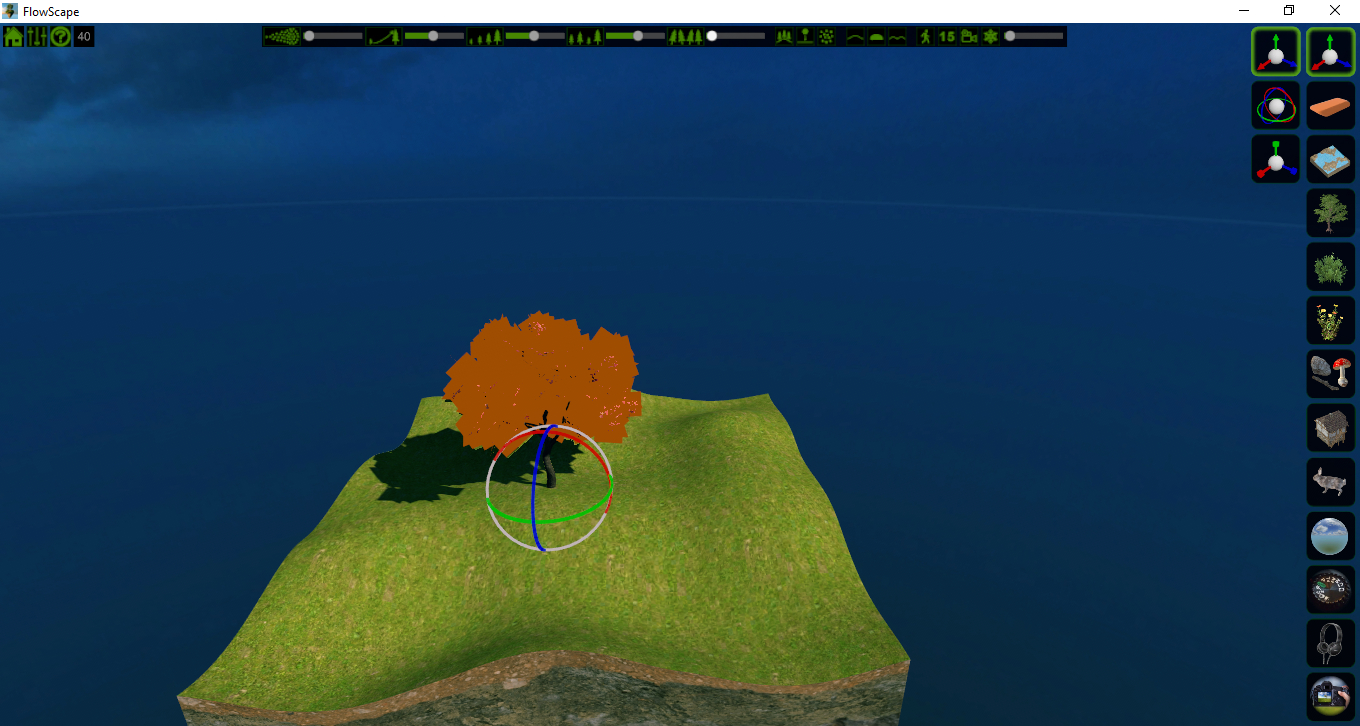
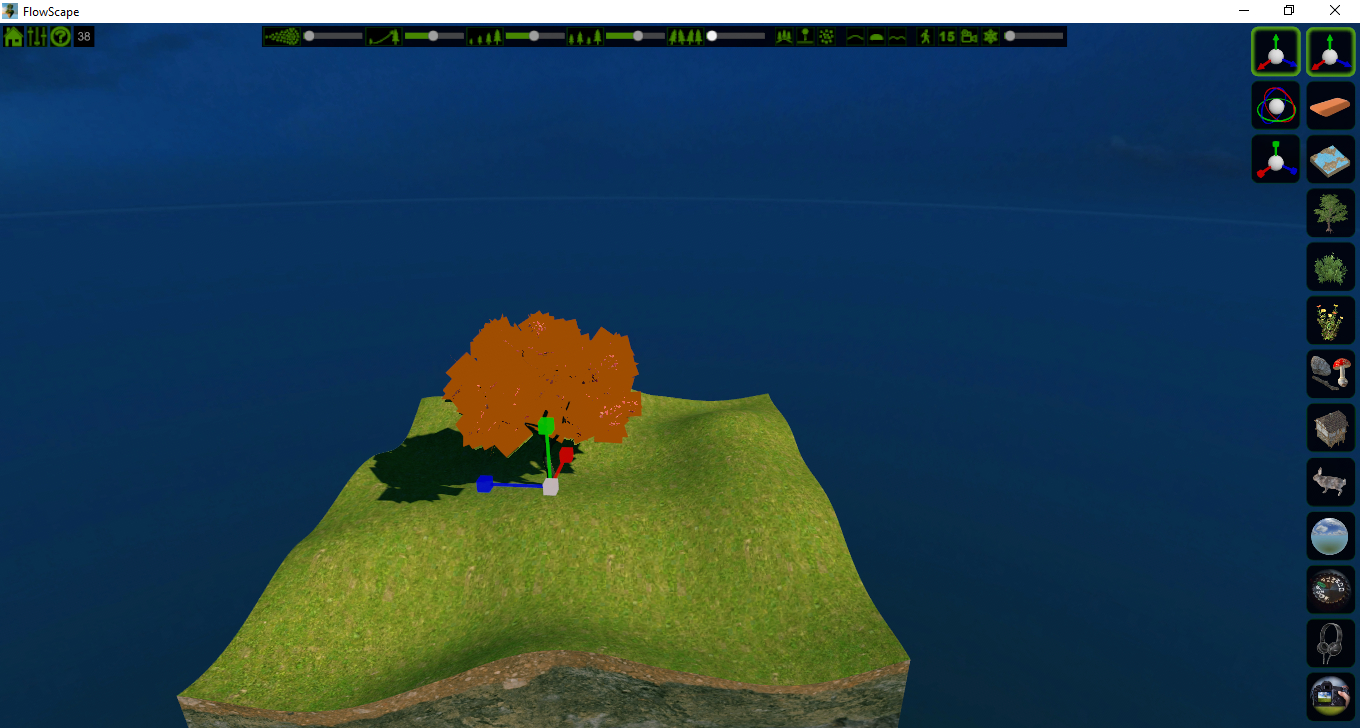
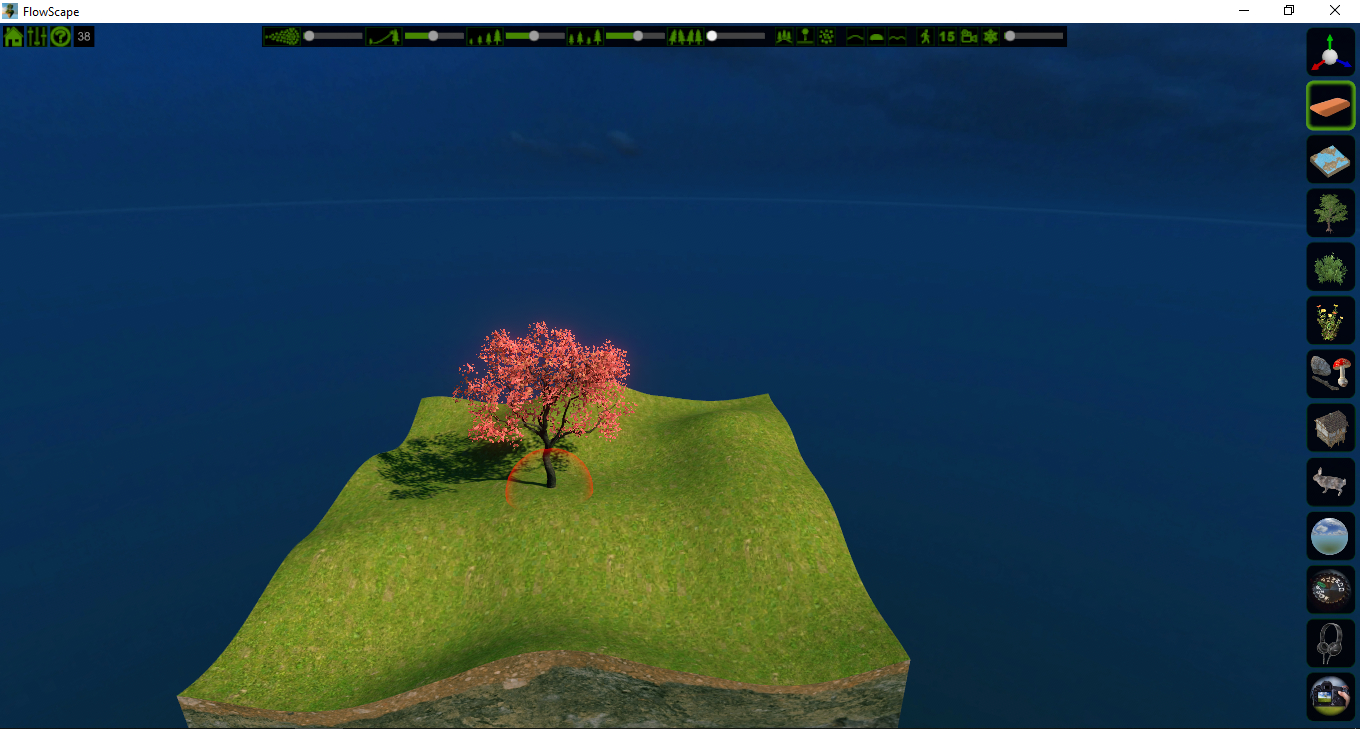
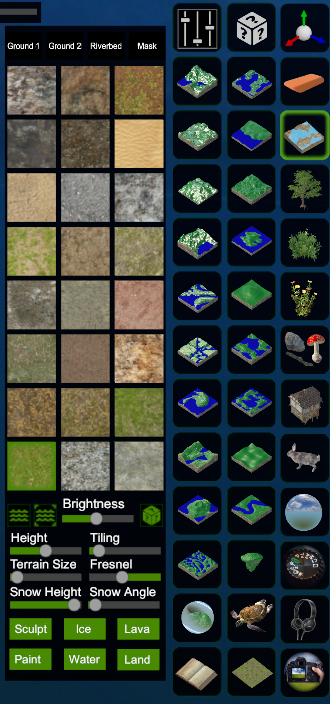
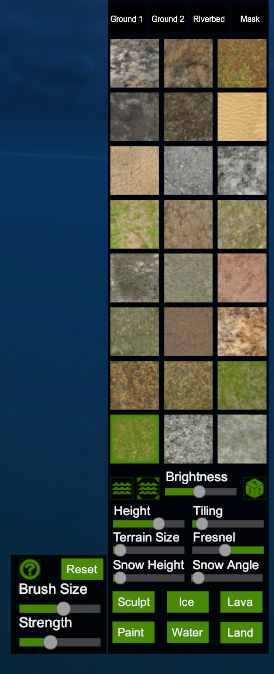
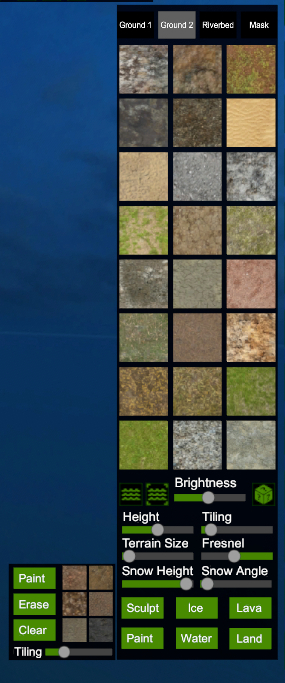
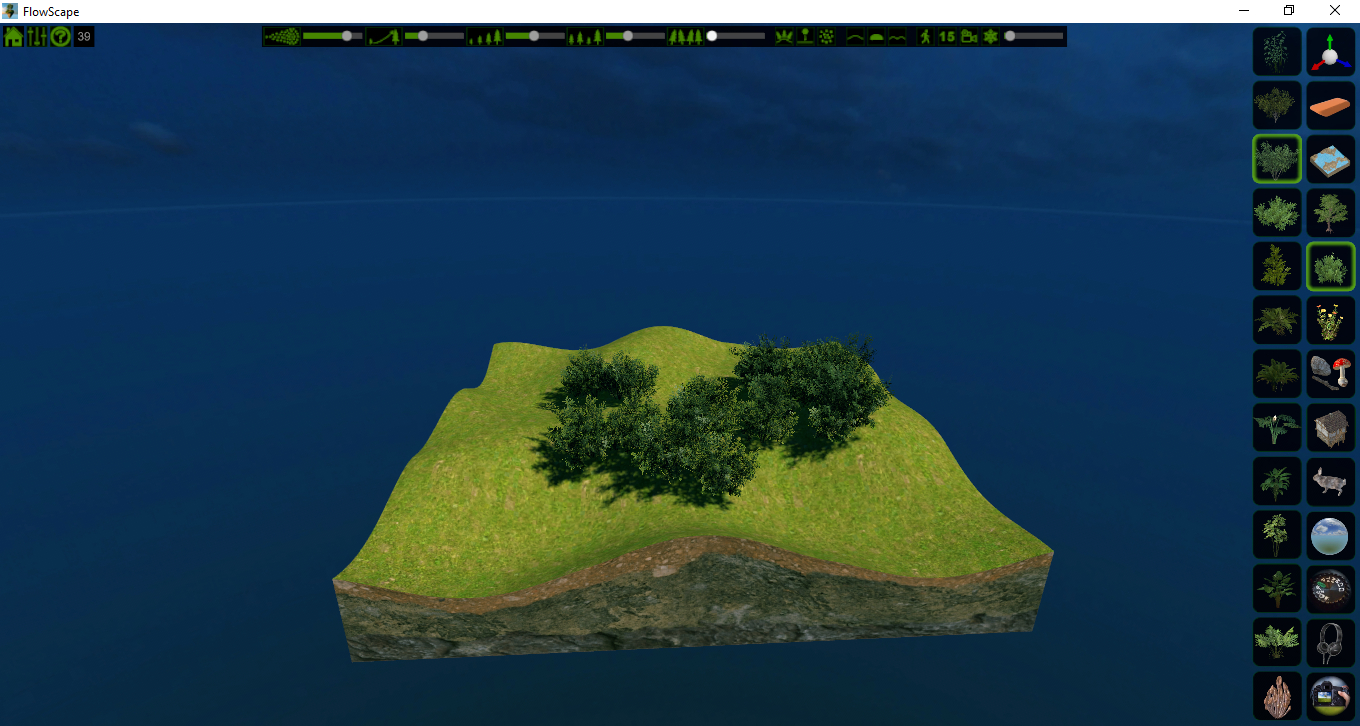
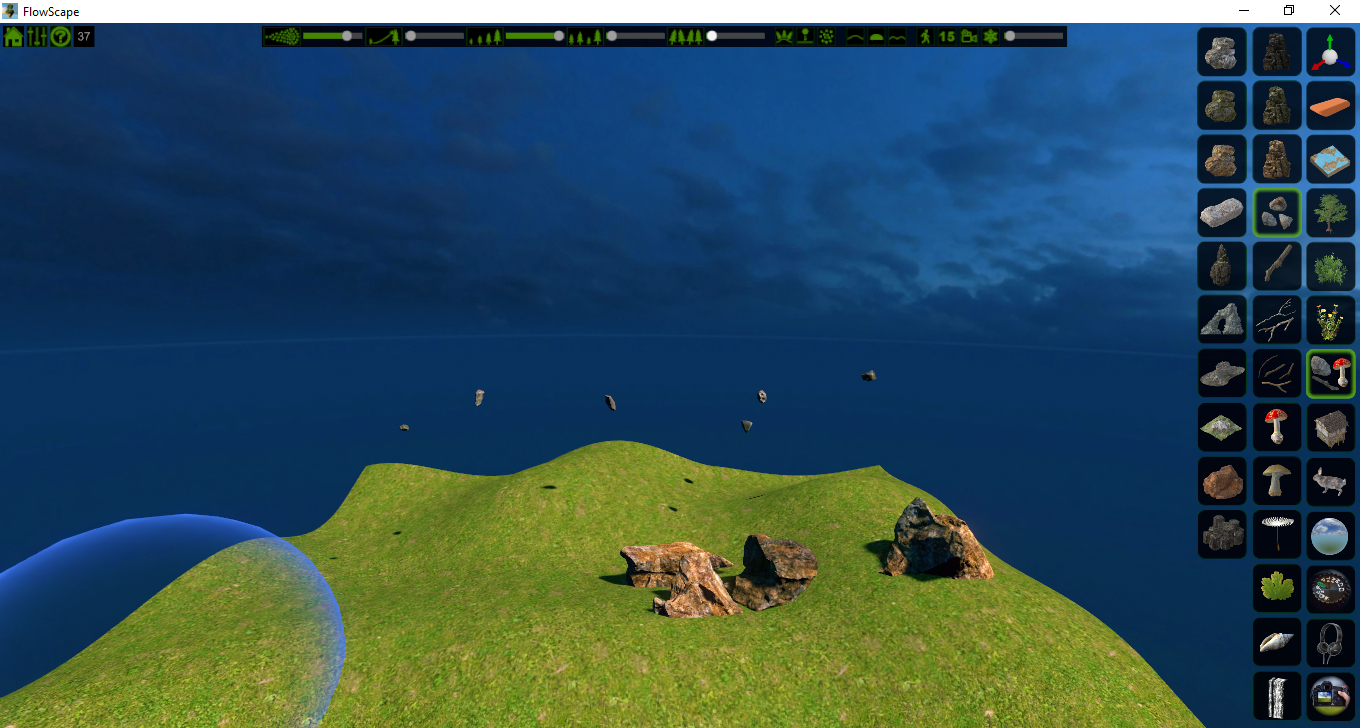
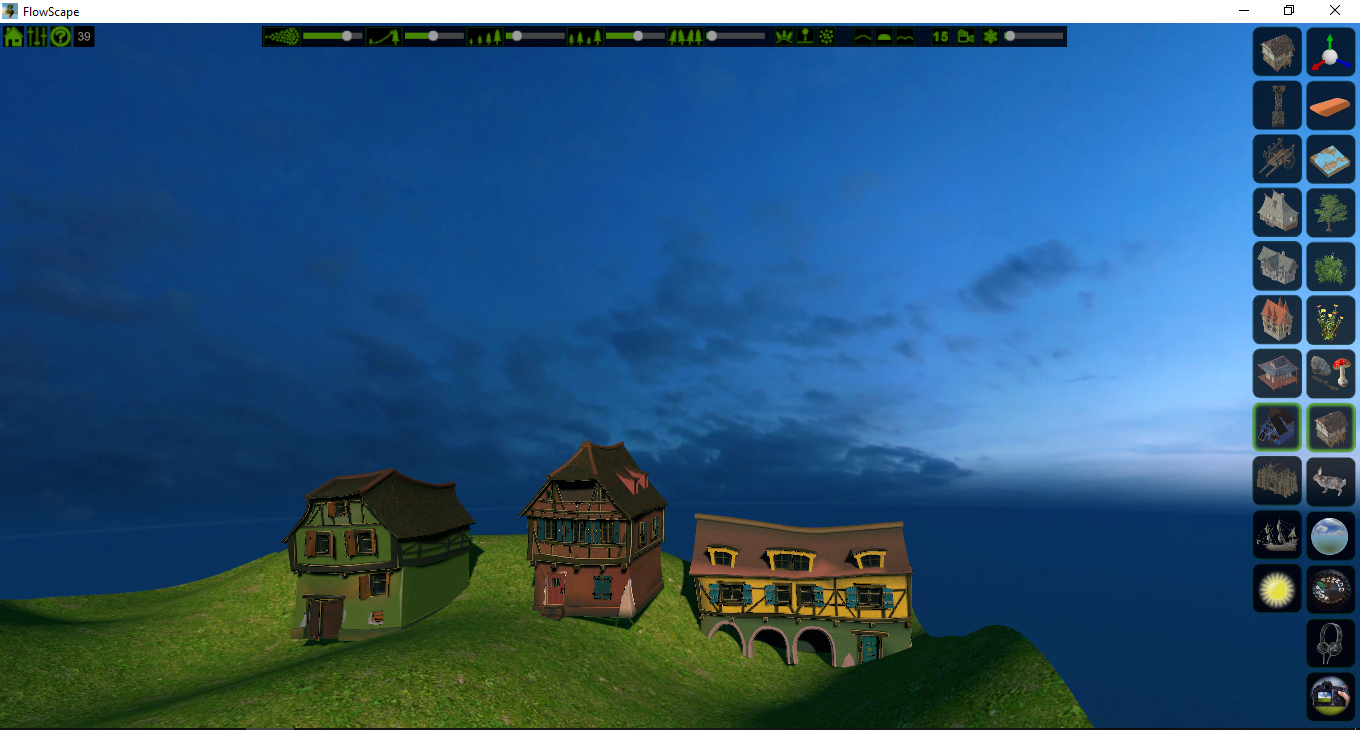
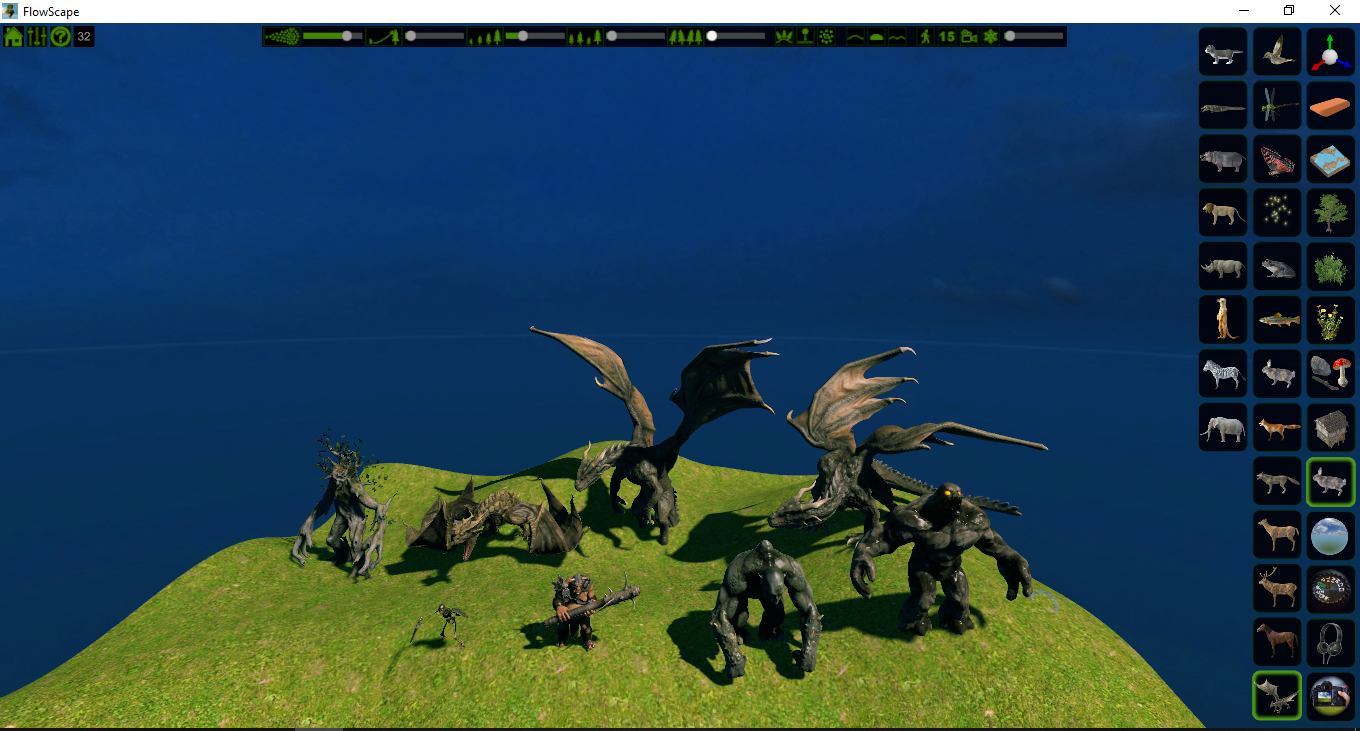
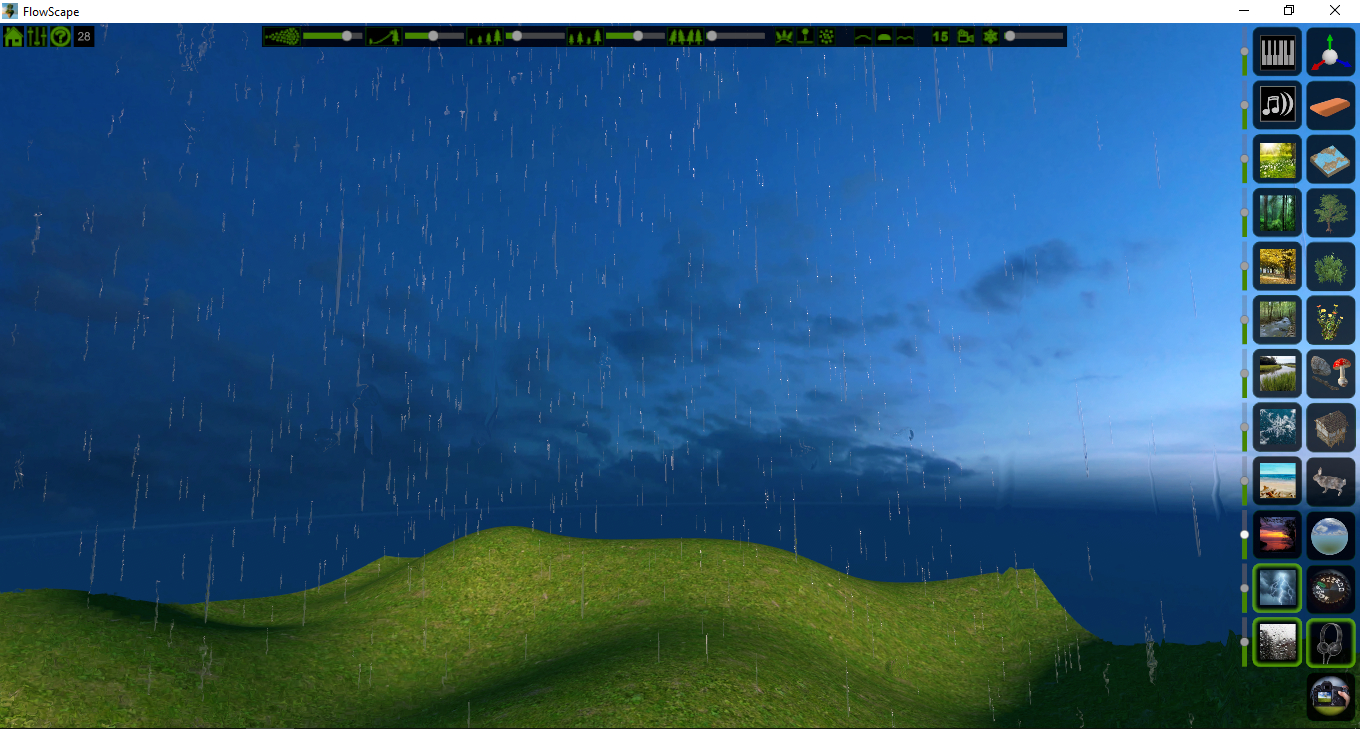
The images in this guide are purposely devoid of the enchanting scenic works that can be found in FlowScape. I wanted people to focus on the controls more than the imagery. Through the next several posts in this Topic, I will be laying out each control and what they do.