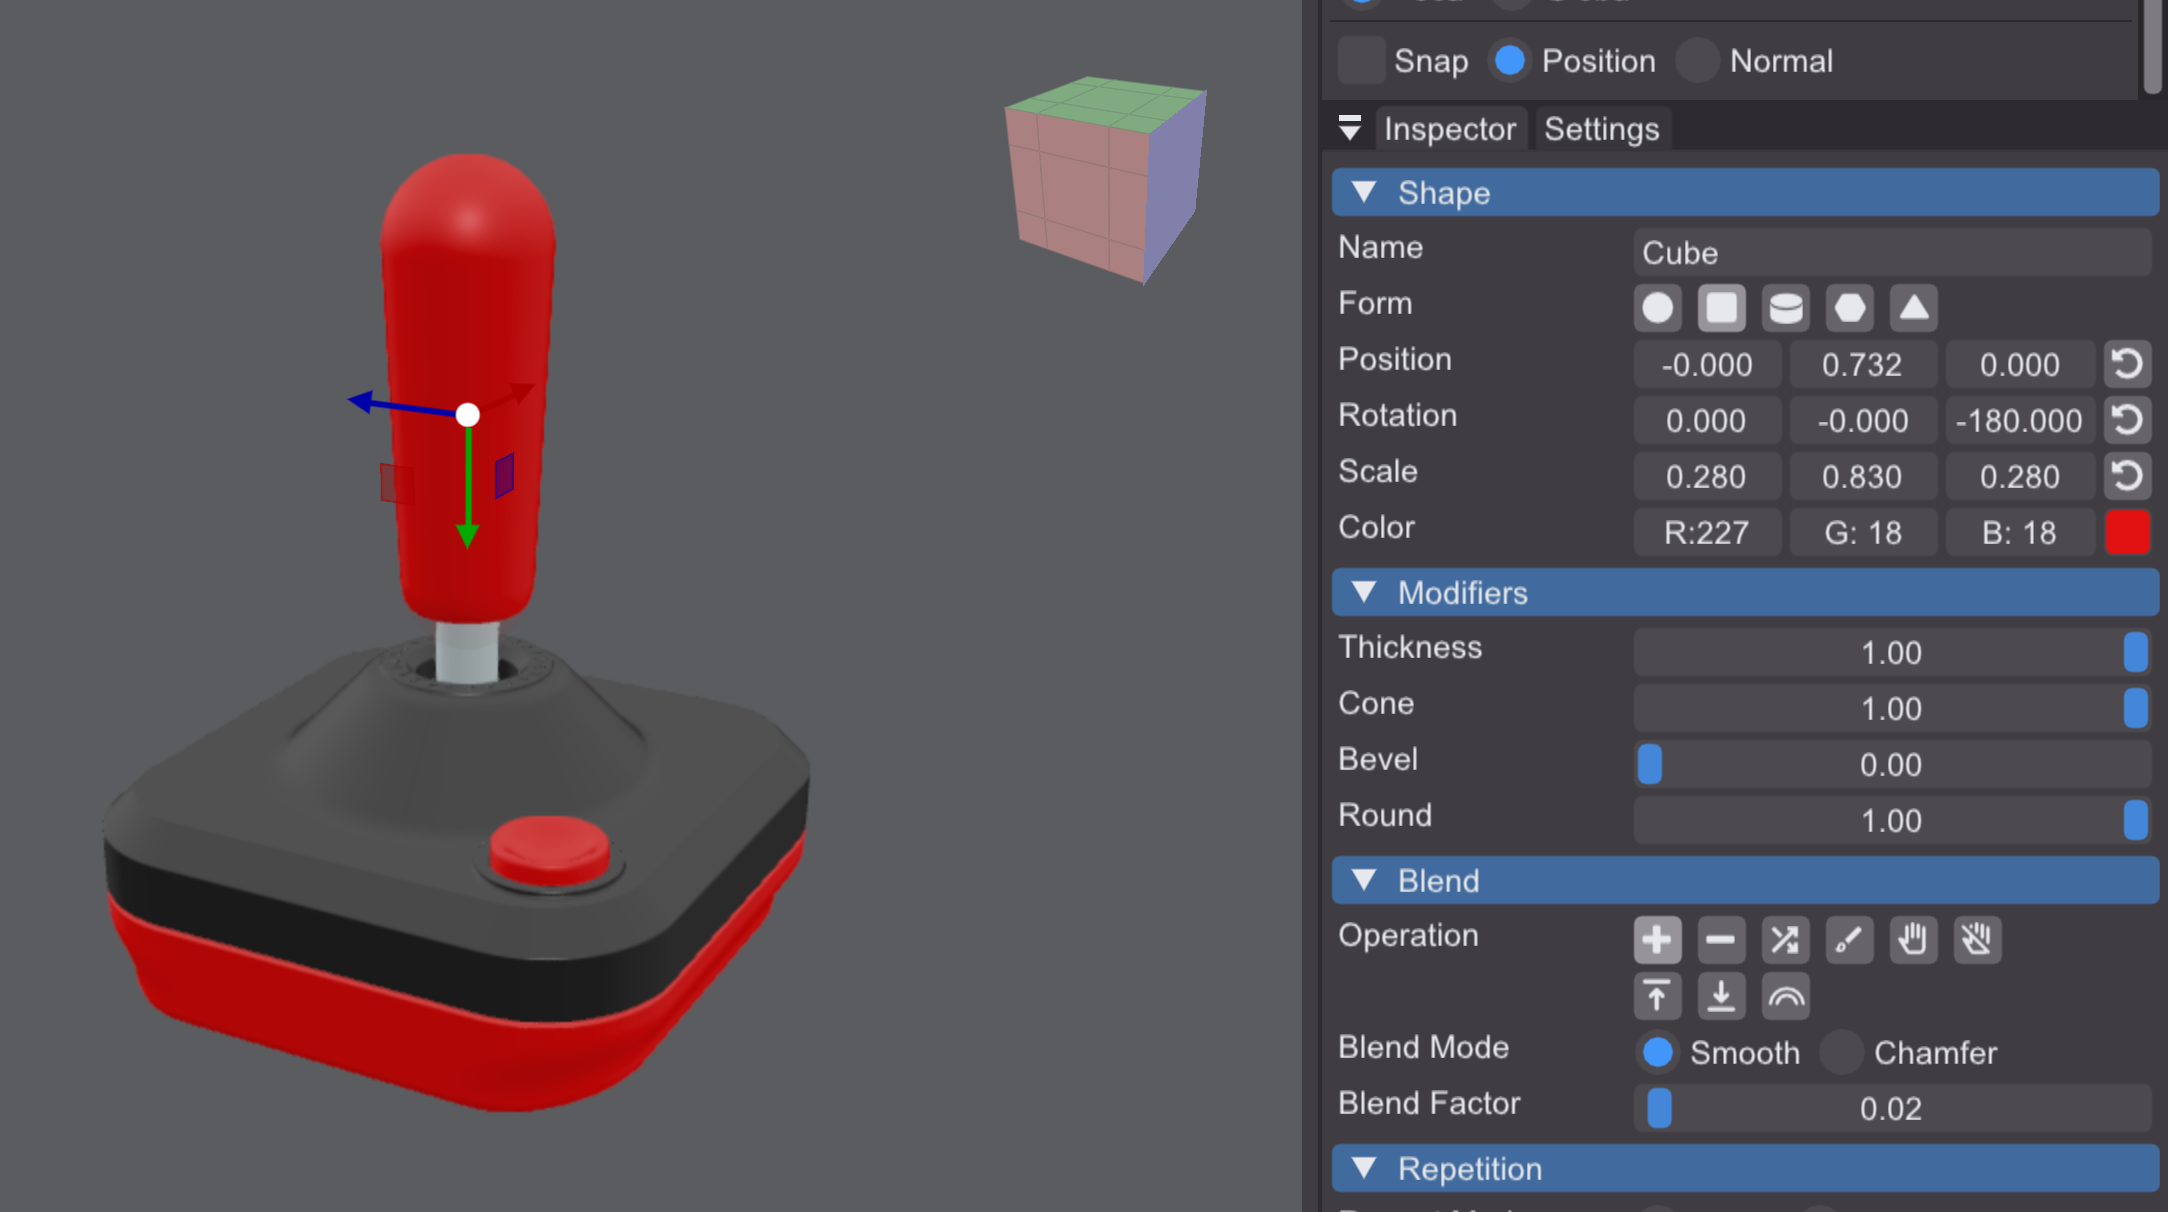
Thanks for the kind words! It’s still pretty early, but I’m working on making everything more solid as I progress toward 1.0. You can already modify a cylinder by setting the cube’s bevel factor to 100% and adjusting the cone percentage. Material attributes like metalness, roughness and IOR can be controlled on the layer level, and you’ll see the results in the render preview.
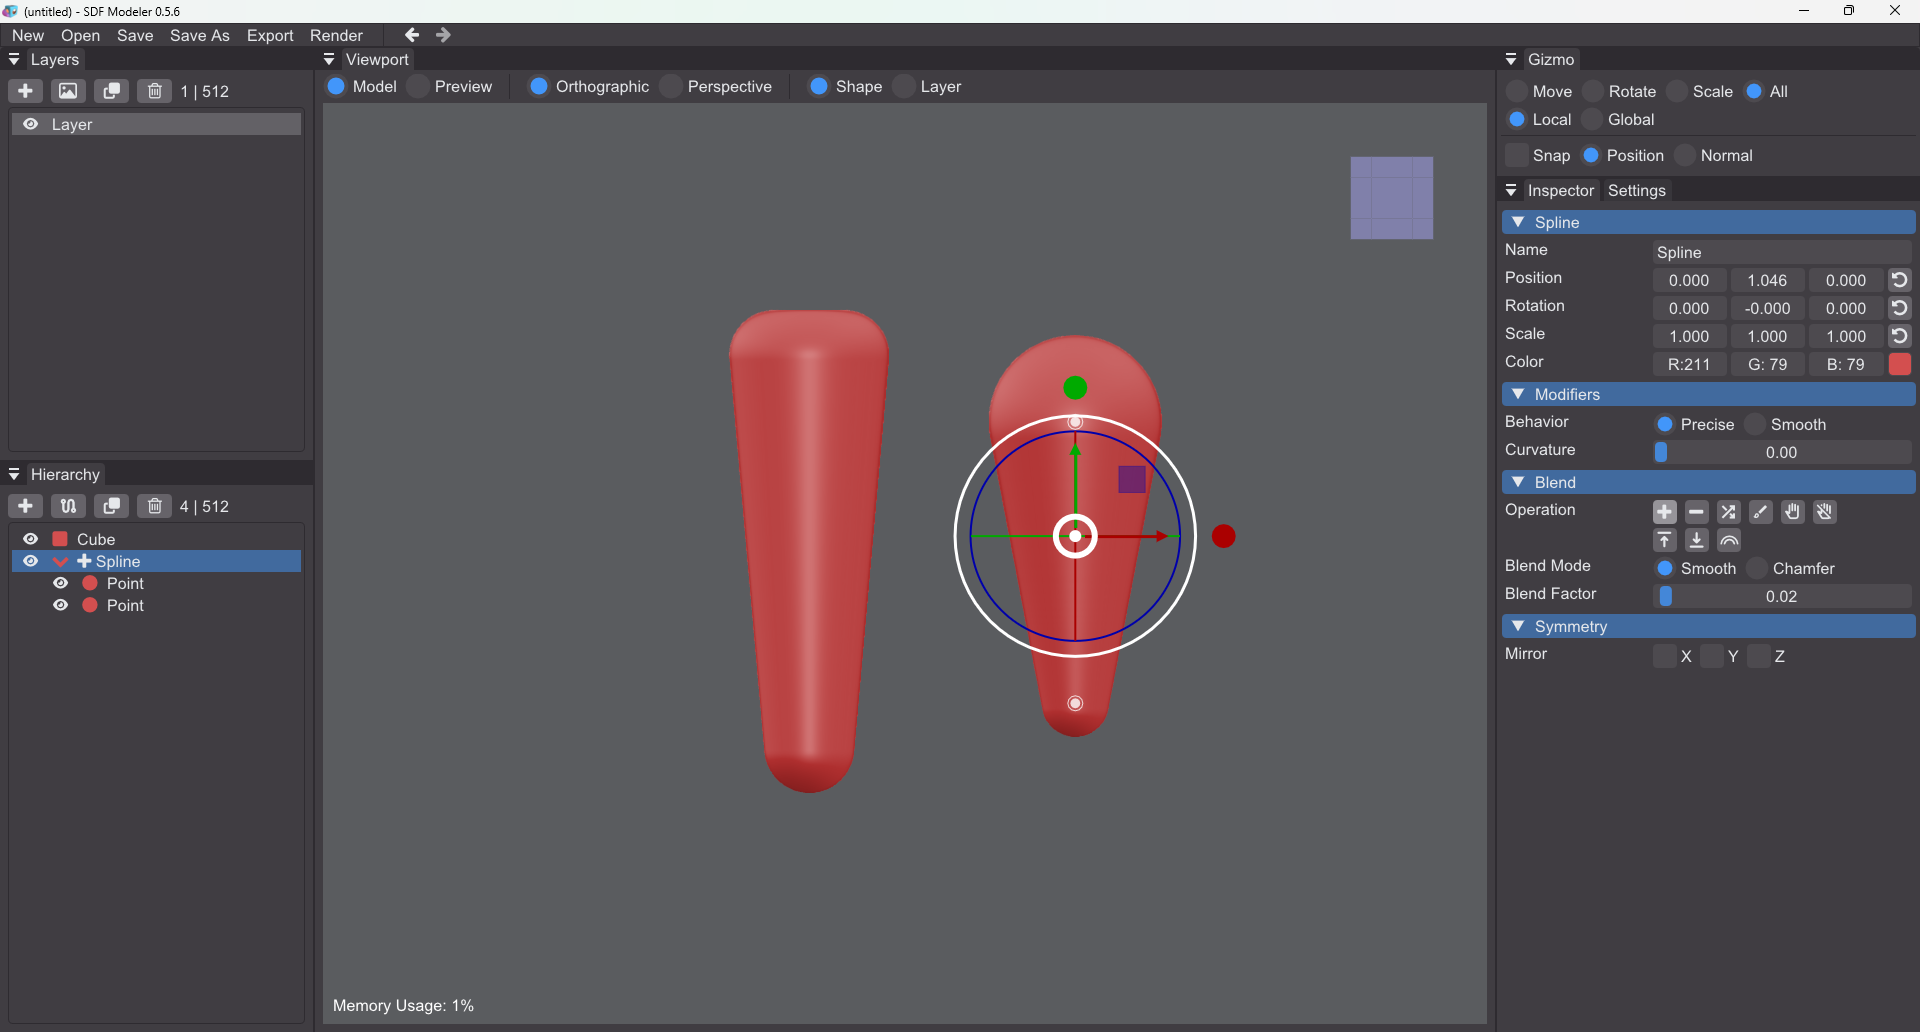
OMG, I can't believe I glossed over the cone slider (guess I didn't expect it there, or I was looking too hard for "taper"). Similarly, also did not realize that the inspector changed contents when I selected a layer, which is great! Now, just to double check, I see that the blending of strokes can be set to chamfer, but can the round of a stroke also be set to chamfer somehow (although I'm getting a feeling of deja vu from a previous comment writing this)...
I'm trying this out again, and again had to look up how to create a cone. Just for the usability sake I would add the cone slider to the cylinder, and behind the scenes convert it to a beveled cube even though that might be a dirty hack. It's just that logically I think about a cone as being a modified cylinder, not a cube, even though in the magical maths world of SDF that might not be the case. I also haven't figured out how to lock X/Z to easy change radius for cones/cylinders. Sorry, I might have a weird brain.
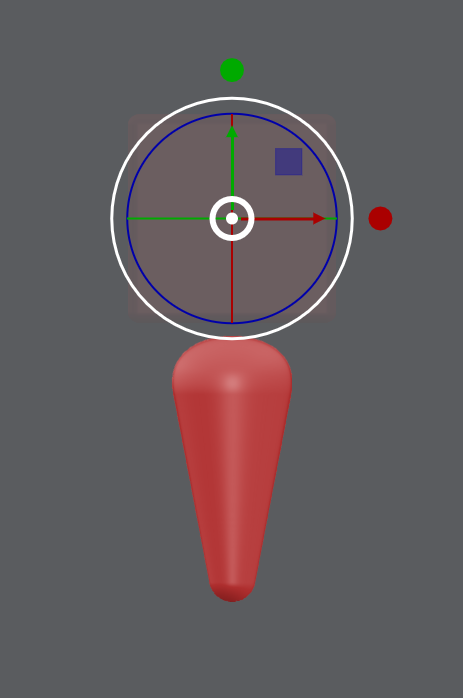
EDIT: How is it possible to make an exaggerated baseball bat with the current tools? I can't figure it out... this is as far as it goes for me and it's not nearly cone shaped enough...