Intro
This also exists as a GitHub Gist, which is easier to read IMHO
It’s that time of year again. Time for the #LOWREZJAM!!!
Almost every year so far, I’ve created a guide to getting 64x64 resolution working as natively as possible so this year is of course, no exception. This is not for absolute beginners but if you’ve done some tutorials for unity then you should be fine here.
This guide is going to go beyond just using the default pixel perfect camera and such and the goal is to have Post Processing, UI, and the normal artwork ALL being forced into the 64x64 resolution. I want to warn you, this is janky, but it DOES accomplish those goals. Every time I’ve tried to do it in a more clean fashion, I end up with UI that is affected by post processing, or UI that isn’t interactable, or some edge case in the Pixel Perfect Camera component.
Last thing, if you don’t care about post processing, this is actually much, MUCH easier, you can scroll to the end for that. Anyway lets jump in.
Project Setup
We’re going to start with a NEW, 2D URP project on Unity 2021.3.6f. I want to stress that this will work for 3D as well but it DOES require URP and for you to install the pixel perfect packages from the package manager. (It’s actually easier in the Built-In pipeline but you end up with a similar setup to this. You can reference my old guide for that.
Once we have that setup, make a new scene and save it as “64xTemplate” or something similar. In this case, we’re using a LIT 2D (URP) scene. At this point, I like to add a 2D sprite rotated at 45 degrees so that we can see our results.

Game Camera!
- Create a new folder in Assets called
Camera Rig. - Inside this folder create a new
Materialthat uses theUniversal Render Pipeline > Unlitshader. Name it “Main Render Mat” - Also in that folder, create a new
Render Textureand name it “Main Render” - Assign the new
Render Textureto the “Main Render Mat”’sBase Maptexture

- Set the render texture to have a resolution of 64x64
- Set the render texture Filter Mode from
BilineartoPoint - On your main camera, rename it to “Game Camera” (it should keep its
MainCameratag so it continues to work with Cinemachine) - On your “Game Camera”, tick the box for
Post Processing - Now, on your “Game Camera” , set the target render texture to your “Main Render” render texture.

- IMPORTANT If you are using 2D art assets, you need to add a Pixel Perfect Camera onto the “GameCamera”
- The Pixel Per Unit size needs to be 6 and the resolution needs to be 64x64

Render Camera Rig
Okay, so… this is where it gets… Janky.
- Create a new camera and call it “RenderCamera”
- Remove the Audio Listener from this camera
- Move it FAR out of the way, for example: 0, -1000, -10
- If possible, use that position as it’s easier to setup if your X is 0, and your Z is -10
- Set your Camera Projection to the following settings:
Projection: Orthographic
Size: 5.333333
Clipping Near: 0.3
Clipping Far: 20

Next, add a Pixel Perfect Camera component to it with the following settings.
Assets Pixels Per Unit: 6
Reference Resolution: X64 Y64
Crop Frame: Windowbox
Grid Snapping: Upscale Render Texture

Rendering Object Setup
- Create a new 3D Plane (Yes, even in 2D).
- Make it a child object of the “RenderCamera”
- Set the transform to the following:
Position: 0, 0, 10
Rotation: 90, 0, 180
Scale: 1.06, 1.06, 1.06

- Now add that material we made earlier.
Main Render Mat!
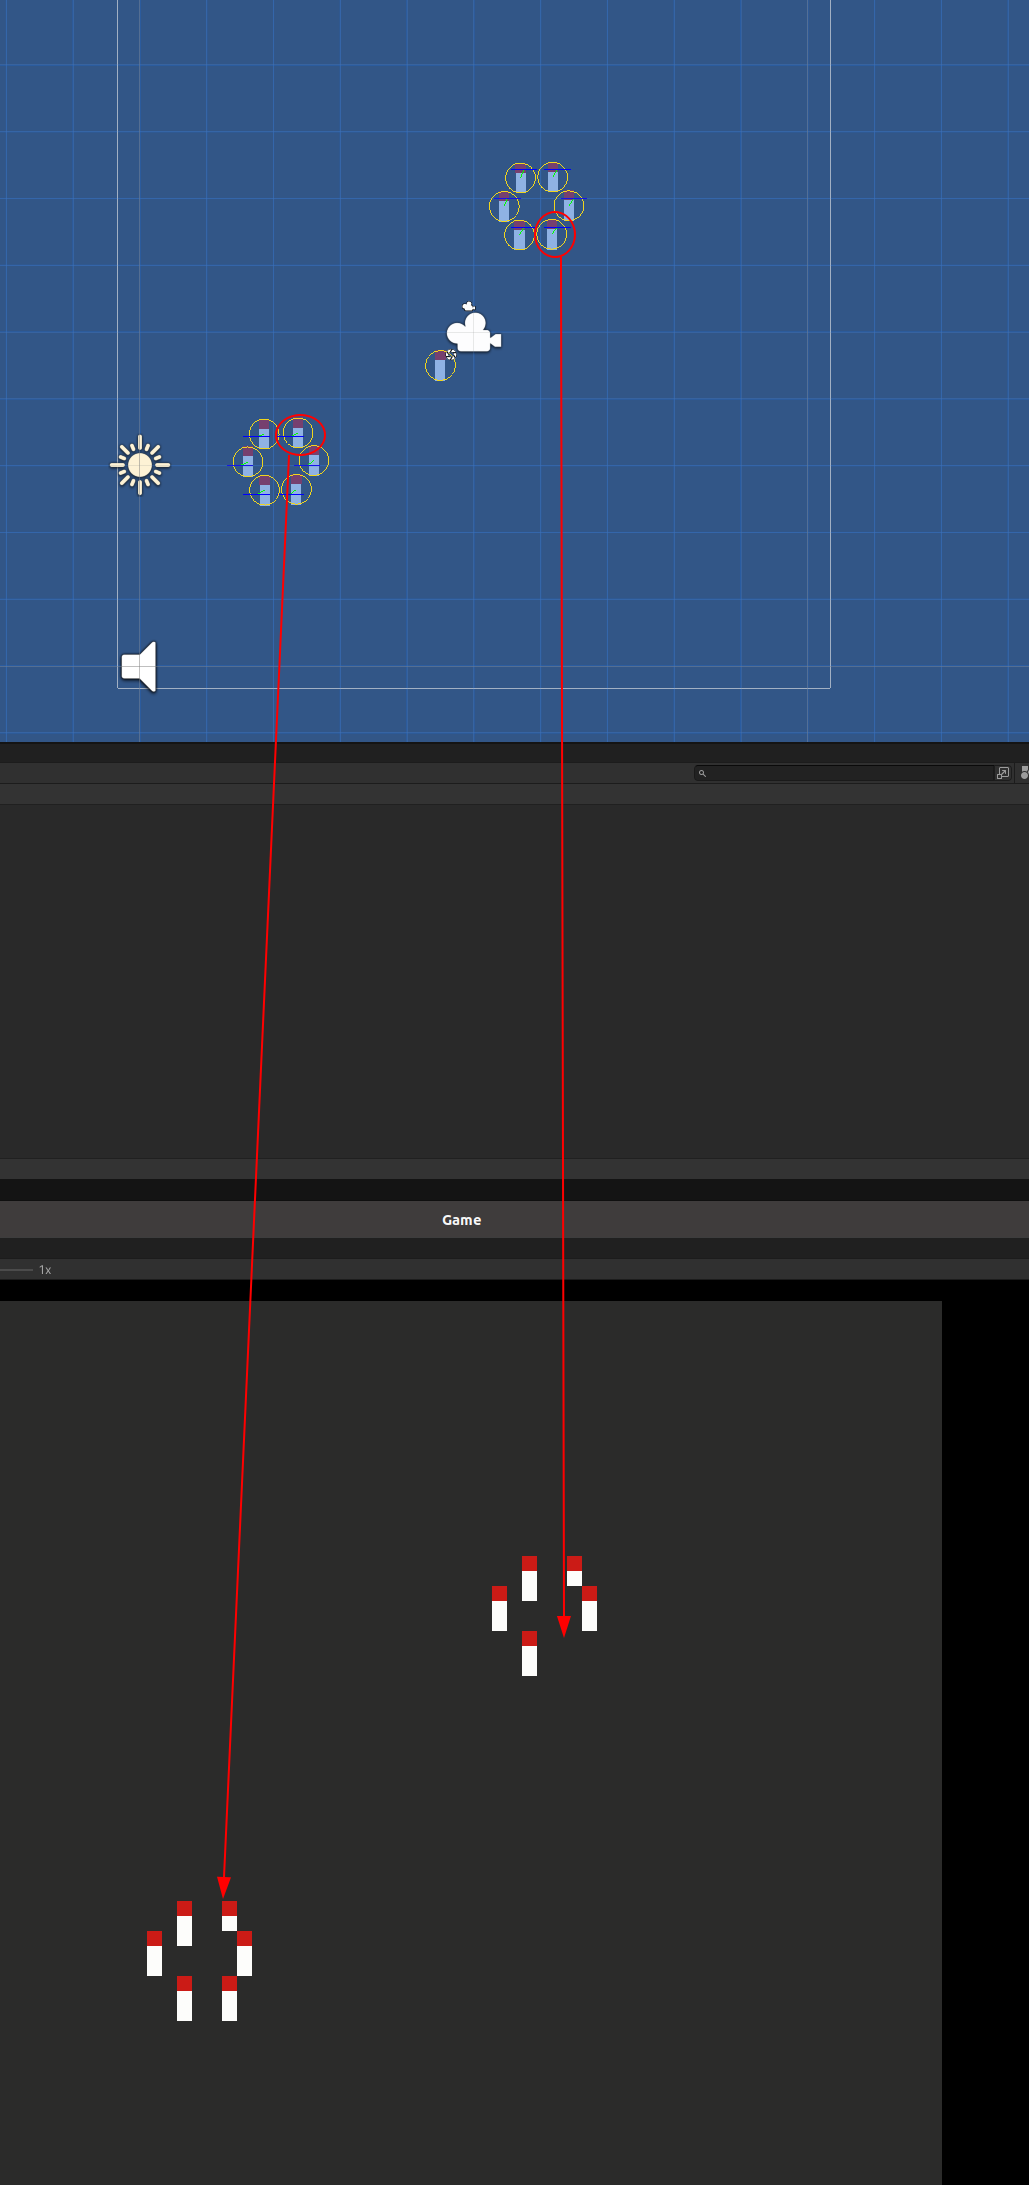
You should have something that looks like this now!

Post Processing
Add a Global Volume to the scene and create a new volume profile on it. For ease of testing, add a couple of effects that make it easy to see. After that you should have something like this:


Easy right? All the effects are pixel perfect and show as you might expect!
Finally… UI…
This is the last little bit here, it’s the reason for all that annoying setup. This is probably the last year this tutorial uses UGUI based on the roadmaps I’ve seen, but I could be wrong.
Right click in the heirarchy and create a new UI > Panel.
This should have added a few new objects into the scene
Canvas
> Panel
EventSystem
On the canvas, set it up with the following settings
Render Mode: Screen Space - Camera
Pixel Perfect: YES
Render Camera: RenderCamera
Plane Distance: 5
Sorting Layer: Default
Order in Layer: 1000

I won’t get into UI specifics but you can adjust your panel or add buttons and they will show up overtop the game scene. Most importantly, they won’t have any post processing applied to them.

For fonts, honestly I have not come up with an ideal solution. There are some pixel fonts that I’ve found look good but it’s a matter of getting them aligned properly so they don’t get destroyed by the pixel processing. In the past I’ve cheated by hand-aligning them all where they looked good but your mileage may vary on that.
This is a pretty good starting point depending on what kind of game you are making. This setup will work in 2D and 3D with no differences except you will need to import the 2D pixel perfect package into your project.
If you don’t care about post FX
On your main camera, add a Pixel Perfect Camera component and give it the following values
Assets Pixels Per Unit: Depends on your project, its up to you!
Reference Resolution: X64 Y64
Crop Frame: Pillarbox
Grid Snapping: Upscale Render Texture
Make a new Canvas and set it from Screen Space - Overlay to Screen Space - Camera and assign your main camera to it.
Profit???
UI will work as usual and will adhere to the pixel perfection. The only issue, is that this UI setup gets affected by Post Processing if you use it.