


Ty <3
A member registered Mar 25, 2021 · View creator page →
Creator of
Normal Map GDevelop Extension
Farming GDevelop Template
Dinner Dash GDevelop Template
Celeste GDevelop template
Save the Doge GDevelop template
Metroidvania GDevelop Template
Tomb of the Mask GDevelop Template
Super Smash Bros GDevelop template
Idle clicker gdevelop template
Pico Park GDevelop Template
Land Maker GDevelop Template
Cards Ranks GDevelop Template
Multiplayer Ghosts GDevelop Template
Beat 'Em Up GDevelop Template
Among Us GDevelop Template
Roguelite GDevelop Template
RTS GDevelop Template
Fighting GDevelop Template
Online Multiplayer GDevelop Template, using THNK
Candy Crush GDevelop Template
Terraria GDevelop Template

2D Pixel Art - Game Asset
2D Pixel Art - Game Asset
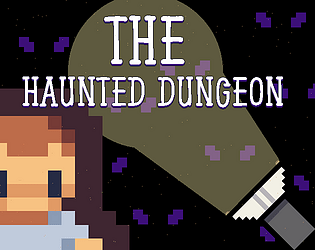
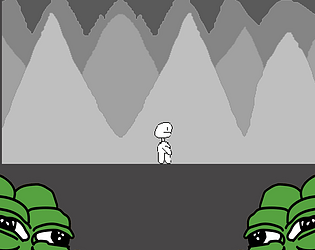
Explore and survive the haunted dungeon - but beware of what lurks in the shadows!
Adventure
Play in browser

Switch between your pets, use their abilities, and enjoy your journey to save more pets !
Adventure
Play in browser
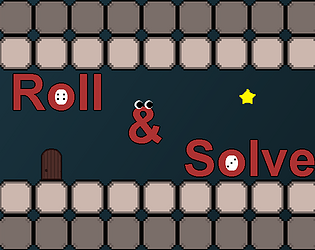
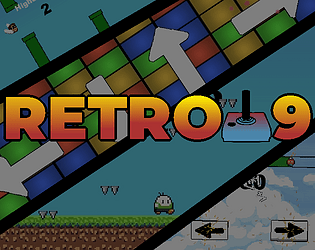
Retro 9 is a game that contain multi mini addictive games with Leaderboards !
Action
Play in browser
Recent community posts
Feel free to record a video of your screen showing how you are extracting the .zip file and opening it in gdevelop, then send me it on Discord (VegeTato), i will take a look and see what is the issue :)
Here is screenshots showing you step by step how to do it :3
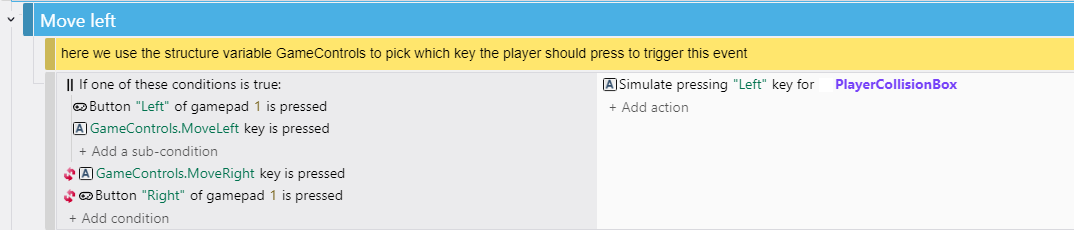
1- Unzipping the file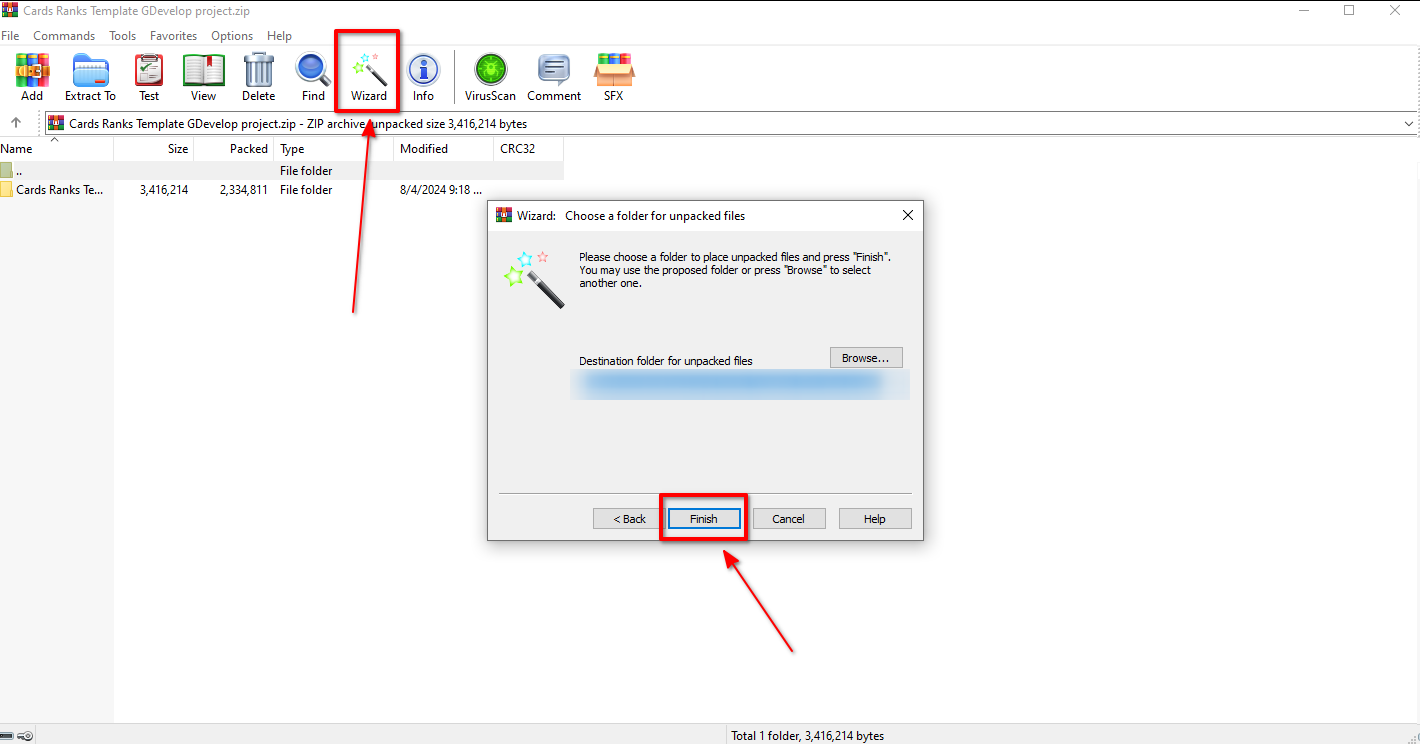
2- Opening the project in GDevelop
2-2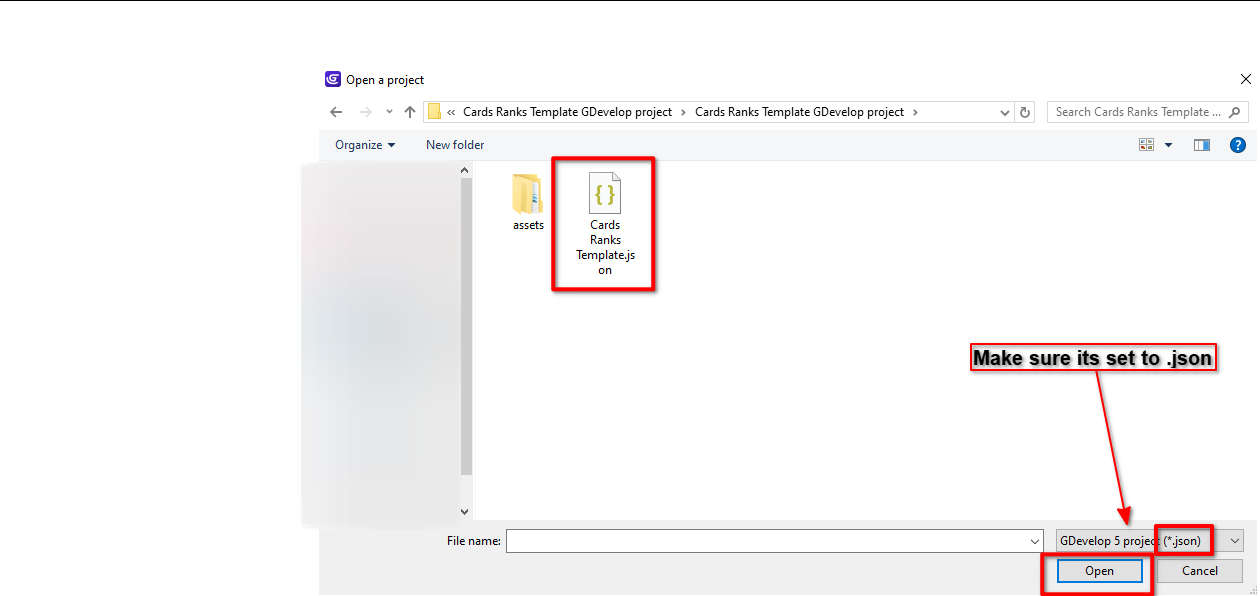
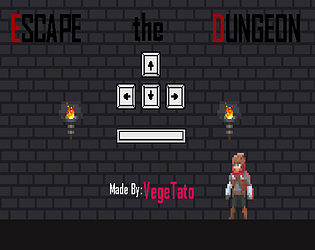
You dont need the gamepad platform mapper behavior, you just need the Gamepad extension, after that you use the condition.
It works fine to me
If it didn't work for you, then the gamepad extension maybe does not support your gamepad type, create a complete new empty project and test your gameapd in it with gameapd extension.
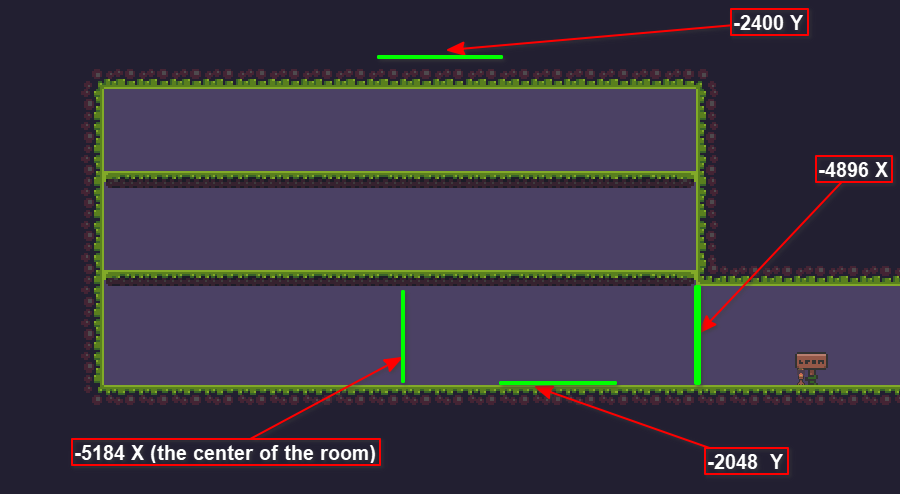
Game scene events → Bosses mechanics → Knife boss → Player enter boss area:
You need to change the numbers of the player position to the new numbers of the boss area, so numbers like
-4896 (Used to trigger the player entering boss room cutscene).
-2048 (Used to define the top side of the boss room).
-2400 (Used to define the bottom side of the boss room).
-5184 (Used to stop moving the player exactly in the center of the room during the cutscene).
All of them you need to change them, some for the X position and some for Y, just change them to your new boss area numbers :)
Take a look at this screenshot, this is the Knife boss area, look at the numbers, they are just returning the boss room numbers (X and Y position).
Hello :)
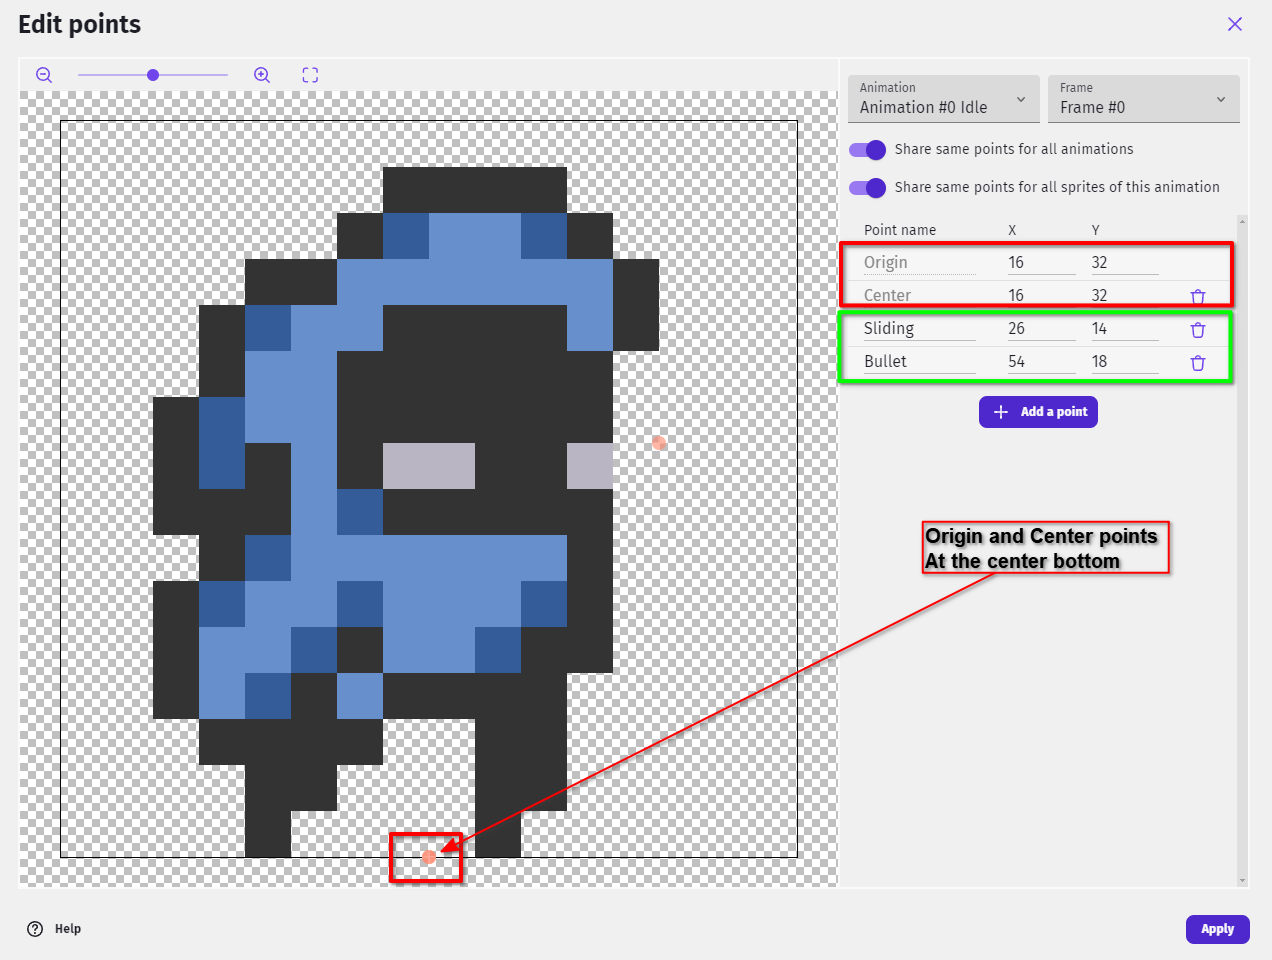
After replacing the old skin with the new one, you need to double-check that you have the Origin and Center points of the new skin, set at the center bottom (that's how the old skin also works):
Double-click on PlayerSkin object → Edit points → Change Origin and Center points to the very bottom center of the skin.
And make sure to add the Sliding and Bullet points as well (one used for particles and one used for Shooting bullet create position).