
Hey there! I've had to undergo a rewrite of the collision systems, which is pretty buggy, so it's not in a usable state just yet. Once I get the collision kinks ironed out, I think I'll be ready for the first alpha release!
A member registered Jul 22, 2018 · View creator page →
Creator of

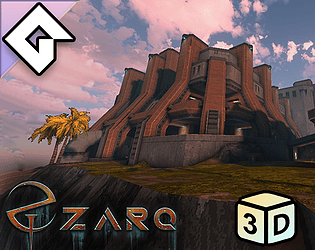
3D in GameMaker has never been easier!

Load, explore, and extract ZIP contents directly in GameMaker, no DLLs, no extensions, 100% pure GML.
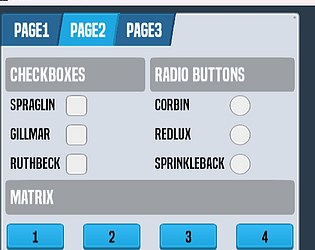
Lightweight User Interface System for GameMaker
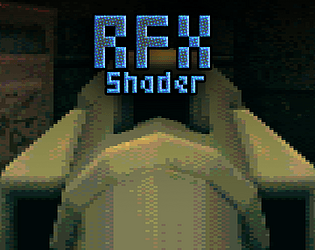
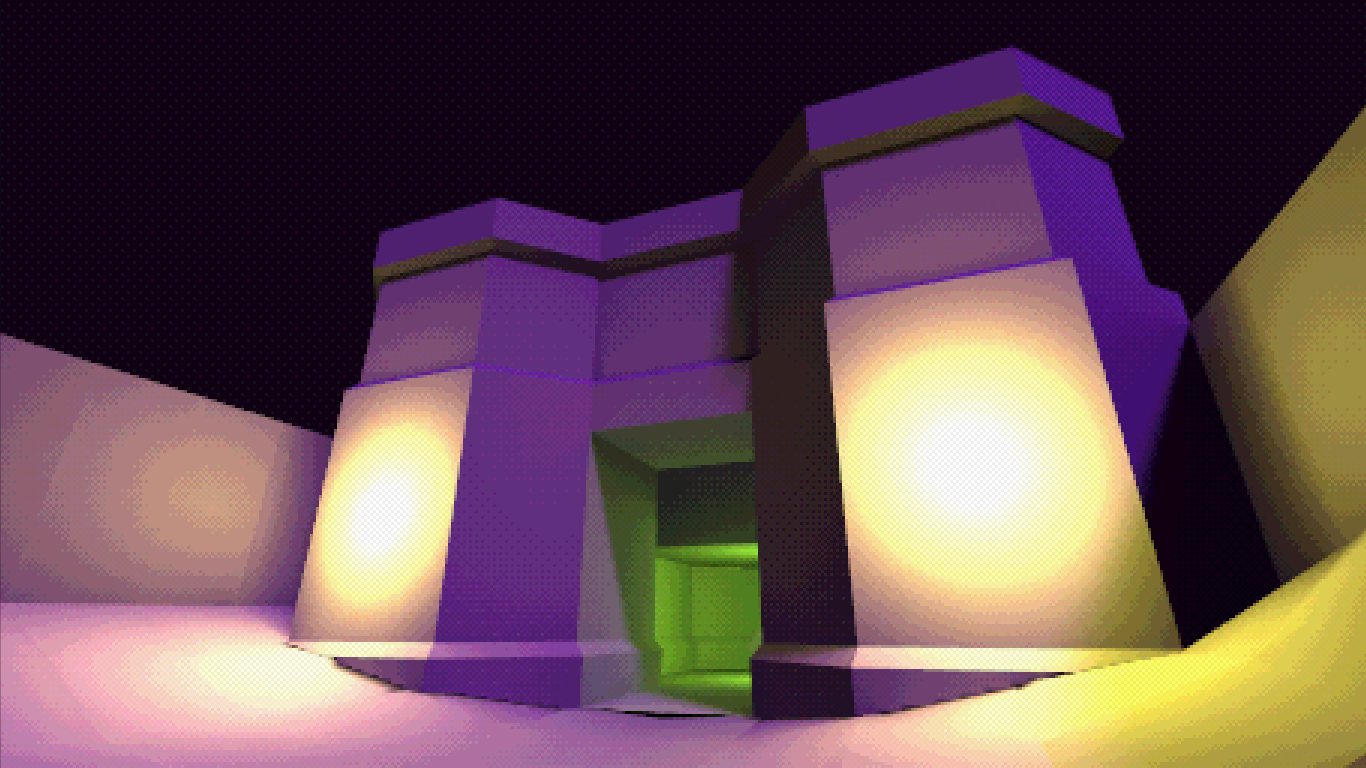
Retro dithering for GameMaker!

A robust multi-format TGA loader for Gamemaker Studio
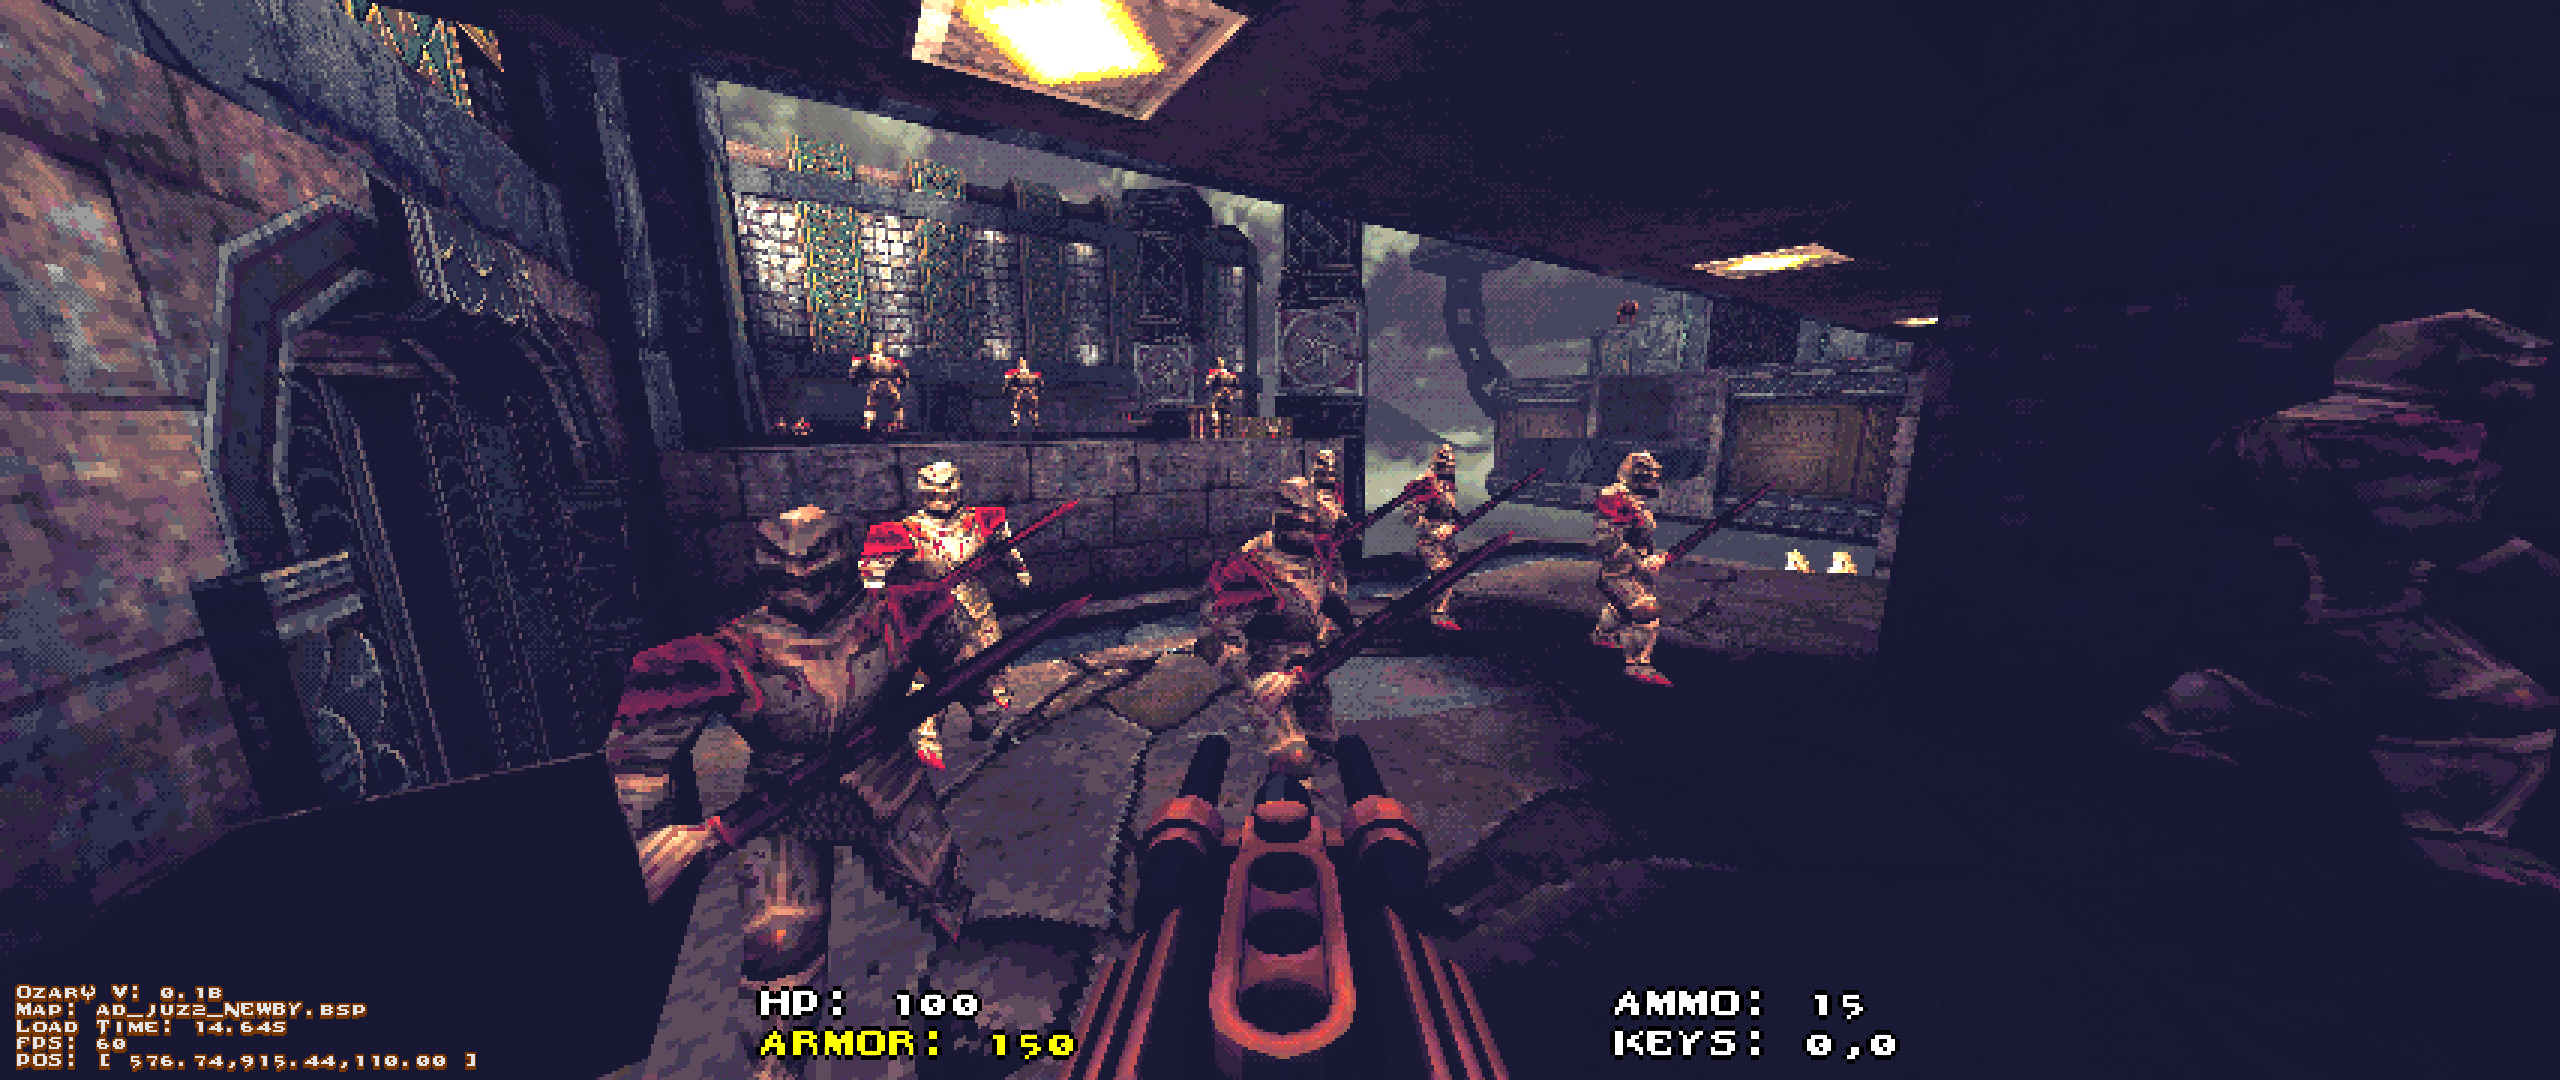
Unleash the power of Quake levels in Gamemaker Studio
The cats are back in town, ready to defend their homeland from invading sea creatures!
Puzzle
Doom/Hexen Interactive Map loader for Game Maker Studio 2
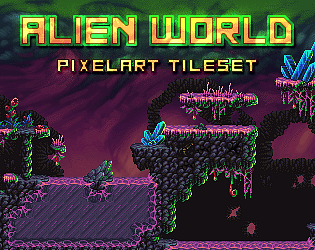
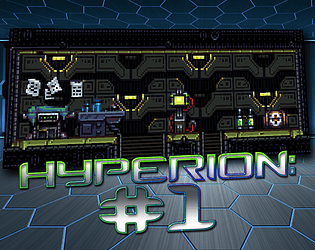
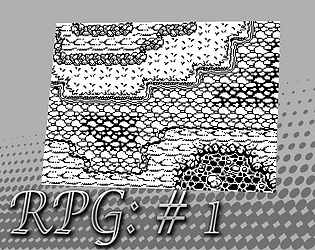
Pixel Art Pack for sci fi block game
Recent community posts
itch.io Community » Game Development » Help Wanted or Offered · Posted in [GameMaker][Programmer] Experienced Developer looking for paid work
 I should reiterate, I am looking for paying work.
itch.io Community » Game Development » Help Wanted or Offered · Created a new topic [GameMaker][Programmer] Experienced Developer looking for paid work
Otex UDMF Map in GameMaker
Hey there, I'm CDLegasse, and I make GameMaker do crazy, magical things.
Specialize in: Advanced shader programming & GPU-accelerated systems Complete game engine development & system architecture Physics simulations & particle systems Performance optimization & memory management Custom tools & external scripting integration
Technical Skills: Expert GML/GameMaker Studio development GLSL shader programming & debugging GPU computing & cellular automata Surface operations & memory optimization Cross-platform game development
My availability: Open
Payment Rates & Methods: Negotiable
Status: Open
https://lemontoast-games.itch.io/lemontrail
Hey guys! My family and I have to move in seven days, so to try and save up some extra cash, I've put all of my GameMaker assets on sale, you can get them each 33% off, or the whole bundle for only $9.99!
The bundle includes:
Retro Dither Shader - get a fun retro look in your game by using this shader suite. You can use any dither pattern, and even a Lut to control how your game looks.

3D Mesh Trails - Pretty straight forward, the beta of my mesh trails system let's you create very satisfying looking mesh trails on thing slike swords, jet engines, flame throwers, etc. If you've been interested in trying this, now is the time! Get the whole bundle for less than the cost of this asset alone.
Also included:
TGA Importer - Let's you import almost any kind of TGA image, giving you finer control over the compression of your assets.
LegacyUI - An easy to use graphical user interface system originally written for Starr Mazer DSP.
itch.io Community » Game Development » Devlogs · Created a new topic 3D Mesh Trail system for Gamemaker now in Beta
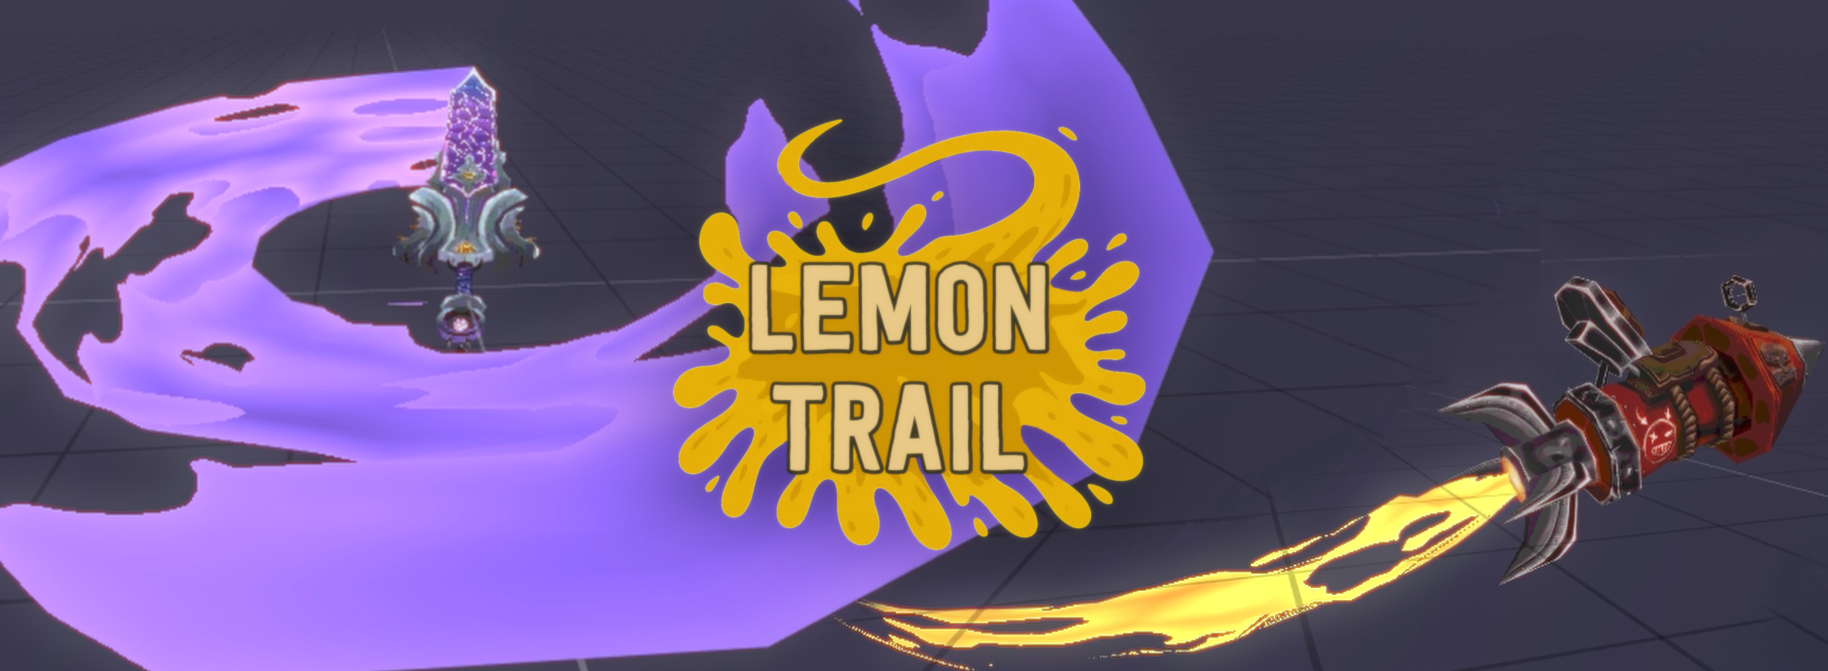
https://lemontoast-games.itch.io/lemontrail
>>> DEMO HERE <<<
Hey everyone!
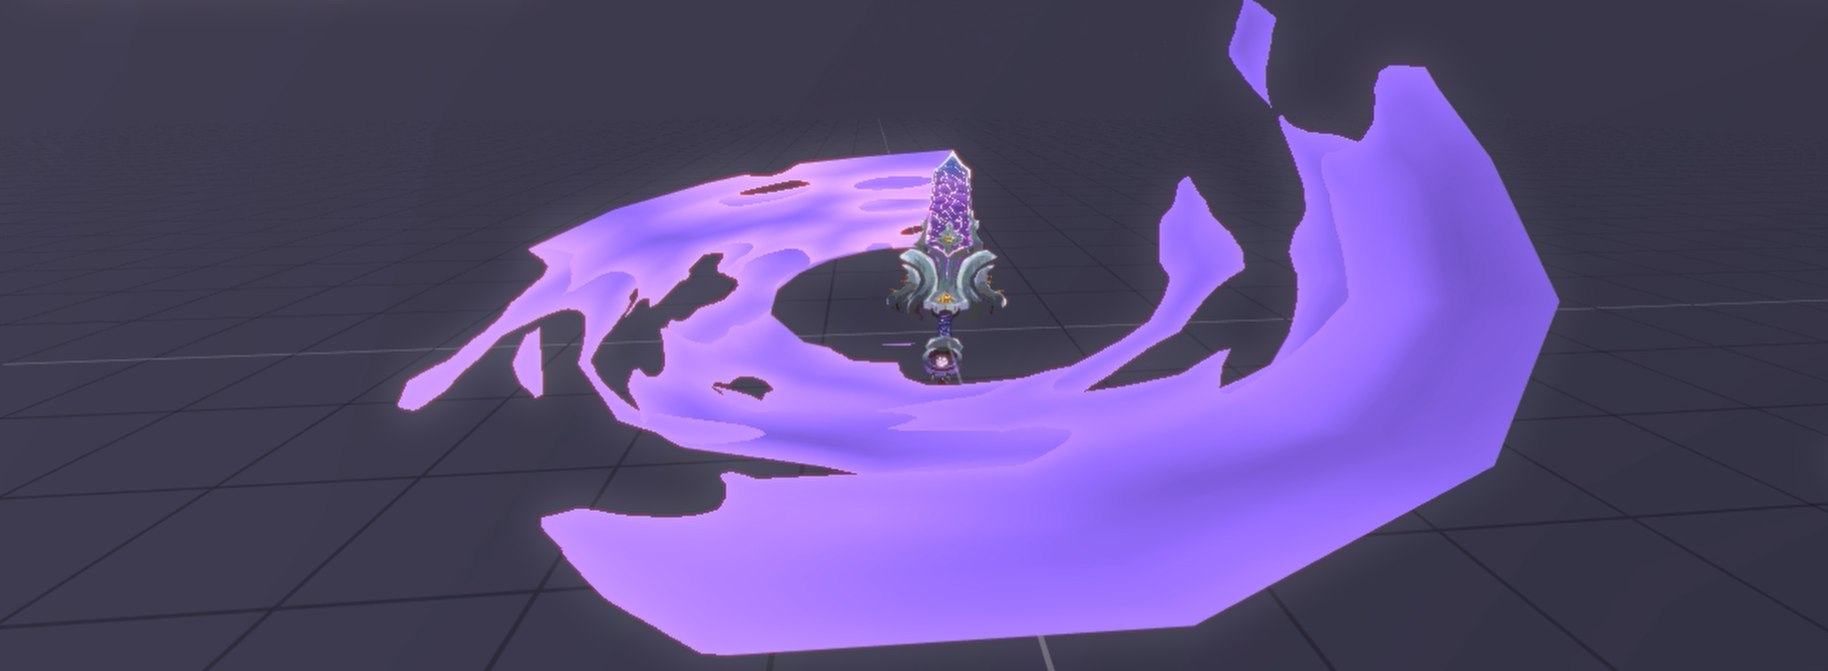
I wanted to share the latest Gamemaker project of mine, originally created for RE:Ashes, the upcoming spiritual successor to Starr Mazer: DSP from my studio LemonToast Games.
This was originally written with ship thruster and smoke trail effects in mind, but as you can see it's pretty versatile even in it's infancy.
There are two ways to use this, by manually creating radially symmetrical trail streaming shapes with the trail.create_shape function, or the better way, by installing and using the custom Blender Extension written just for this! You can define as many trail shapes as you want per mesh, export them all at once, and draw them with a single line of code, pinned to your mesh as it moves through 3d space. It's pretty radical.
As a beta there are of course some known issues:
- Trails can be pretty heavy to process for the time being, so try to limit the number of them you have on screen. ( I'll be moving the physics processing to the GPU very soon to mitigate most of these issues)
- Trails are constantly streaming, there's no off button, just turn it on and watch it go for ever and ever and ever and you get the idea. This will be addressed before leaving beta.
- I'm probably forgetting something, but hey, that'll be fun for you to discover eh?
For a deeper dive into how this functions, check out the devlogs. I plan to create a video going over everything in the near future, so keep an eye out for that.
Legacy UI - Set and Forget Interfaces for GameMaker community · Created a new topic Getting Started: READ ME
itch.io Community » General » Release Announcements · Created a new topic Price Drop! Blender Metal shader
I've never posted about this here, it's not really new, but it's got a permanent new sale price just in time for your holiday metallic animations.
[Blender] Medle - Antique And Oxidize Metal Shader
This is a stylized shader node for cycles, with presets that model nearly any kind of metal, antiquing, and oxidation. The node comes with presets for materials like copper, iron, aluminum, and more. It ships with a standard material with loads of configurable settings, and a simplified material for those looking to get started quickly. Included are also sample CC0 textures for oxidation, water leaks, metal wear, and imperfections.
https://cdlegasse.itch.io/blender-medle-shader
If you have any questions feel free to post em here!
itch.io Community » General » Release Announcements · Created a new topic Dithering Shader for Gamemaker
https://cdlegasse.itch.io/retro-dither-shader-gamemaker-studio
I have been working on this set of shaders off and on for a while and decided to share the most recent version of them with you. You can find more information on them at the link above.
Here are some screenies to whet your whistles!