

Hi huslu, thanks for using Live Brush! 🙏
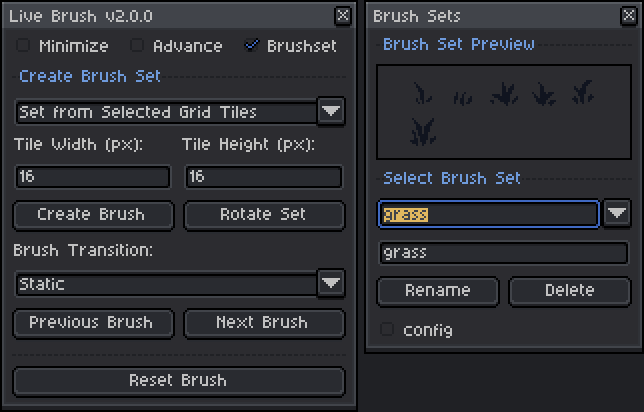
Sorry you're running into this issue. From the screenshot, it looks like the popup is coming from the Magic Pencil extension. I'll check whether it's conflicting with Live Brush and see if I can reproduce the issue.
Thanks for the feedback! I'll look into it and see if I can find a fix. 🙂