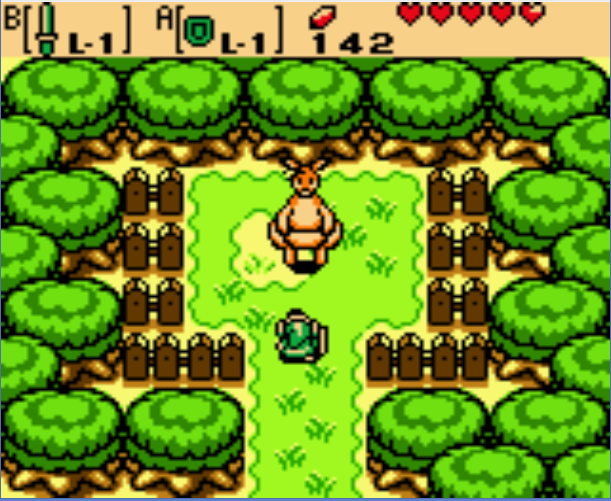
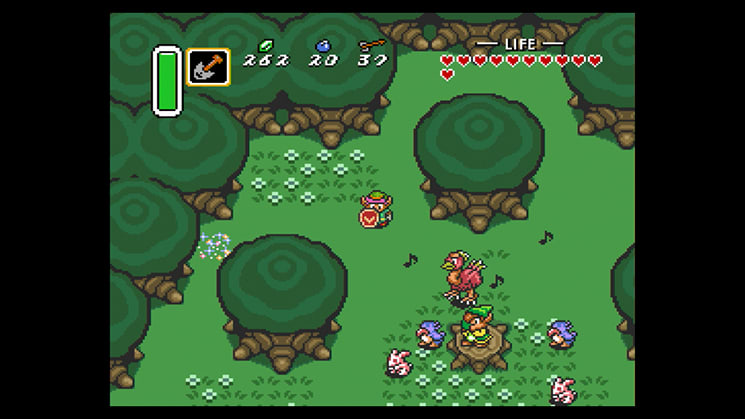
Hey guys, I'm back. So this is a continuation of the Zelda Mockup tutorial series. If you haven't checked out part 1, you might want to do that first. It mainly goes over how to draw Zelda grass. This one will go over how to draw a top down "Zelda" tree. Here's what they look like in different 2D Zeldas.
Oracle of Ages
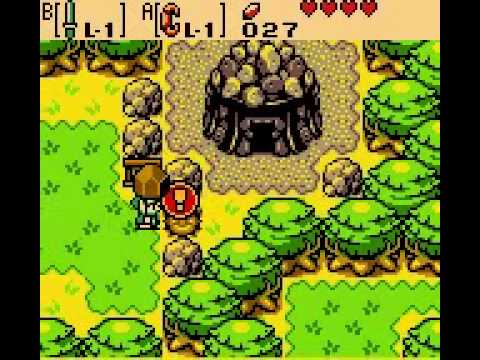
Oracle of Seasons
Link to The Past
The Minish Cap
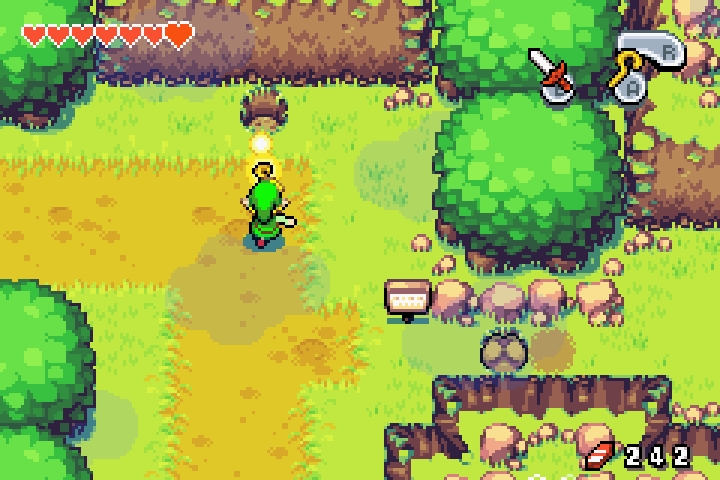
These trees are stubby. I presume the reason why they are so wide is to serve as useful player boundaries, and the reason why they are short is so that they don't obstruct important gameplay elements. The treetops have noticeable layers of leaves and they take up most of the design, leaving the trunk barely visible. I think 3x3 or 4x4 tiles would be a good size for our tree. We should add a new layer for our tree so that we don't accidentally merge it into the grass layer. For the sake of simplicity, I'm going to hide the grass details we did in the last tutorial, but we could end up with a sketch like this. If you want to make the tree look symmetrical, you can mirror half of your sketch over the Y-axis.
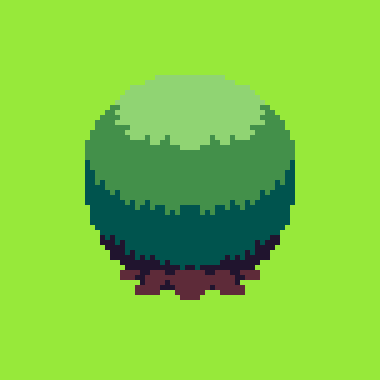
Next thing I would do is add an ellipse shadow at the base of the tree. Technically this shadow would be semi-opaque, so for our shadow color, we'd use a blend of black and the grass color resulting in something like this.
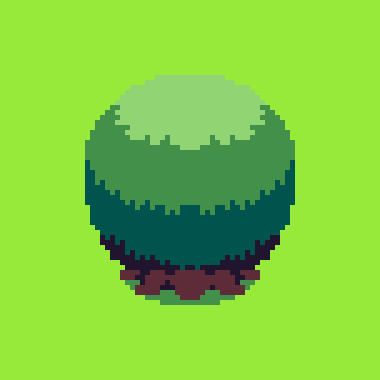
Notice how the top border of the tree is hard to see, I'd add a soft outline along it.
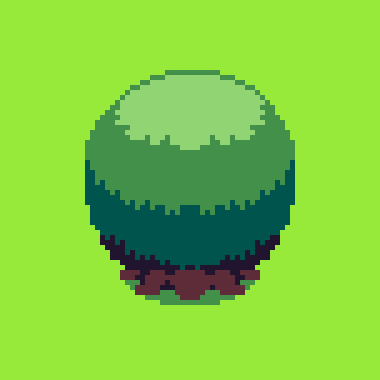
And since grass is not flat, it would make sense to add some spikes of grass along the base of the tree. If you don't want to ruin the sketch you already have, make another layer for this.
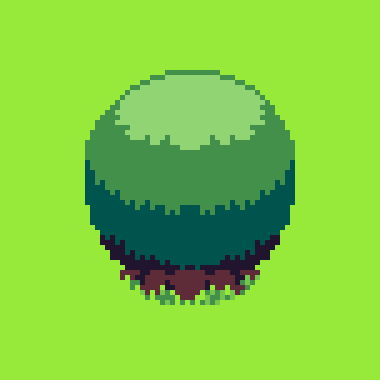
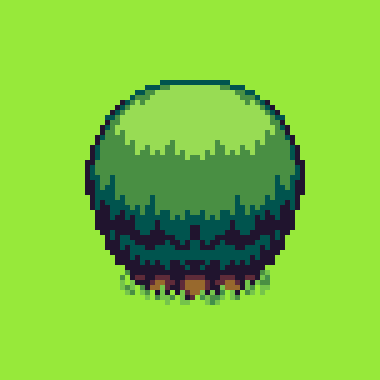
Here is my polished version. It just uses more colors and shading mainly, with a harder outline.
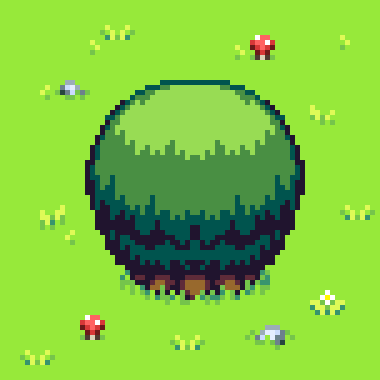
And here is the tree within a grassy scene.
So thanks for reading and stay tuned for part 3!

