


I’m happy to hear the layout worked well on mobile!
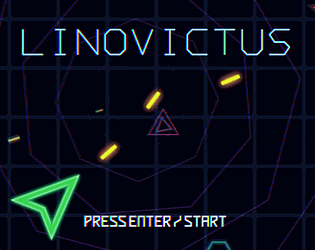
I tried to make the UI somewhat responsive to support ultrawides, but wasn’t really thinking about mobile devices at the time (hence no on-screen joystick, etc). Frankly, in portrait aspect ratios I think it could have been much nicer than I made it. ’^^
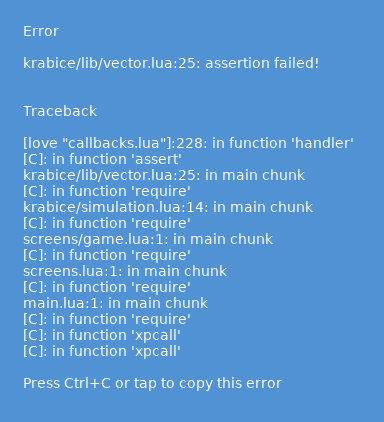
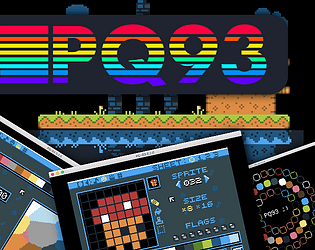
As for the web build itself, I used this more recent fork of love.js: https://github.com/Davidobot/love.js which is available on npm as love.js
Thank you for the kind words!