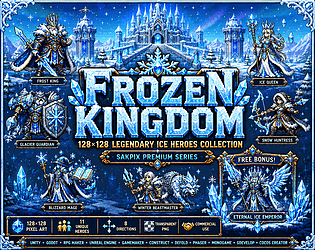
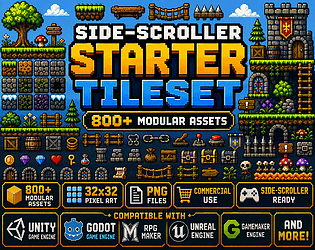
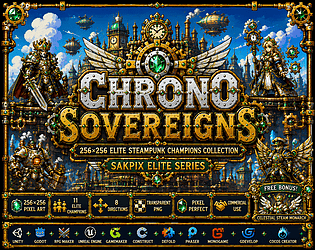
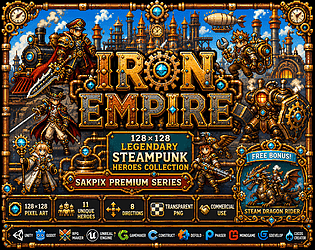
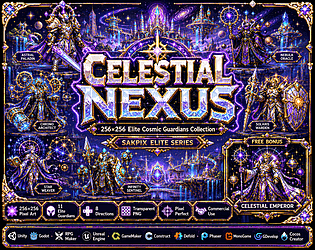
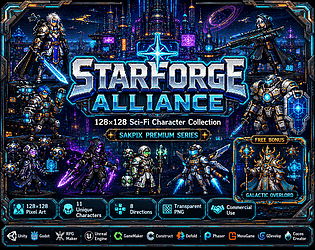
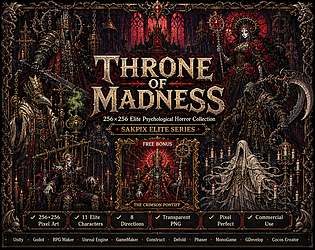
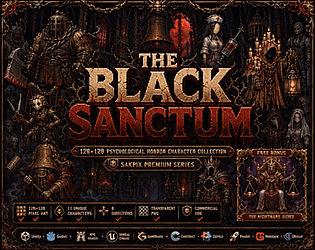
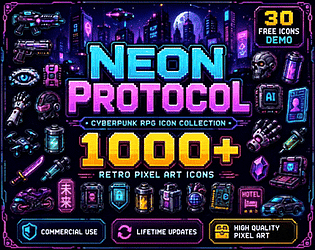
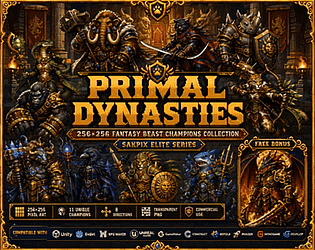
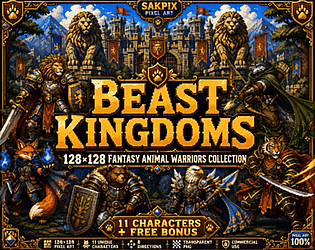
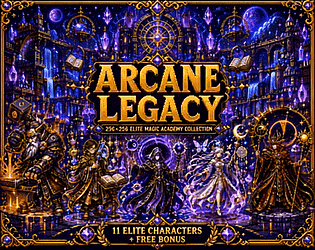
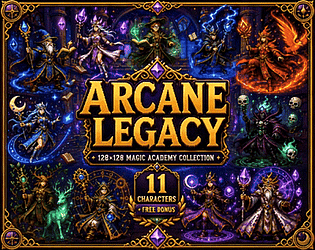
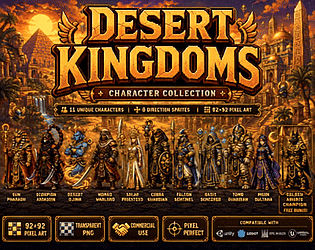
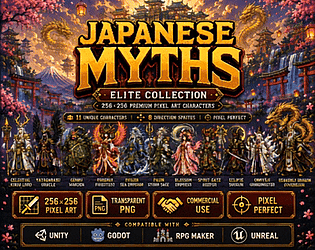
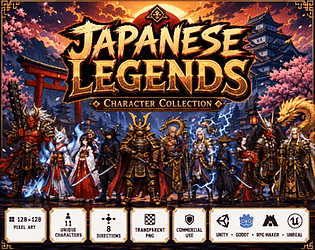
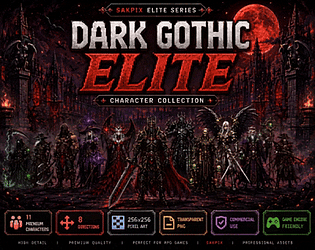
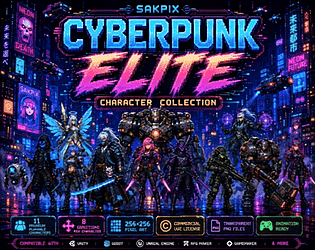
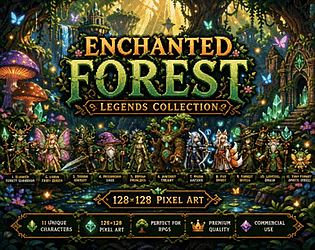
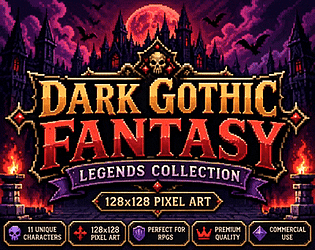
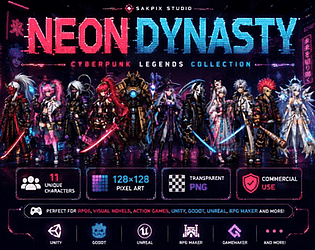
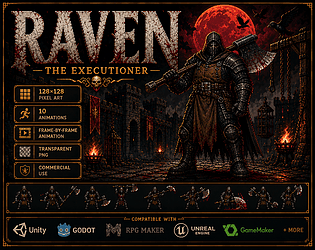
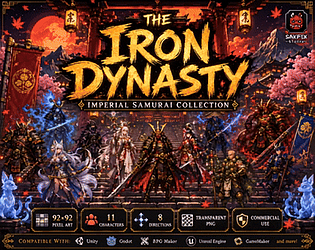
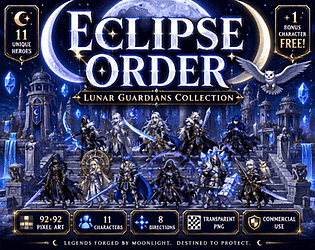
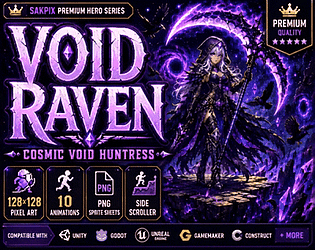
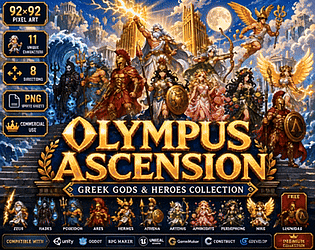
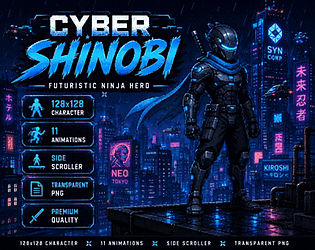
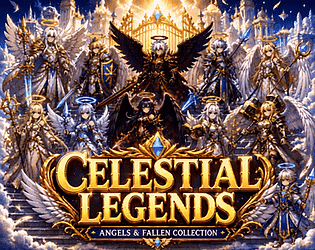
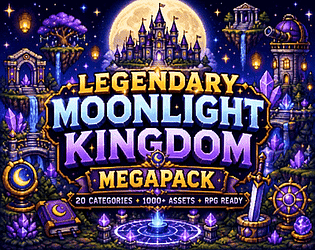
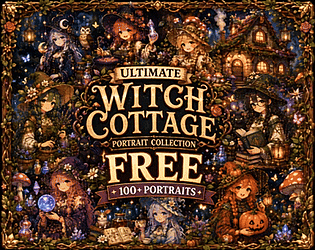
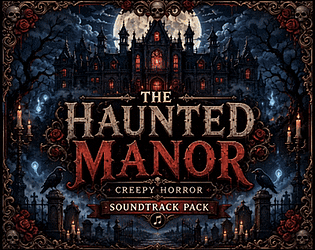
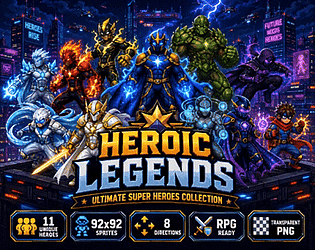
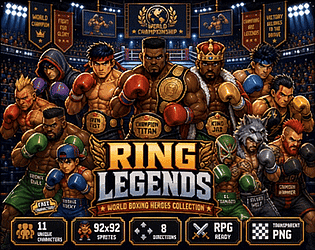
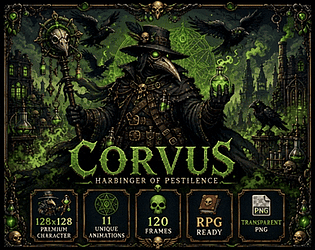
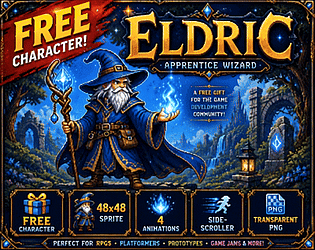
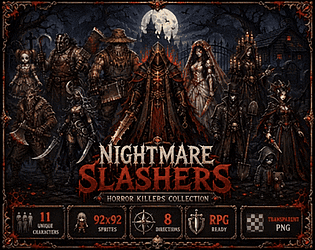
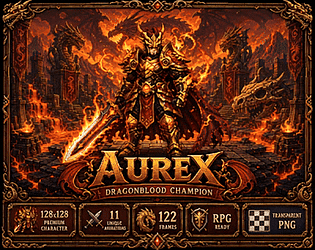
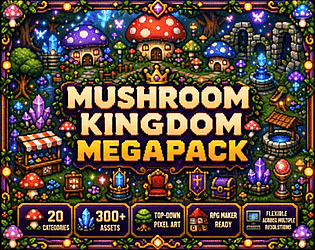
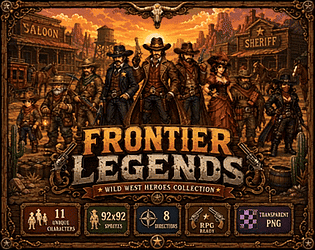
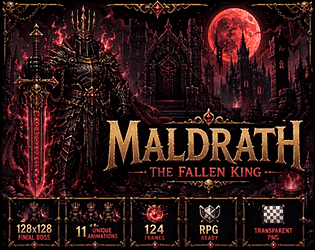
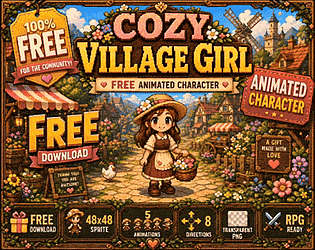
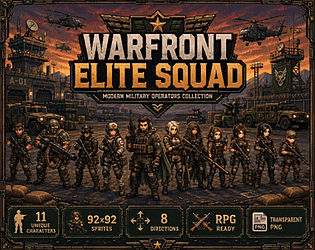
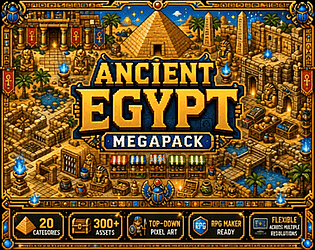
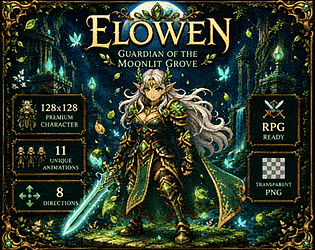
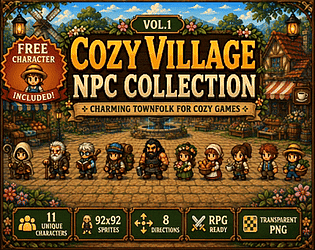
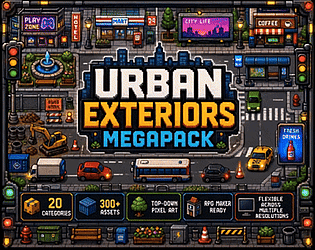
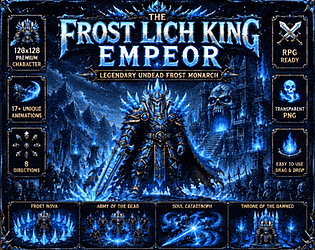
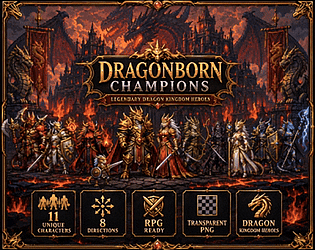
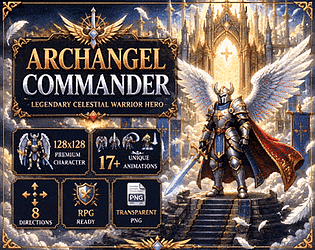
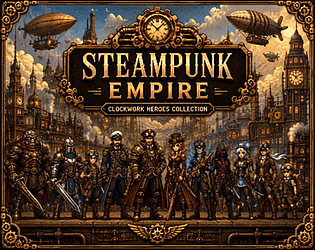
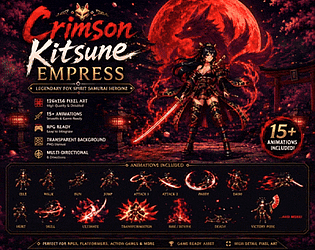
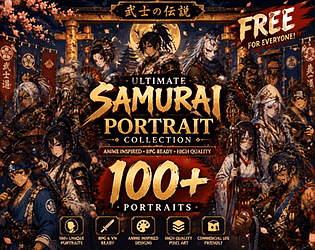
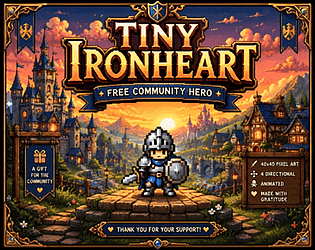
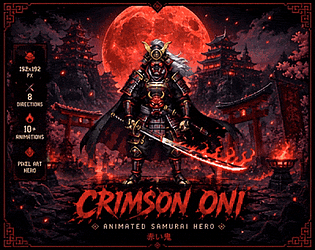
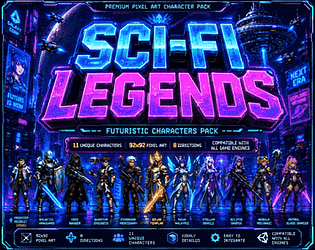
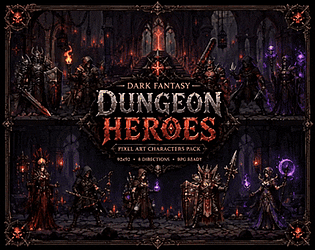
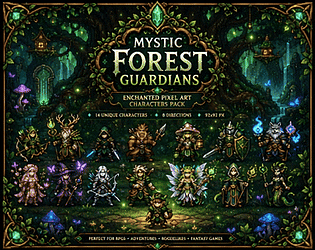
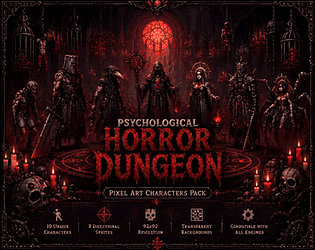
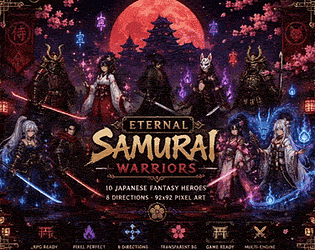
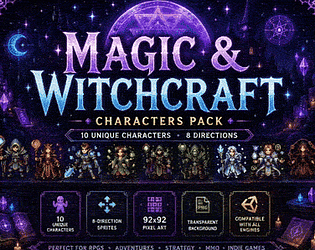
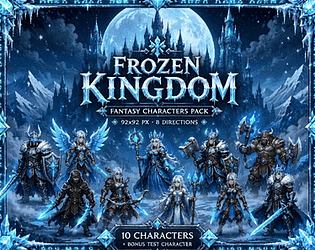
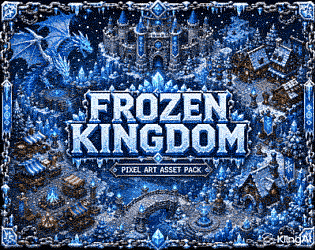
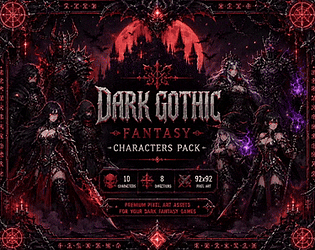

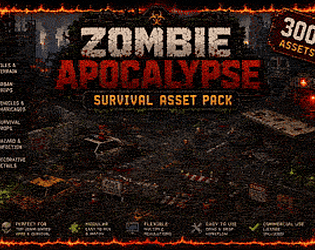
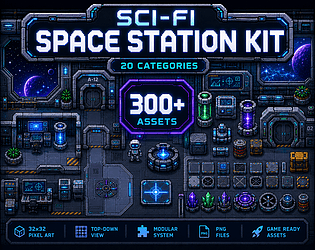
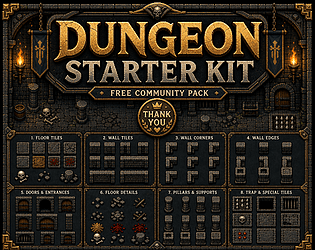
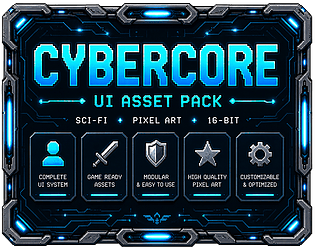
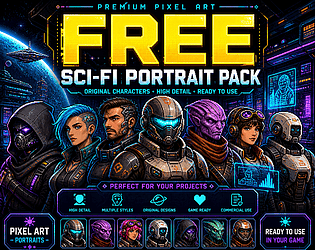
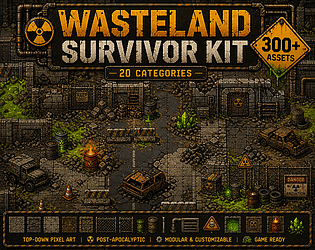
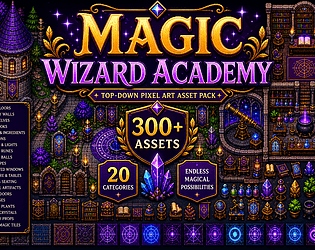
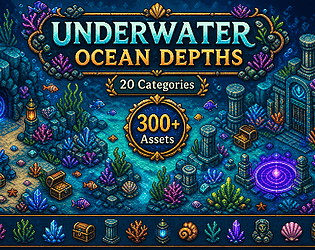
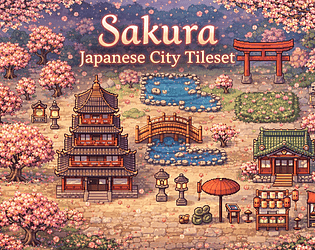
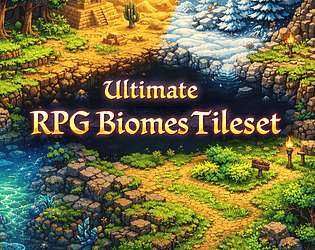
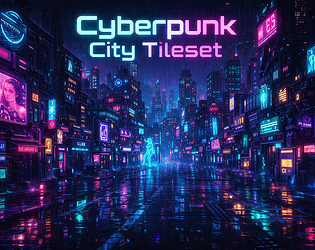
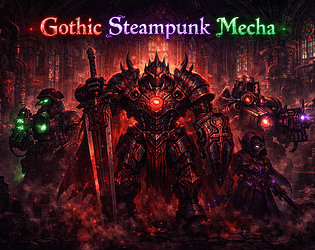
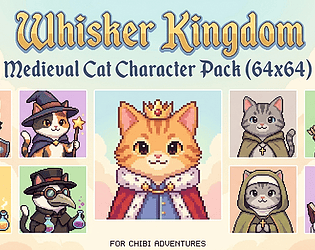
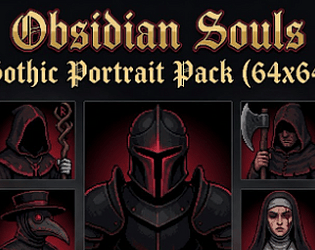
Hey Nick, thanks for the feedback! This pack is meant as a library of base models rather than a fully animated character set — the idea is to give you a solid, ready-to-rig foundation. If you need running, kicking, or any other animation states, feel free to reach out to me directly and I can help you add custom animations tailored to your project, so you get a distinctive result instead of generic stock animations.
SakPix
Creator of
Recent community posts
Hi! Thanks so much for reaching out 😊 To give you a fair quote, I'd need to understand the full scope of the project first (number of assets, style, level of detail, animations, etc.), so I'd prefer if you could email me the details at the address on my profile. Once I have that info, I'll be happy to send over a quote and we can start talking numbers. Looking forward to possibly working together on this!
Hi wbxien1234! Thanks for the extra context — let me expand on this a bit.
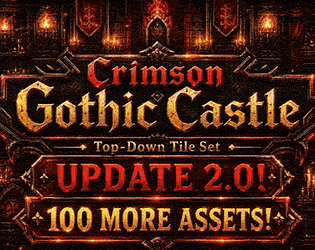
First, a quick reminder: all the assets in the pack are delivered with a transparent background and are designed to be flexible base resources, easy to rescale for different resolutions (16×16, 32×32, 64×64, etc.), so you're not locked into one specific tile size.
Now, about your sprite sheet: you don't need to scale the PNG down — that's exactly what's causing the blurriness. The 1254×1254 file is a sprite sheet already containing many individual tiles at full resolution; you just need to slice it, not shrink it. Here's a quick tutorial depending on which tool you're using:
🔹 Godot
- Import the PNG at its original resolution (no resizing).
- Set the Filter to Disabled/Nearest in the Import tab, then reimport.
- Create a
TileSetresource → add the PNG as an Atlas Texture source. - Set Texture Region Size to 32×32, and use Margin/Separation if there's spacing between tiles.
- Godot will auto-slice the sheet into individual tiles with no quality loss.
🔹 Unity
- Import the PNG, set Texture Type to "Sprite (2D and UI)".
- Set Filter Mode to Point (no filter) and Compression to "None" to keep pixels crisp.
- Set Sprite Mode to "Multiple", then open the Sprite Editor.
- Use the Slice tool with a Grid by Cell Size of 32×32 (add offset/padding if needed).
- Unity will generate all individual sprites automatically — no manual resizing needed.
🔹 GameMaker Studio
- Import the PNG as a Sprite.
- In the Sprite editor, use "Edit Image" → Grid settings to define a 32×32 grid overlay for reference.
- Alternatively, use the Sprite Sheet import option if splitting into a Sprite Strip, entering 32×32 as the sub-image size.
- Make sure Interpolation is turned OFF in the sprite's texture settings to avoid blur.
In all cases, the key idea is the same: keep the original resolution, slice using a grid matching your tile size, and disable texture filtering/interpolation so the pixel art stays sharp.
If you let me know how many tiles are in a row/column of the sheet (in case there's spacing between them), I'm happy to help you get the exact values! 🌱
Hi wbxien1234! Thanks for your purchase and for your question 😊
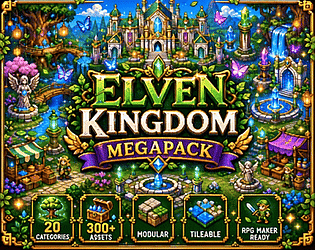
The assets in the pack are delivered as PNG images with a transparent background, organized by category (tiles, decorations, characters, etc.). They're meant to be flexible base resources that are easy to rescale, so you can use them in projects with 16×16, 32×32, or even larger tile resolutions, depending on your needs.
Here's a quick guide for importing them into Godot:
1. Import the PNGs into your project
- Copy the assets folder into your
res://folder (for exampleres://assets/tileset/). - Godot will automatically detect them and generate the corresponding
.importfiles.
2. Set the texture filter (important for pixel art)
- Select the images in the file panel.
- Go to the Import tab (next to Scene).
- Change Filter to Disabled (or "Nearest" depending on your Godot version) to avoid blurriness when scaling.
- Click Reimport.
3. Create a TileSet
- If you're using a
TileMap, create a newTileSetresource. - Add the images as an Atlas if they come as a single sheet, or as individual tiles if each piece is a separate PNG.
- Set the cell size to match your actual tile size, which in your case is 32×32 px.
4. Scale without losing sharpness
- Since your project uses 32×32 tiles, make sure your base Viewport/window resolution is a multiple of that size (e.g. 320×180, 640×360, etc.), and use the "viewport" stretch mode with "integer" scaling under Project Settings → Display → Window, so the pixel art stays crisp at any resolution.
If you have any specific questions about organizing layers or the atlas, feel free to ask — happy to help! 🌱
Hi! Thanks for your question 😊
The assets in this pack are individually categorized so you can work with them and rescale them flexibly to multiple resolutions, depending on what your project needs. They don't come with a fixed tile width, tile height, margin, or spacing specifically set up for Tiled, since the idea is to give you the freedom to adjust them to your own grid.
If you'd like a more detailed guide on integrating them into Tiled, feel free to reach out to me at the email listed on my profile. Happy to help!
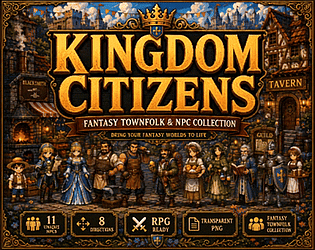
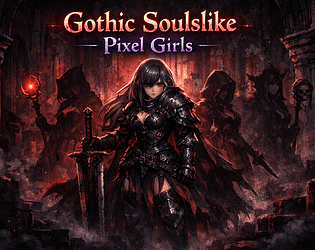
Thanks for the feedback! These characters are meant as a base library — generic NPCs and assets you can pick from. If you want a specific character animated or customized, that's available as a separate commission, so I can give each one a unique touch based on their aesthetic and your ideas. Really appreciate you taking the time to comment!
Hi Chris! 😊 Of course! Here's the link to the bundle so you can check it out: https://itch.io/s/187071/-founders-bundle-legendary-animated-heroes-collection-
Hope you love it! Feel free to ask if you have any questions. 🙌
Hi! Thank you so much for taking the time to share your honest feedback — it truly helps me improve my work. I completely understand your concerns and I'll definitely take them into account for future updates and releases. I really appreciate your patience and I'm glad you're enjoying the aesthetics! 🙏
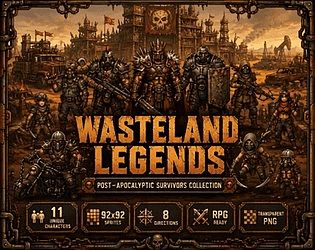
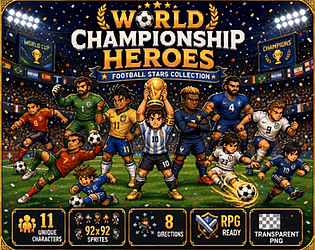
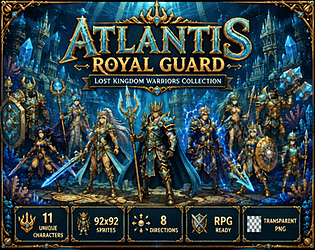
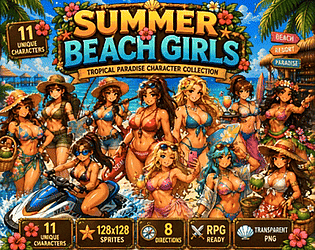
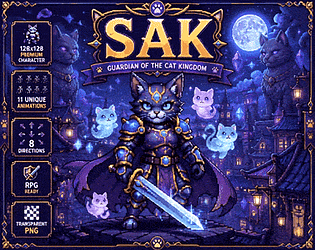
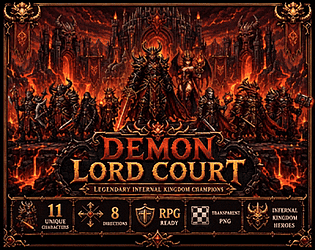
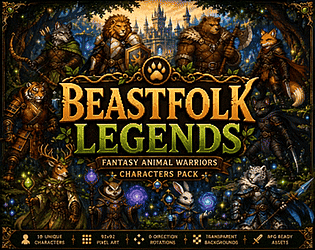
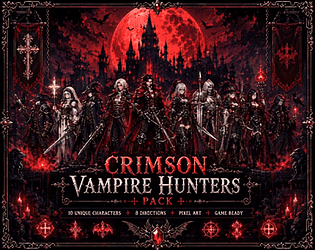
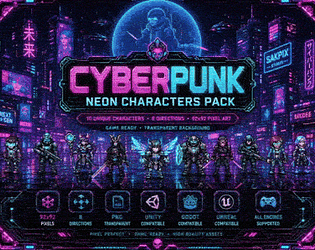
Hi Chris! Thank you so much for your interest! 😊 These are base characters with 8 directional angles, perfect for customizing and building upon. However, if you're looking for fully animated characters, I also have another pack that includes complete movement, attack, and injury animations! Feel free to check it out. Thanks again for your support, it means a lot! 🙌
Hi Roman! I also saw your email and I've already sent you a full guide on how to use this type of asset correctly in different game engines. 😊 Thank you so much for your purchase, it really means a lot! Please check your inbox and don't hesitate to reach out if you have any more questions. Happy developing! 🎮
Hey! The assets ARE individual — they come as JPG files with transparent backgrounds, each one ready to rescale and use separately in your project. They're not spritesheets, so no cutting or slicing needed!
If you need help setting them up in a specific engine, feel free to reach out to me directly by email and I'll be happy to work through it with you! 😊
Hi! Thanks so much for picking up the whole bundle, I really appreciate it.
Just to clarify, these assets aren't a traditional fixed-size tileset, they're individual elements separated by category with a transparent background, made to be worked with and resized individually rather than matched to one single fixed cell size. That's why it's scalable for multiple resolutions, you can resize each piece to whatever grid size your project uses.
Here are some quick steps depending on your engine:
Unity: import the sprite, set the Sprite Mode to "Single" (or "Multiple" if you're slicing manually), then adjust the Pixels Per Unit value so the sprite matches your desired in-game cell size. Keep Filter Mode set to "Point (no filter)" if you want a crisp pixel-art look.
Godot: import the sprite, then in the Sprite2D or TextureRect node adjust the Scale property until it matches your tile/cell grid. Make sure Filter is set to "Nearest" in the texture import settings to avoid blurring.
GameMaker: import the sprite, then resize it directly in the Sprite Editor or adjust the Image Scale in the room/object settings to match your grid size. Disable smoothing/interpolation for crisp pixels.
Since every piece is separated by category, you can scale each one independently to fit perfectly with your own grid, there's no single fixed cell size you need to match.
If you run into any more trouble, feel free to reach out to the email on my profile and I'll be glad to help you out more specifically!
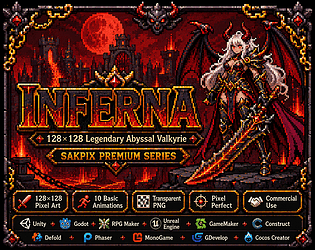
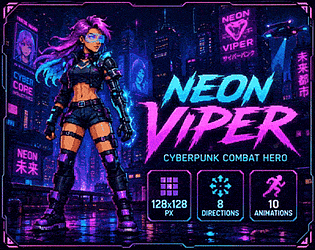
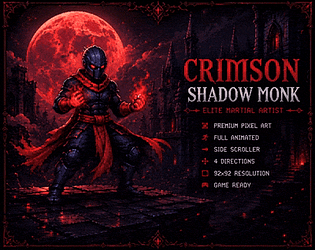
Hi! Thank you so much for being interested in my pack, I really appreciate it. Just to let you know, these particular characters don't include animations at the moment, but if you'd like any of them to have specific animations, I'd be more than happy to work on that for you.
I also have another pack with 128px characters that are fully animated, in case you'd like to take a look at that one too. Thanks again, and let me know if you have any questions!
Hey voidulim, thanks so much for your message and I'm really glad you're happy with the design!
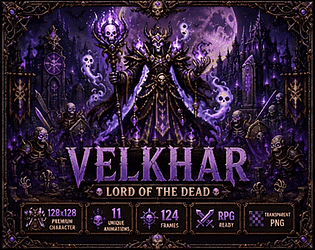
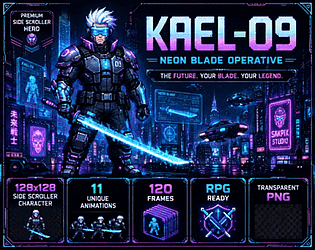
Regarding KAEL-09 (Operation Neon Blade) and Belkar (Des Monarch), these are separately released characters, so they're not automatically included in the Founder Bundle and I don't have a way to add them to your existing purchase.
However, since you're a recent buyer, shoot me an email at the address on my profile and I'll gladly send you the most recent characters at no extra cost.
As for the action animations (pause, death, attack) for the Archer and Thief series, they're on the way, thanks for your patience!
Cheers, Sakpix
Hey Ace1960, thanks for picking up the pack!
This pack isn't on a fixed grid — the assets are designed to be used individually rather than sliced from a sheet. Each piece comes as its own image with a transparent background, organized by category, so you can place, scale, and arrange them one by one however your scene needs.
So instead of trying to split the sheet into a grid, you'd want to grab each individual asset file directly and import them as separate sprites in your engine/editor. This actually gives you more freedom since you're not locked into a fixed tile size!
Let me know if you run into any issues setting them up, happy to help!
Hey Loart! Thanks for sharing the screenshot, that really helps clarify things.
I think the confusion might be in how the pack is intended to be used — these assets are designed to be used individually, not as a traditional tilesheet. Each sprite comes with a transparent background and is organized by category, so the workflow is to place each asset one by one rather than slicing a grid.
Because of that, trying to grid-slice the sheet in Aseprite will cause exactly what you're seeing, since the spacing isn't uniform — it was never meant to be sliced that way.
The correct workflow would be:
• Open each individual asset (or category folder) directly
• Import them as separate sprites in your engine or editor
• Place and arrange them manually in Tiled or Unity
This gives you a lot more flexibility since you're not locked into a fixed grid!
That said, if this workflow doesn't fit your project's needs, I'm totally happy to help you with a refund. Just let me know!
Hey! The automatic slicing in Unity can be tricky when tiles aren't perfectly uniform in size. Here's how to fix it:
1️⃣ Use Manual or Grid By Cell Size instead of Automatic
In the Sprite Editor, go to Slice → Type and select "Grid By Cell Size", then enter the tile size manually (e.g. 16x16, 32x32, 48x48 — depending on the pack). Automatic slicing reads pixel content and can end up with those off-by-one results you're seeing.
2️⃣ Make sure Compression is set to None
Go to the texture import settings and set:
• Compression: None
• Filter Mode: Point (no filter)
• Format: RGBA 32 bit
This prevents Unity from slightly altering the pixel dimensions internally.
3️⃣ Check the Pixels Per Unit value
Set it to match your tile size (e.g. if tiles are 32x32, set PPU to 32). This keeps everything aligned on the grid in-engine.
If after trying this it's still not working as expected, don't worry — I'm happy to help you get a refund, no questions asked. Just let me know!
Hey! Good to know you're using Tiled — that actually makes things easier once it's set up correctly.
The repositioning issue you're experiencing is most likely happening because of how the scaling is being applied before importing. Here's the cleanest workflow to avoid that:
1️⃣ Scale first, import after
Before bringing anything into Tiled, resize your tilesheet to 32x32 per tile using Nearest Neighbor interpolation (in Photoshop, Aseprite, GIMP, etc.). Do NOT let Tiled or any external tool scale on the fly — it causes misalignment.
2️⃣ Make sure the tilesheet dimensions are exact multiples
If your tiles are 32x32, your full tilesheet should be something like 256x256, 512x512, 512x256, etc. If the dimensions aren't exact multiples, Tiled will misalign the grid and you'll get that manual repositioning issue.
3️⃣ Tiled import settings
When adding the tileset in Tiled:
• Tile width: 32 / Tile height: 32
• Margin: 0 (unless the sheet has a border)
• Spacing: 0 (unless there's padding between tiles)
If the original pack has spacing or margin baked in, let me know and I can tell you the exact values to enter.
4️⃣ Recommended scaling tool
Aseprite handles pixel art scaling perfectly and exports clean tilesheets. If you don't have it, GIMP with "Interpolation: None" also works great and it's free.
Hey Loart! Thanks for reaching out.
These packs are resolution-independent, meaning they're designed to scale to multiple resolutions without losing quality. Here's a quick guide depending on your engine:
🟦 Unity
• Import the sprites and set the Pixels Per Unit (PPU) value to match your project's base resolution.
• Use the Sprite Editor to slice if needed.
• Set Filter Mode to "Point (no filter)" for pixel art to keep sharp edges.
• For multiple resolutions, use Sprite Atlas and let Unity handle the scaling.
🟥 Godot
• Import textures and set Filter to "Nearest" to preserve pixel crispness.
• In Project Settings → Display → Window, set your base resolution and enable stretch mode ("canvas_items" recommended).
• Scale up using integer scaling (2x, 3x, 4x) to avoid blurry results.
🟧 RPG Maker / GMS2 / Other engines
• Always scale using integer multipliers (2x, 3x, 4x) — never odd percentages like 1.5x or 2.3x, as this causes blurriness.
• Keep your base canvas resolution consistent with the tile/sprite size from the pack.
⚠️ General tips to avoid quality loss:
• Avoid bilinear or bicubic interpolation; always use "Nearest Neighbor" when resizing.
• If exporting, save as PNG (lossless), never JPEG.
If you let me know which engine you're using and your target resolution, I can give you more specific guidance. Happy to help!
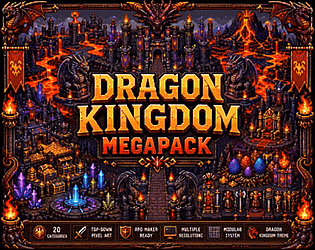
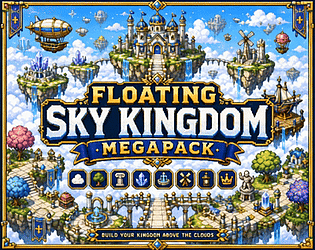
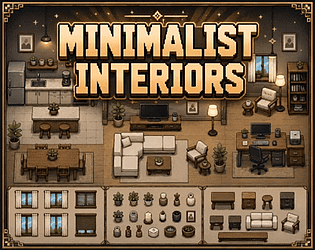
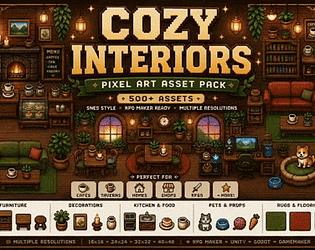
Hey! I always organize the tiles by category so you can get a good idea of how they'd look in a full map. However, I currently don't have complete map examples featuring all of them, since there are quite a lot of assets! Also, keep in mind that all images come as PNGs with transparent backgrounds, making them easy to use and properly scalable to multiple resolutions. Thank you so much for your interest in the pack, Flavio — I really appreciate it! 😊
Hi byronbulb! Thank you so much for your question and for caring about this — it's completely understandable! 😊
Just so you know, when uploading anything to this platform, all creators are required to tag their content indicating whether it is AI-generated or not. So you can actually check that information not only on this product but on every single asset available here — just look at the tags section on the product page!
And to answer your question directly: yes, this asset is AI-generated. I want to be fully transparent with you so you can make the best decision for your project! 🙏
Hi! Thanks for the feedback and sorry for the confusion!
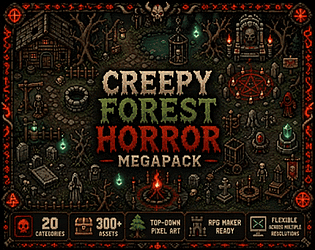
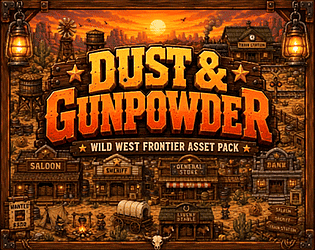
Just to clarify how the pack is structured: the spritesheets are transparent-background PNG files where each element is separated by category (floor tiles, edge tiles, corner connections, etc.) — they're not pre-sliced into a fixed grid, which is why the image dimensions aren't a multiple of 32.
To use them in Godot at 32x32, here's the quickest way:
1. Open the spritesheet in a free tool like **Aseprite**, **GIMP**, or **Photoshop**
2. Resize the whole image proportionally so each individual tile becomes 32x32 (e.g. if tiles are 64x64, scale the image down to 50%)
3. Import the resized image into Godot and set your TileSet tile size to 32x32 — it should slice perfectly!
I'll work on adding a guide document to the page to make this clearer for everyone. Thanks again for pointing it out!
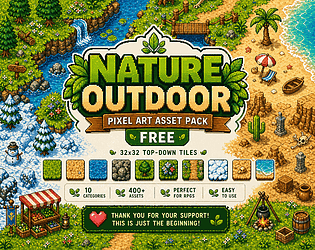
Hi Rychow! Great question! 😊 The tiles are originally designed at 32x32, but the great thing is that they're fully scalable — you can upscale them to 64x64, 128x128, without losing much quality at all! So they should work nicely for whatever resolution your project needs. Hope that helps, and feel free to ask if you have any other questions! 🐸
Hi! Thank you so much! 😊
Right now the pack only includes the characters with 8 angles, no animations yet. However, I'm planning to release packs of 5 themed characters that will include basic animations like idle and walk in 4 directions!
Actually, I'd love your input — what other animation would you find most useful in a pack like that? Attack, death, hurt...? 🎮
Hey! Glad to hear the scaling worked out! 😊
And yes, I've actually thought about it — I'll definitely try to include a combined map preview for upcoming packs, thank you so much for the suggestion, it's really helpful!
If you ever need anything, don't hesitate to reach out through the email on my profile and I'll be happy to help. I hope your project turns out amazing! 🐸✨


