Indie game storeFree gamesFun gamesHorror games
Game developmentAssetsComics
SalesBundles
Jobs
Tags

Hi Charlie,

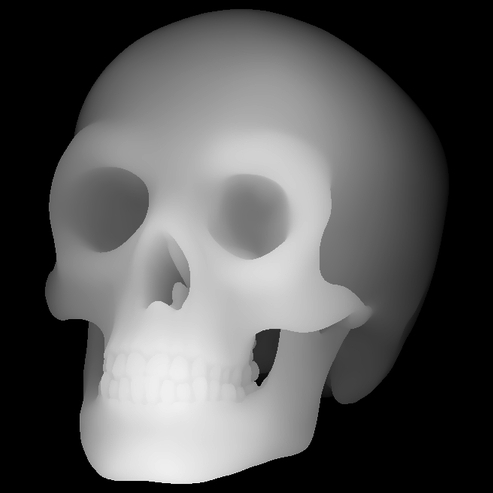
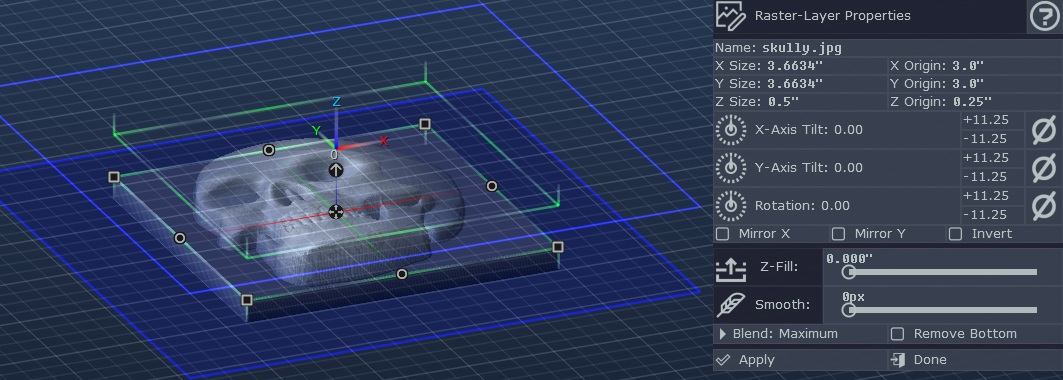
I have been working with multiple layered carvings. I have been using a picture as a background using relief carve with parallel carving operation.  I know I can set the Z height of the layer, but that is not the true carved height. The only way I see to get the finished carved height of the picture is by watching the simulation of the Z axis data. I'm taking my work piece raster layer height( .75) ,  subtracting picture layer Z origin ( .6) that gives potential maximum height (.15).  I then take .15 and subtract Z height in the simulation for a given point , This gives me my carved height. Is this correct or am I missing a shortcut ?

Thanks Joe

Hi Joe,

PixelCNC automatically stretches the contrast of an image to range from absolute black to full white to ensure that the raster-layer's contents actually occupy the Z area from the bottom of the layer to the top of the layer, rather than just a section of that range.

After that the only things left to determine how deep cuts will go is the canvas Z size and the layer's Z origin and Z size too. There's also the issue of a cutter not being small enough to fit into narrow areas. So for instance if I load this image into PixelCNC:

Canvas is one inch thick and my layer is set to an origin of 0.25" and a thickness of 0.5" this is the result:


For just the area of the raster-layer itself (ignoring the outer blank canvas margin that I could've used a Z-fill on but wanted to make the image clearer) the shallowest cuts will be 0.25" below the top of the canvas and the deepest cuts will be 0.75" below the top of the canvas, particularly the area around the skull where the cutter will be at max depth.

The only thing that would otherwise prevent cuts from actually reaching down to the bottom of the raster-layer is if your deepest parts are narrower than the cutter can actually reach, something like this:


In this image most of the shape is too narrow to accommodate the 1/4" cutter, except for a few spots on the left, preventing it from actually cutting down to the bottom of the raster-layer, which in this example is the same thickness as the canvas (0.25") and has a layer Z origin of zero so that it's resting on the bottom of the canvas.

Also, if you're using a Leave Stock amount that's going to offset the carve in 3D, not just horizontally, so if you have a 0.05" leave stock on a 0.25" canvas the deepest that cuts will be able to go is 0.2" below the top of the canvas surface.

Hope this helps. Let me know if I'm missing something - and maybe share a screenshot too if this doesn't help you figure it out.

 - Charlie

Oh, and the raster-layer height, or Z size, is just the distance between the bottom and top planes of the raster-layer. It does not include the Z origin of the layer. To calculate the height of a carve, assuming your canvas Z size is identical to your workpiece thickness, you should be able to just add the layer's Z origin to its Z size to get the Z of the top plane of the layer, which is equal to the distance from the bottom of the canvas to the top of the layer.

- Charlie

(+1)

This was the final result. The horse came from a color cell phone jpg. I was surprised how well the color picture turned out, with tweaking of the levels.  The relief carving is about .075 max height .  The border is not that wide, I haven't did the cut out yet .

Thanks for the help Charlie.....

Hi Joe,

That's great stuff! Thanks for sharing. Glad to hear the Adjust Levels function was useful on the horse raster-layer. Let me know if there's anything you'd like to figure out how to do to design more stuff. I'm all ears ;)

 - Charlie