

Hello and welcome back to another Aseprite tutorial. In the previous tutorial we created a brick tile which looped seamlessly. In this tutorial, we will create a floor tile and a door tile which we can place into our dungeon.
Open the Brick Tile Aseprite File
First thing is first, make sure you have your brick file open in Aseprite.
Turn off Tiled Mode
The "Tiled Mode" feature we used originally is nice for seeing just one tile loop seamlessly, however the disadvantage is that it is restricted to only one tile type. If we want a whole dungeon scene, we will need more tiles to work with. For this tutorial, turn off Tiled Mode completely.
Enlarge the Canvas
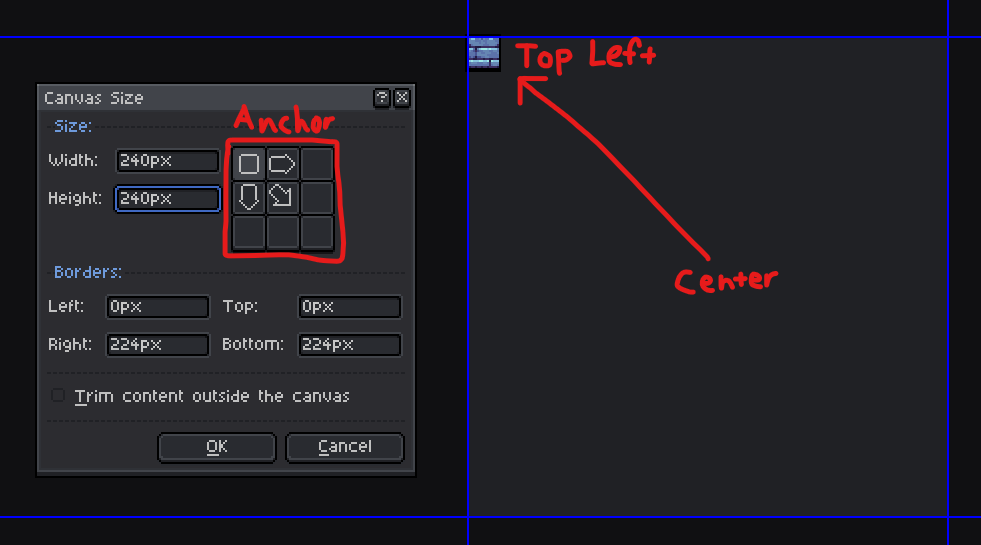
Enlarge the canvas size using Sprite - Canvas Size specifically, not "Sprite Size". This way we won't stretch the brick tile. The resize prompt can calculate math automatically. This is convenient because we want our enlarged canvas to be a multiple of 16 in both width and height (otherwise we'll have a cropped tile grid which will be harder to work with). For example if you type in 16*15 (* is the multiplication operator) the output is 240. We can use 240 pixels for the width and height. Anchor the brick tile to the top left using the arrow icons in the window prompt and click OK.
The Result
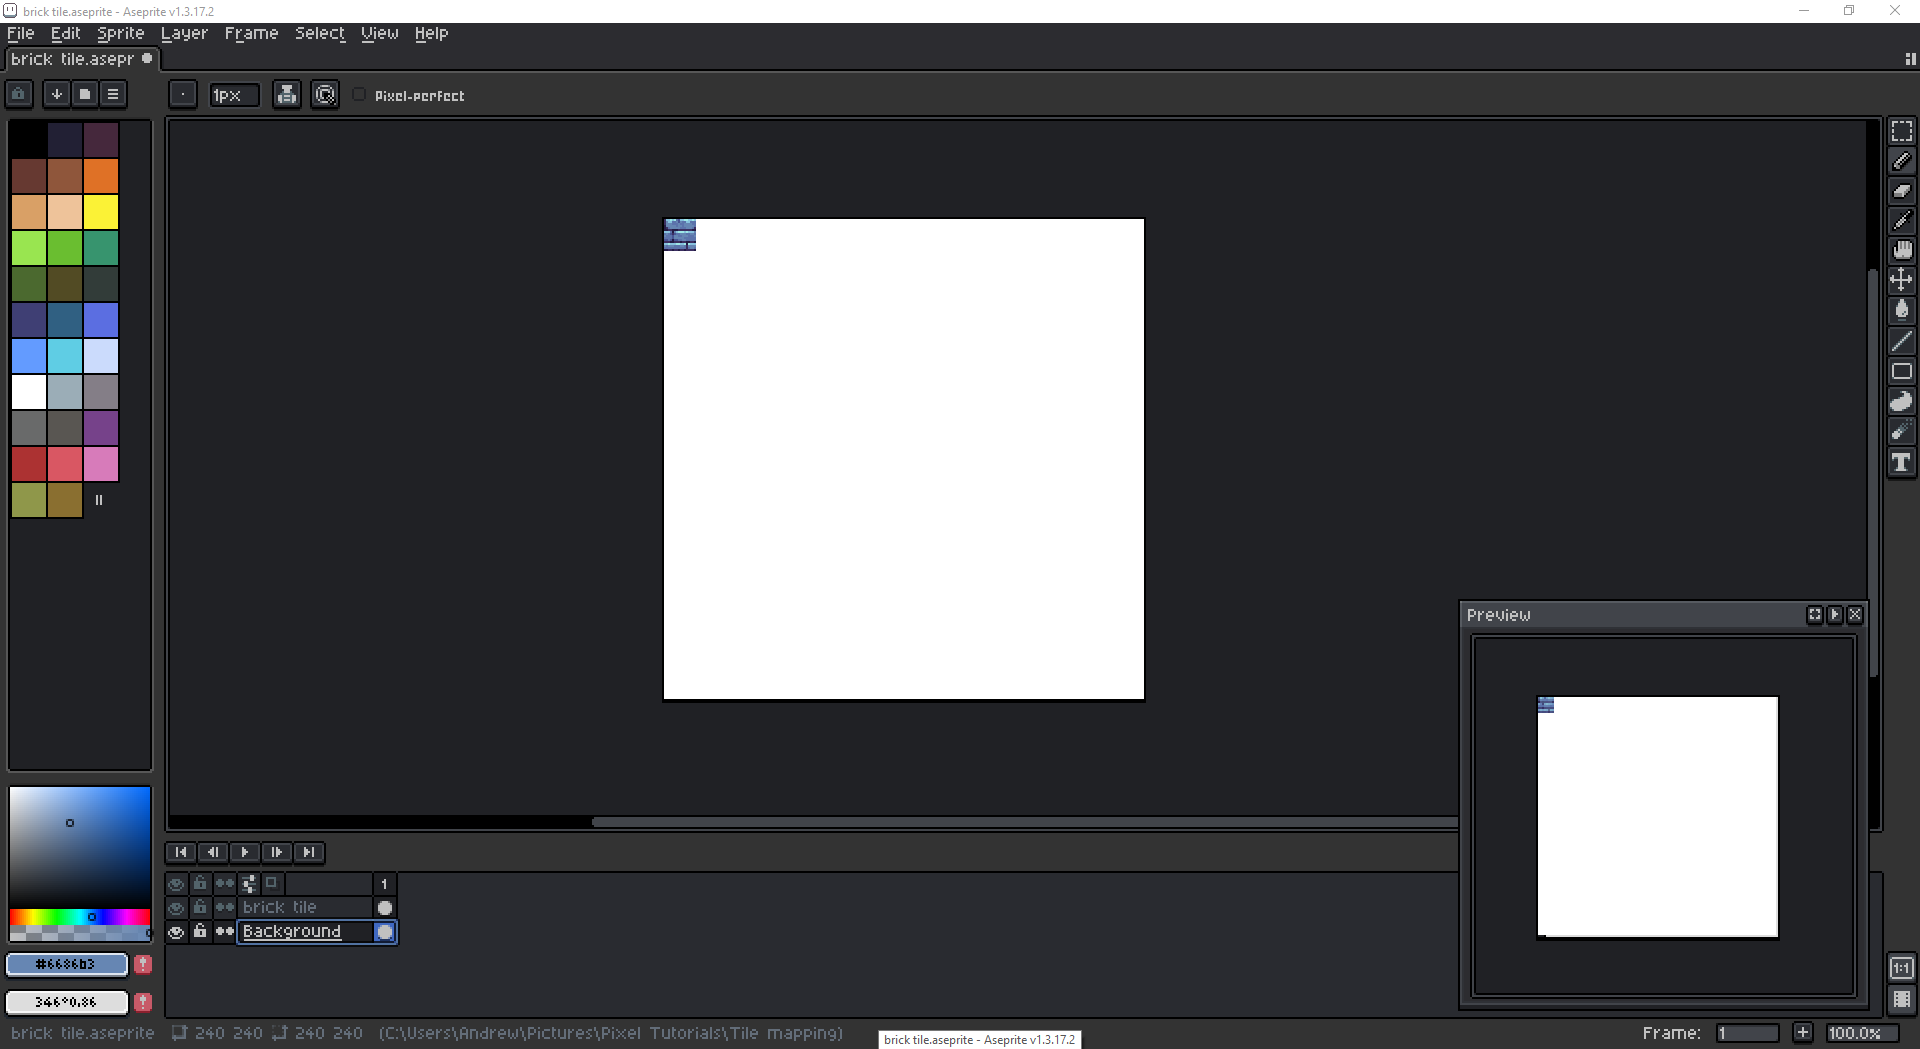
The resulting canvas should look something like this, using your secondary brush color (the toggle color) as the background.
Changing a Few Things
In your file explorer, you should rename the file to "dungeon tilemap.aseprite" or something similar, because we're creating a dungeon tile map, not just a single brick tile anymore. Select the background layer and fill it with black. Rename the "brick tile" layer to "dungeon tilemap", then convert it to a tile map layer with a 16x16 grid. Ignore the other options.
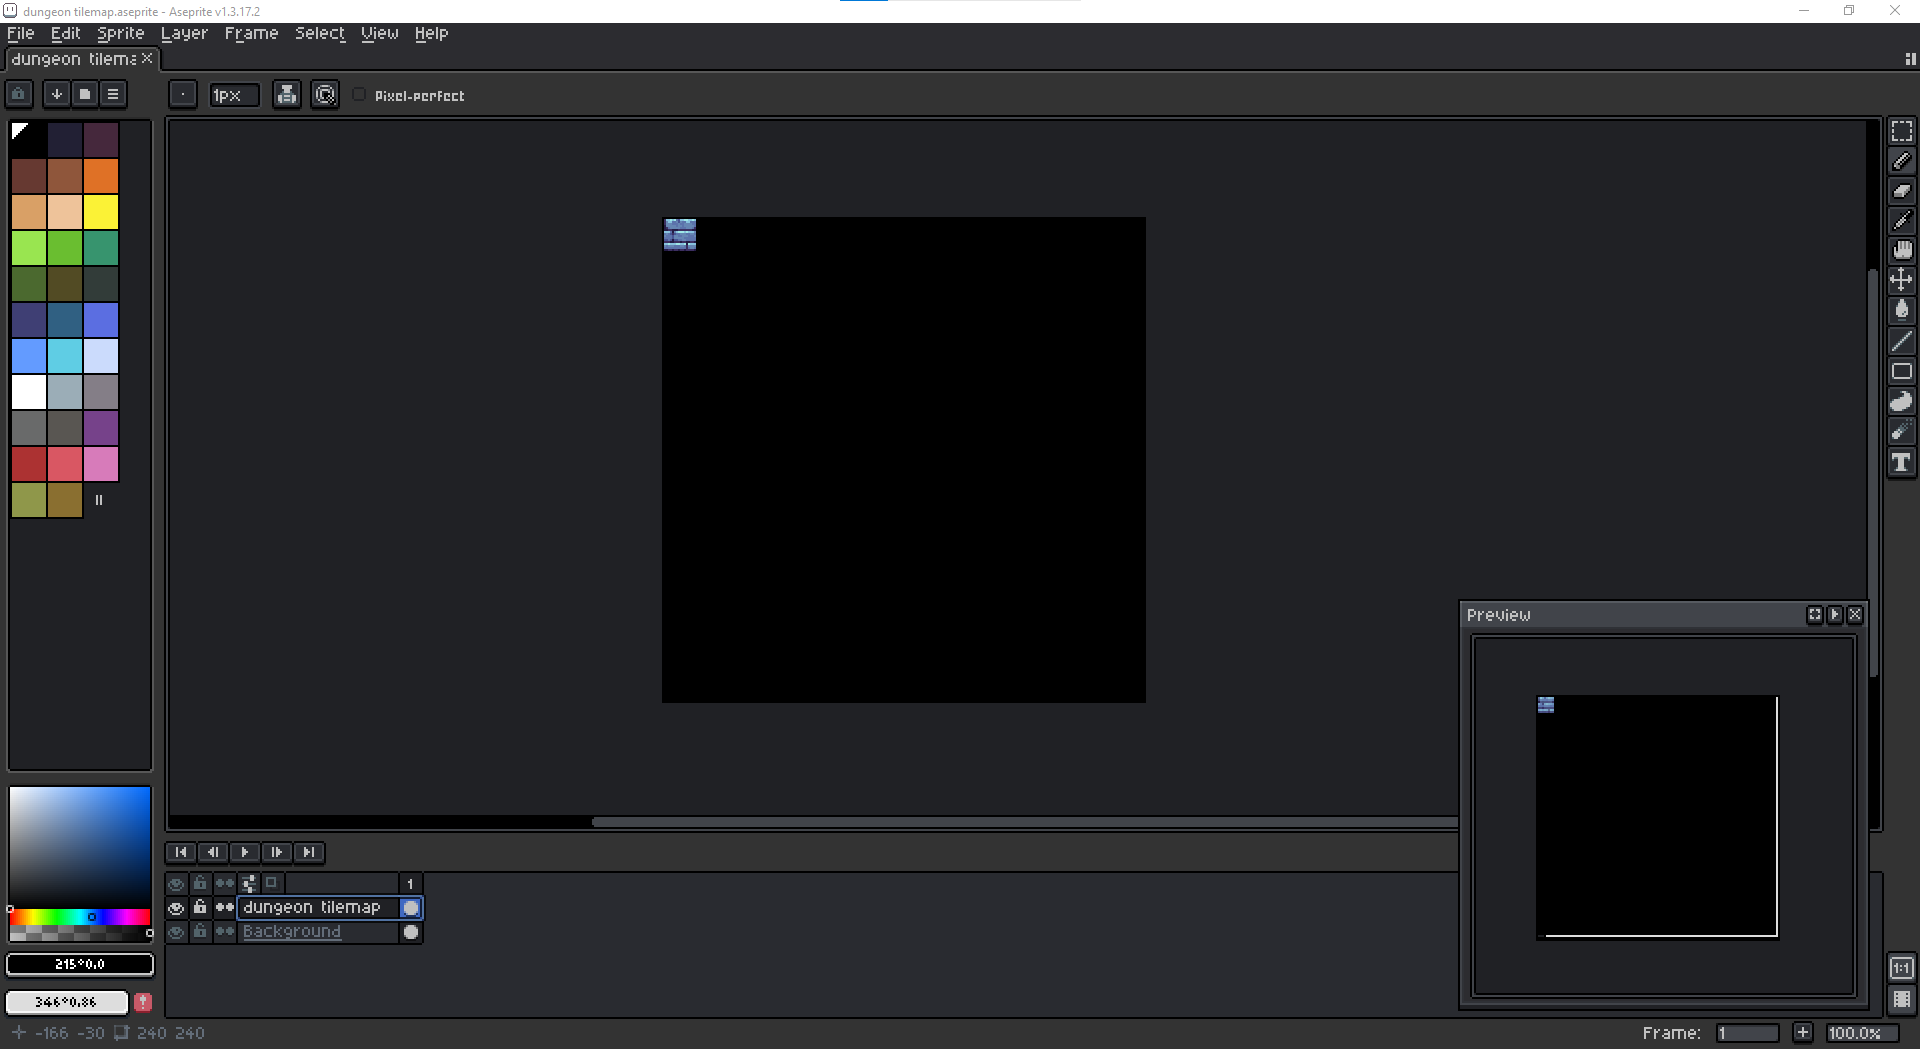
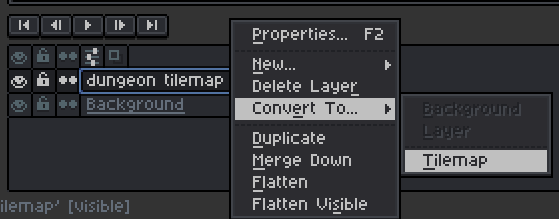
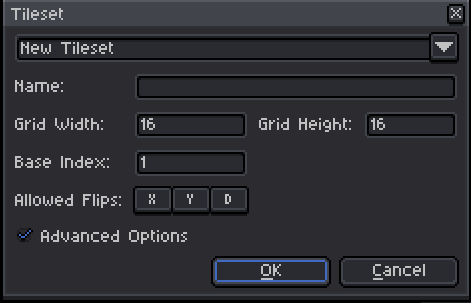
After you have done that, you officially have a tilemap layer!
Tilemap Panel and Buttons
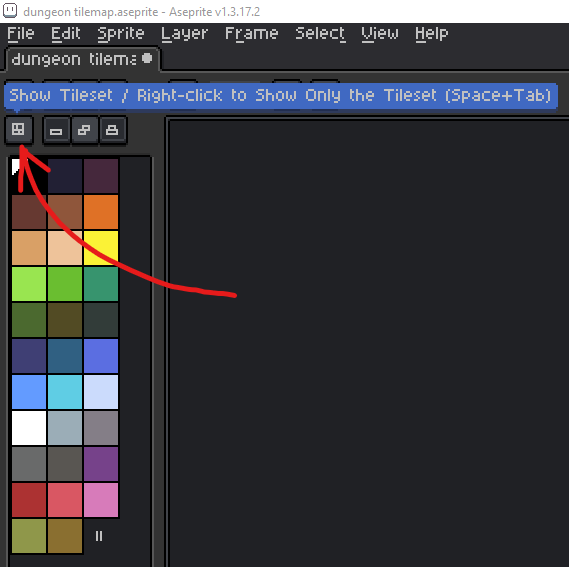
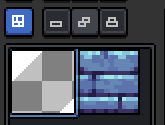
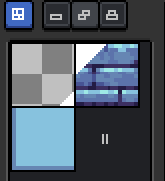
With the tilemap layer selected, there is this button on the far left of the Tilemap Panel. If you click it, it will show the tiles available to place around on that specific layer. Currently we just have a single brick tile so that's all that will appear, as well as a "checkerboard" tile which actually just represents no tile or tile eraser. In other words it's "null".
Placing Tiles Around
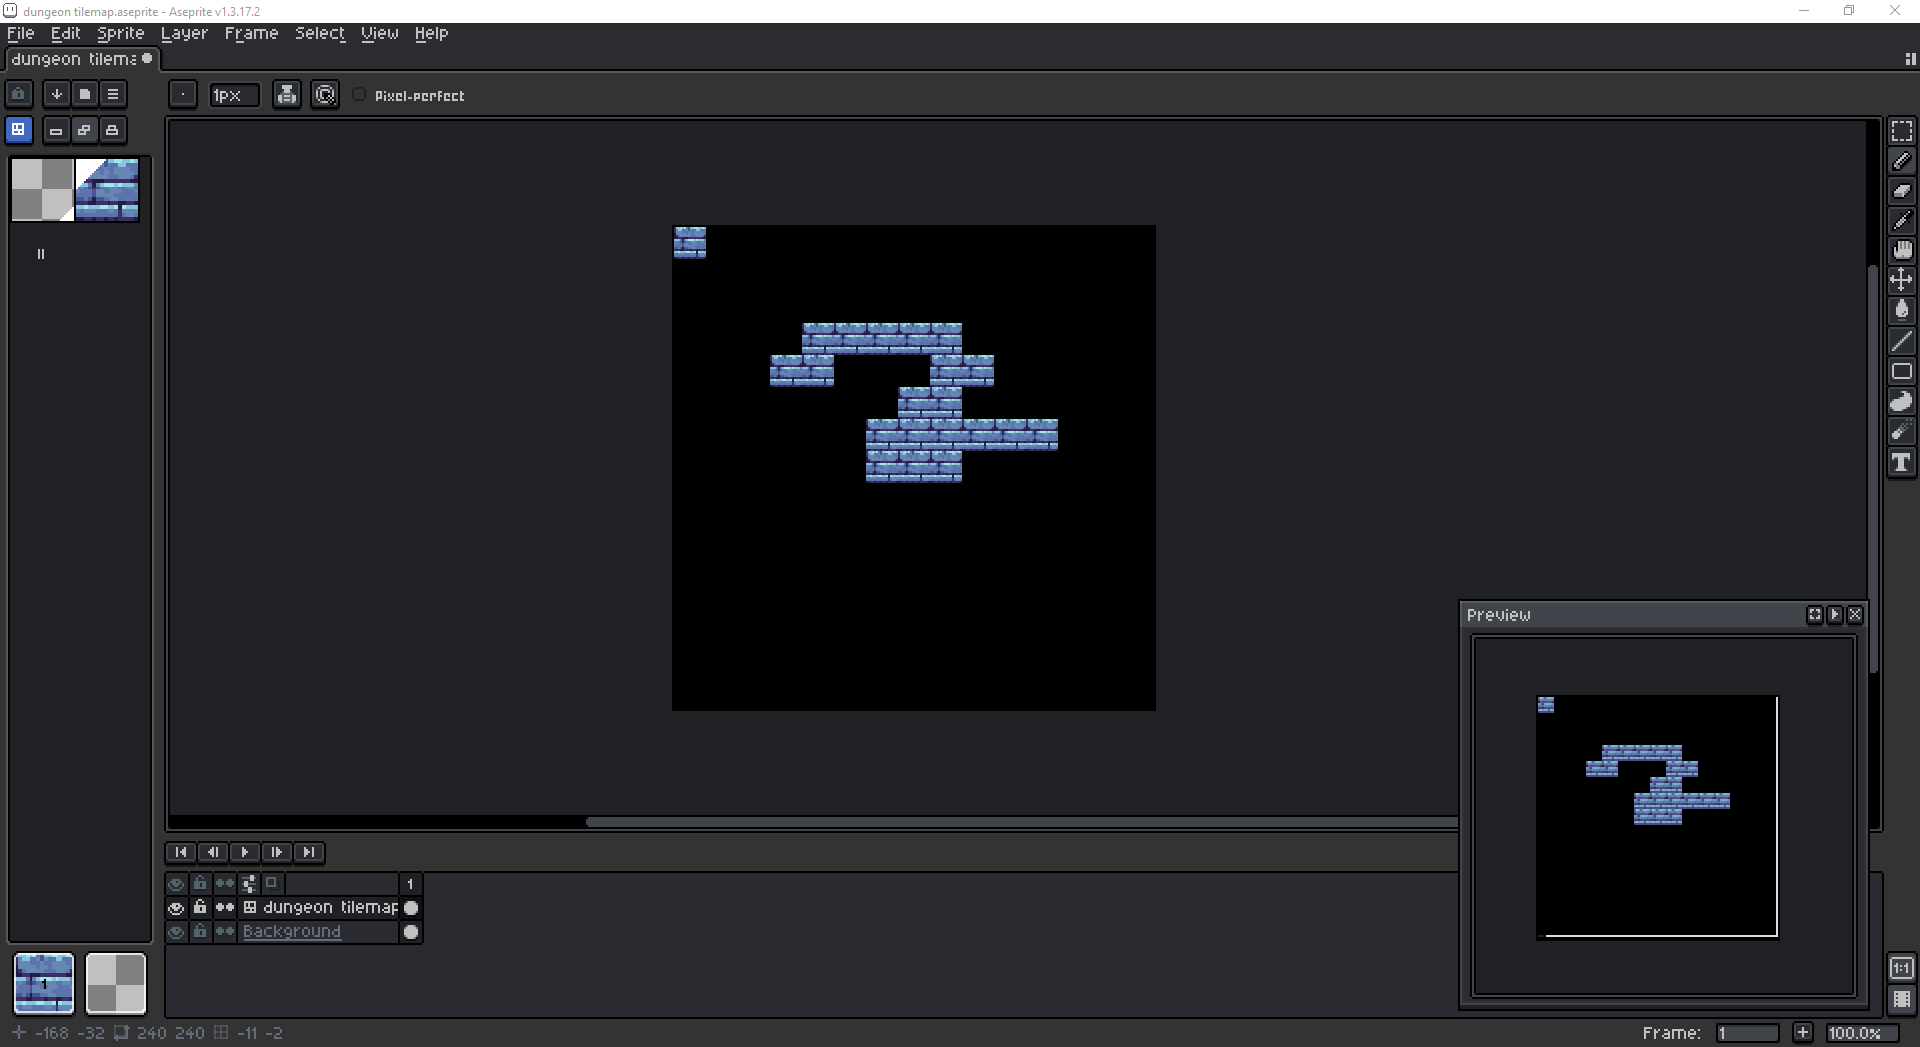
While this button is active, you can click any tile in the panel there then place them around in the canvas with the pencil tool. Also you can use the eyedropper to set any tile that are already placed on your canvas as your active tile-brush. If you want to delete tiles, use the eraser tool.
Creating a New Tile Type
We will create a new tile variant, which is going to be a dungeon floor tile. To create a new tile type, you must select this button:

While this button is active, you can draw into any tile grid square to create a new tile. You should turn your grid visibility on for this. Here I just reuse existing colors from the bricks to create a simple floor tile.
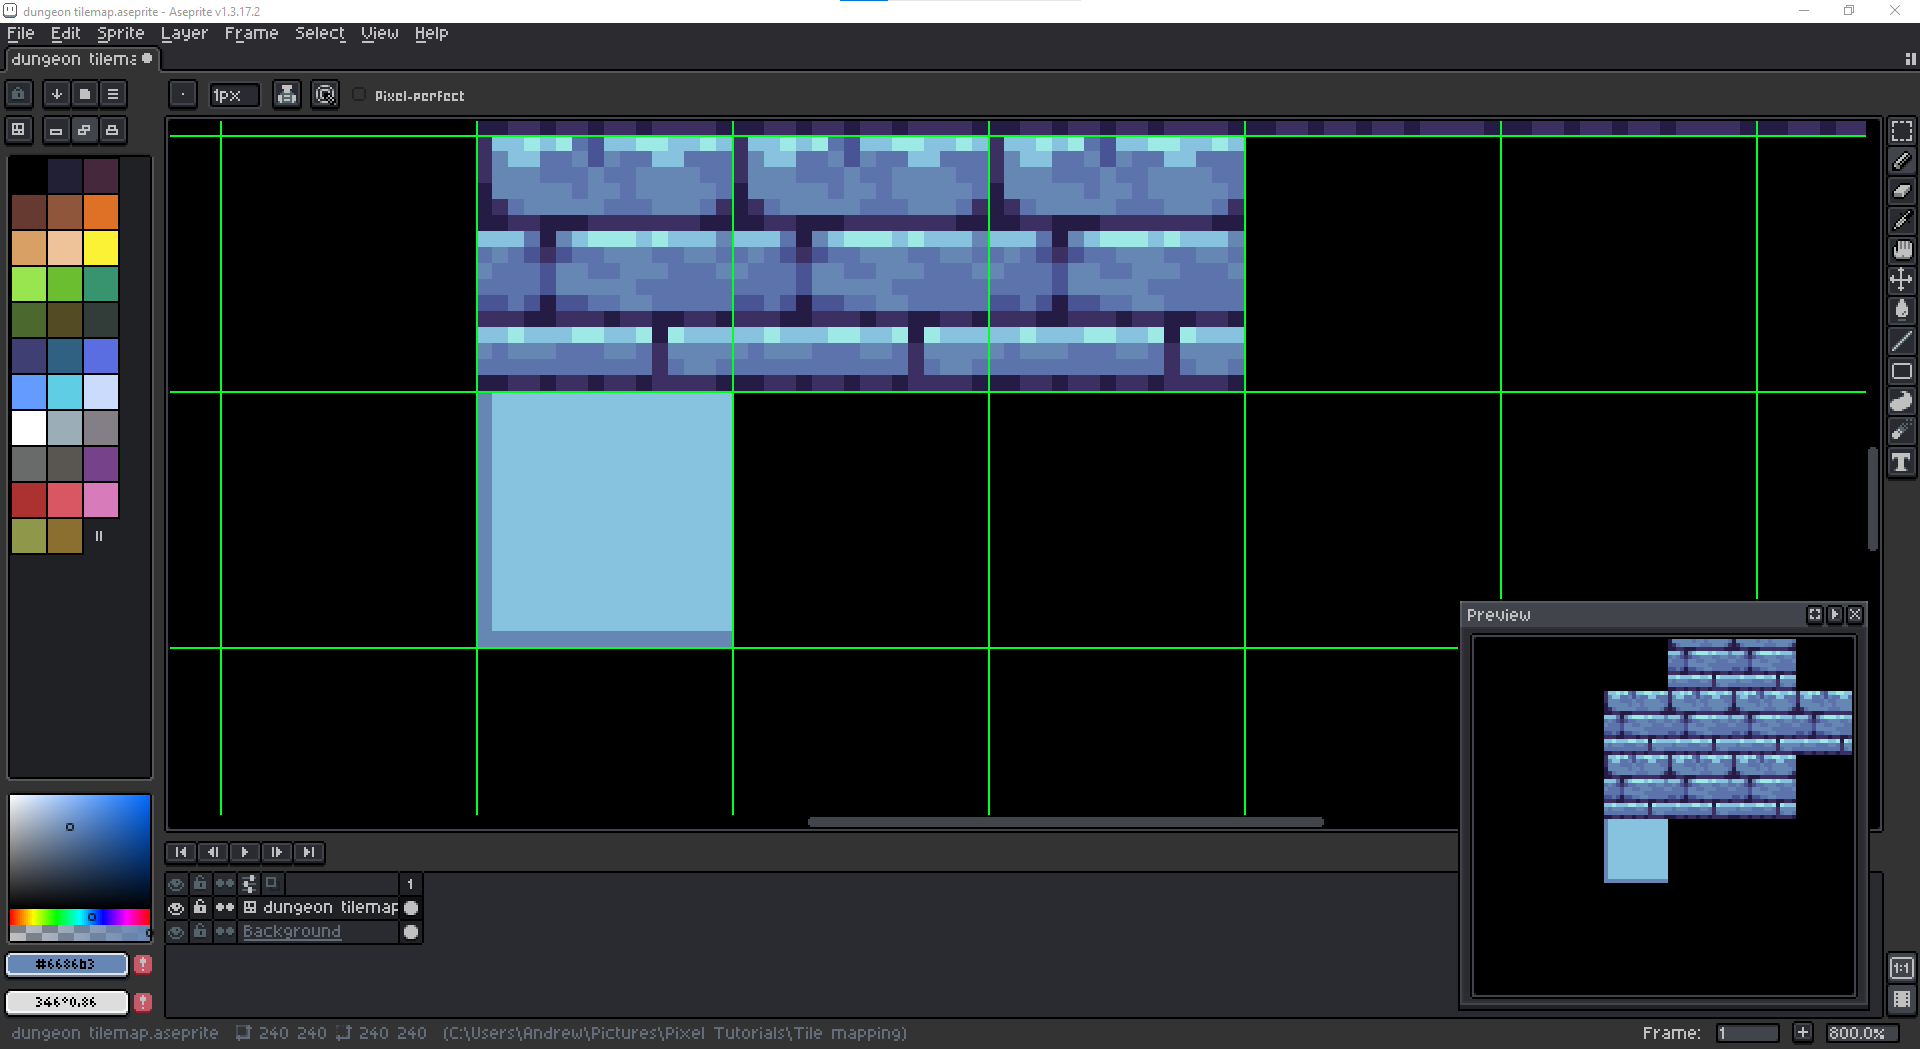
Now that we have a new floor tile, if we click the tileset button again it will be present.
Modifying Existing Tiles
If you only want to edit the appearance of existing tiles without creating new tiles, select this button:

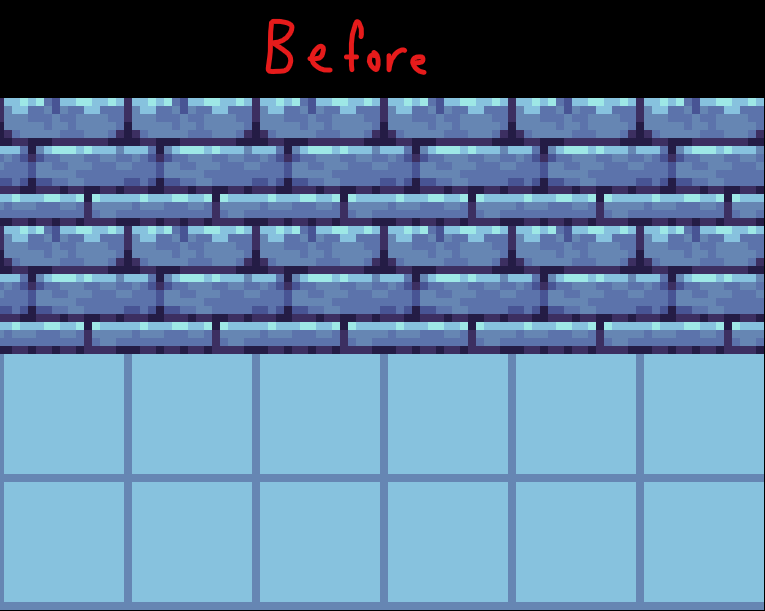
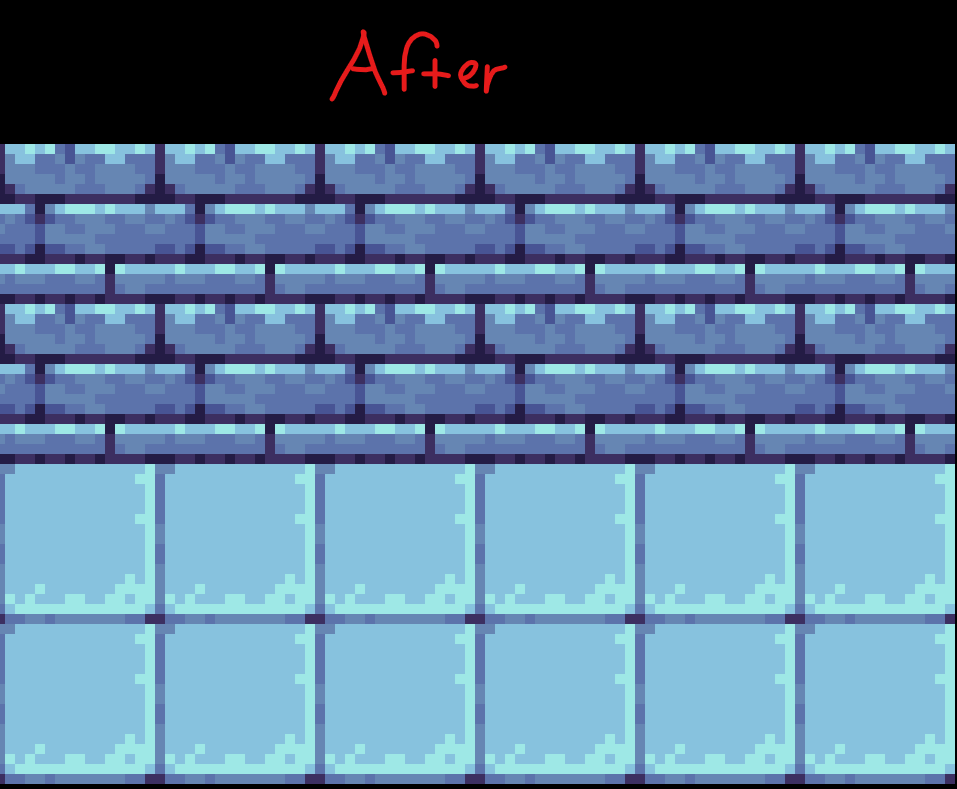
Similar to the previous tutorial, while this button is active and you edit any pixels on a single tile, all of the matching tiles will simultaneously get the updates as well.
Creating a Door Tile
Let's have fun with the Symmetry Options to create an arched dungeon doorway before we close this tutorial. In "View", there are symmetry options which you can turn on or off. Turn it on.
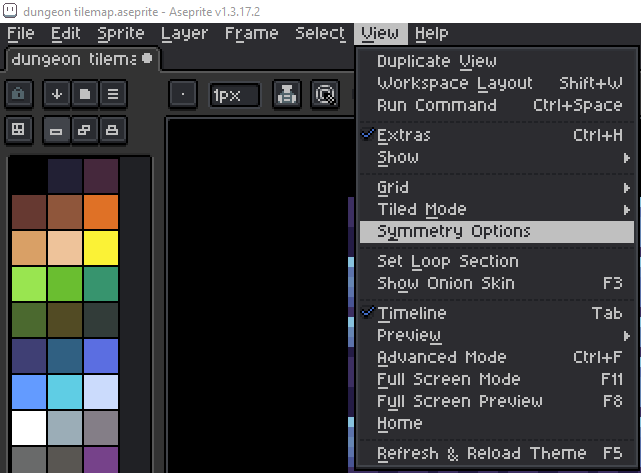
You will see the options presented near the top of Aseprite. Turn on Horizontal Symmetry since the left and right halves of the door will be identical but mirrored.

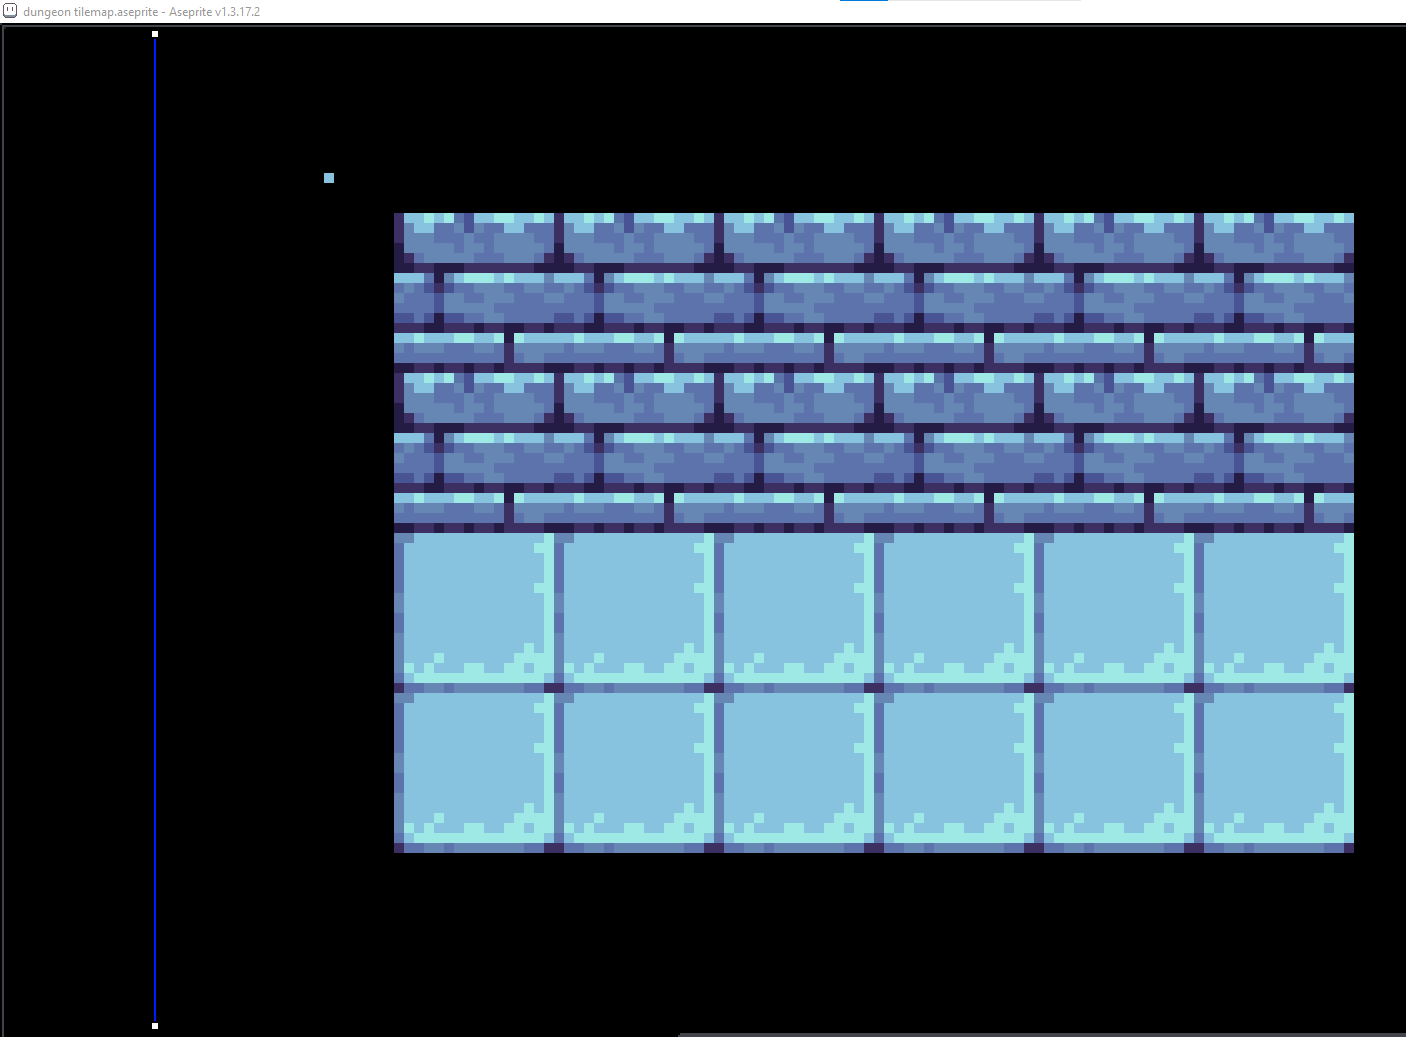
Then you will see a symmetry line... that matches your grid color, which can be slightly inconvenient at times because it can be hard to distinguish it against your grid lines, but it's not a big deal because you can either turn off the grid or find the 2 white endpoints. Mine is the blue line at the far left.
Placing the Symmetry Line
We will actually need the grid however, because we need to know the tile space we have to draw this door. We need to drag the symmetry line to the center of a brick wall tile. You can drag the endpoints. Because I've notice the blue grid/symmetry lines clashing with my tileset colors, I've decided to set the lines to green (grid color option found in Edit - Preferences - Grid)
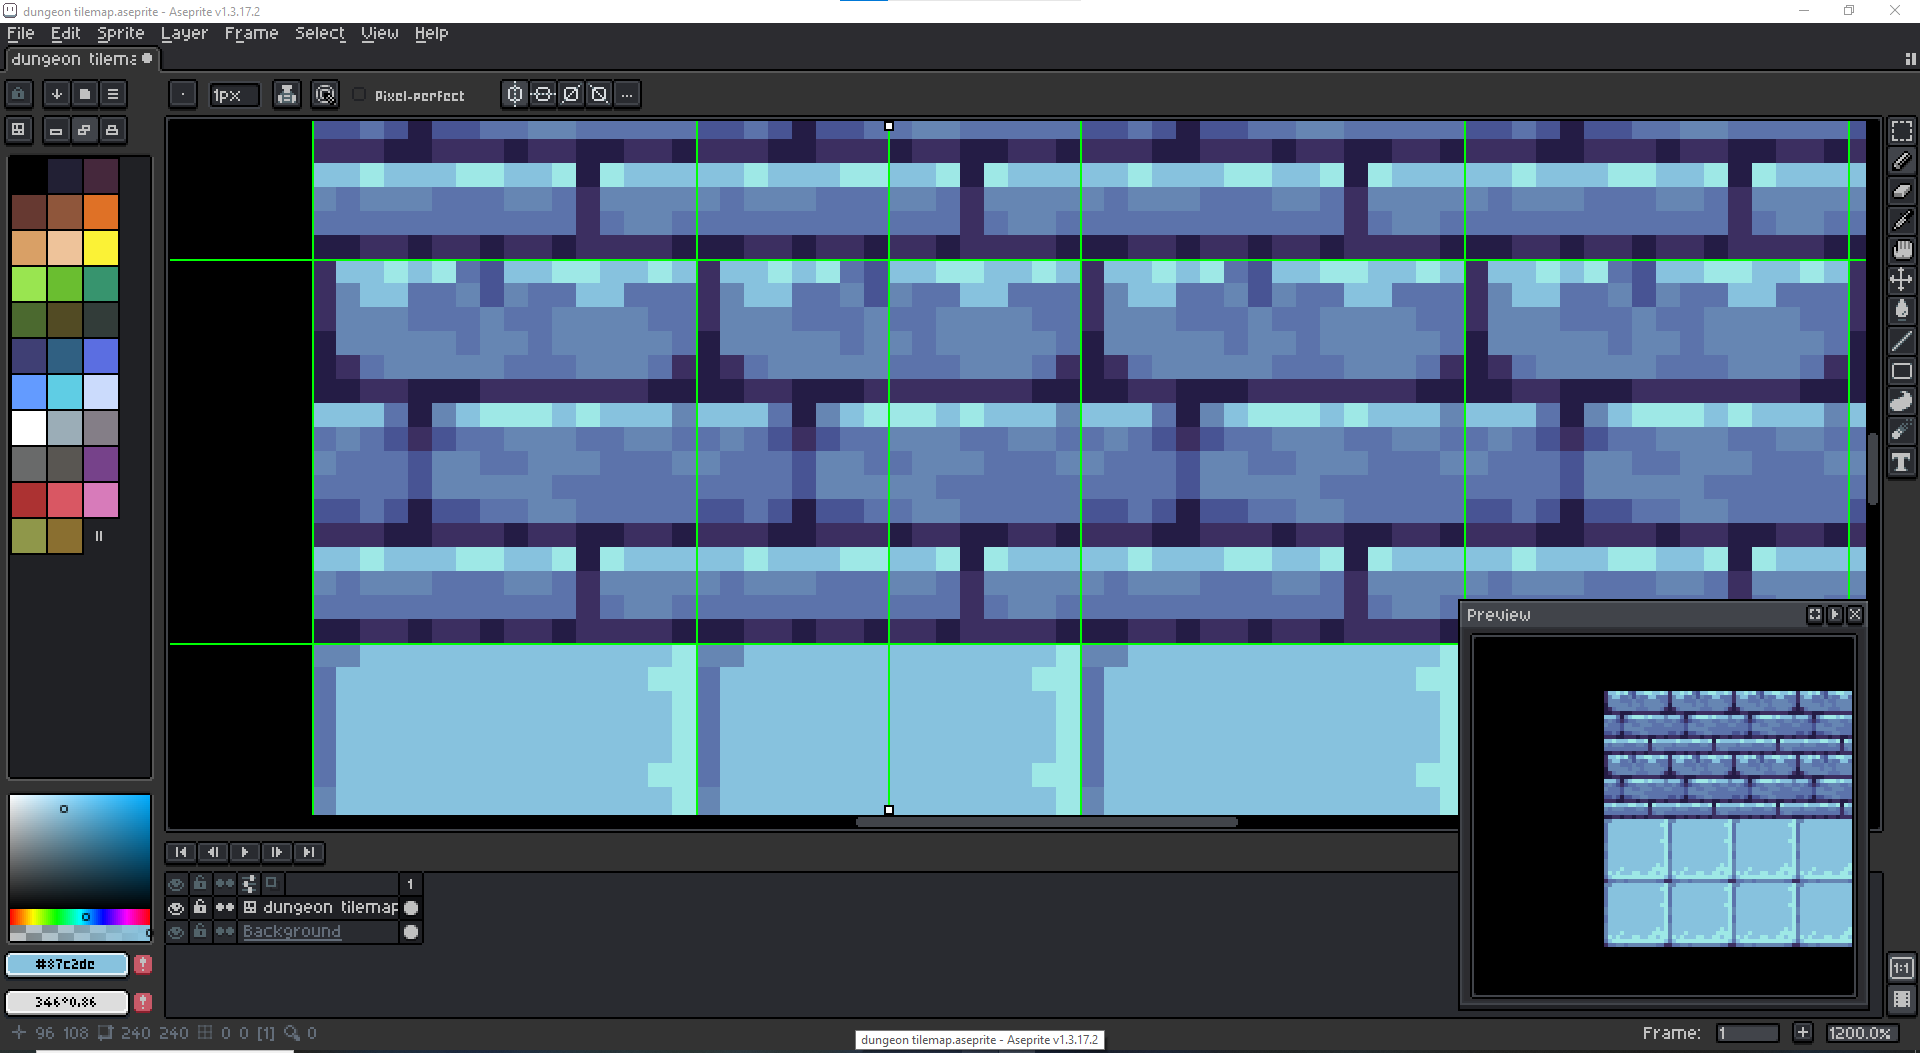
Since we are creating a new tile, select that "new tile" button I mentioned earlier. We will edit a single brick tile, but we don't want all of them to change. Since the door will mostly be a large dark hole, if you need to change your brush size quickly, you can set a shortcut for it. It is listed as a mouse wheel shortcut. I set 'Alt + Mouse Wheel' for this.
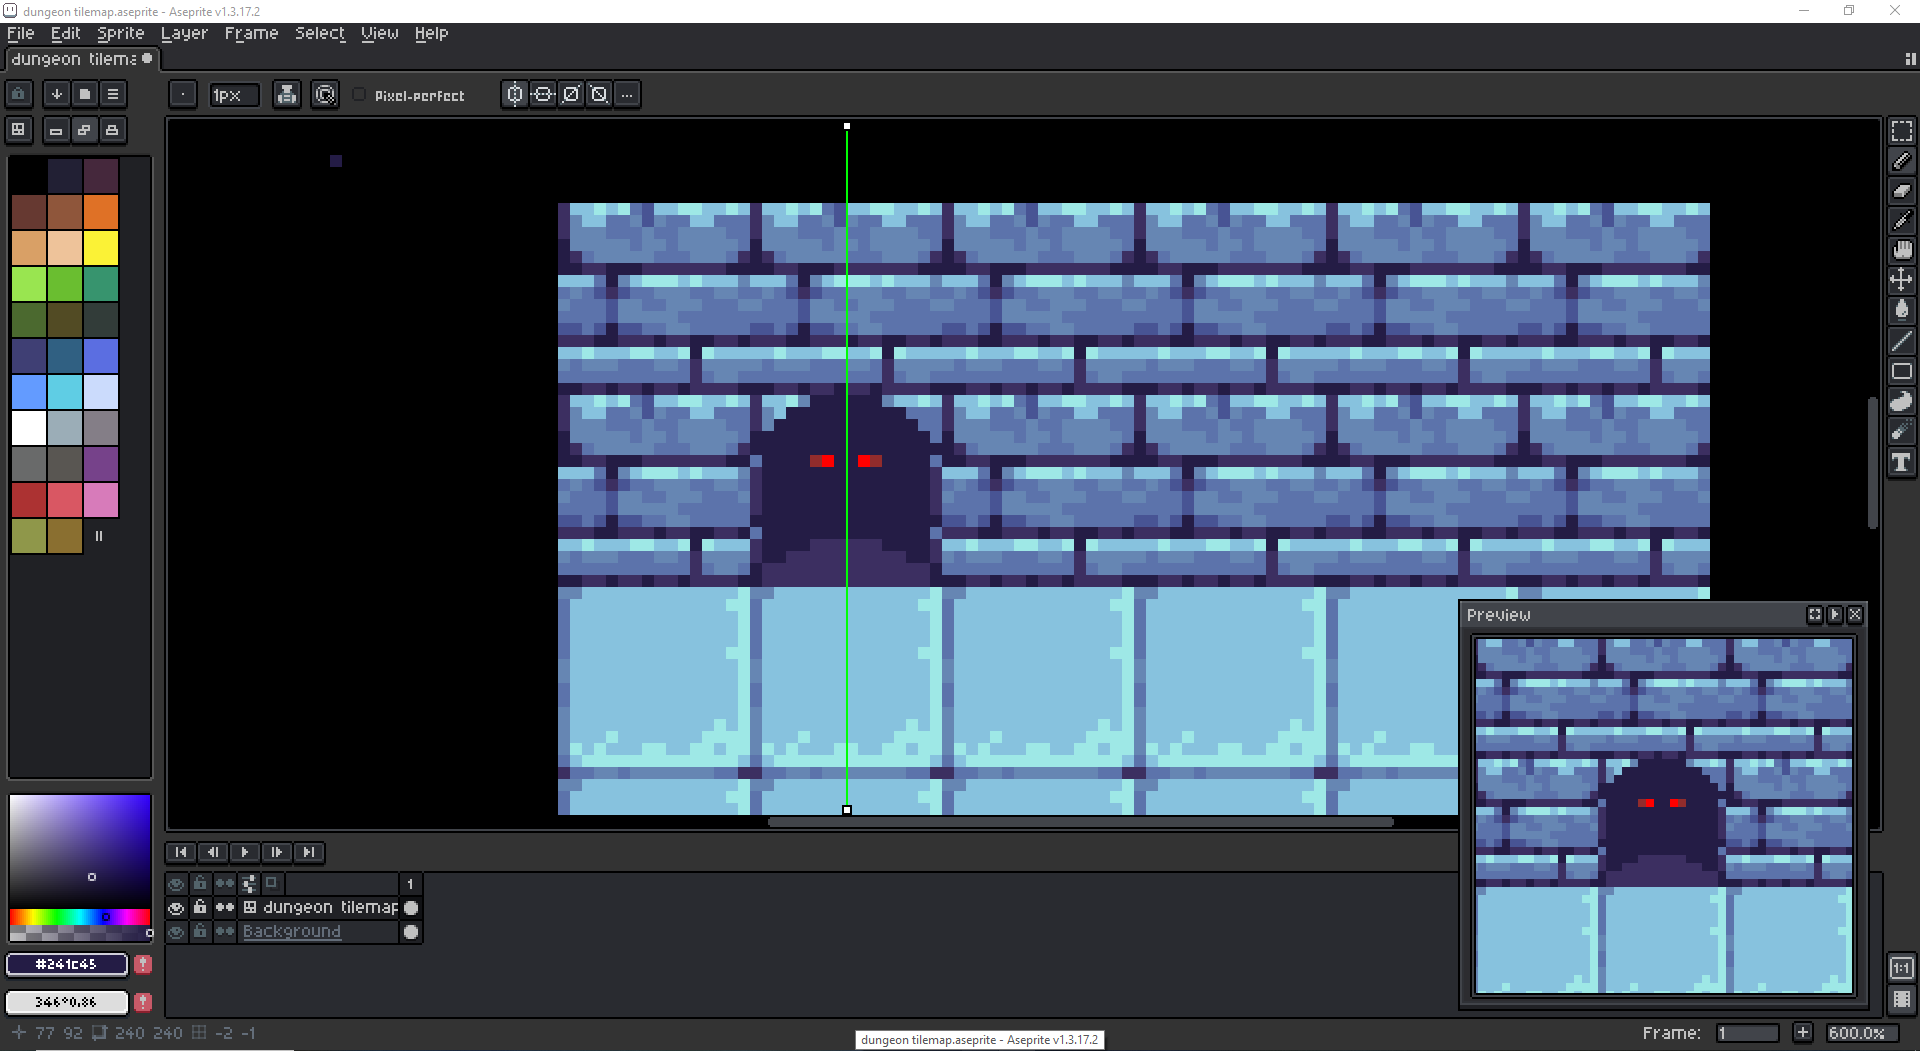
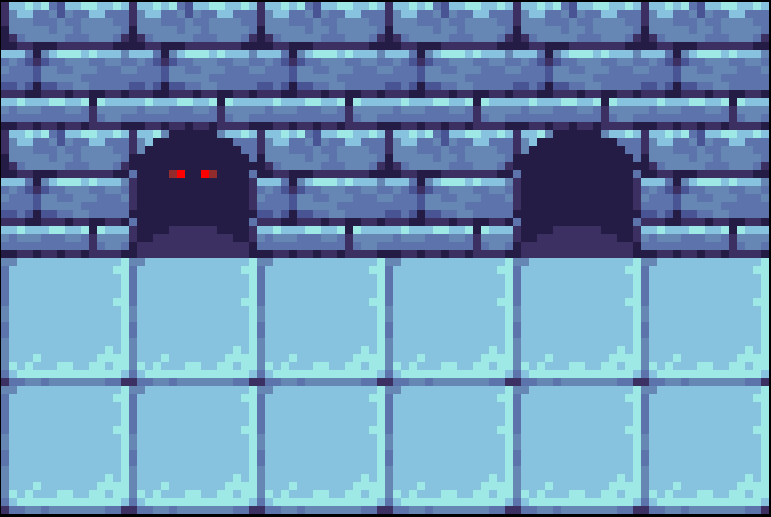
Here I draw an arched door with red monster eyes (just spontaneously), it's also got a bit of a bizarre mixed perspective on the side bricks, but I'd say it passes the sprite test.
Final Result
I've decided to go with an extra door tile; one with eyes and one without just for some variation.
In the next tutorial we'll probably go over animated tiles such as torches, flames, spikes, maybe even these monster eyes blinking in the door way. We can also have rivers of water, lava, or acid inside the dungeon, so be excited about that hopefully in the near future.
Anyway thanks for reading!