
Hello. In this post, I’ll walk you through the process of loading and rendering a 3D model.
In the previous post, we covered how to load and display a texture on the screen. This time, we move one step further and load an actual 3D model and display it.
The 3D Model
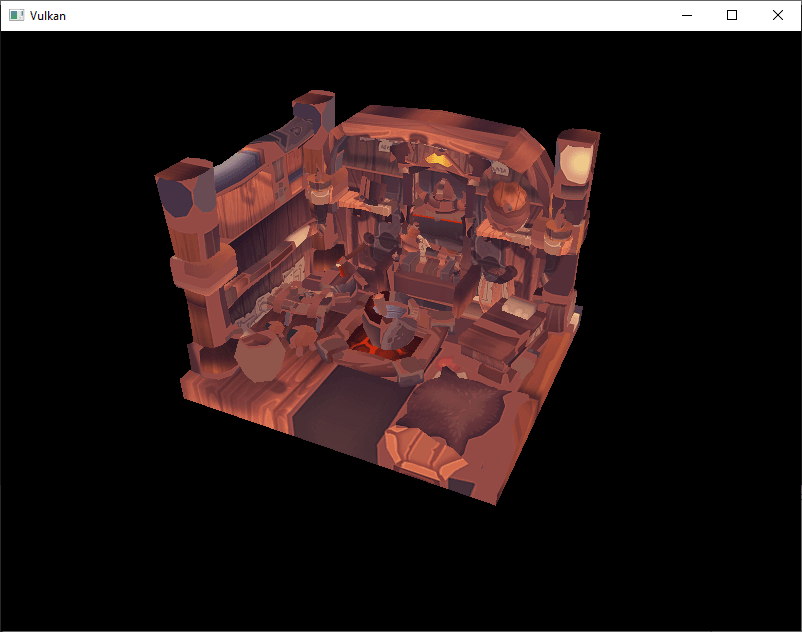
For this example, I used the Viking Room model introduced in the Vulkan Tutorial.
The model is released under a Creative Commons license, making it perfect for learning and testing purposes.
Vulkan Tutorial – Loading models
Loading Models in Rust
The Vulkan tutorial is written in C++, but since our project is based on Rust, we used a tool suited for Rust.
We chose the tobj crate — a lightweight library that parses OBJ files.
tobj – Rust crate
Fortunately, we had already implemented most of the vertex-related functionality, so all we had to do was plug the parsed data from tobj directly into our vertex buffer. This made the implementation relatively straightforward.
Results
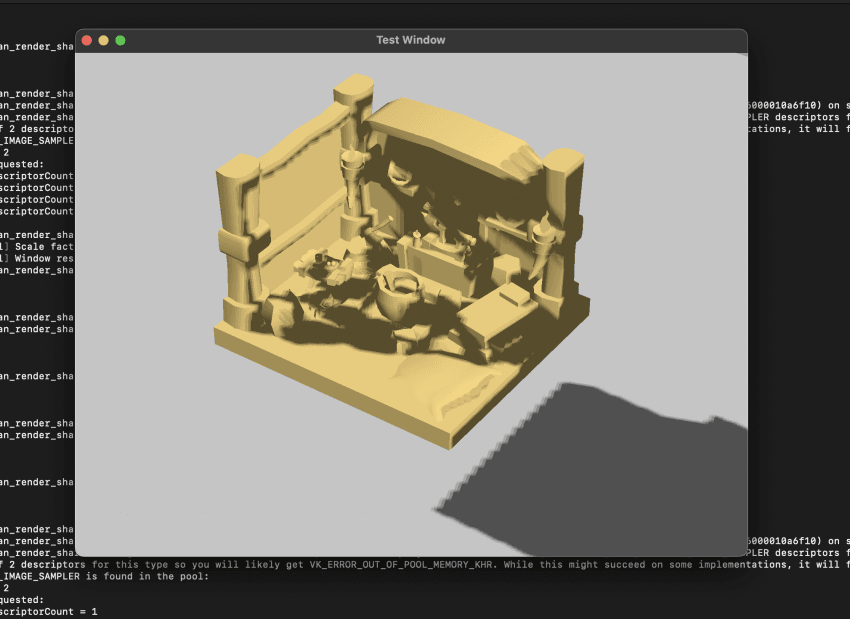
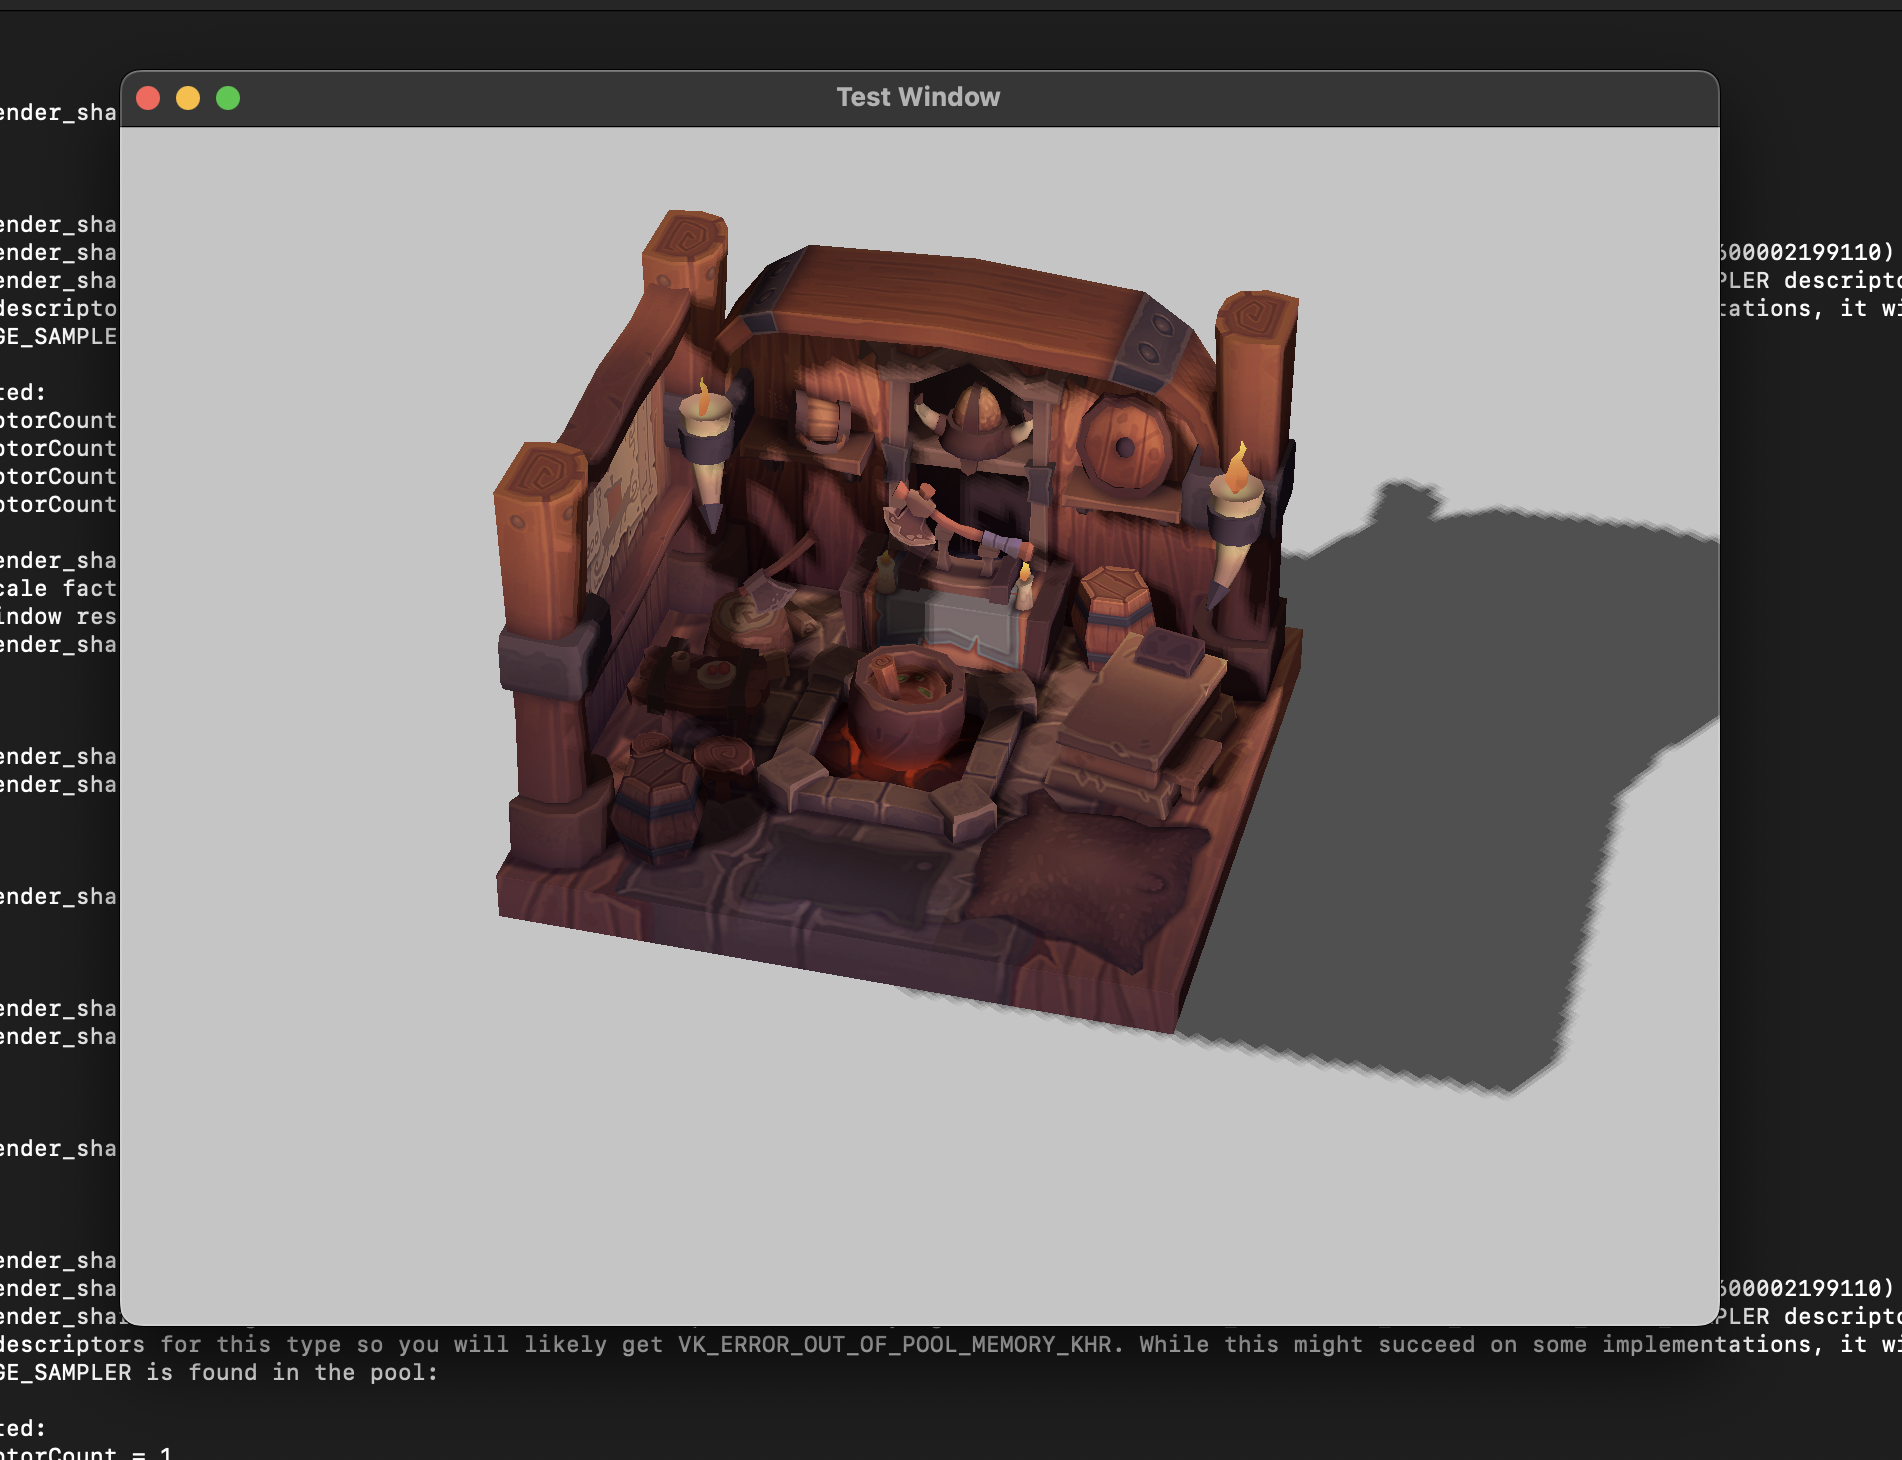
After implementing and running the code, the model rendered correctly in terms of geometry.
At first, the texture wasn’t applied, so it appeared as a plain mesh.
Once we updated the shaders and the main render pass to include a texture sampler, the model rendered properly with textures applied.
See the test video below:
Testing on the Web
We also deployed the build so it can be tested directly in a browser.
You can try the implementations for WebGPU, WGPU, and WebGL using the following links.
Source Code
The implementations for each platform are available on GitHub:
Coming Up Next
In the next post, I plan to cover 3D animation.
If there’s any specific topic related to engine development that you’d like to see covered, feel free to leave a comment or suggestion.