
Hello, this is Eren.
In the previous post, I shared how I implemented the window system and event loop for the Eren engine.
Today, I’ll walk through how GPU devices are handled across different rendering backends.
The Eren Engine is planned to support the following four rendering backends:
-
Vulkan
-
WGPU
-
WebGPU
-
WebGL
Each backend handles device initialization a little differently, so I’ll explain them one by one.
✅ Handling Devices in Vulkan
Vulkan is notorious for being complex—and this reputation is well deserved. The initial setup for rendering is lengthy and verbose, especially when working with GPU devices.
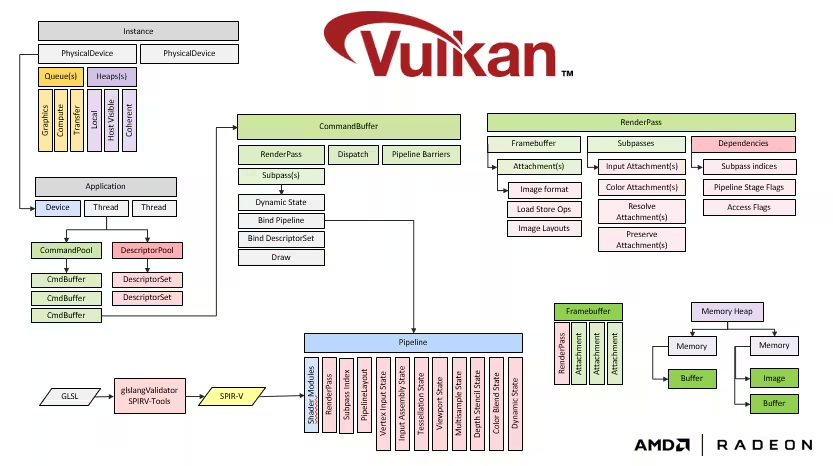
One key concept in Vulkan is the separation between:
-
Physical Device – the actual GPU hardware
-
Logical Device – an abstraction used to send commands to the physical GPU
Basic device initialization steps in Vulkan:
-
Create a Vulkan instance
-
Create a surface (the output region, usually a window)
-
Enumerate physical devices
-
Select the most suitable physical device
-
Create a logical device from the selected physical device
I’ve structured this setup with clear abstractions so that the API remains user-friendly and maintainable.
Relevant implementation:
-
Physical Device Code:
physical_device.rs -
Logical Device Code:
device.rs -
Sample Initialization:
test_device.rs
Now that a logical device is created, we can send commands and upload data to the GPU.
✅ Handling Devices in WGPU
WGPU is a Rust-native implementation of the WebGPU API. It simplifies many of the complexities seen in Vulkan.
Notably, WGPU hides all low-level physical device handling, instead providing an abstraction called an adapter.
WGPU device initialization steps:
-
Create a WGPU instance
-
Create a surface
-
Request an adapter (WGPU automatically selects an appropriate GPU)
-
Create a logical device from the adapter
You can check out the WGPU implementation here:
Thanks to its simplicity, WGPU lets you get up and running much faster than Vulkan.
✅ Handling Devices in WebGPU
WebGPU is very similar to WGPU in concept, but implemented in TypeScript for the web.
The only noticeable difference is that you don’t need to create a surface—the <canvas> element in HTML serves that role directly.
Code for the WebGPU implementation is available here:
With WebGPU, you can structure logical device creation almost identically to WGPU.
✅ Handling Devices in WebGL
WebGL is a bit of an outlier—it has no explicit device concept.
There’s no separate initialization process. You simply grab a rendering context (webgl or webgl2) from an HTML <canvas> element and start drawing immediately.
Because of this, there’s no device initialization code at all for WebGL.
Wrapping Up
With GPU device handling now implemented for all four backends, the engine’s foundation is growing steadily.
In the next post, I’ll move on to setting up the render pass and walk through the first actual drawing operation on the screen.
Thanks for reading, and happy coding to all!