Hey guys, I'm back. If you're new, I suggest you check out the first tutorial of my Zelda mockup series. This time we're going to draw some dirt. It's good to search up some reference from 2D Zeldas, especially Zelda: The Minish Cap in my opinion.
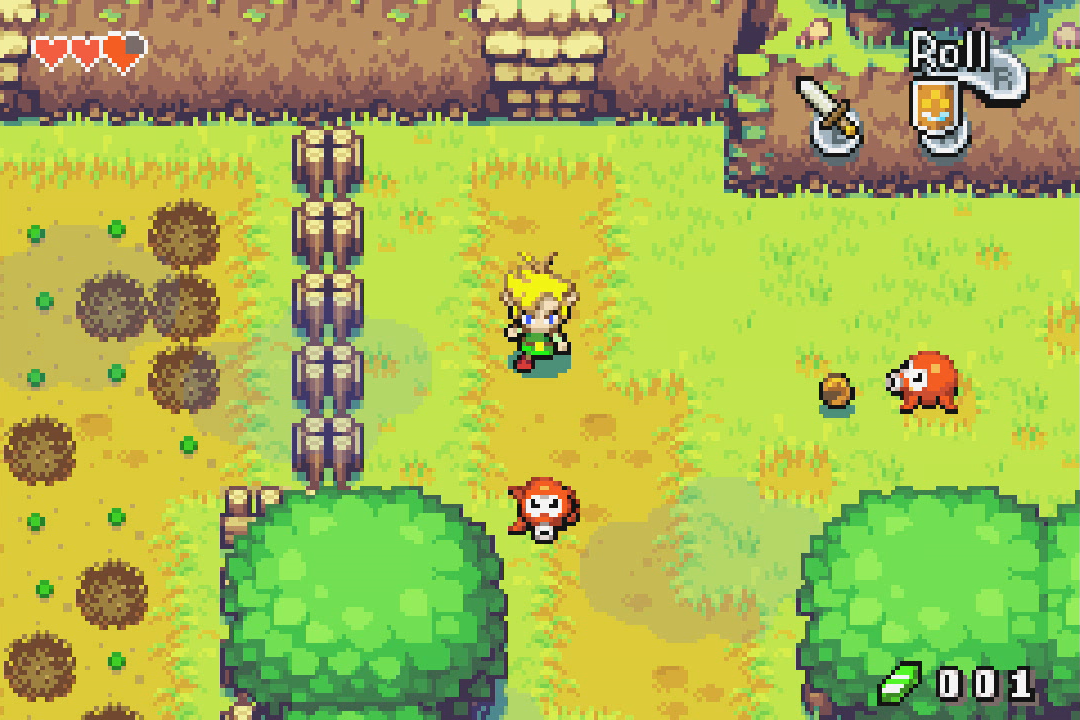
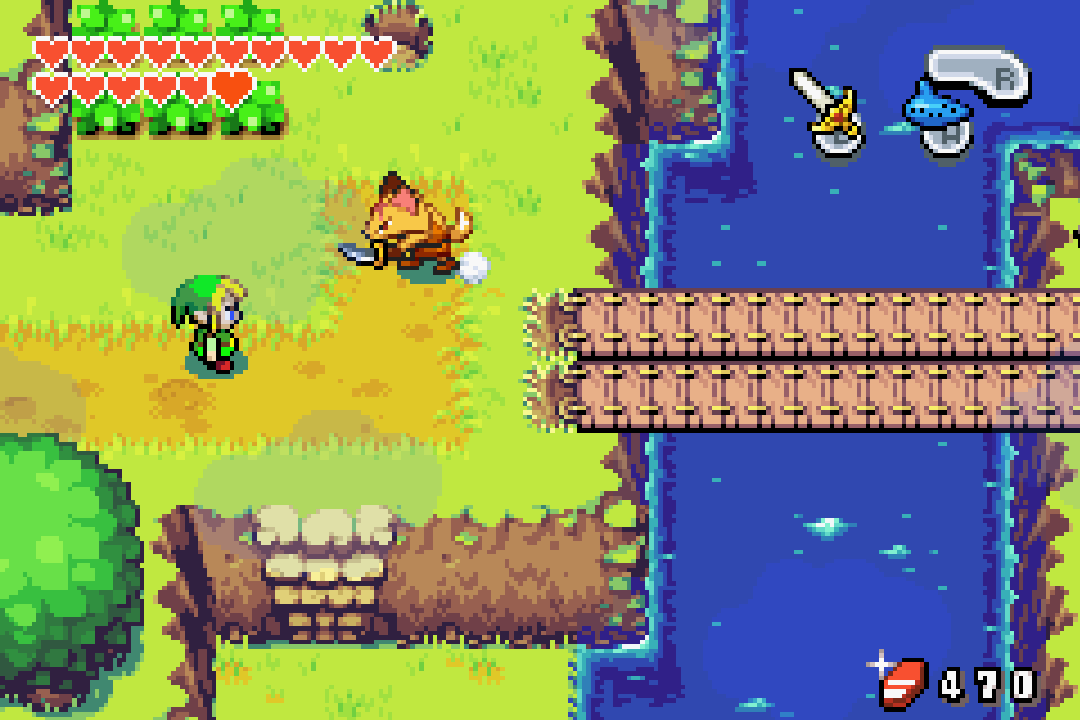
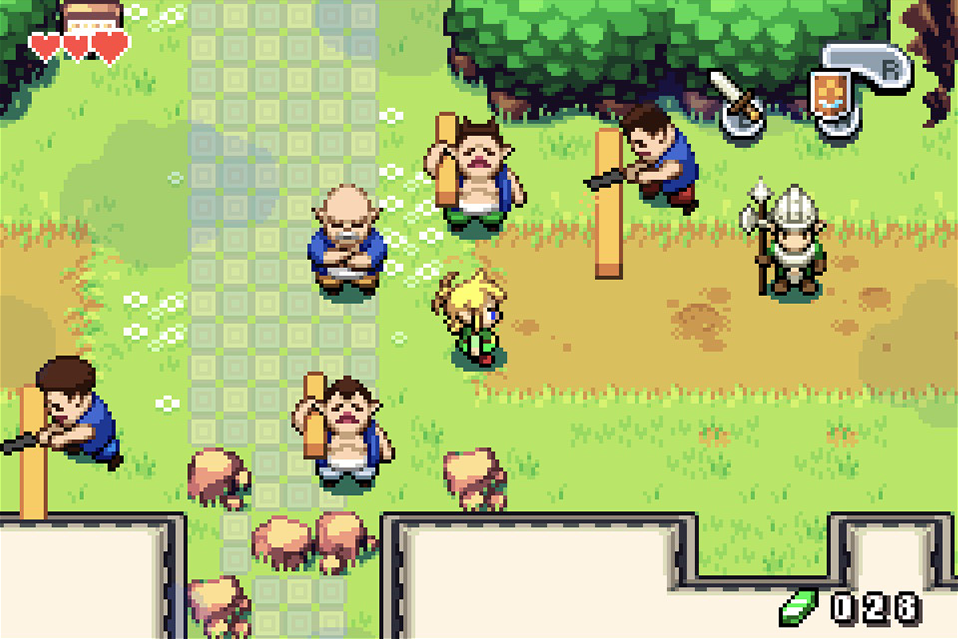
If you look at the dirt alone, it's actually pretty simple to draw. It might look difficult at first because the game's art looks so good as a whole, but the dirt itself isn't all that difficult. Just to experiment for now, we can try drawing a single tile of dirt (more or less) just to understand the texture of it without worrying about the technical details so much yet. We can start with our grassy scene from the previous tutorials as a template. then draw a single brown square in the center. It's a good idea to try to pick a bright color for this because we will have dirt walls in the future.

Now we need this tile to transition seamlessly into the grass so we will add some blades of grass. I see a lot of 2D Zelda games make them bright so we'll try that.

We will need our shadows in the dirt caused by the grass. For the shadow colors though, I'd actually shift them towards red but make them dark enough so it's hard to tell. So the shadows aren't actually brown here, but secretly red. Just so you know a little bit about hue shifting.
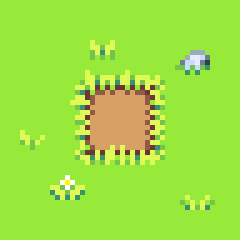
So that decent for a single tile of dirt, but for a game developer, it's pretty useless when it comes to tile mapping. A game developer can't use this to create dynamic patches or roads of dirt with only this one tile. It would be a lot more useful to have a dirt tile, then having bordering tiles separate
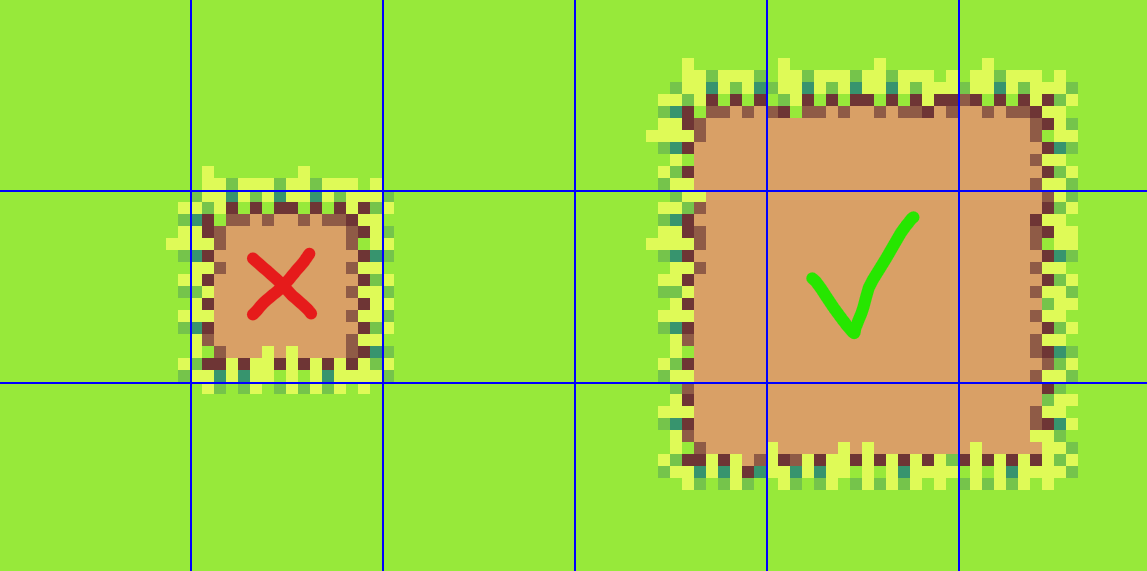
because now we can resize it.

There's still a problem though. If we do the inverse having grass in the center and dirt bordering it, we'd be lacking corner tiles,
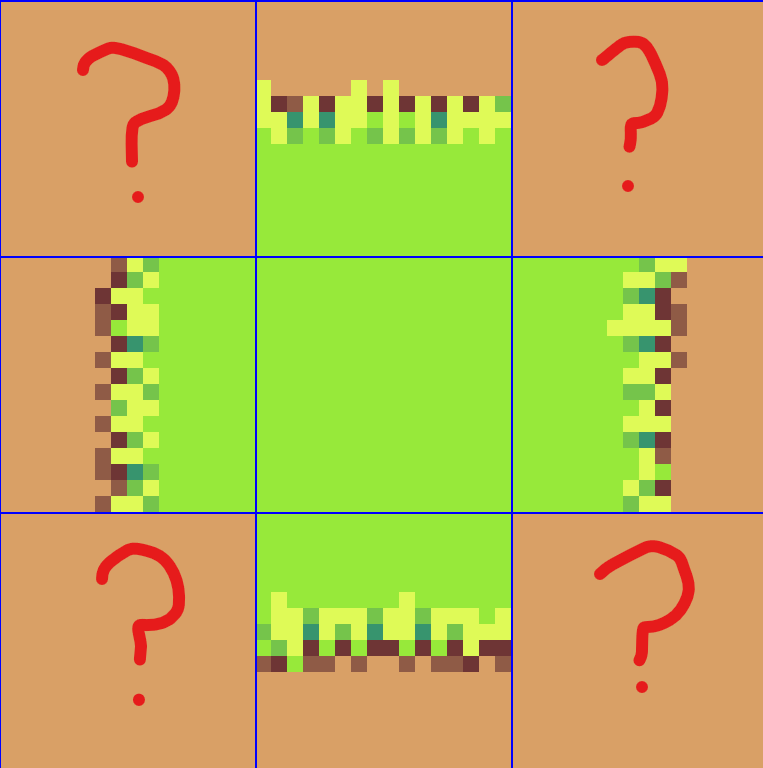
so just make sure you fill those in.
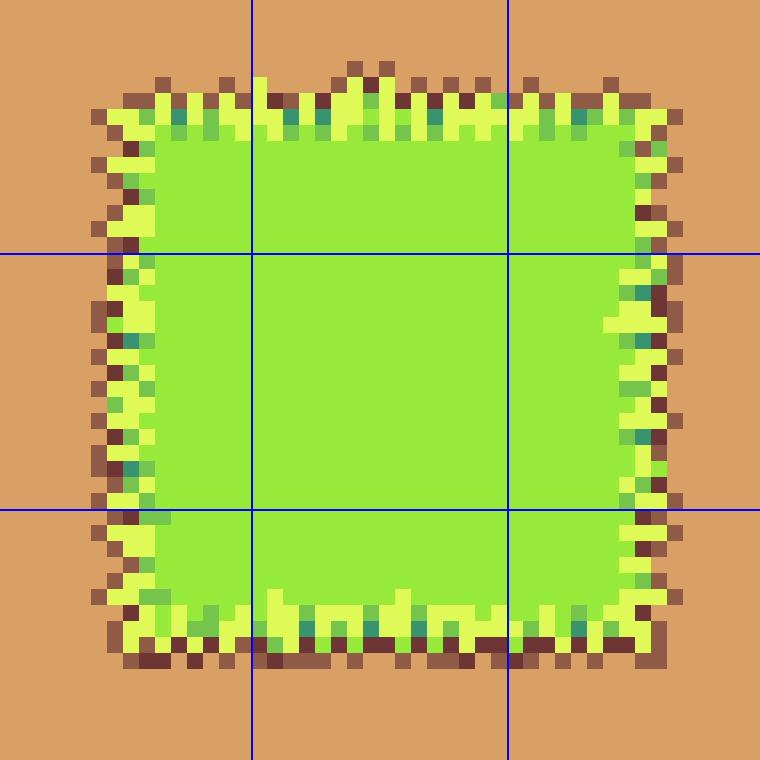
This is all we really need
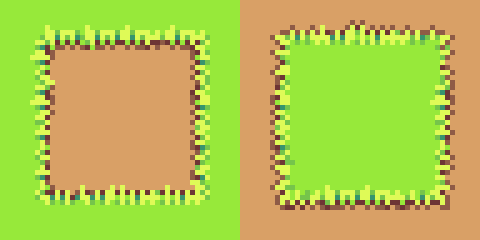
and there's so much we can do with it.

It could help to have a variation of the dirt tile with some roughness though, but try to avoid making them look obviously like squares.

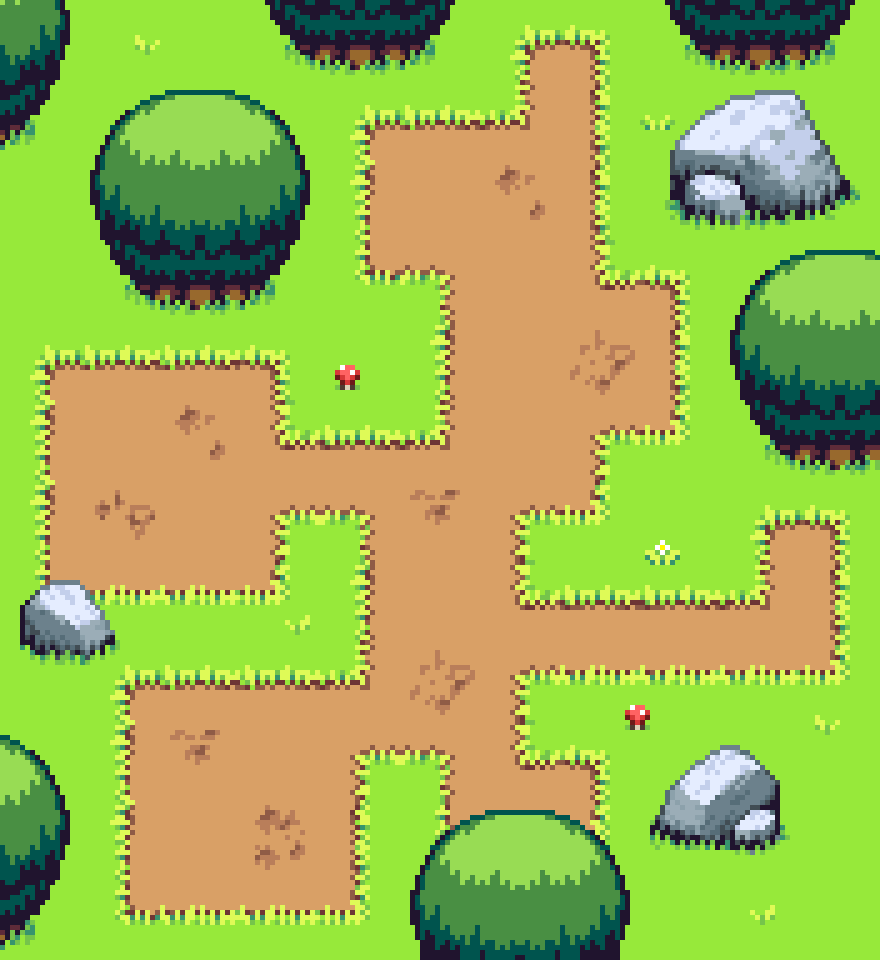
Are here is the dirt with other assets in the scene!
So thanks for reading. I'm looking forward to writing the next tutorial.

