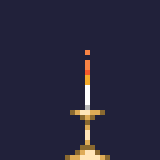
Hey guys, let's try something different this time. I usually draw monsters but it would be very cool to start designing some environmental stuff too. I've been playing a lot of Bloodborne and I just really love the setting of Yharnam. It's this huge ominous neo-gothic looking city and it has a bunch of spooky candles so I thought it would be fun to start drawing some. The things we'll be drawing are candlesticks, candelabras, and chandeliers. So feel free to search those up, just make sure you type "gothic" in front to get better results. A candlestick is a utensil for holding a candle, a candelabra is a utensil for holding many candles (or lamps), a chandelier is basically a candelabra hanging from a ceiling. With that being said, it would probably be easiest to start with a candlestick. We just need to design a utensil that holds a candle but I will elaborate on a few things. They are typically made of some kind of metal. I guess it makes sense so that the utensil itself isn't a flammable hazard. I assume bottom is wide to create balance so it doesn't tip over and the top has a cup shape for inserting the candle. So let's try something simple. Make sure it's shiny!

That's pretty much all there is to it, but lets add details to anyway. I'll draw a larger version.
Now candelabras are where things get interesting. If you look closely at candlesticks and candelabras, they tend to have fancy curves and floral/rosette shapes and overall, most of them have this sort of upward trident silhouette to them. So we can incorportate those elements into our original candlestick and iterate from there! I think it's generally a good idea to keep the designs symmetrical on the y-axis too but feel free to prove me wrong.
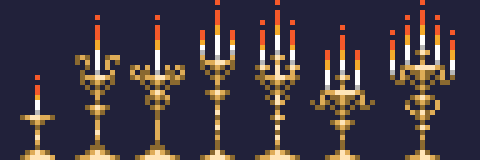
So I think that's all I'm going to explain for those, I hope the iterations give you a good amount of possible ideas, but also test out different colors and candle thickness. Now let's draw some chandeliers. We can probably take these existing designs and turn them into chandeliers. Chandeliers hang from chains on the ceiling. The candles are arranged in circular "sets". I don't know what they're actually called, but I'm calling them sets. Generally speaking, the higher sets are thinner and the lower sets are wider, but not always. The sets can be rings or several curved candle holders. Some chandeliers will have beads or jewelry dangling from them. I'll draw some chandeliers just to explain what the heck I'm talking about. First we have what I call a simple "ring" chandelier. It is a ring of candles hanging by a chain which serves as one set of candles.

Now we have another ring chandelier, but this one has two sets. The top set is thinner and the bottom one is wider.
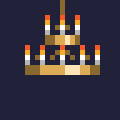
Now like I said, we don't have to keep following this pattern where the higher sets are smaller and the lower sets are wider. We can experiment.
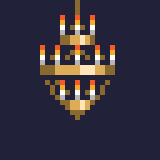
Don't forget that you can also use fancy curved candle holders as well, chandeliers aren't always only made of rings. I personally love a combination of the two.
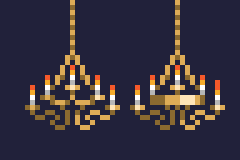
Then the last thing you'd want to do is jazz it up! Make it huge! Make it crazy! Take everything you've learned in this tutorial and just experiment with a ton of shapes! You can even add beads dangling from it.
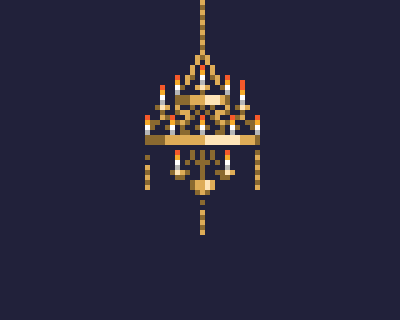
Alright, that's all I got time for. I wanted to cover gothic gas lights as well but those will have to wait for next time but I hope you enjoyed this tutorial and see you in the next one! 👍

