Indie game storeFree gamesFun gamesHorror games
Game developmentAssetsComics
SalesBundles
Jobs
Tags

PixelCNC Has Moved: deftware.org

CAM software developed by artists for artists to create unique and original works on a 3-axis CNC router or mill. · By Deftware

custom model base by relief carving?

A topic by TedHerman created Dec 07, 2022 Views: 135 Replies: 3
Viewing posts 1 to 3
(+1)

Hello, I have a question as to whether PixelCNC would be a good match for my use case.

Background - I have some miscellaneous small objects such as seashells, crystal clusters, and fossils that I'd like to mount on custom bases, preferably clear acrylic. 

Proposed Method - The idea is to use a 3d scanner that generates a model. The scanner gets a point cloud, then builds a mesh, and the software exports an STL file. Using OpenSCAD operations, the model is rotated, truncated, then a relief on a rectangular base obtains the model of the custom base. I scaled the base up in all dimensions by 5% to allow for a bit of space when the object is put onto the base. This workflow was validated (so far) on an FDM printer. The 3d printer got satisfactory results -- the bases are fine, though the material (PLA) is not what I ultimately would like to use.

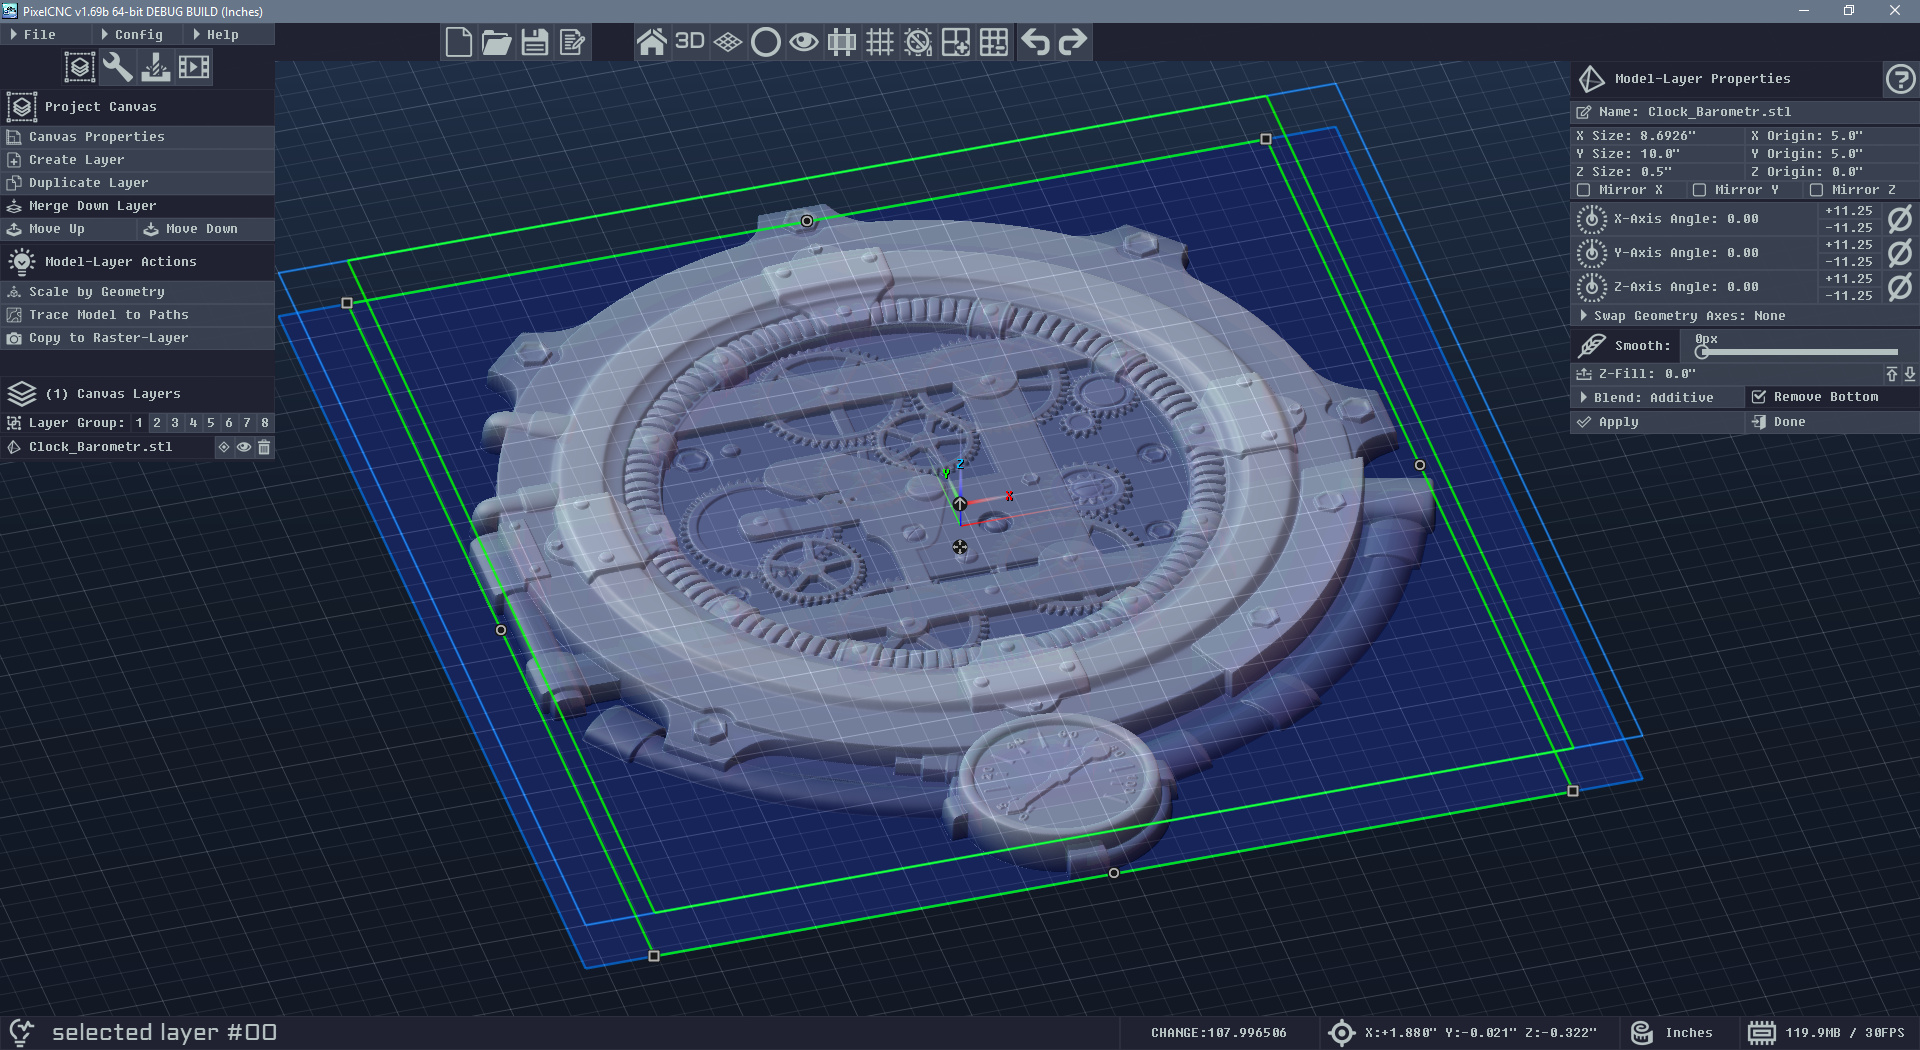
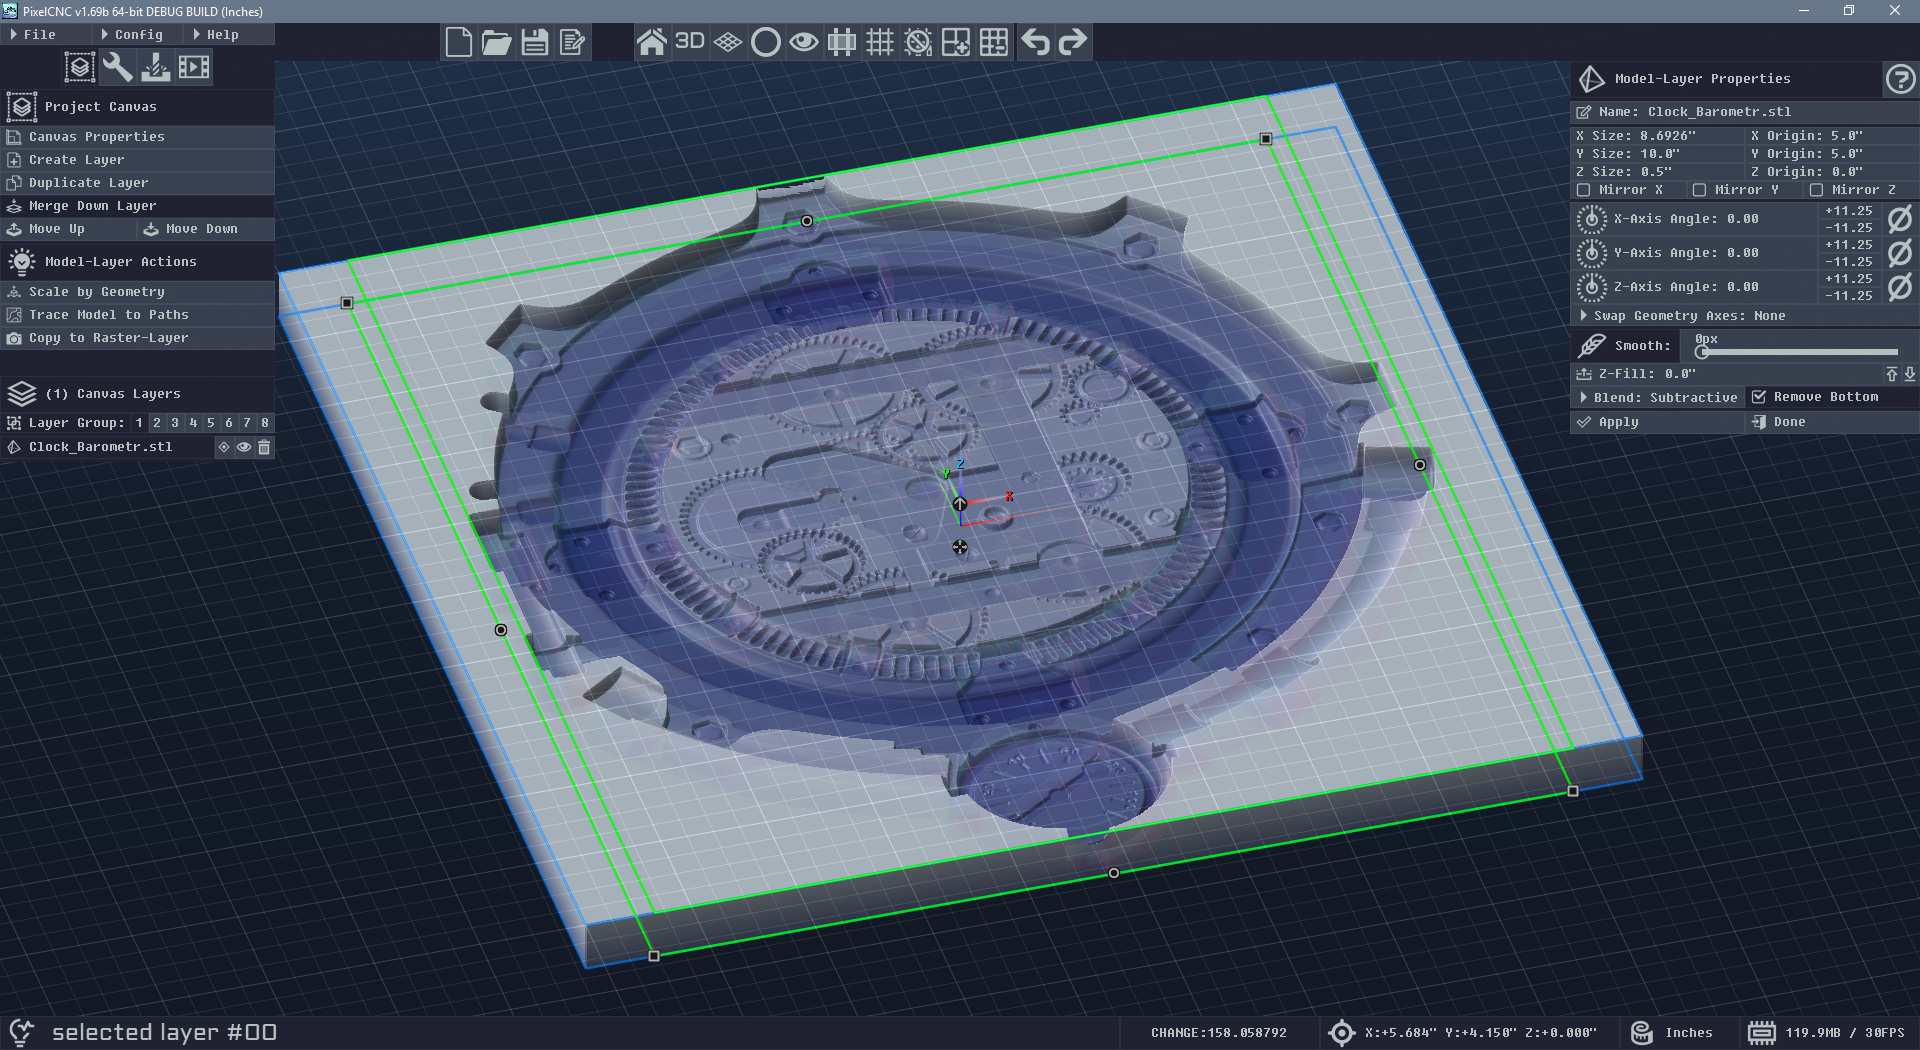
Question - Can the last step of the method, using a 3d printer, be replaced by CNC on acrylic? PixelCNC could import an STL generated from the OpenSCAD model, then carve a relief onto an acrylic block. One concern is keeping faithful to the dimensions so that the object will fit well. I saw from the first tutorial that you can size the canvas. Would it be enough to measure the acrylic block and then size the canvas to its measurement? Any advice on whether this plan is reasonable?  

Developer

Hi TedHerman,

Yes, you can load images/models/vectors and create text and have them subtractively blended with the canvas to create a negative.

For example:


Here an STL model has been loaded, then the canvas Z-Fill is changed to the top of the canvas volume, and the layer's blend mode is changed to Subtractive, which results in:


Though what would be better than simply scaling up the model(s) is converting them to a raster-layer (a heightmap) by selecting the model and clicking "Copy to Raster-Layer", then hide/delete the original model layer, select the raster-layer, and click Edit Raster on the left. This will enable the mode for editing the content of the raster-layer that was produced from the 3D model layer. In the raster-editing mode you can then use the Expand/Contract function to properly add some more room for your items. This is the way to go if any of your items' shapes are not particularly round as it will account for all surfaces in all directions, instead of outward. i.e. if you had a ring and scaled up a negative of it the ring would not fit due to the empty inner-area also being scaled up to a larger size. Expand/Contract allows you to push the shape outward from its surface. Be sure that your project's canvas resolution is set high enough to accommodate the fine expansion you want to apply to a raster-layer - before creating the raster-layer from your loaded model.

Then you have several possible combinations of CNC operations that you could use to carve out the acrylic, depending on your machine, what cutters you have available, etc. A 2.5D trochoidal milling operation, with an acceptable Leave Stock value, would be great to rough out the negative. Then you could come back in with a 3D Contouring operation to finish it (Parallel Carving). Alternatively you could use 2.5D Offset Milling with Stepover set to zero so that it only generates surface-cuts, omitting the interior cuts that would only be cutting where trochoidal milling roughed the part out, along with a small Cut Depth for finishing - which would be best using a ballnose cutter of some kind. Or you could just cut the whole thing beginning-to-end using Parallel Carving and a ballnose cutter, possibly with a limited Cut Depth depending on your machine and available cutters, depending on how deep and steep your pockets are.

Feel free to ask further questions if you need help with anything else! Hope this helps :)

 - Charlie

(+1)

Thanks for the quick reply Charlie. I'll need to learn concepts and facilities of PixelCNC before I can comprehend all of what you suggested. A lot of reading and experimenting is ahead. I'll have to look at that and Expand/Contract to see if it will get enough precision to work out. 

Developer

Just keep in mind that all editing functions are limited to the resolution that you set for your project's canvas, in pixels/inch, or pixels/mm - depending on whether you're working with inches or millimeters for your projects. You can set what measure units to create projects with via the Config menu, under CNC/CAM Settings.

Increasing the canvas resolution will allow for finer details to be represented and toolpathed, but it will make everything slower - so you only want to use the absolute lowest possible resolution without sacrificing the level of detail or level of precision your project needs. A larger project like a sign can typically get away with a lower resolution ~100-150 pixels/inch, while a small engraving probably would need 300-400 pixels/inch.

 - Charlie