
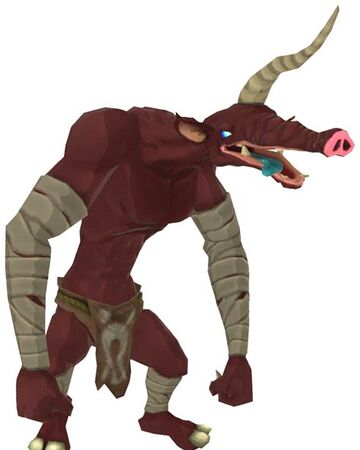
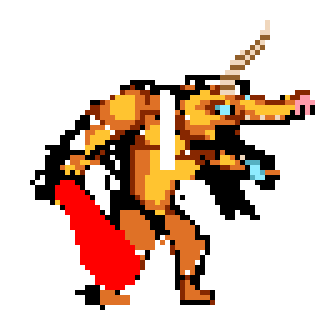
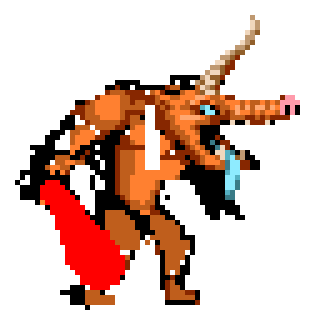
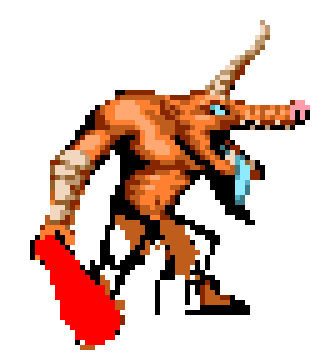
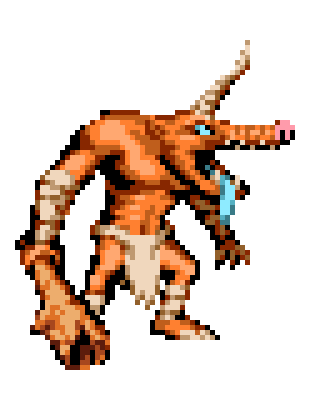
Moblins are troll-like enemies in the Zelda series. In Zelda: Breath of The Wild, the first ones you'll probably encounter are found around the forests and Hyrule ruins just beyond the isolated plateau. These one's are brown and usually wielding Boko Bats. They look like this.
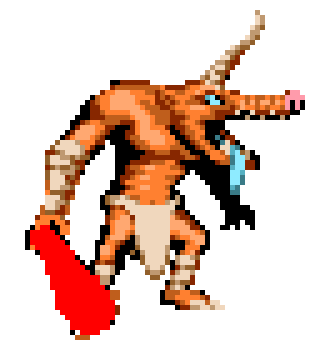
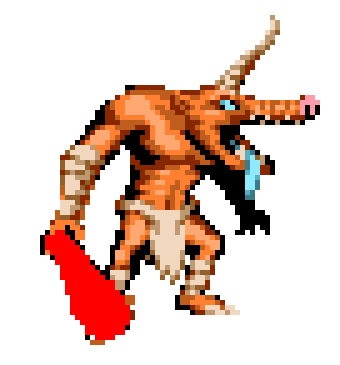
I drew one today and it turned out like this.

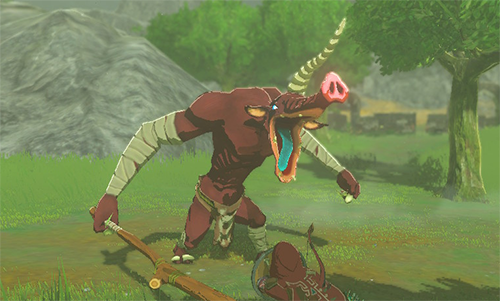
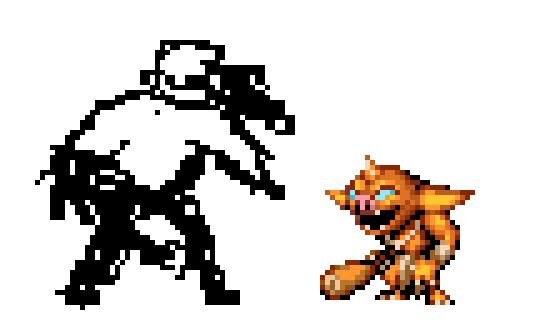
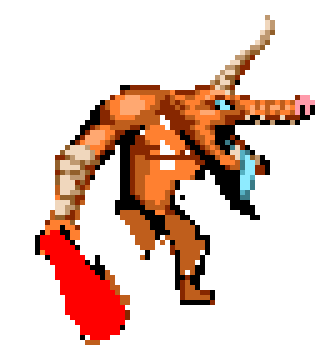
If you like what you see and want to draw like this, continue reading. I may have good pixel art knowledge to pass on. So how did I draw this? Well I looked at reference of Moblins from the game. I really loved the pose of the 3rd reference image I posted so I tried going with that. So I began a sketch.

I know it looks nothing like a Moblin yet but that's ok, it will get there eventually. If you don't know how big to draw your sprite, maybe you can compare it to another sprite. For example I made a Bokoblin tutorial (which I think understanding would help a ton for this tutorial) and I ended up drawing a bokoblin. Since I play Zelda: Breath of The Wild, I know how big Moblins are relative to Bokoblins. They are about this much bigger than bokoblins.
So since that size looks about right, it's time to move on. I started with the head.
I just wanted to get some features in like the eyes, nose, mouth, and horn since those are pretty important. Then I started the arms.
I wanted to show the different arm parts like the shoulder, bicep, and forearm. The hand isn't so important yet since I needed to add the boko bat first before I can draw his hand. Next up, the torso.
Simple, just his pectorals and his belly. We'll continue them later. I moved on to the legs.
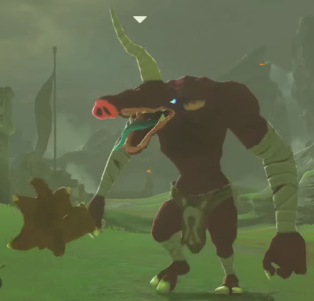
Similar to the arms, I wanted to legs to show the different joints as well. Ok what now? Well looking back at this tough menacing moblin...

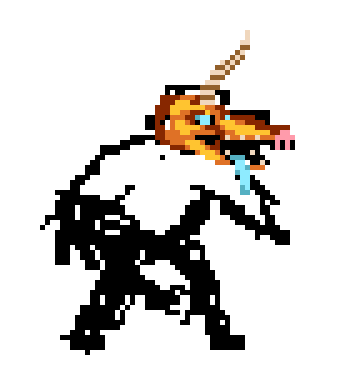
we can see that our moblin's pose is off. It doesn't emphasize how strong and tough he is so I had to get the pose to look closer to that.
This is better. I also drew in a placeholder in red for the boko bat (his weapon) because it helps with knowing how the final pose is going to look. Now that his pose looks similar to the one we want it's time to start polishing the sprite! The polishing stage always take a while but it's usually the most satisfying for me. I went back to his head and started trying to really get the details in.
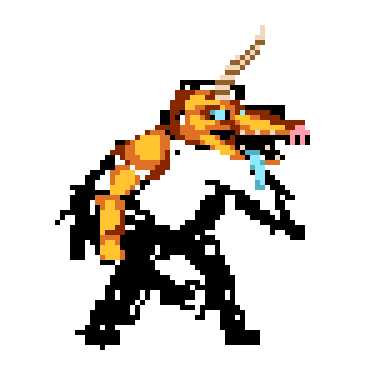
So now his head features are pretty well defined. I added his ears, teeth, and gave his nose crinkles like he has in the game. I also changed his colors to be closer to his original colors as well. This is good so I moved on to the arms a second time. He has pretty long forearms so I had to emphasize that, also he wears bands on them.
The more we refine the details like the head and the arm, the easier it becomes to imagine the final pose. This allows us to erase bad original sketch lines/pixels and draw new ones if we have to. I continued his torso some more.
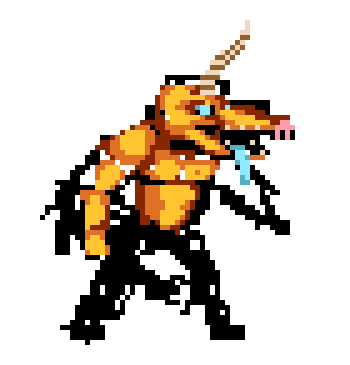
This is pretty good. His pectorals are drawn more accurately and I gave him ribs and belly button to add more detail. I thought his waist level was a little too high and should be brought down a bit though so I ended up changing that later, you'll see. Anyway I redrew his legs.

Great. So he has some decent shading on his thighs, he wears leg bands now, and he has toe nails like he's supposed to but only one thing... He's NAKED! 😲 We definitely have to fix that as soon as possible so I passed him a loin cloth.
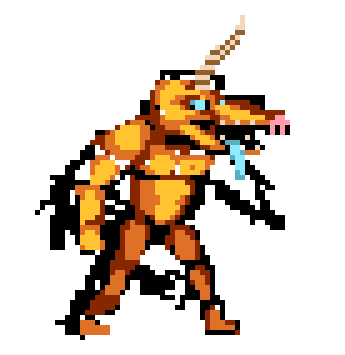
This is alright, but his loin cloth could use more texture, we can make it look more draped by adding some lines curving downward from his waist and we can make it look more tattered by drawing small tears at the bottom. I also took this moment to make him look slightly skinnier by making his belly cave in more.
Pretty much all that's left is to draw the boko bat and finish shading his other arm. I have a tutorial on how to draw the boko bat already so if you don't know how to draw one, I suggest you check it out. Anyway here's the final piece!
Thanks for checking out this tutorial. I hope you enjoyed it and learned a ton! See you in the next one.