Are you applying all Transformations, And when adding textures to the material, are you checking the alpha?
A member registered Jun 16, 2018 · View creator page →
Creator of
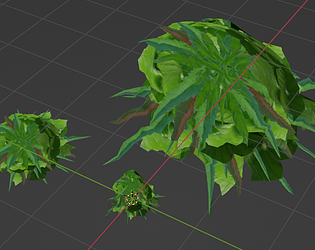
Smile Game Builder Nature Weed
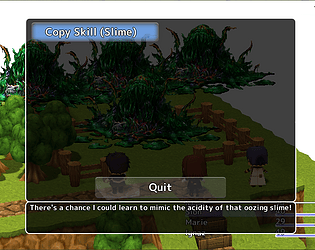
A simple tutorial showing how to copy the skill of your evil mosters and use them against them!

a 2.5d/3d isometric RPG game using the Smile Game Builder Engine
Role Playing

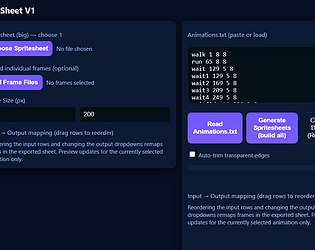
You can use Photoshop to create up to 50 variation tiles from two terrain textures!
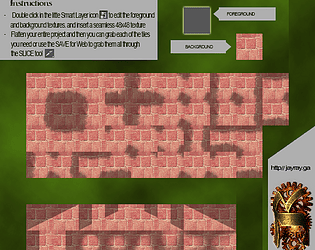
Using Photoshop, generate up to 50 different texture variations from two tiles!
Recent community posts
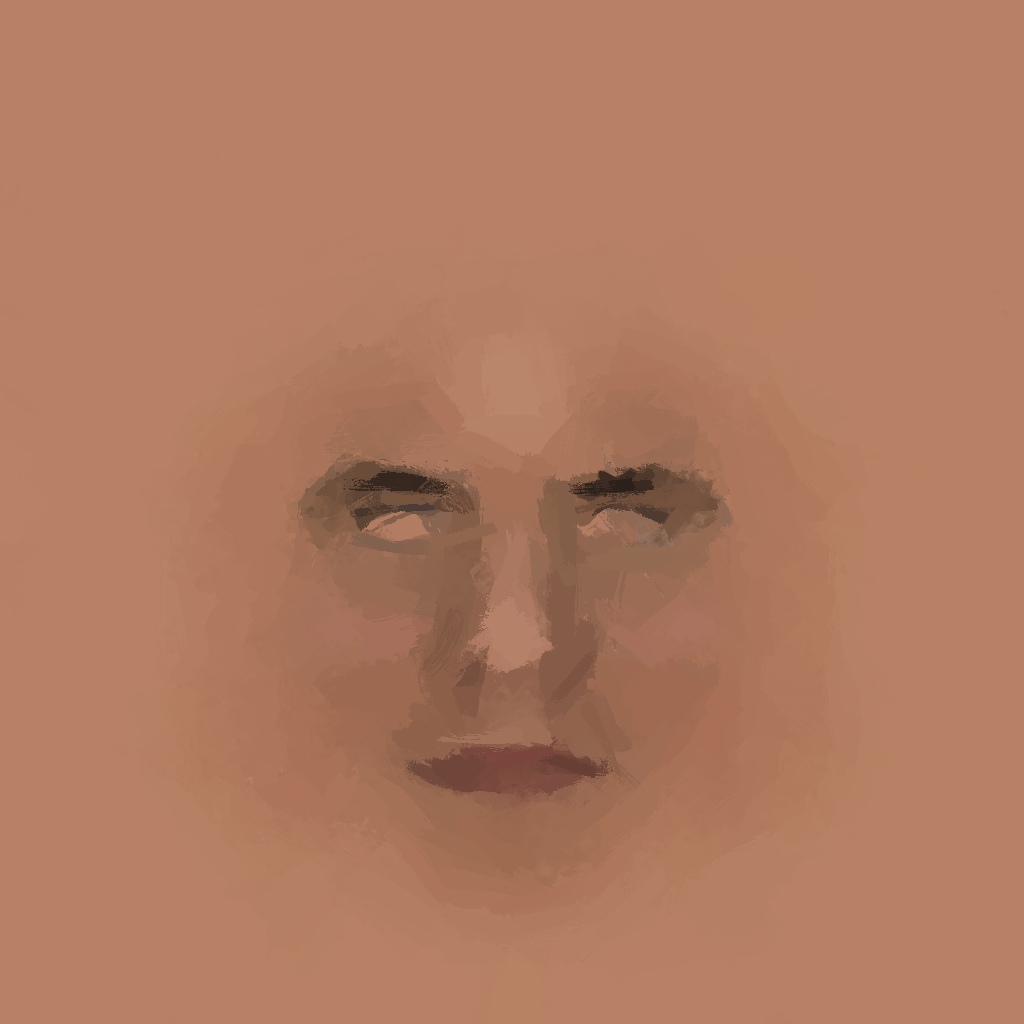
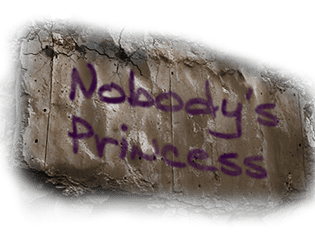
H.I.T.H - Heavy Is The Head - Character Creator Mockup community · Created a new topic Comments and Ideas

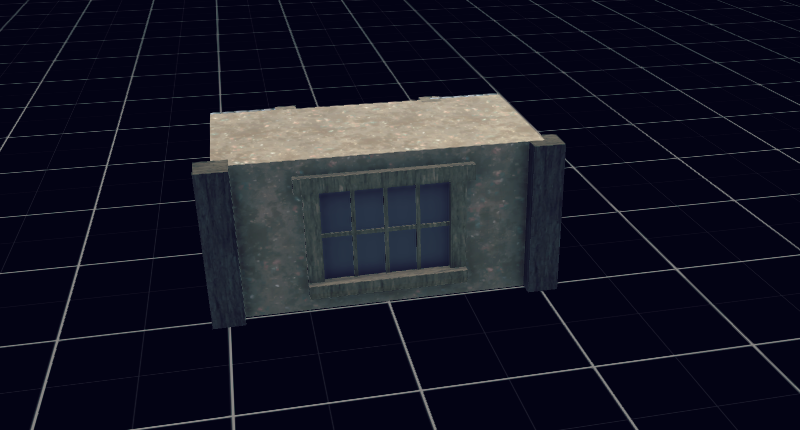
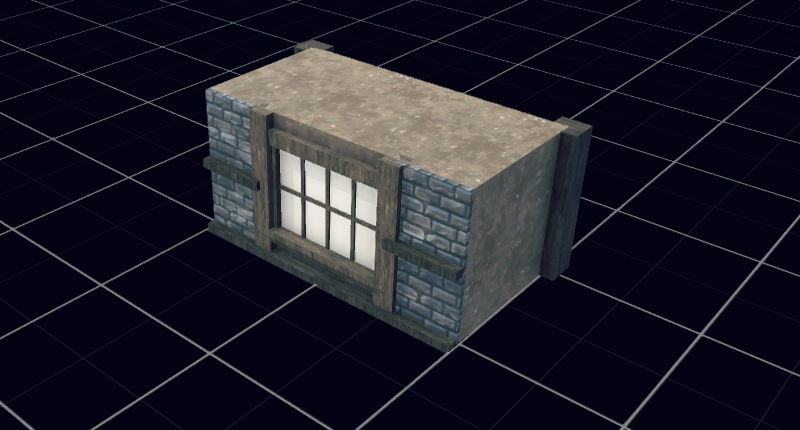
Modular Village Pack comments · Replied to Keith at Fertile Soil Productions in Modular Village Pack comments
I think I may have misunderstood the original request, not to reveal a model that's onesided, but to have decorations for the internal of a model..
Sorry!
But, to answer. What I really like is that Keith already took care of that with all sorts of little wooden beams and such for his Modular village, so that an AssetForger (yes, I'm coining that as a term now) could easily add baseboards, half wall panels even articulate walls inside. He can even use some of those panels for other things like wall bookshelves and more. Scaling, rotating and moving the various blocks to fit certain ideas can really make the blocks sizzle, without a huge Poly boost.