Indie game storeFree gamesFun gamesHorror games
Game developmentAssetsComics
SalesBundles
Jobs
Tags

Biswa_29

4
Posts
2
Topics
A member registered Apr 22, 2021 · View creator page →

Creator of

Recent community posts

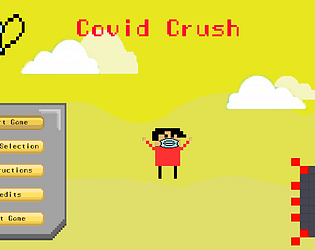
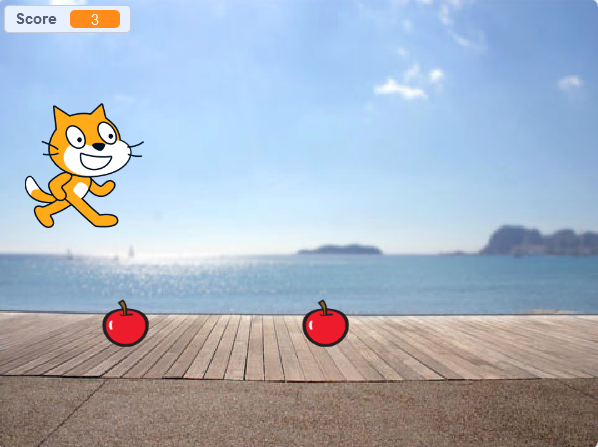
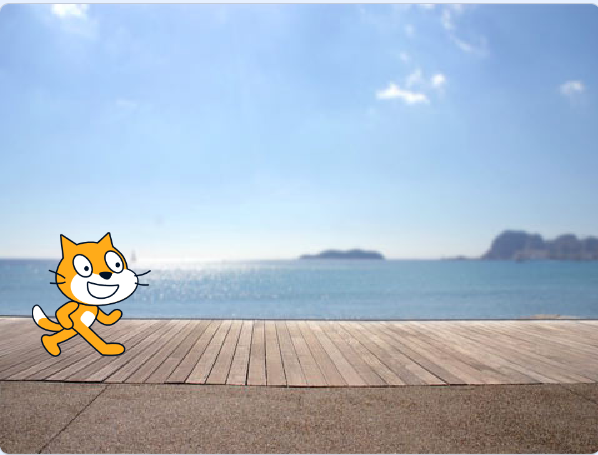
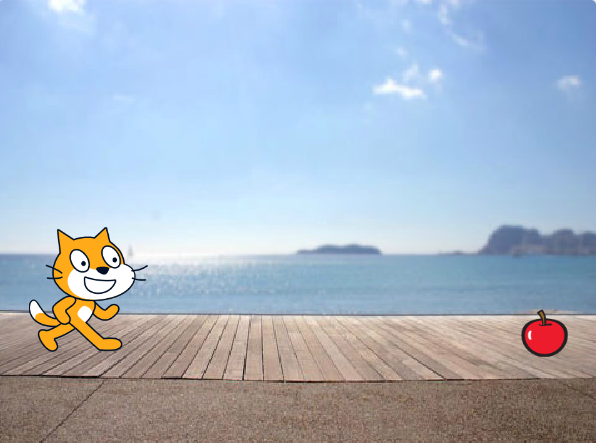
Being a beginner in game development, I am finding this course really enjoyable. In our project of making a scratch game on our own, we learnt how to make a simple game on scratch. And here I will be sharing a tutorial based on how I made the game so that it can be helpful for other beginners in game development like me. The end product will look kinda like this.

Step by Step Procedure: 

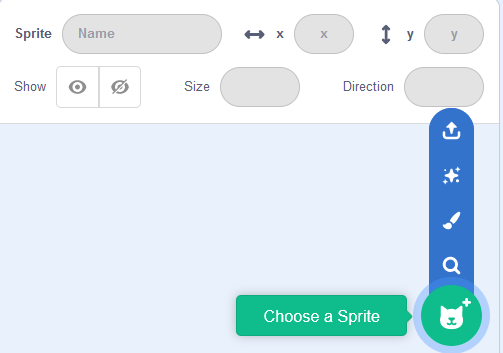
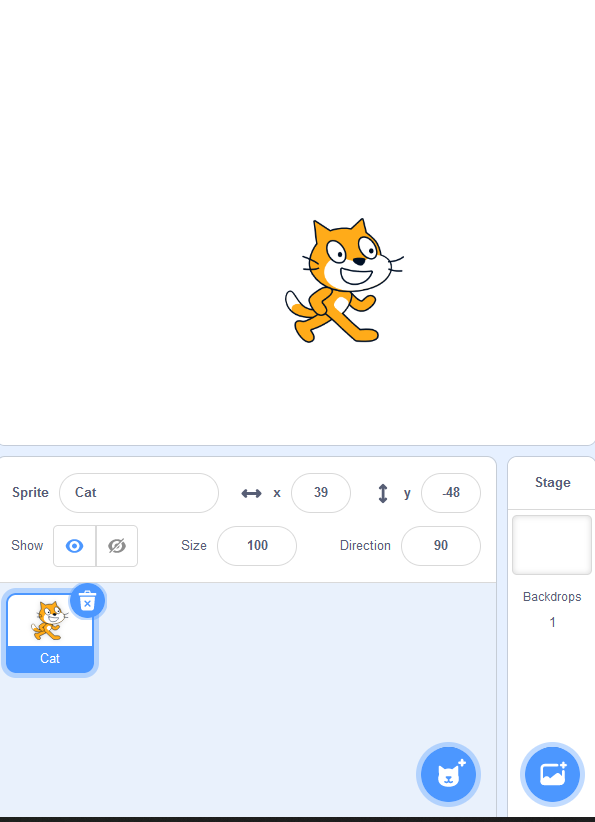
1) First we have to create our character who will jump over obstacles. To create our character, we can choose any sprite from scratch's library of sprites. I chose the cat.

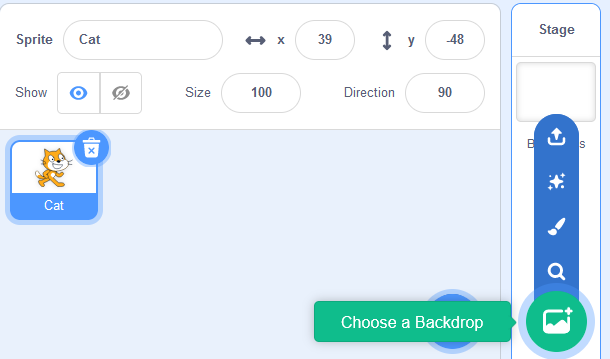
2) Lets add a background for the cat to run in. For that,  choose a backdrop. I chose the broadwalk.

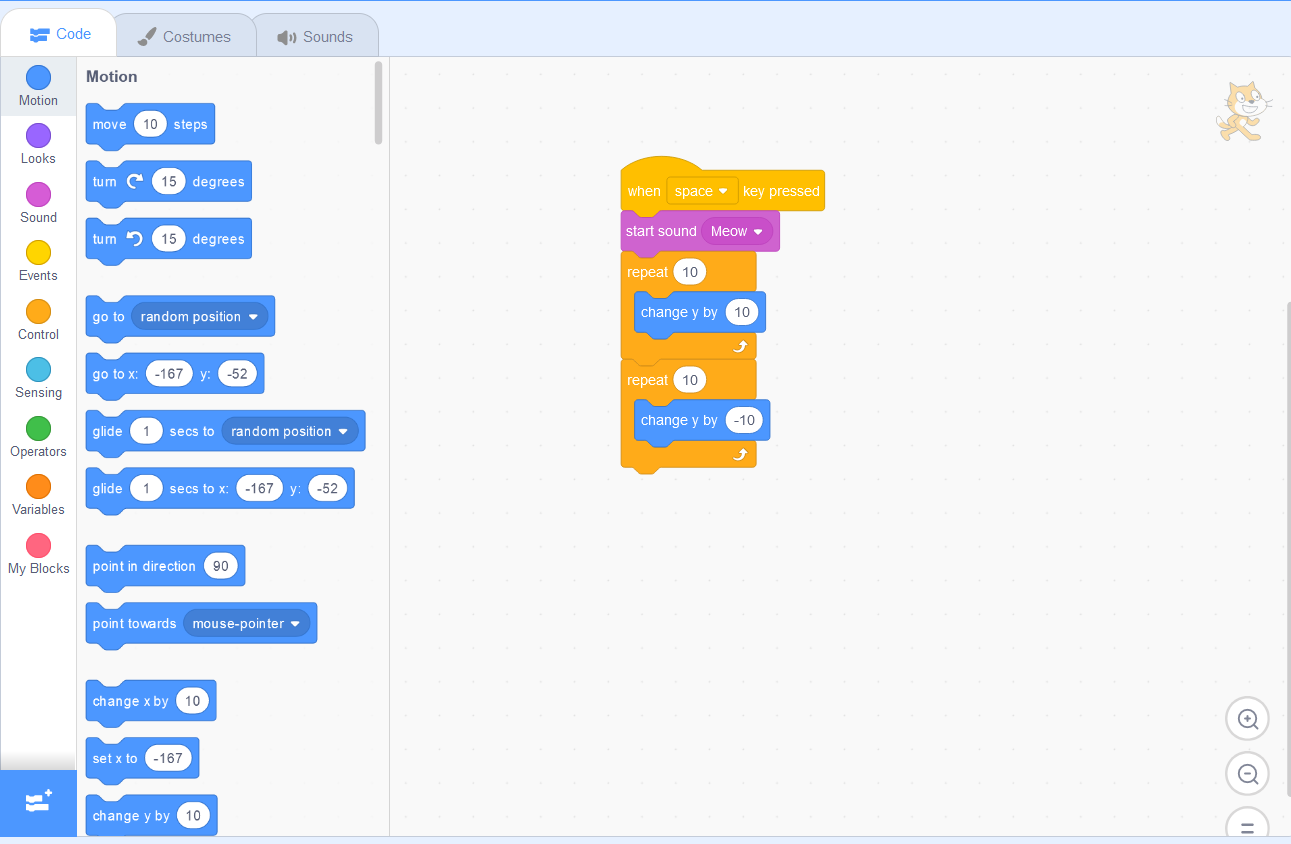
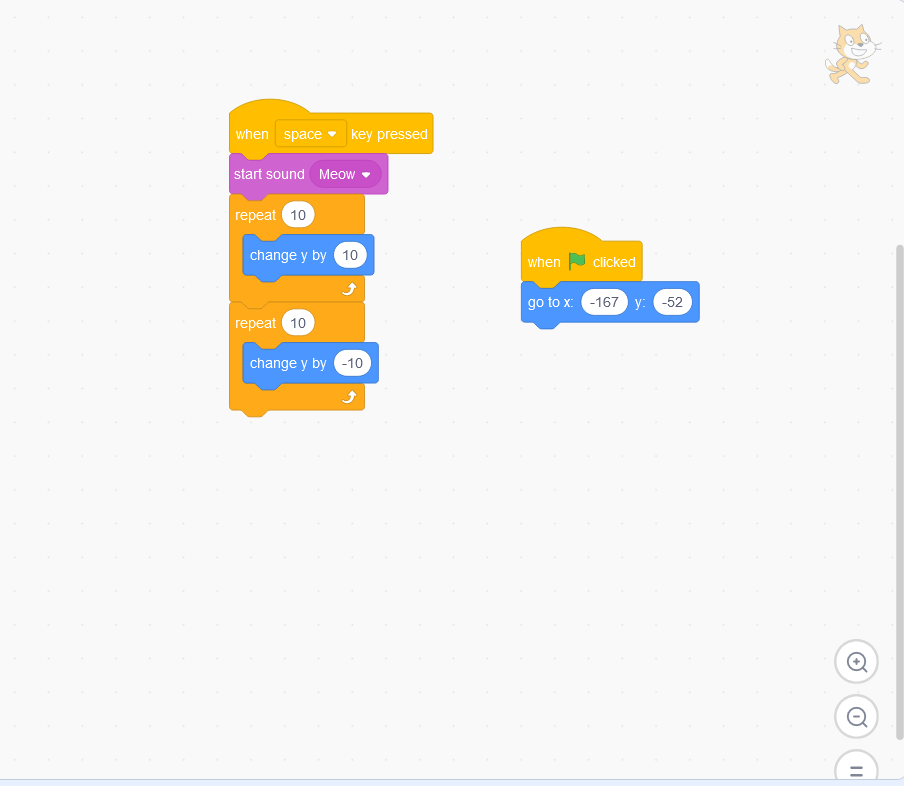
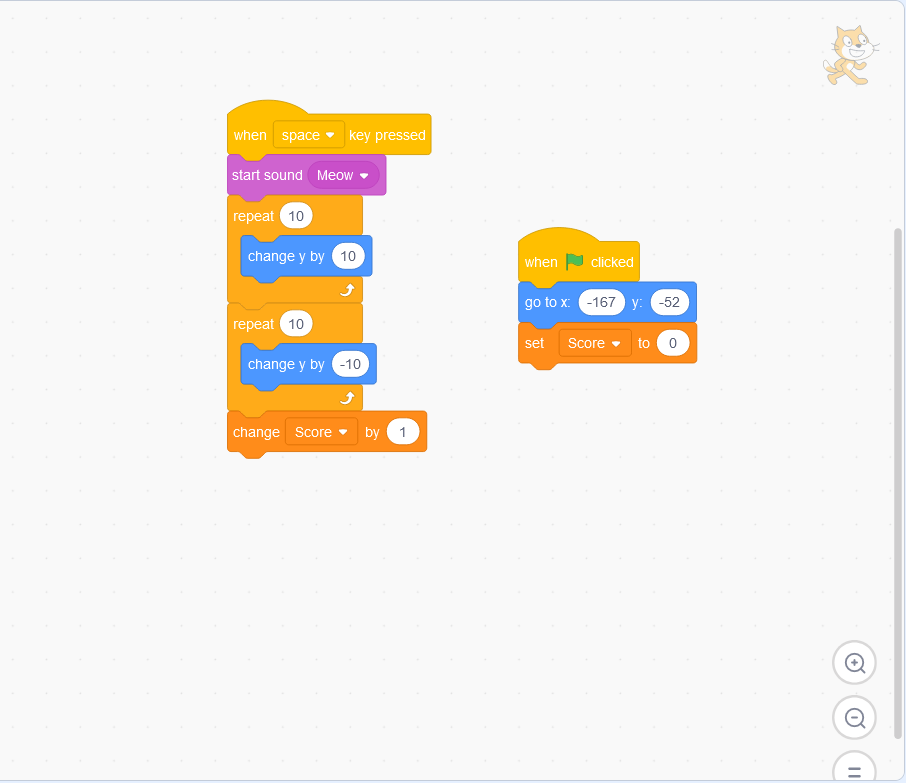
3) Now lets move on to the coding part for the cat. We need the cat to jump. So choose the change y by 10 code from the Motions group. We need the cat to jump higher so we can take the repeat code from the Control group. Repeat these steps for a second time but edit the change y by 10 to change y by -10. We can then add when space key pressed from the Events group to make the cat jump when space-bar is pressed. We can make the cat more realistic by adding a meow sound effect from the Sound group.

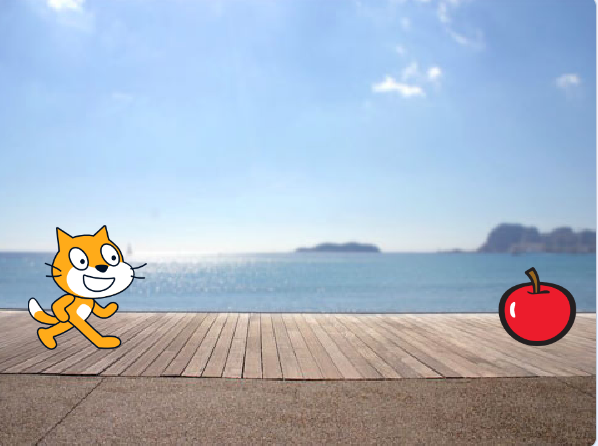
4) Now lets create the obstacle, our cat needs to jump over. For that add another sprite from scratch's sprite library. I chose the apple as the cat's obstacle.

However we need the apple to be smaller in size than the cat so that it can jump over it. For that change the apple's size from 100 to 60.


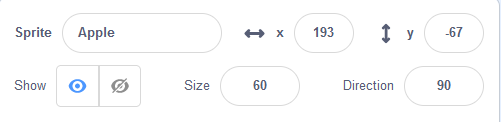
Now that looks better.

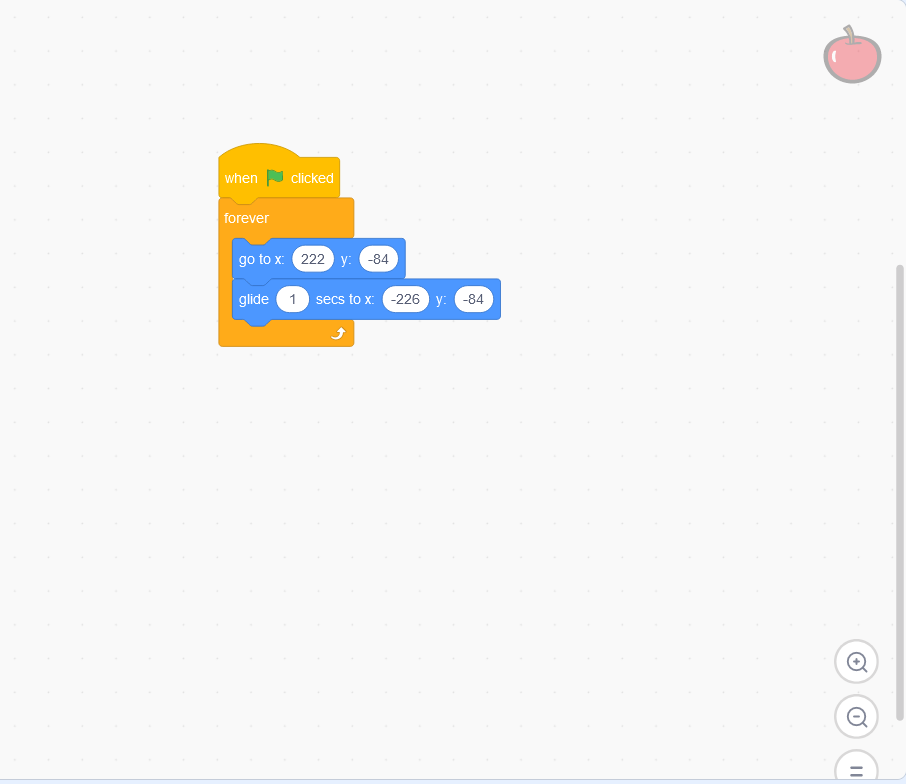
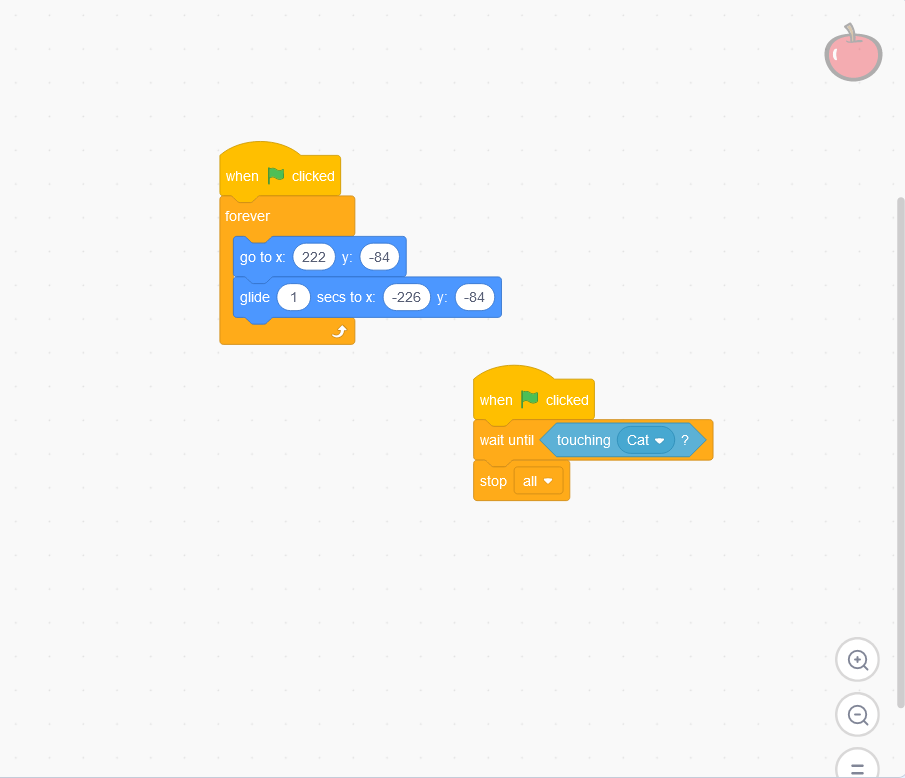
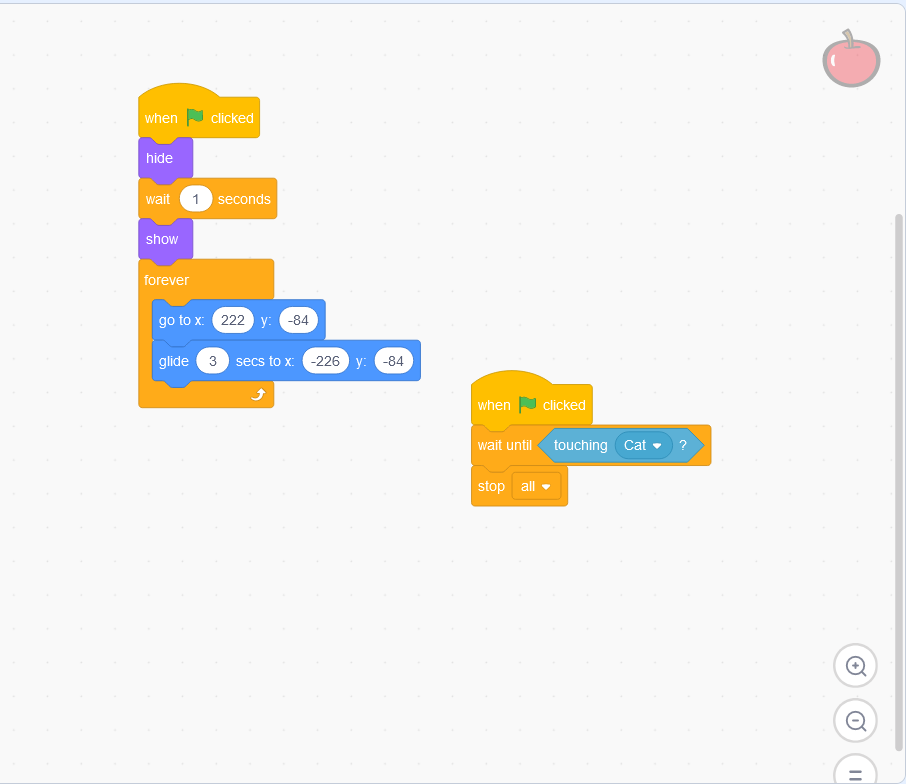
Keep the apple at the end of the screen where it will start its glide. Then take the go to x code from the Motion group. It will take the apple's coordinates as the go to point. Now place the apple at the other point of the screen where it will end its glide and import the glide 1 secs to x code from the Motion group. Now we need this to go on as long as the game isn't over so take the add the forever code from the Control group. Add the event when flag clicked from the Events group so that it starts as soon as the game starts.

5) Now we need the obstacles to actually act like obstacles. So add the codes stop all and wait until from the Control group. Then attach the code touching cat from the Sensing group. Add the when flag clicked code here as well so that it starts right from the beginning.

6) Go back to the cat sprite. We need to make the cat go back to its original place when the game ends. So put the cat at its starting position and add the code go to x from the Motion group. Add the code when flag clicked so that it starts right from the beginning.

7) Now duplicate the apple sprite for more obstacles.

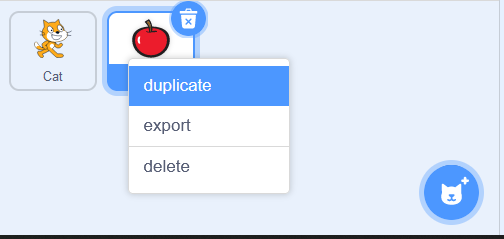
Add the code wait 1 seconds from the Control group and hide it for some time and then show after the first obstacle is passed using the hide and show codes from the Looks group.


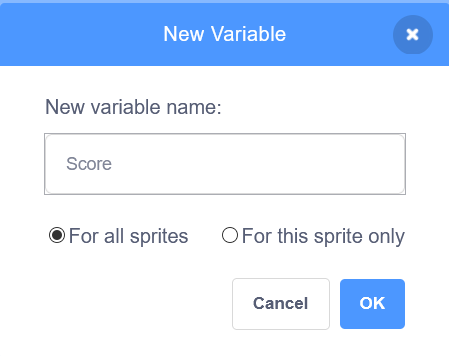
8) Now moving on to the most important and rewarding part of any game. Every game needs a scoring system. For that go the Variables group, make a variable and name it Score.

Take the code change score by 1 and attach it to the code of the cat sprite which controls the jumping. On other hand, take the code set score to 0 and add it to the code of the cat sprite which makes the game start over.


And thus our simple jumping game is ready!

I hope that this tutorial was useful to you. Thank you for reading the entire way.

References:

- Biswadeep Bhattacharjee (20BCG10025)         
  VIT Bhopal (CSE with specialization in Gaming Technology)

Thank you very much

My Pleasure

(3 edits)

As a beginner in game development, there is a lot of stuff that I have yet to explore and and there is a lot of stuff to know for me in this field. In our first game developing project for us students of the CSE with specialization in Game Technology branch of VIT Bhopal which was a very enjoyable experience, our team first chose to make a racing game. We discarded the idea later on but while searching throught he internet on how to make the game, I came across a neat method to create a drivable car in unity using Wheel Collider. It may be common knowledge for many experienced developers but for us new developers, it maybe some useful information. The end product will look somewhat like the image below.

Step by Step Procedure:

1) Import a suitable car asset from the asset store into your assets menu. There a variety of free good looking car assets in the asset store from which you can choose anyone.

2) Create the floor on which the car will run by creating a 3D Object Cube using the method GameObject -> 3D Object -> Cube and name it "Floor". Now transform the X and Z axis scales to 50 each and we will have a big enough platform or road for the car to run in. The floor starts up being white but preferably you can add any colour material to it or even use the asset store to import concrete colour like I did.

3) Now create an Empty Game Object using the method GameObject -> Create Empty and name it "Car". Create another Empty Child under it using the method GameObject -> Create Empty Child and name it "Model". Here we will store the model of the car or rather the asset that we imported. Kinda like below.

4) Now here we can see that all the wheels are already in the package. But we need to keep the wheels in under an Empty Game Object. So first unpack the package by the method Asset -> Prefab -> Unpack Completely.

5) Now add the wheels in under an Empty Child and name it "Wheels". Like this.

6) Now before moving on to the coding part, there is a very important thing to do. We have to add the Rigidbody Component to the Car Game Object. Without this component, physics won't act on the game object. And lets set to mass to 1500 so that the car have some weight.

7) Now lets move on to the most entertaining or most tiring part of the process as some might say, that is, the coding. Create a new C# Script in the Assets menu and name it CarController. Double click on it and the script editor will open. The code I used is given below:

using UnityEngine; using System.Collections; using System.Collections.Generic;      
public class SimpleCarController : MonoBehaviour {     
    public List<axleinfo> axleInfos; // the information about each individual axle     
    public float maxMotorTorque; // maximum torque the motor can apply to wheel     
    public float maxSteeringAngle; // maximum steer angle the wheel can have              
    public void FixedUpdate()     
    {         
        float motor = maxMotorTorque * Input.GetAxis("Vertical");         
        float steering = maxSteeringAngle * Input.GetAxis("Horizontal");                      
        foreach (AxleInfo axleInfo in axleInfos) 
        {             
            if (axleInfo.steering) 
            {                 
                axleInfo.leftWheel.steerAngle = steering;                 
                axleInfo.rightWheel.steerAngle = steering;             
            }             
                if (axleInfo.motor) 
                {                 
                    axleInfo.leftWheel.motorTorque = motor;                 
                    axleInfo.rightWheel.motorTorque = motor;             
                }         
            }     
        } 
    }      
[System.Serializable] 
public class AxleInfo 
{     
    public WheelCollider leftWheel;     
    public WheelCollider rightWheel;     
    public bool motor; // is this wheel attached to motor?     
    public bool steering; // does this wheel apply steer angle? 
}</axleinfo>

Now attach the script to the Car Game Object.

8) Next, move on to visual wheels. As you can see, a Wheel Collider doesn’t apply the simulated wheel position and rotation back to the Wheel Collider’s Transform, so adding visual wheel requires some tricks. So now change the controller script to:\

using UnityEngine; 
using System.Collections; 
using System.Collections.Generic;  
[System.Serializable] 
public class AxleInfo 
{     
    public WheelCollider leftWheel;     
    public WheelCollider rightWheel;     
    public bool motor;     
    public bool steering; 
}       
public class SimpleCarController : MonoBehaviour {     
    public List<AxleInfo> axleInfos;      
    public float maxMotorTorque;     
    public float maxSteeringAngle;           
    // finds the corresponding visual wheel     
    // correctly applies the transform     
    public void ApplyLocalPositionToVisuals(WheelCollider collider)     
    {         
        if (collider.transform.childCount == 0) 
        {             
            return;         
        }               
        Transform visualWheel = collider.transform.GetChild(0);               
        Vector3 position;         
        Quaternion rotation;         
        collider.GetWorldPose(out position, out rotation);               
        visualWheel.transform.position = position;         
        visualWheel.transform.rotation = rotation;     
    }           
    public void FixedUpdate()     
    {         
        float motor = maxMotorTorque * Input.GetAxis("Vertical");         
        float steering = maxSteeringAngle * Input.GetAxis("Horizontal");               
        foreach (AxleInfo axleInfo in axleInfos) 
        {             
            if (axleInfo.steering) 
            {                 
                axleInfo.leftWheel.steerAngle = steering;                 
                axleInfo.rightWheel.steerAngle = steering;             
            }             
            if (axleInfo.motor) 
            {                
                axleInfo.leftWheel.motorTorque = motor;                 
                axleInfo.rightWheel.motorTorque = motor;             
            }             ApplyLocalPositionToVisuals(axleInfo.leftWheel);             
            ApplyLocalPositionToVisuals(axleInfo.rightWheel);         
        }     
    } 
}

References:

1) https://docs.unity3d.com/Manual/WheelColliderTutorial.html

2)


3)


Without these references I may not have learned how to create the drivable car. So many thanks to them.

I hope that this tutorial was useful to you. Thank you for reading the entire way. And as I said earlier, I am a complete beginner so I'll be open to criticism so I can improve myself. Thank you.

- Biswadeep Bhattacharjee (20BCG10025)

- VIT Bhopal (CSE with specialization in Gaming Technology)