
I thought it might be useful to provide some details on how 16-color backgrounds can be imported as of Decker v1.12, which includes fixes and tweaks for a few minor but annoying stumbling blocks. There are many tools available for dithering images, and many algorithms and settings to choose from. In these examples I'll be using the command-line image manipulation utility imagemagick, because it is free, available on all popular operating systems, and easily automated.
Decker has an internal 16-color palette based on the 16-color Macintosh palette, with convenient named constants for each color in the global "colors" dictionary:
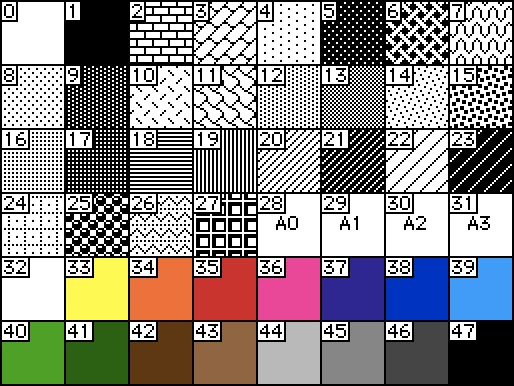
We'll need a reference image describing this palette in order to remap a full-color image. The easiest way to obtain one is to ask in Decker's listener. Execute this and save the result as "lut.gif":
r:image[16,1]
each c k i in colors r[i,0]:c end
write[r]
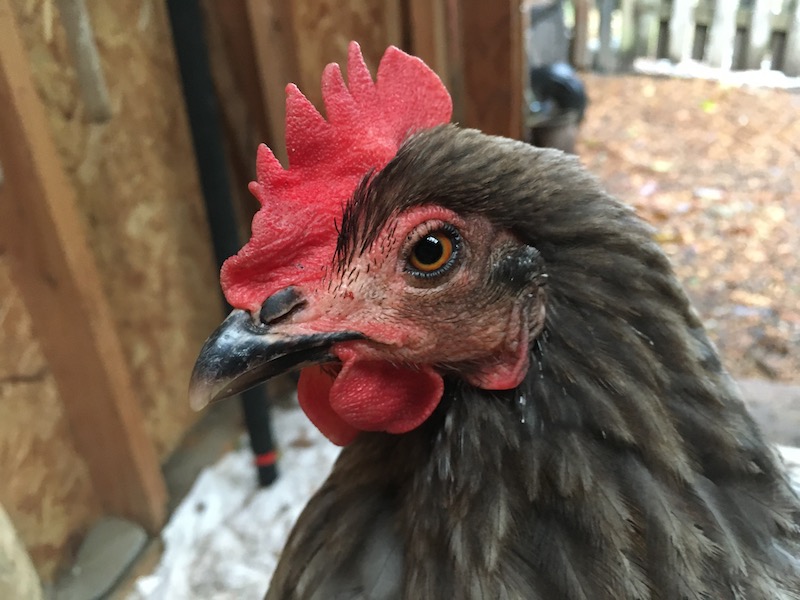
Then, choose an image of something beautiful, like a chicken:
Next we'll use the imagemagick "convert" utility from our operating system's command line. If we just "remap" our input image, we get a posterized result:
$convert gally.jpg -resize 512x342 -remap lut.gif output1.gif
A Floyd-Steinberg dither is much smoother:
$convert gally.jpg -resize 512x342 -dither FloydSteinberg -remap lut.gif output2.gif
An ordered dither is much grainier, but might be desirable if you specifically want to evoke a 90s aesthetic. I found experimentally that this image needs some contrast tweaks to avoid a washed-out result:
$convert gally.jpg -brightness-contrast -10 -resize 512x342 -ordered-dither o4x4 -remap lut.gif output3.gif

And of course there are many, many more parameters available to tweak.
Now that we have a dithered image, we can import it into Decker and splat it onto the current card background with the listener:
card.image.paste[read["image"]]
If our converted image doesn't exactly match the size of a card, we can go a step further by filling the card with black and then centering our image, for a nice letterbox effect:
i:read["image"]
card.image.map[() 1]
card.image.paste[i .5*card.size-i.size]
Now let's say we have a whole directory of wonderful chicken pictures (and who doesn't, really?) that we want to turn into a series of cards. We could use the above steps to prepare each one individually, but we could also use Lilt, the command-line counterpart of Decker, to automate the whole process, including invoking imagemagick:
What's particularly nice about this approach is that it's repeatable: at any time, you can re-run the script to regenerate backgrounds and add cards as necessary, while leaving any widgets, scripts, or other deck customizations intact.
Hope that helps!