
Tutorial 3: States and Automation
So, you have a model with multiple expressions, outfits, or props, and you want to switch between them easily? This is what States are for!
States are settings that can be applied to multiple layers at once, triggered by a keyboard / controller / mouse button, a timer, or a html message.
Basic setup
My model has art for several expressions. Let's set up states to help me switch between them.
The visibility setting in States has 3 options: Show, Hide, or No Change. When you trigger the State, Show will make the layer visible, Hide will make it invisible, and No Change will leave it alone.
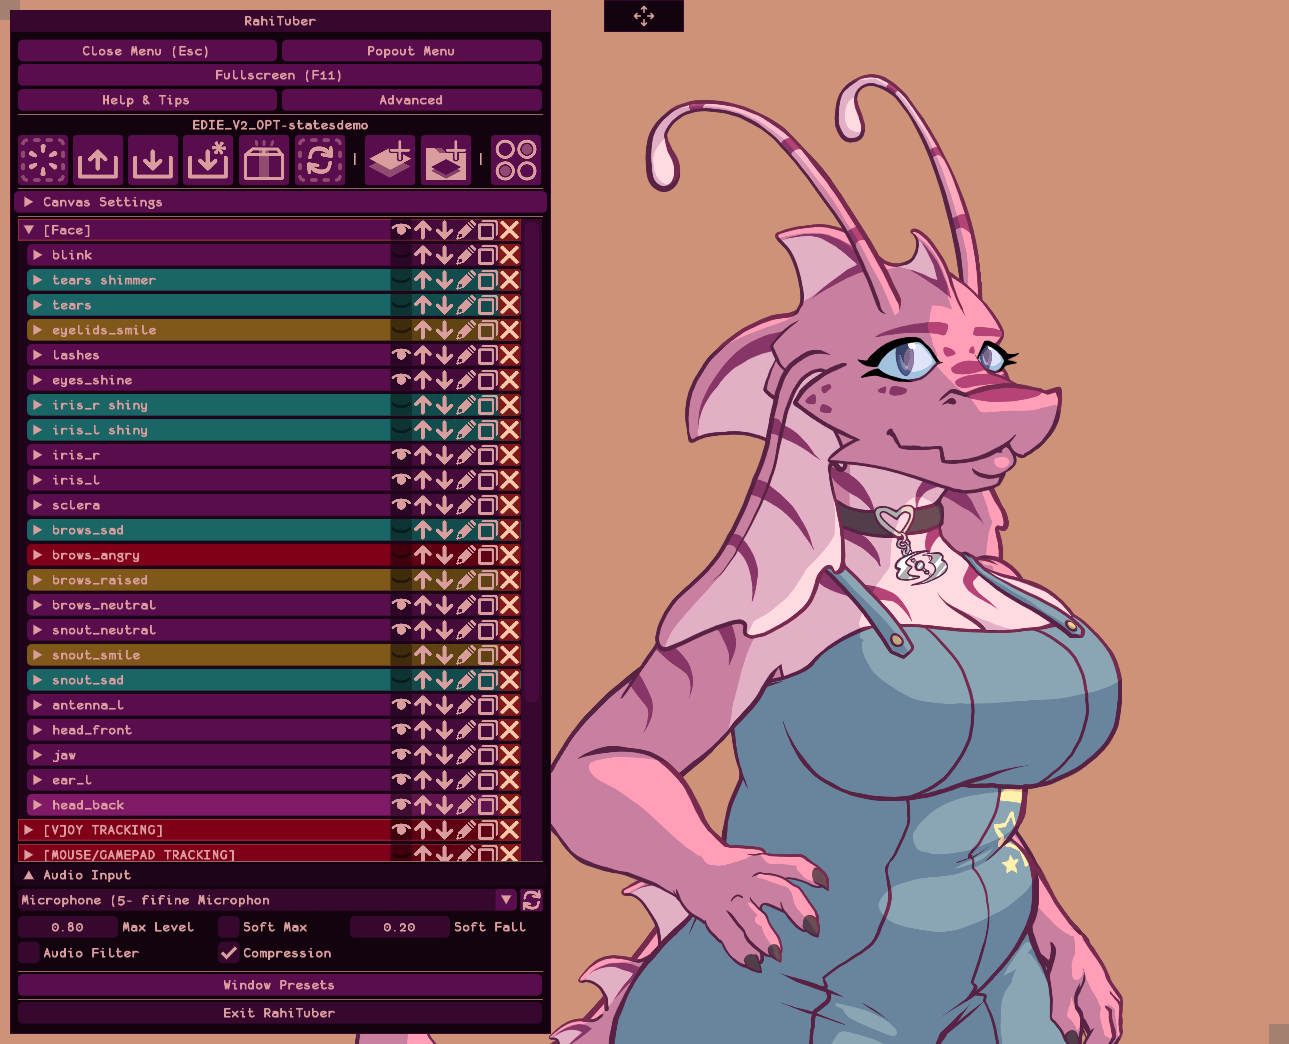
By default, my model loads with the neutral expression:
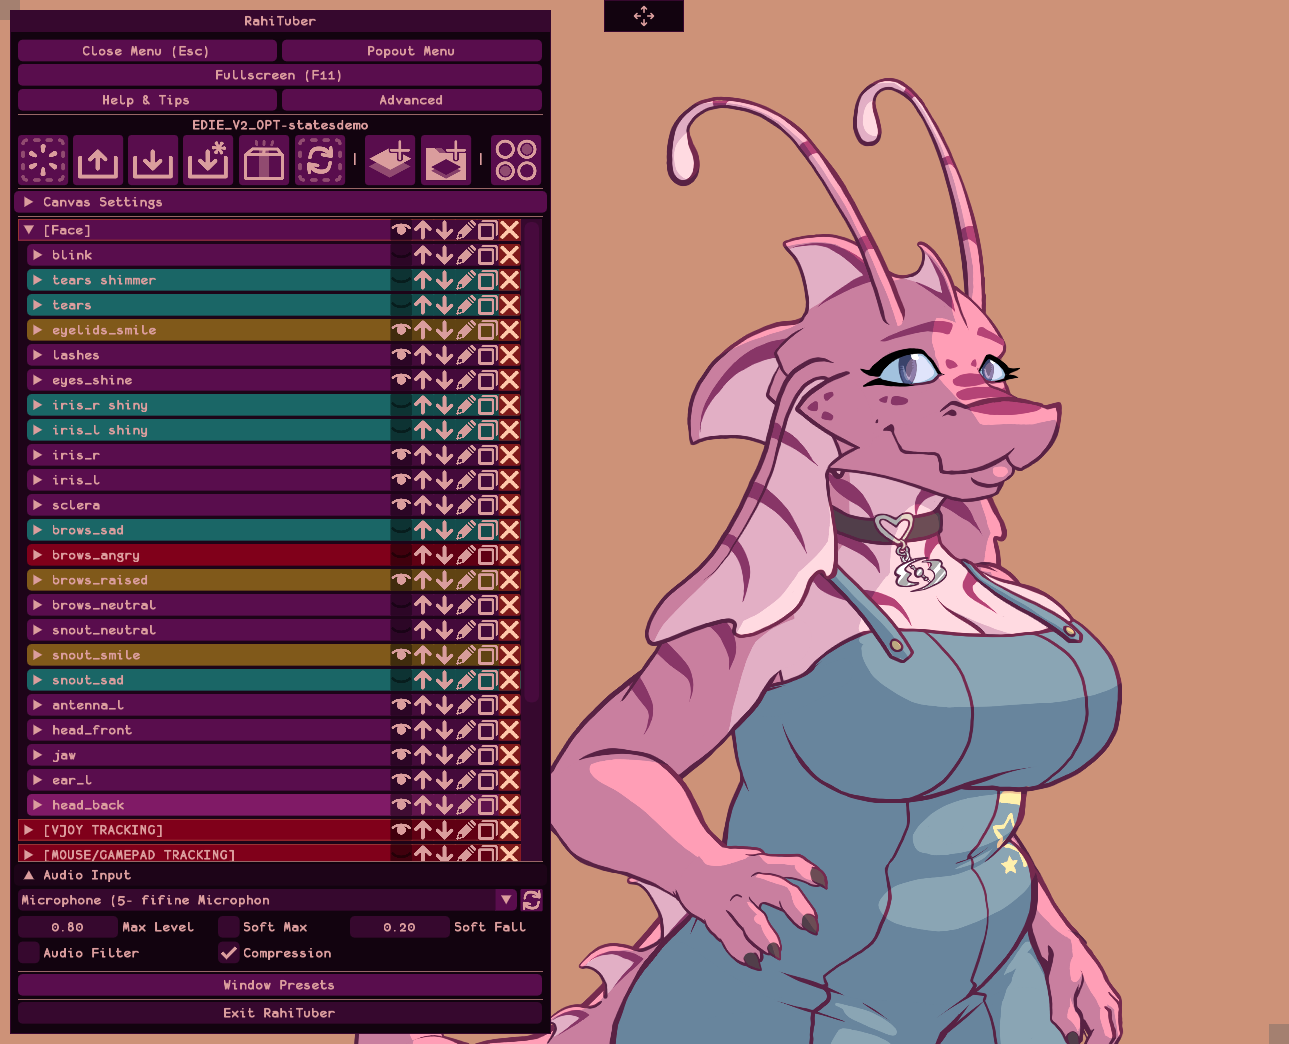
If I want her to look happy, I can hide the neutral stuff manually and show the happy sprites (the layers in yellow) by clicking all the visibility icons like this:
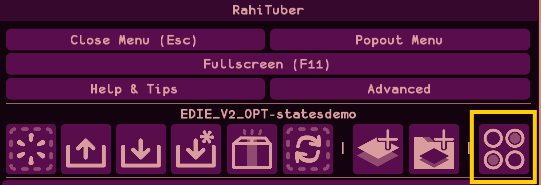
but we can do it in one go by using a State. I'll open the States menu with this button:
and press "Add" to get a new empty state.
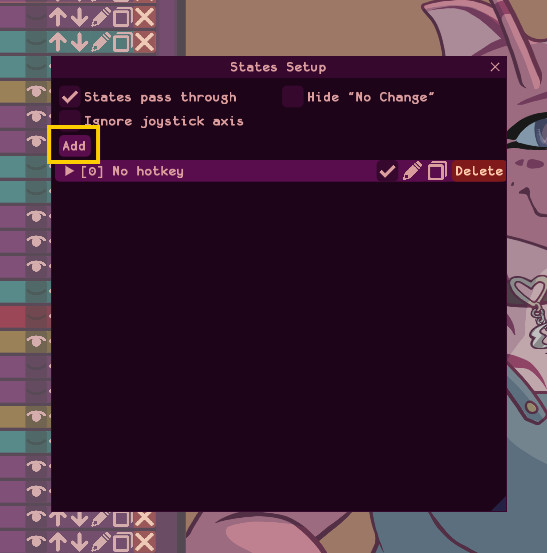
Clicking the "No Hotkey" header will expand the options and we can set it up.
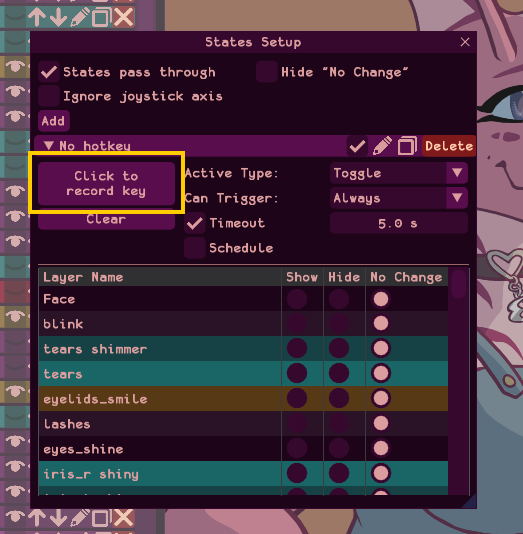
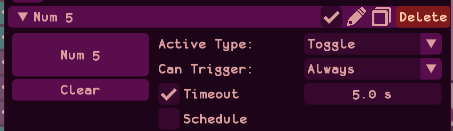
First we'll choose a hotkey by clicking the "Click to record Hotkey" button. I'll press 5 on the numpad. The title and button changes to reflect this.
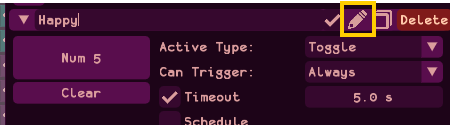
We can rename the state if we want to, by pressing the pencil icon in the header. I type a new name and press Enter to save it.
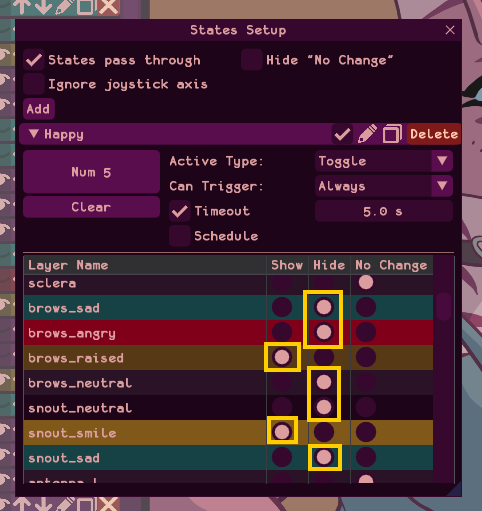
Let's tell the State which layers to show and hide. The list below the trigger options shows each layer and the 3 visibility options available. To show the Happy expression, we need to press "Show" on those layers and press "Hide" on the neutral layers where the art would conflict.
I'm also going to press "Hide" on the other art from the other expressions, because we will need that later when we switch between.
That's all we need to toggle the happy expression! Pressing Numpad 5 will activate the state.
Trigger Options
There are 3 "Active Type" options available for States, and these set how the state will behave when the button is pressed.
- Toggle (the default): pressing the button will show my happy face until it is cancelled by pressing the same key again.
- Timeout: In addition to deactivating on a second button press, the Timeout option will also deactivate the state when the given time has passed.
- Schedule: In addition to the first button press, this option allows you to activate the state automatically on a schedule, with a "variation" option to add some randomness similar to the way "Blinking" works.
- While Held: This option would show my happy face while I'm holding the button and stop when I let go.
- Hold Time: Similar to Timeout (and actually using the same setting behind the scenes), Hold Time will keep the state active for the set duration after you let go of the key.
- Permanent: This option is not a "toggle" - it permanently edits the actual visibility state of each layer you choose, and pressing the same key again will not undo. If you want to use these, the recommended strategy is to set up a permanent state to put your model back to normal.
If you've set up a schedule, you don't actually need to bind a hotkey at all - you can just let it be fully automatic. This is one way to blink several layers at once, for example.
There are also Trigger conditions:
- Always: Will always trigger every time you press the button
- While talking: Will only trigger the state if the button is pressed and the voice level is above the threshold you set.
- While idle: Will only trigger the state if the button is pressed and the voice level is below the threshold you set.
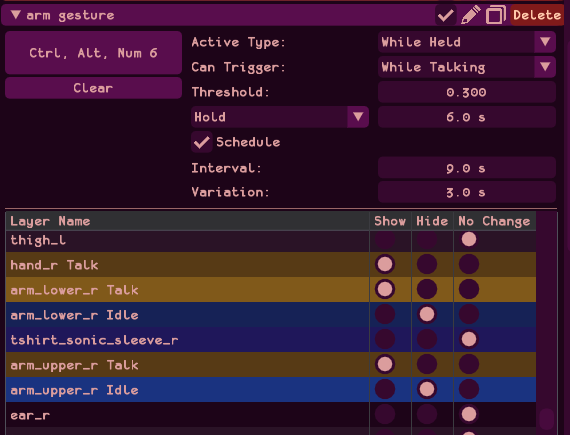
These can be paired for interesting effects, for example I have a speech gesture that randomly raises my arm for a short period when I speak:
Triggering states from an automation tool
If you have run out of hotkeys and are looking for other ways to trigger your states - or you want your stream chat to be able to trigger them for you, you can use the "Control States via HTTP" option!
It means you can integrate RahiTuber with your streaming bots and automated scripts much easier. Here's how it works:
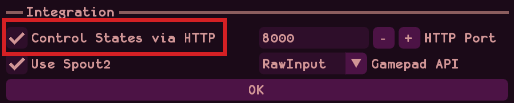
- Enable the option in the Advanced menu:
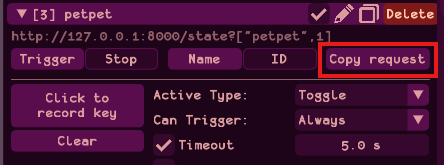
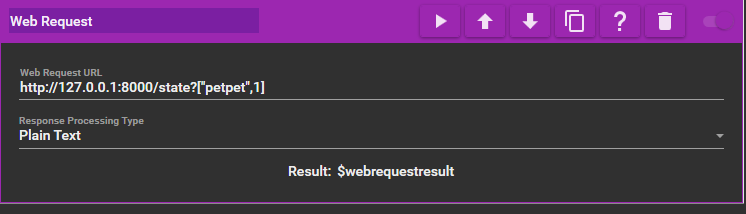
- In your automation software, set up a web request with the following format: http://127.0.0.1:8000/state?[0,0] or http://127.0.0.1:8000/state?["name",0]
Each state will have buttons to copy the request in the correct format. You can use the options below the URL to change what the request does.- Find the state you want to trigger and press the button to copy the state request from RahiTuber:
- Paste it into the "Web Request" or "Fetch URL" action in your automation tool
- In MixItUp:
- In Streamer.Bot:
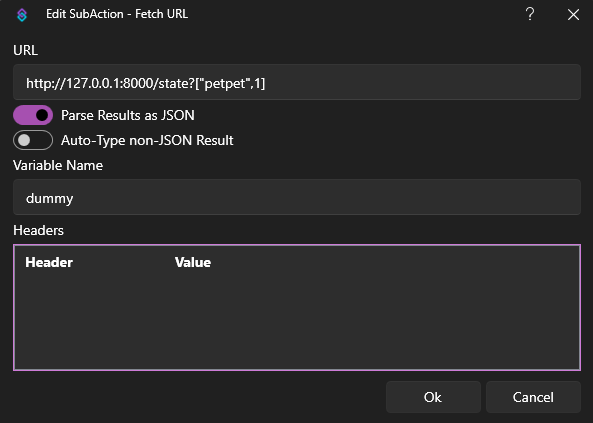
(streamerbot requires a variable name to store the response, but you don't have to use it)
- In MixItUp:
- Find the state you want to trigger and press the button to copy the state request from RahiTuber: