Hello everyone. It's been a long time since I've made an informative posts about pixel art here, but I want to talk about how I typically design monsters in pixel art fast and effectively!
Step 1 - Getting an idea
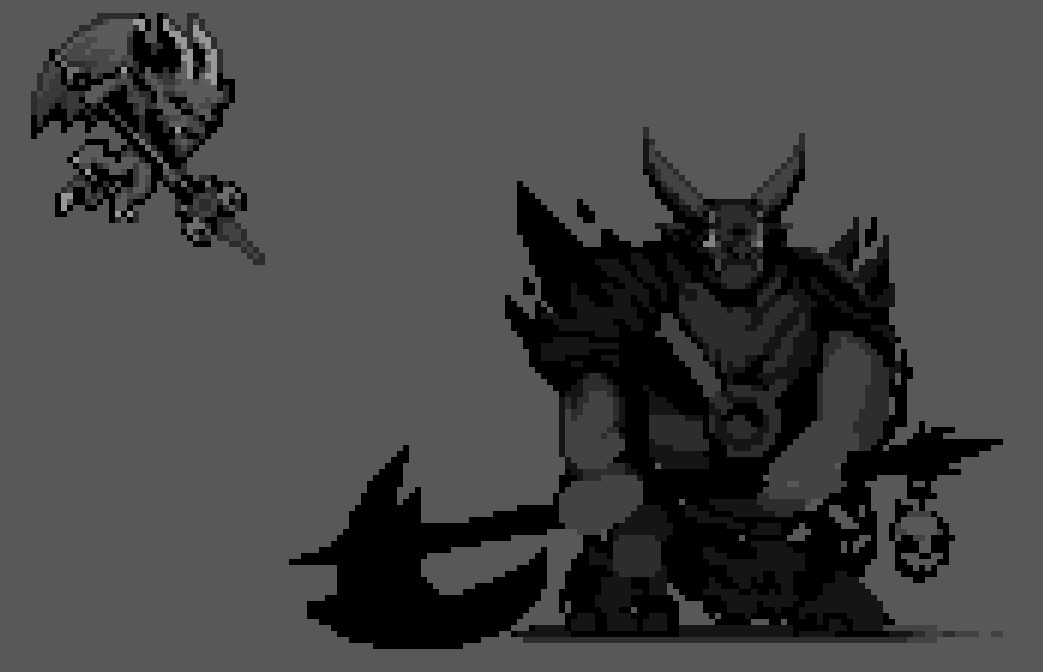
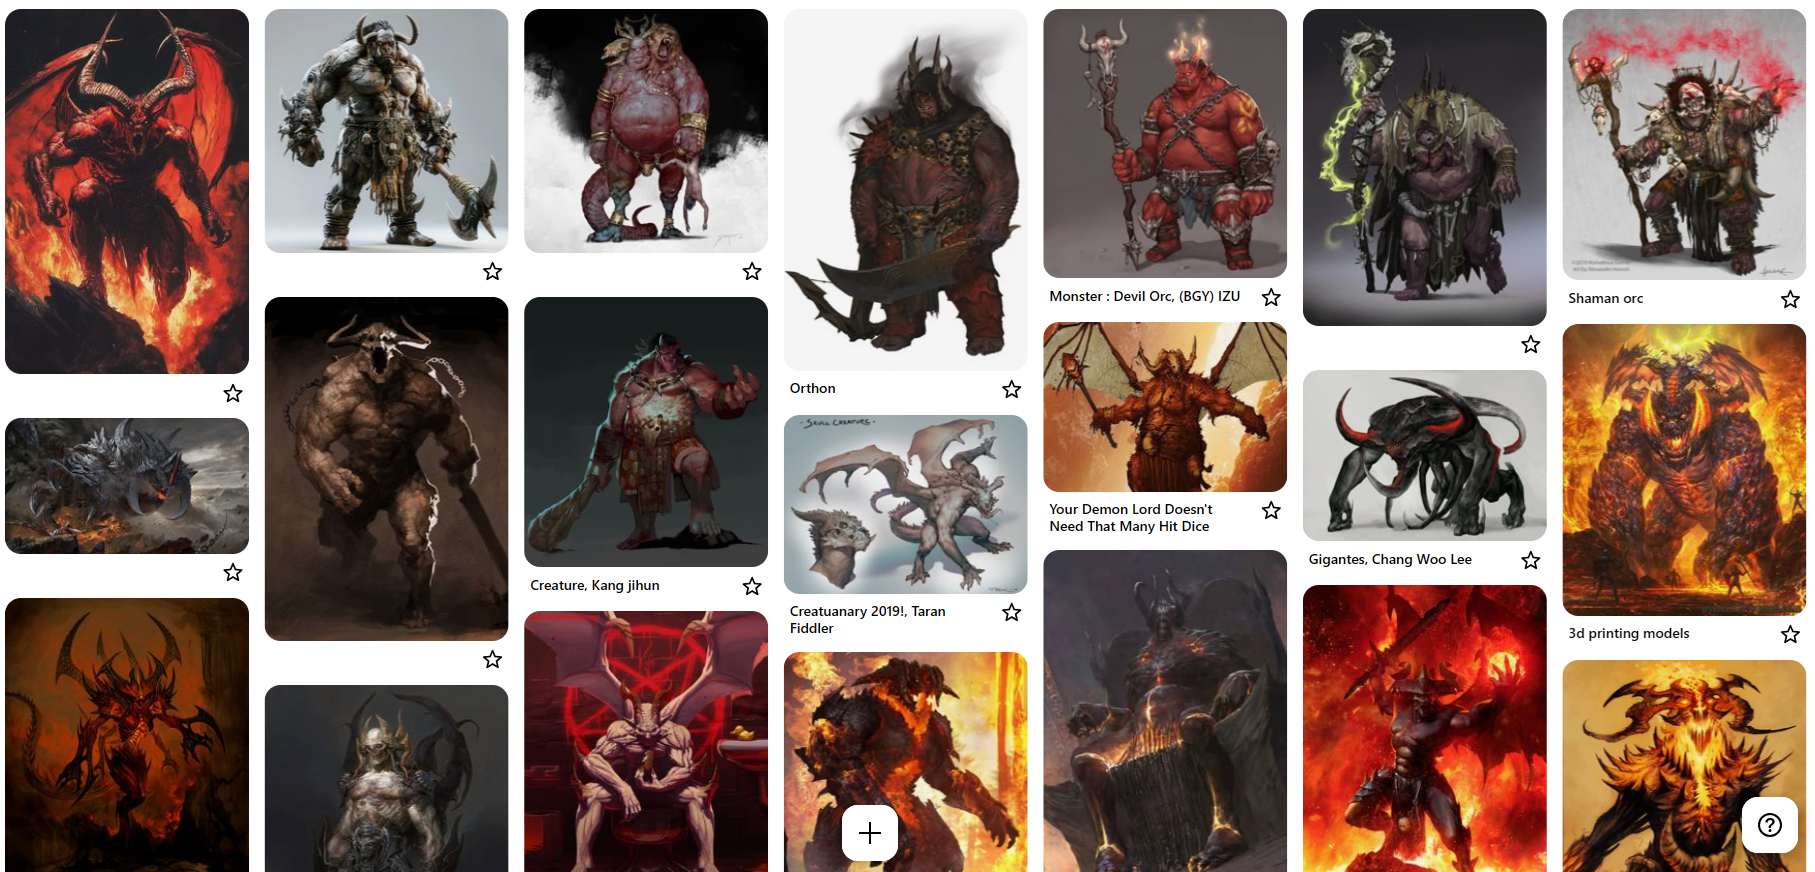
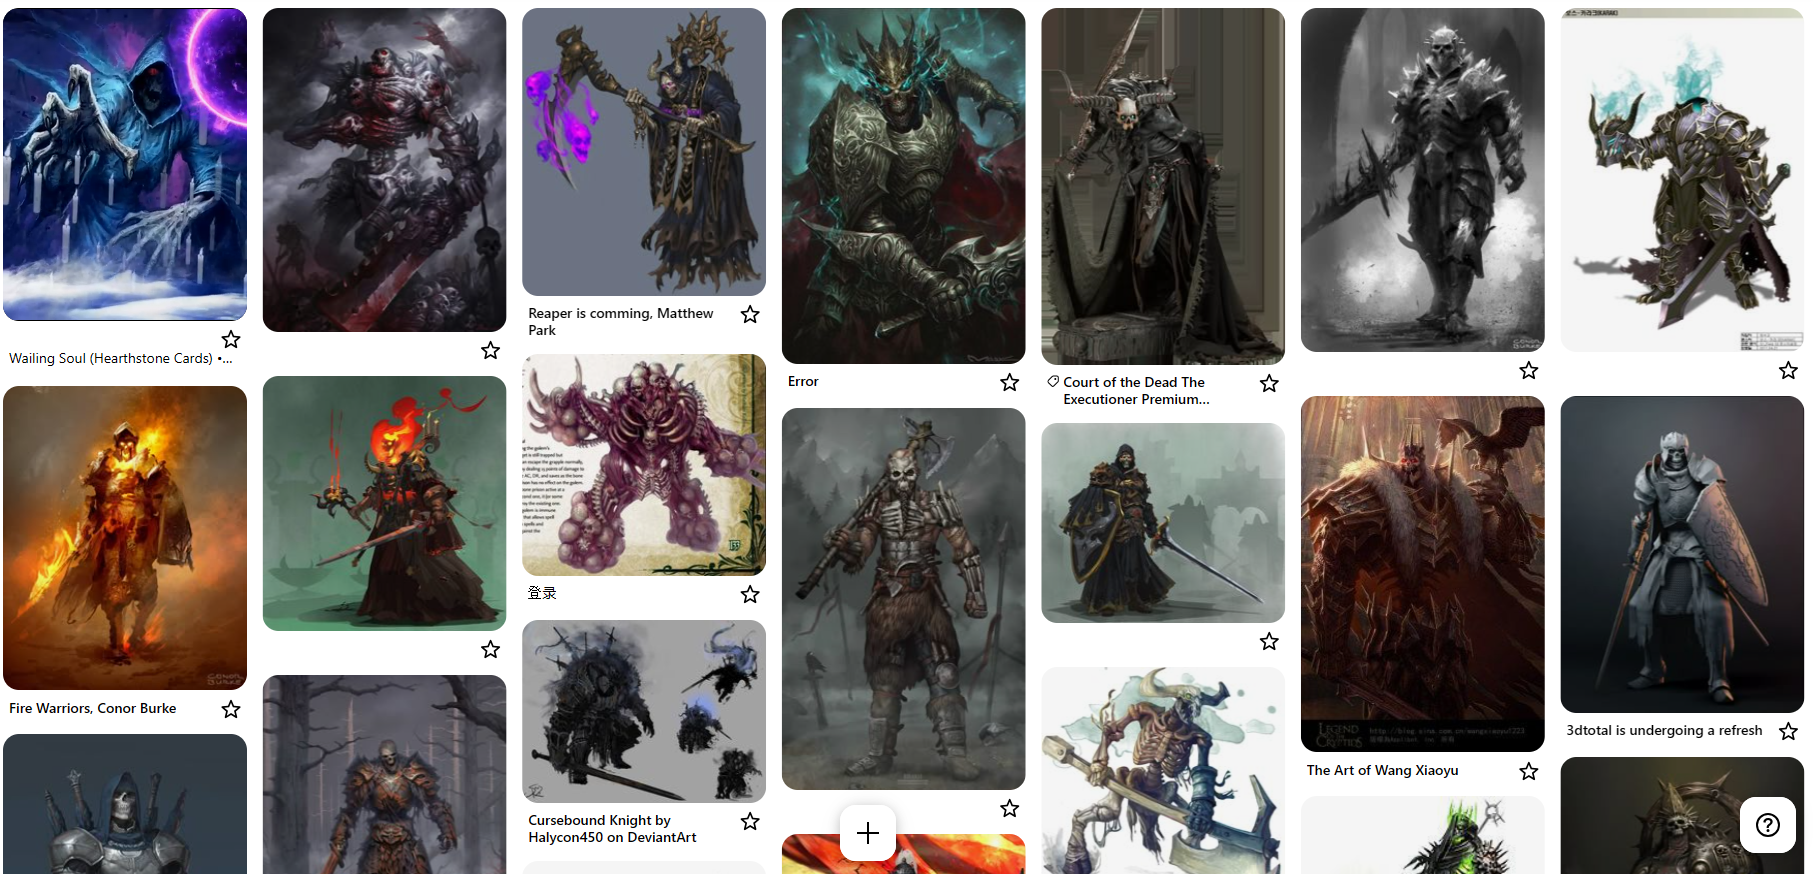
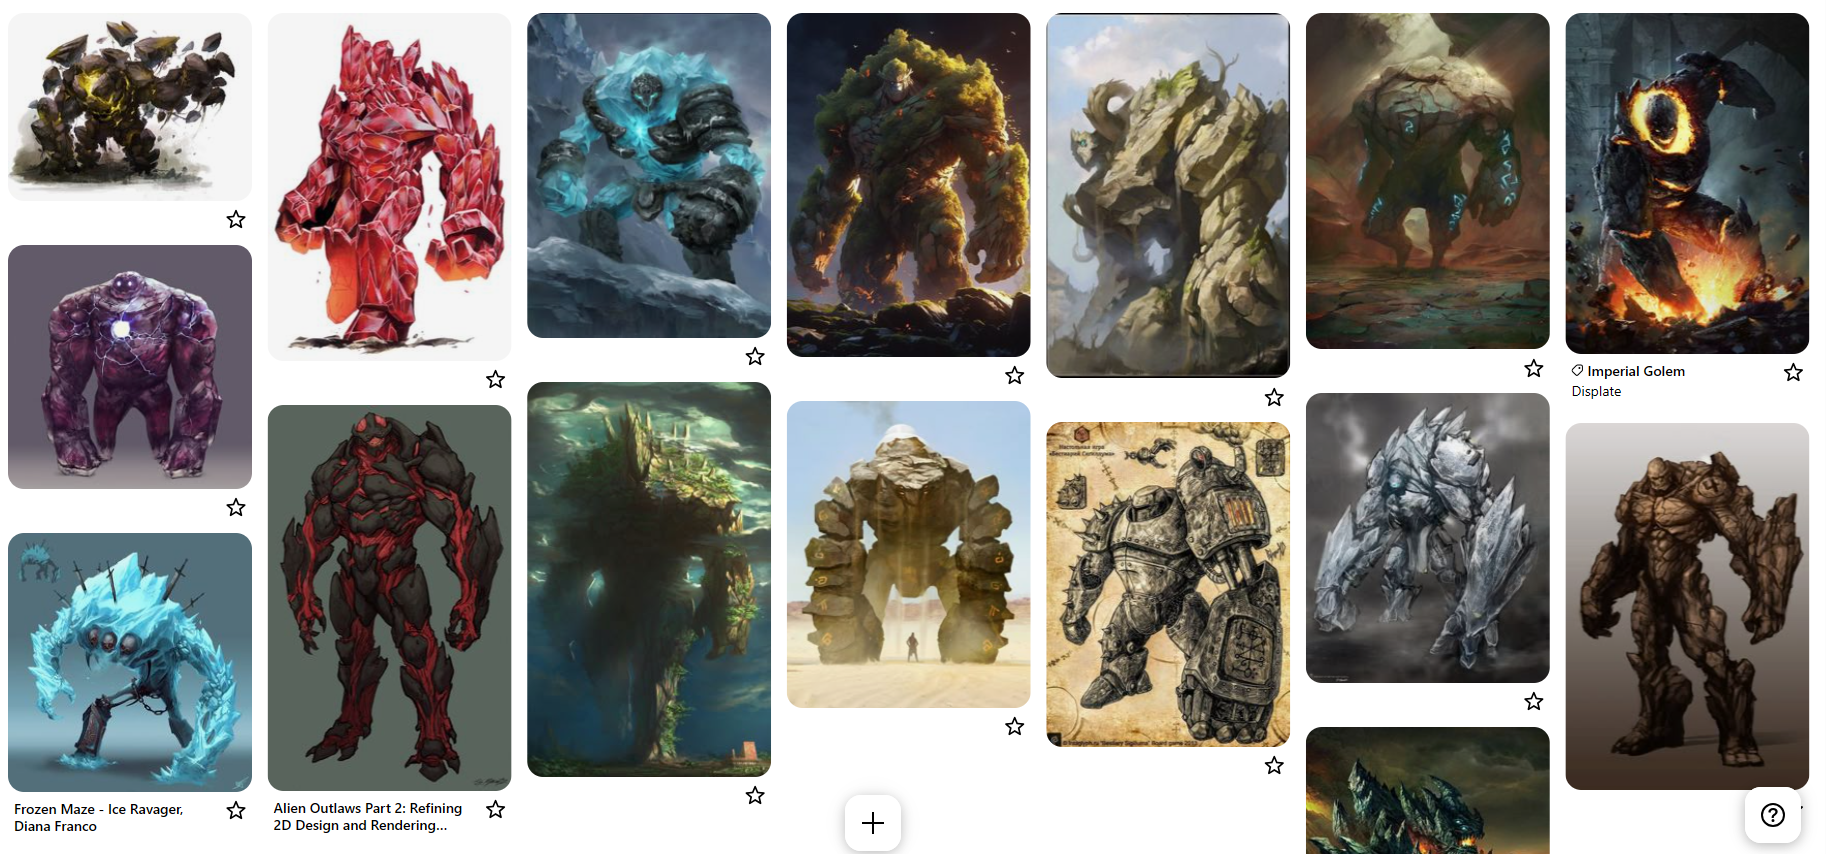
There's always a monster to draw, everywhere. You just have to find them. The simplest way is to do some Google searches and just see what comes up. You can search up games, movies, art books, artworks, wikis, Dungeons and Dragons, etc. Personally I use Pinterest. There you can search up a variety of monsters and save them into categories. These screenshots are from my Pinterest account.
Also be sure to have a clear description or definition in mind as you're designing monsters. For example, you may be trying to draw a dragon but you draw a wyvern because you didn't know they have a key difference in leg count!
Step 2 - Sketching
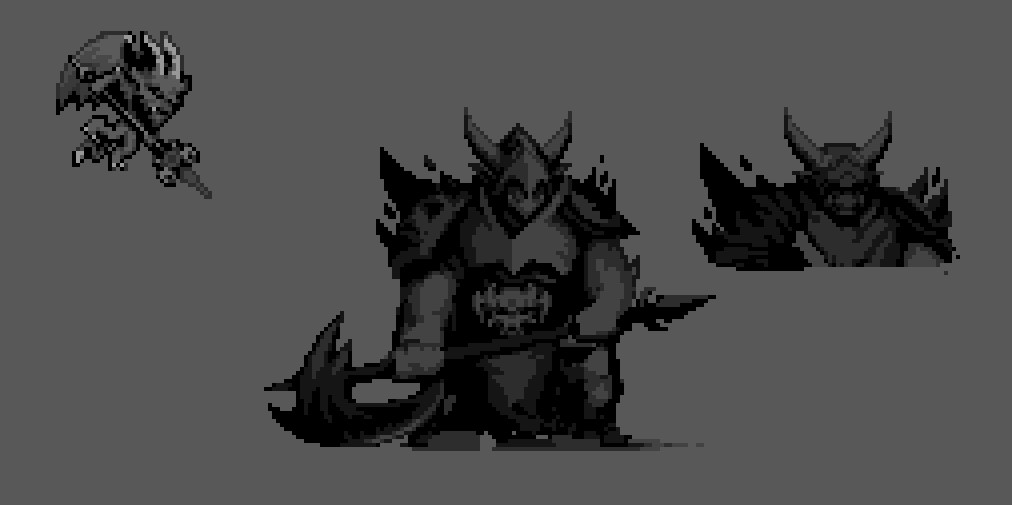
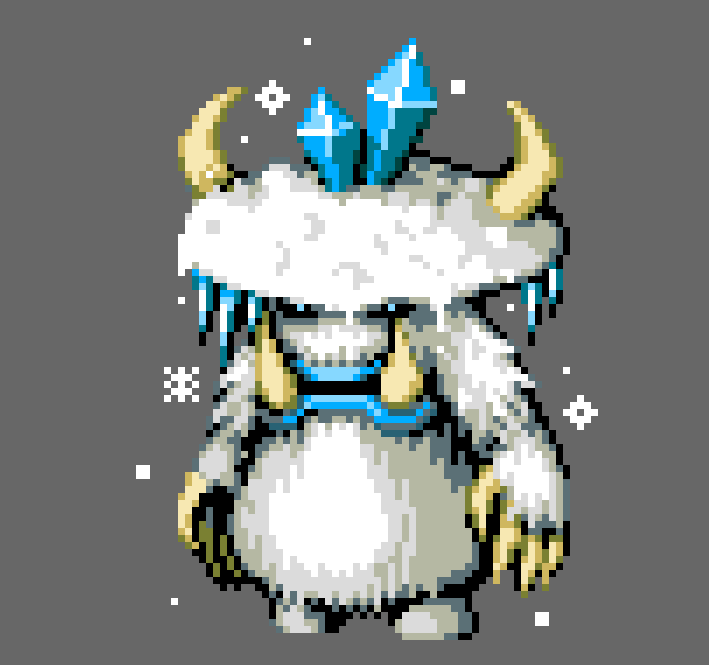
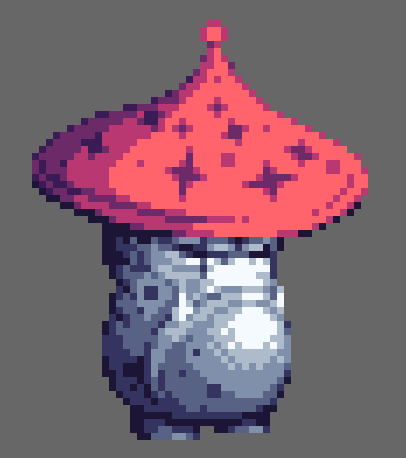
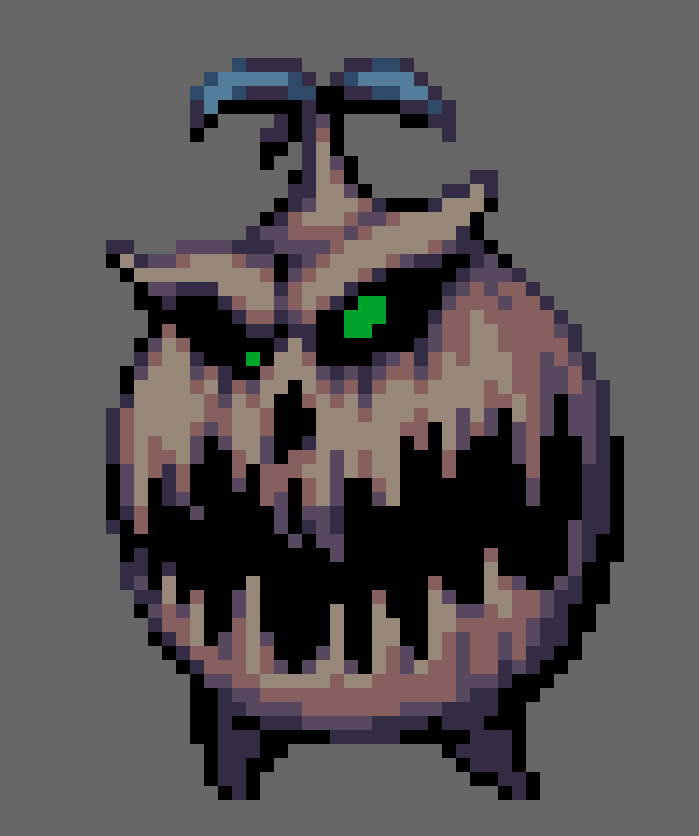
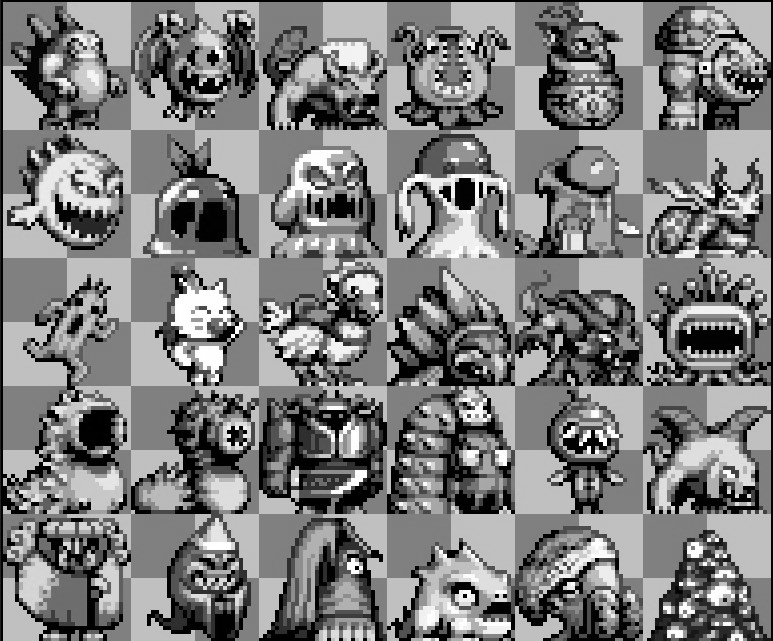
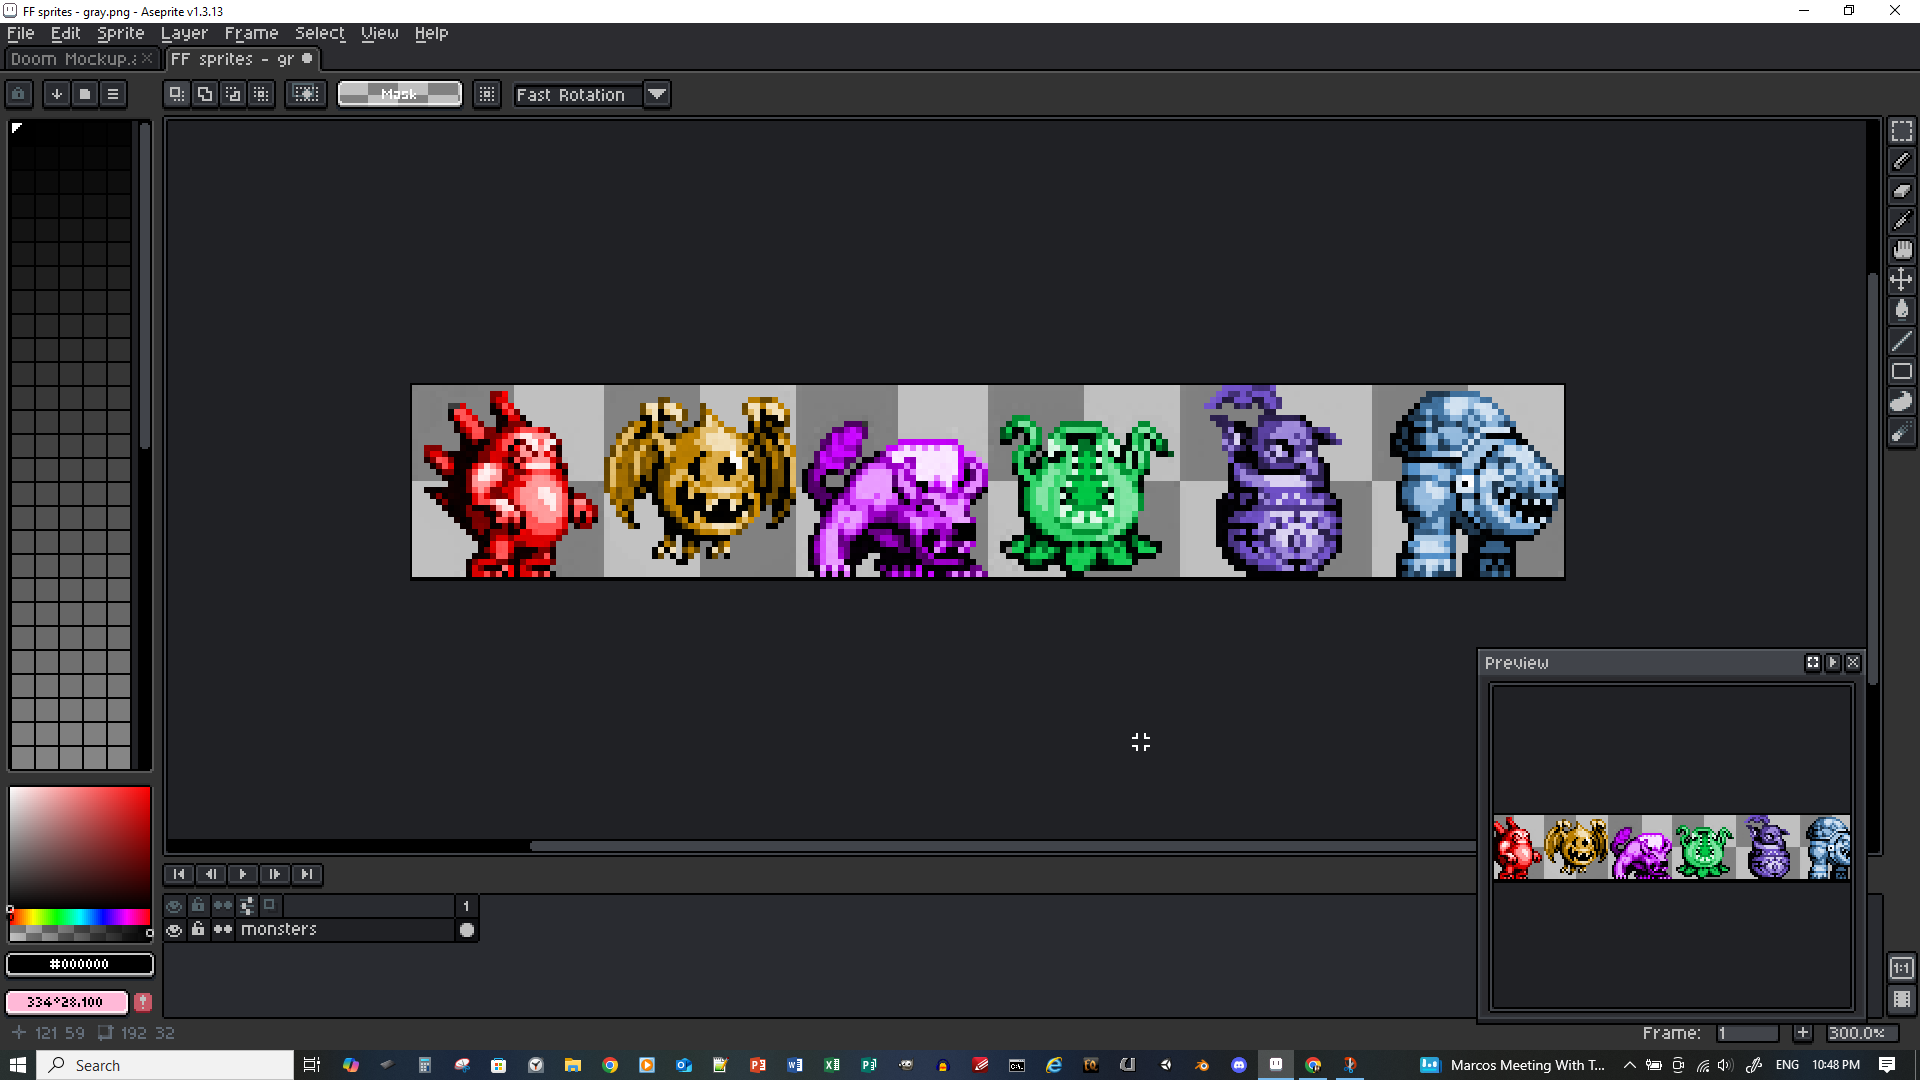
Once you have your idea, you're ready to sketch but you need a canvas, preferably not too big! Don't go making sprites as big as you want just because you can. If you do, you may spend a whole week on a single monster sprite, even worse if you have to animate it. The smaller your sprite is the faster you'll be able to sketch it. These Final Fantasy monster sprites I drew below are 32x32 pixels each and I drew each of them in 30 minutes or less. If they were even just another 32x32 pixels wider, they probably would have taken a considerably longer amount of time, possibly 45 minutes to an hour each. Though I understand that sometimes your sprites need to be bigger to fit in certain details that aren't possible at a smaller resolution. In these cases, go ahead and make your sprite as big as it needs to be but also keep in mind that you can sketch small then upscale later.
Another thing you can do to cut time is shade in grayscale or monochrome first then color later. This can help out a ton, especially when you are unsure how you want your monster to look at first and want to just experiment. It can be tedious to constantly pick colors for details that you're just going to end up scrapping later on so keep that in mind.
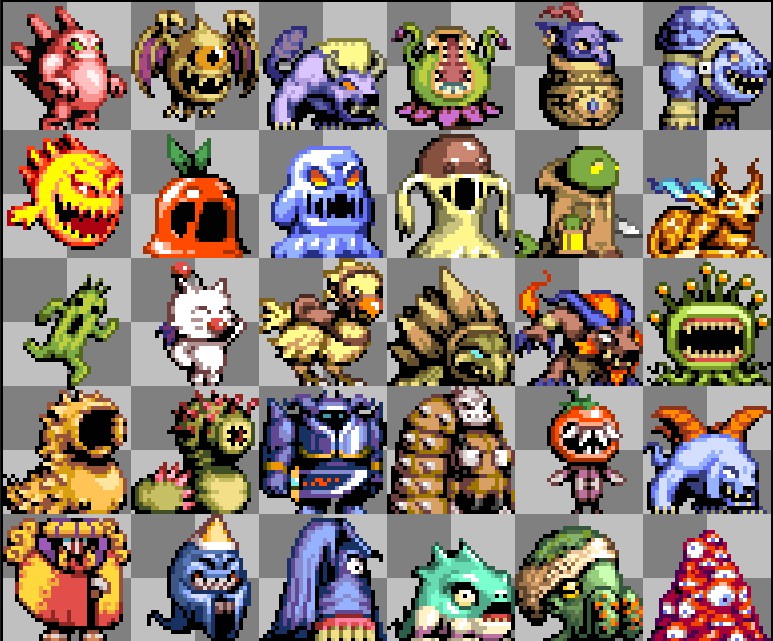
Step 3 - Coloring
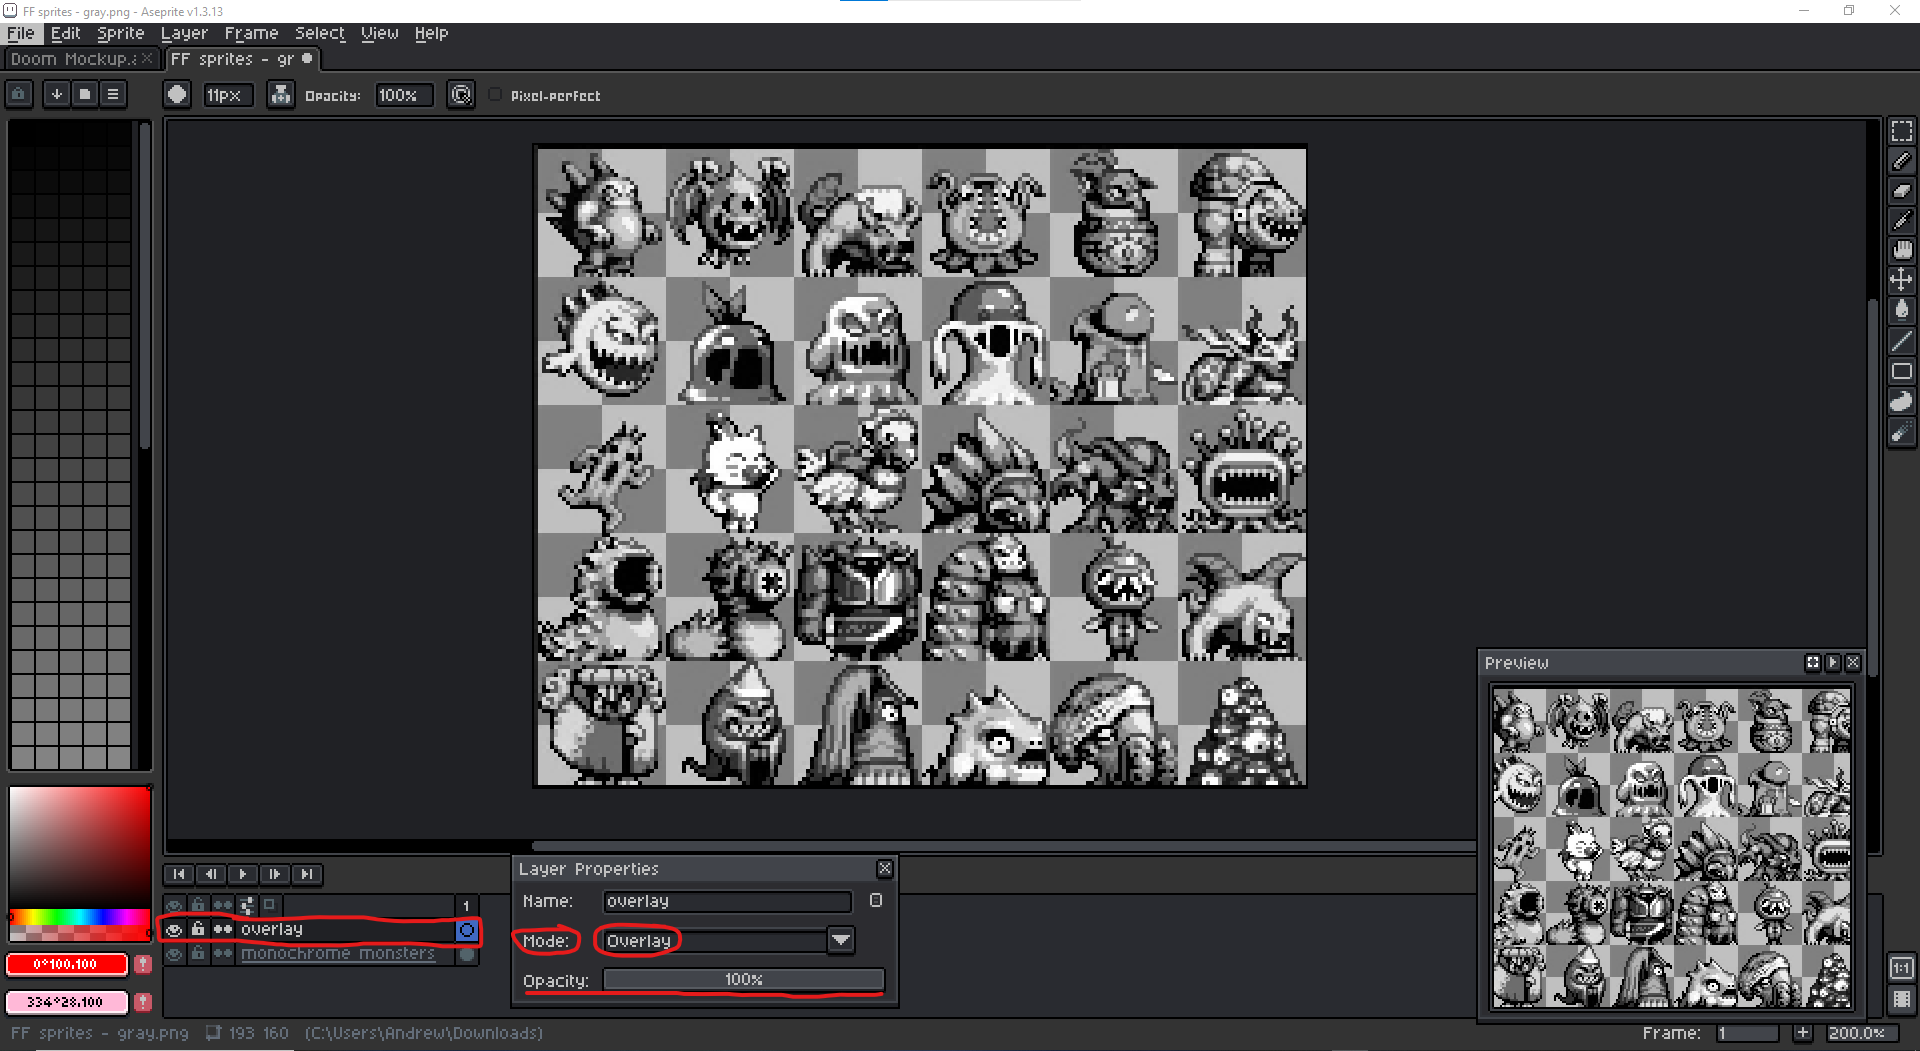
Okay so you've seen the finished sprites already, but let me take it a step back to show you how to get from A to B, hypothetically. If you have a grayscale monster, what you can do is apply a color "overlay". Essentially you can take a monochrome sprite and apply the base colors to that sprite while not having to worry about reshading! You can adjust the opacity of the overlay depending on how strong you want the colors. The colors won't look completely final because they'd lacked hue-shifting, but it's a quick way to start colors.
Let me show you how this is done in Aseprite. First you need your monochrome sprite on one layer, then add a new layer above it for the overlay. Now set the new layer's mode to overlay. Test out difference opacities for the strength of the color.
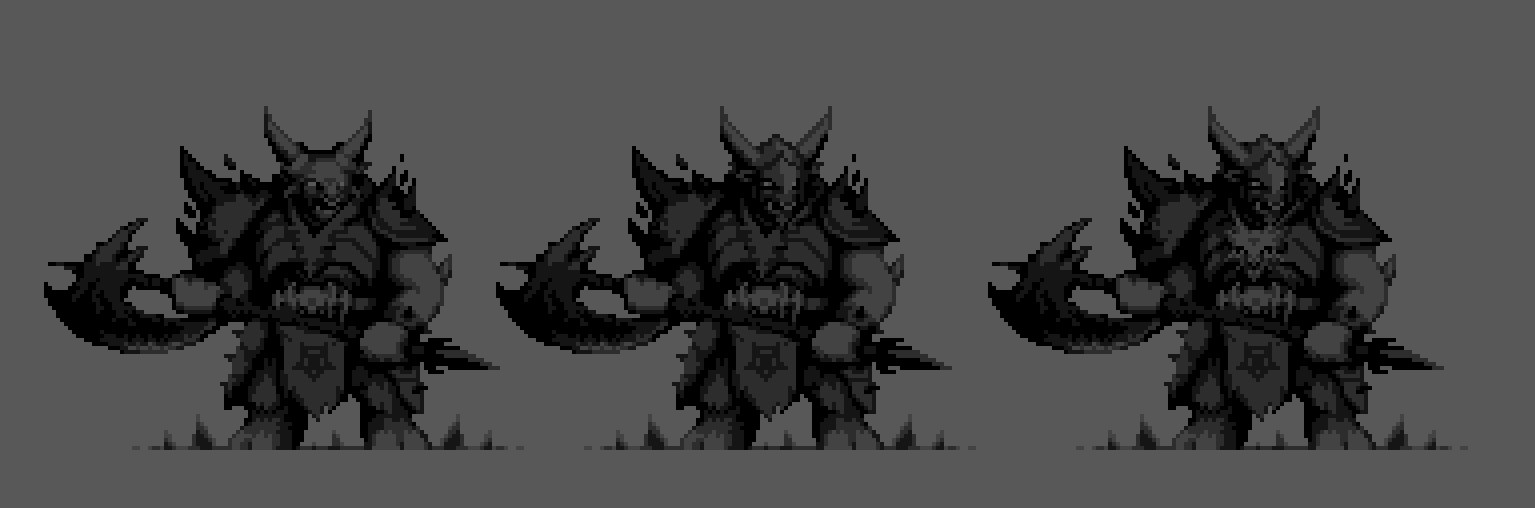
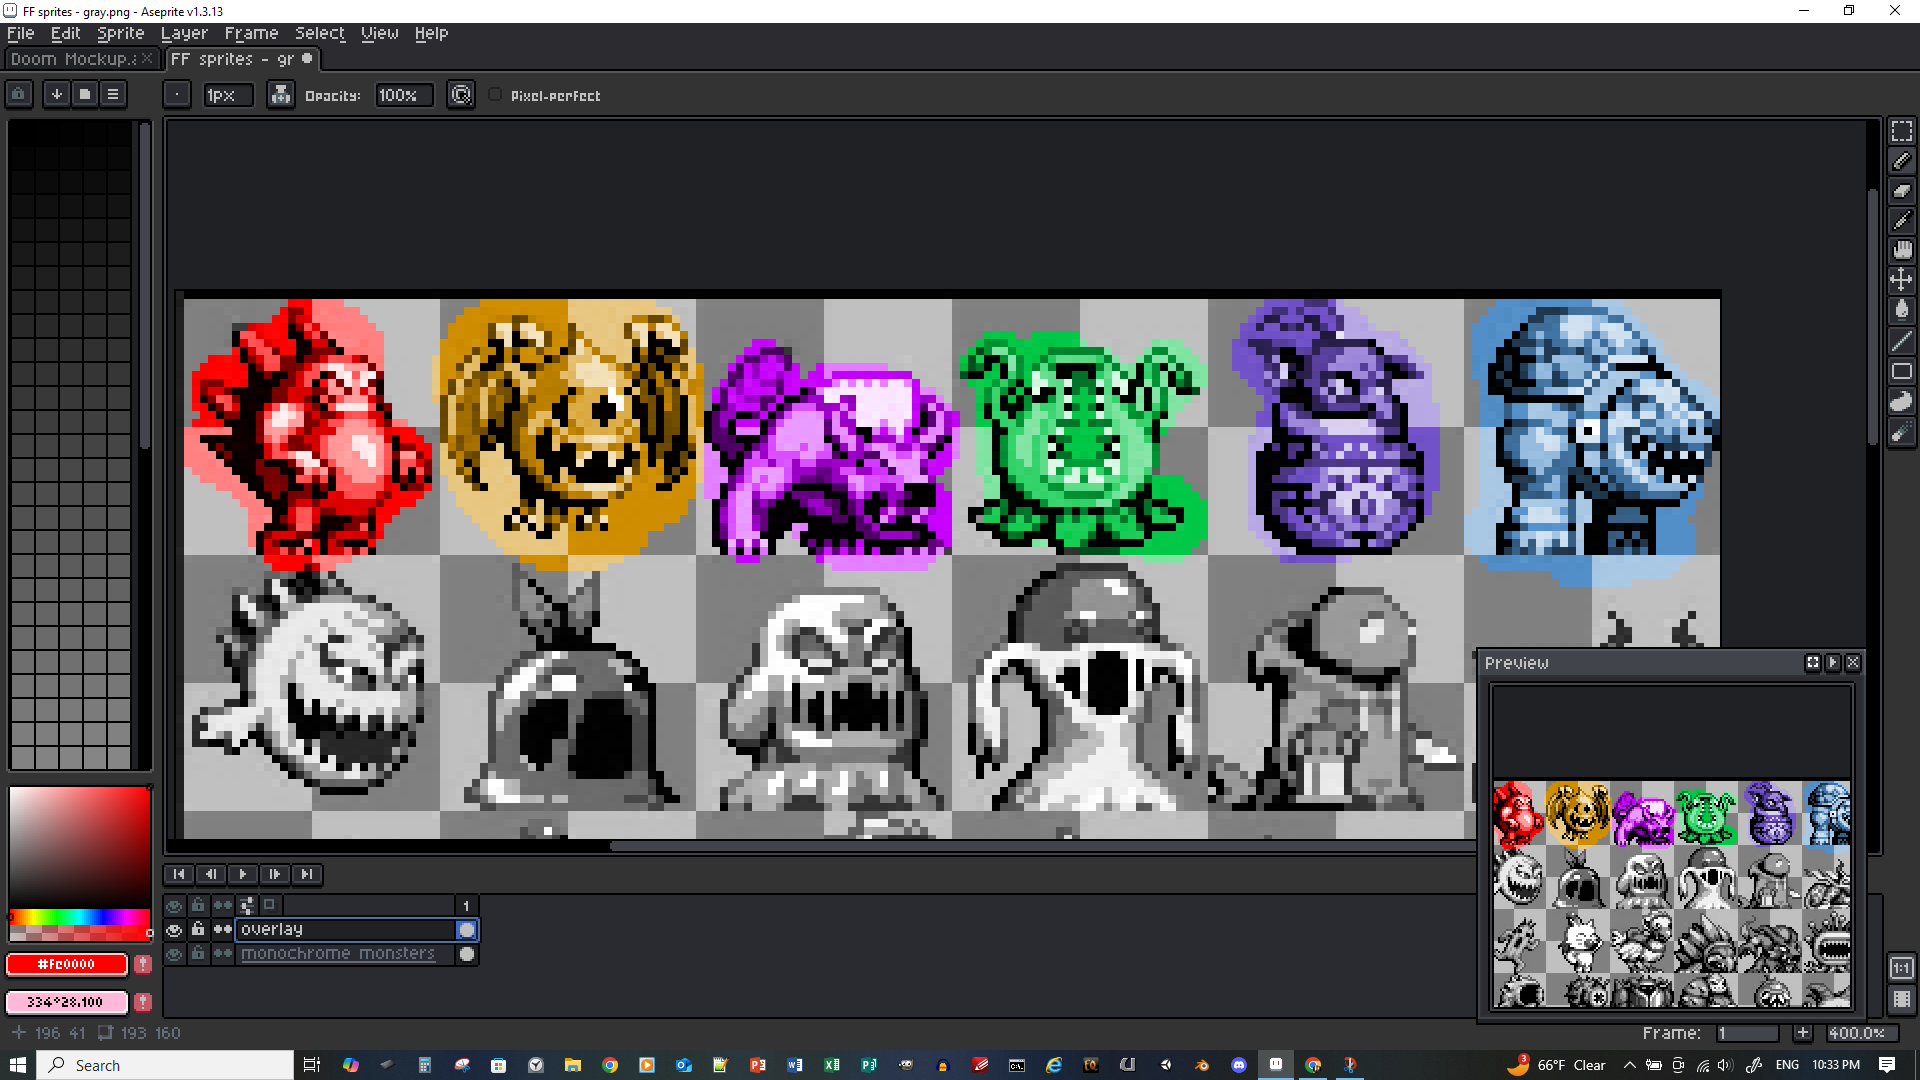
With the new layer you've just created, you can pick the base colors of your monster(s) i.e. red, yellow, purple, green, blue, etc. and just splash it around with a large brush.
Then you can merge the new layer onto the monochrome layer to get just one layer for simplicity, then erase the extra pixels. I'm just going to use the first row of monsters for this demonstration.
Now we have the base colors. From here, we can improve the colors, i.e. hue-shifting where shadows are more purple and highlights are more yellow. Start with the eye dropper. The eyedropper lets you quickly and accurately set your brush color to the color of any pixel on your canvas. Why are we doing this? The process involves picking existing colors then tweaking into the new colors we need. You can select the eyedropper manually from the toolbar

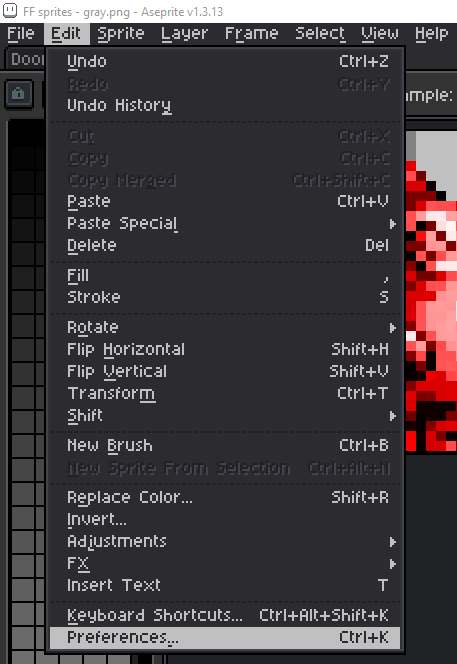
or set it as a your right-click shortcut in your "Editor" preferences. Go to Edit -> Preferences -> Editor, and set right click to "Pick foreground color".
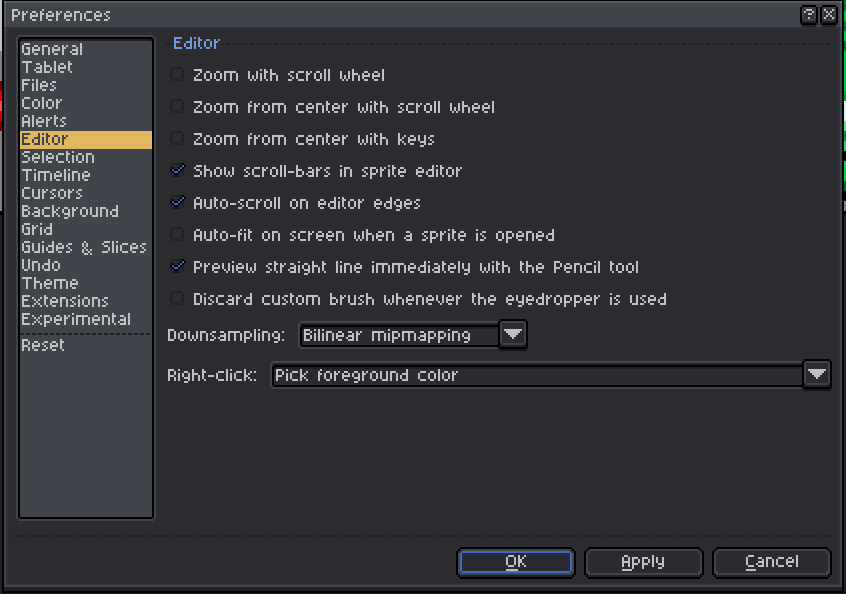
Be sure to apply the changes. Now you can right click on any pixel in your canvas to set the brush color to that pixel's color. For example I can pick the bright purple on the purple monster to steal that brush color.
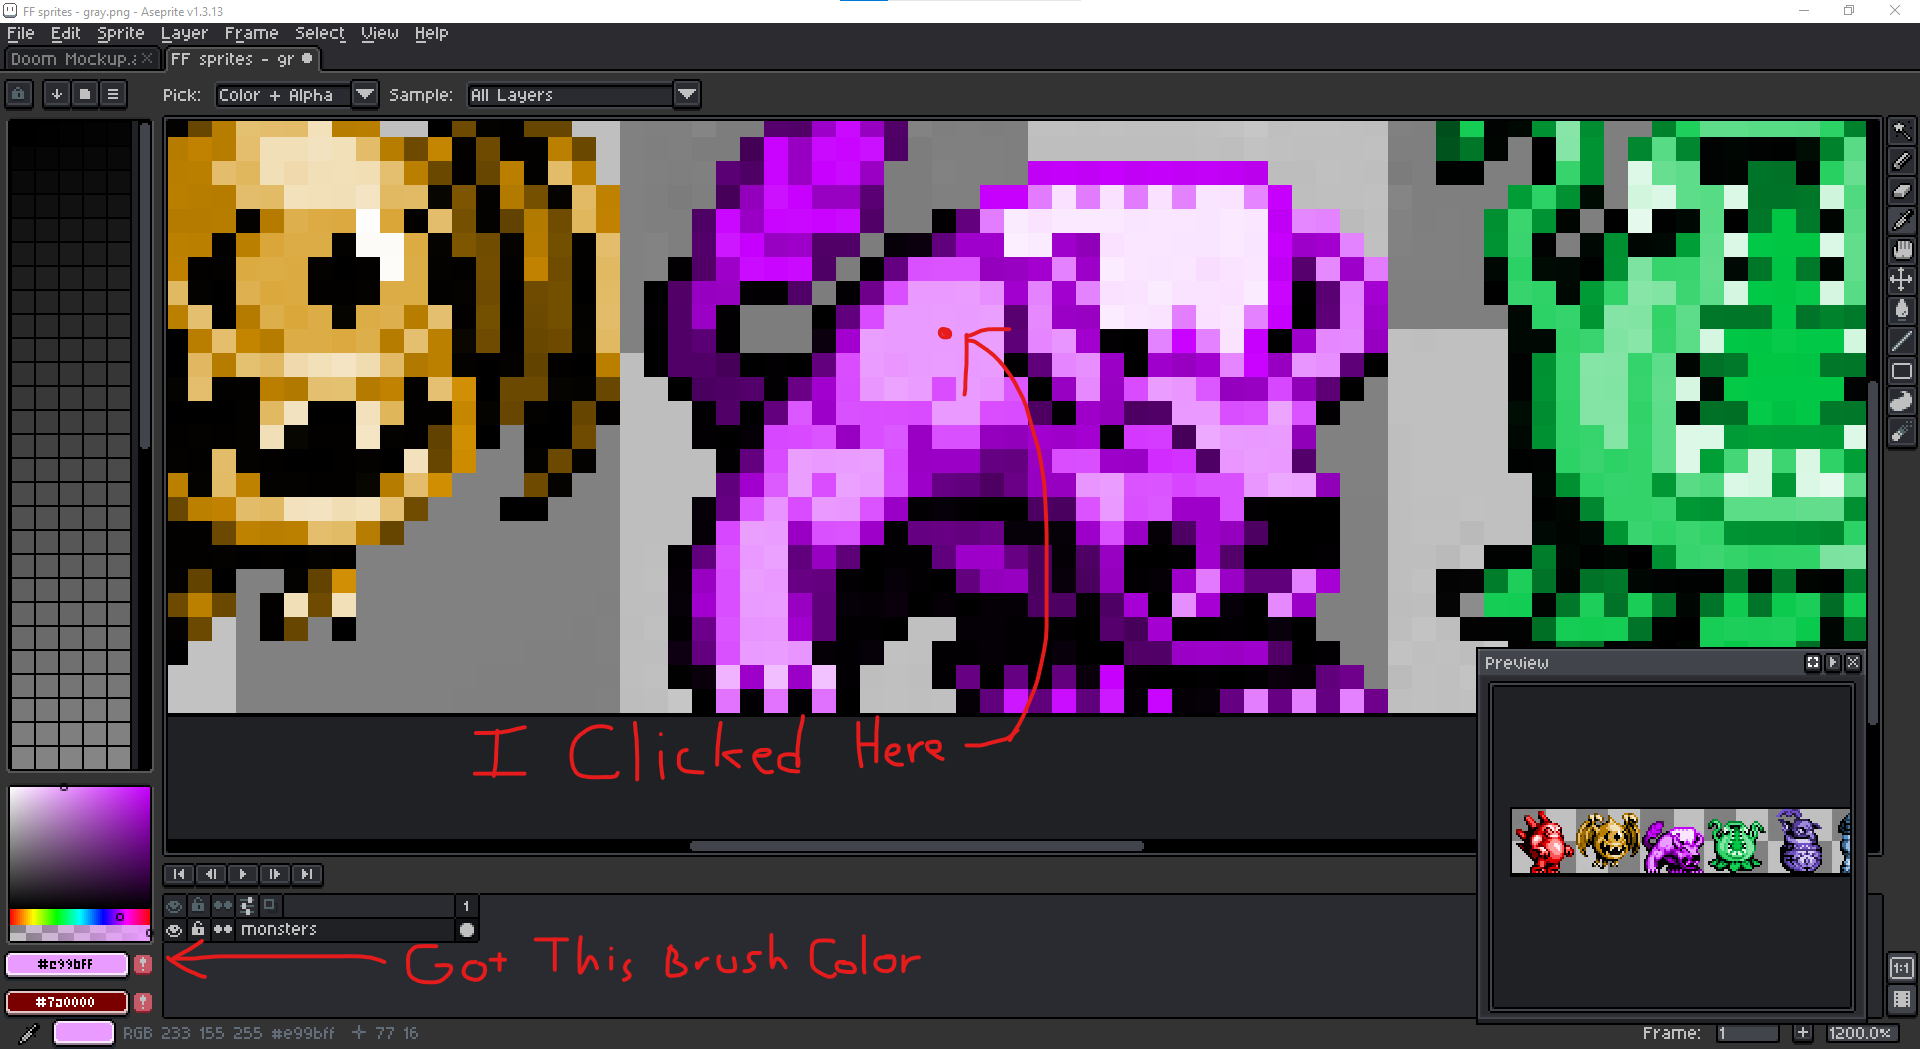
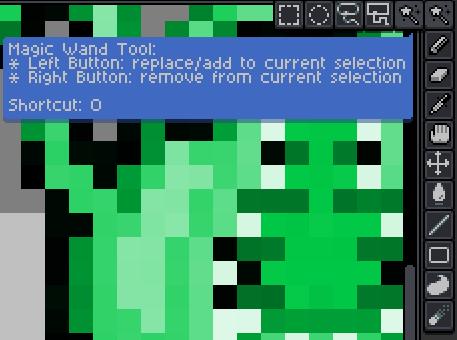
With that new brush color, we can tweak it with the individual property sliders to get a new, more accurate color we want. Since I'm trying to simulate hue-shifting, I'd slide the current purple color closer towards yellow, but not yellow just closer (sliding the hue to the right a bit, getting a pinkish color).
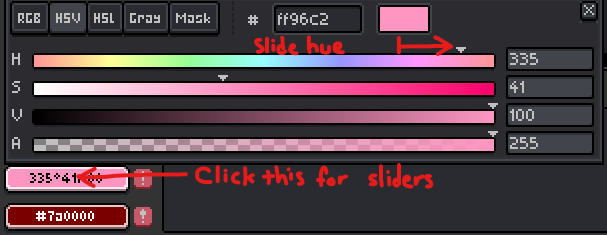
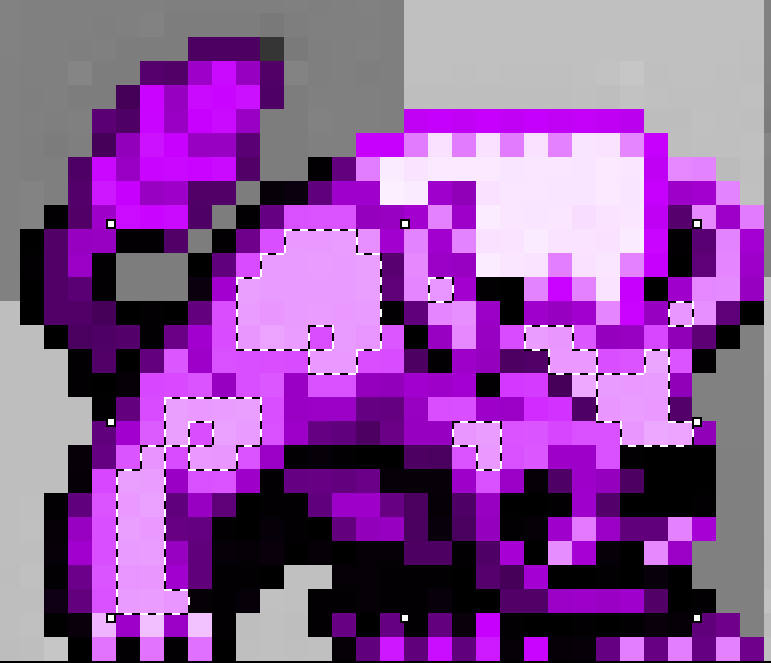
Now we'll need the magic wand.
This tool allows us to select multiple pixels of matching or similar color. The tool functionality depends on it's settings so I highlighted them in red. "Tolerance" determines how exact the wanted selection of pixels must match by color in order to be selected with whichever one we click. For example, if tolerance is set to 0 and there are 2 pixels, to select both, their colors would need to be identical or else we'd only be able to select the one we click. "Contiguous" means adjacent or touching. If it's turned on, then all the pixels we want to select must be in the same cluster of pixels as the one we click.
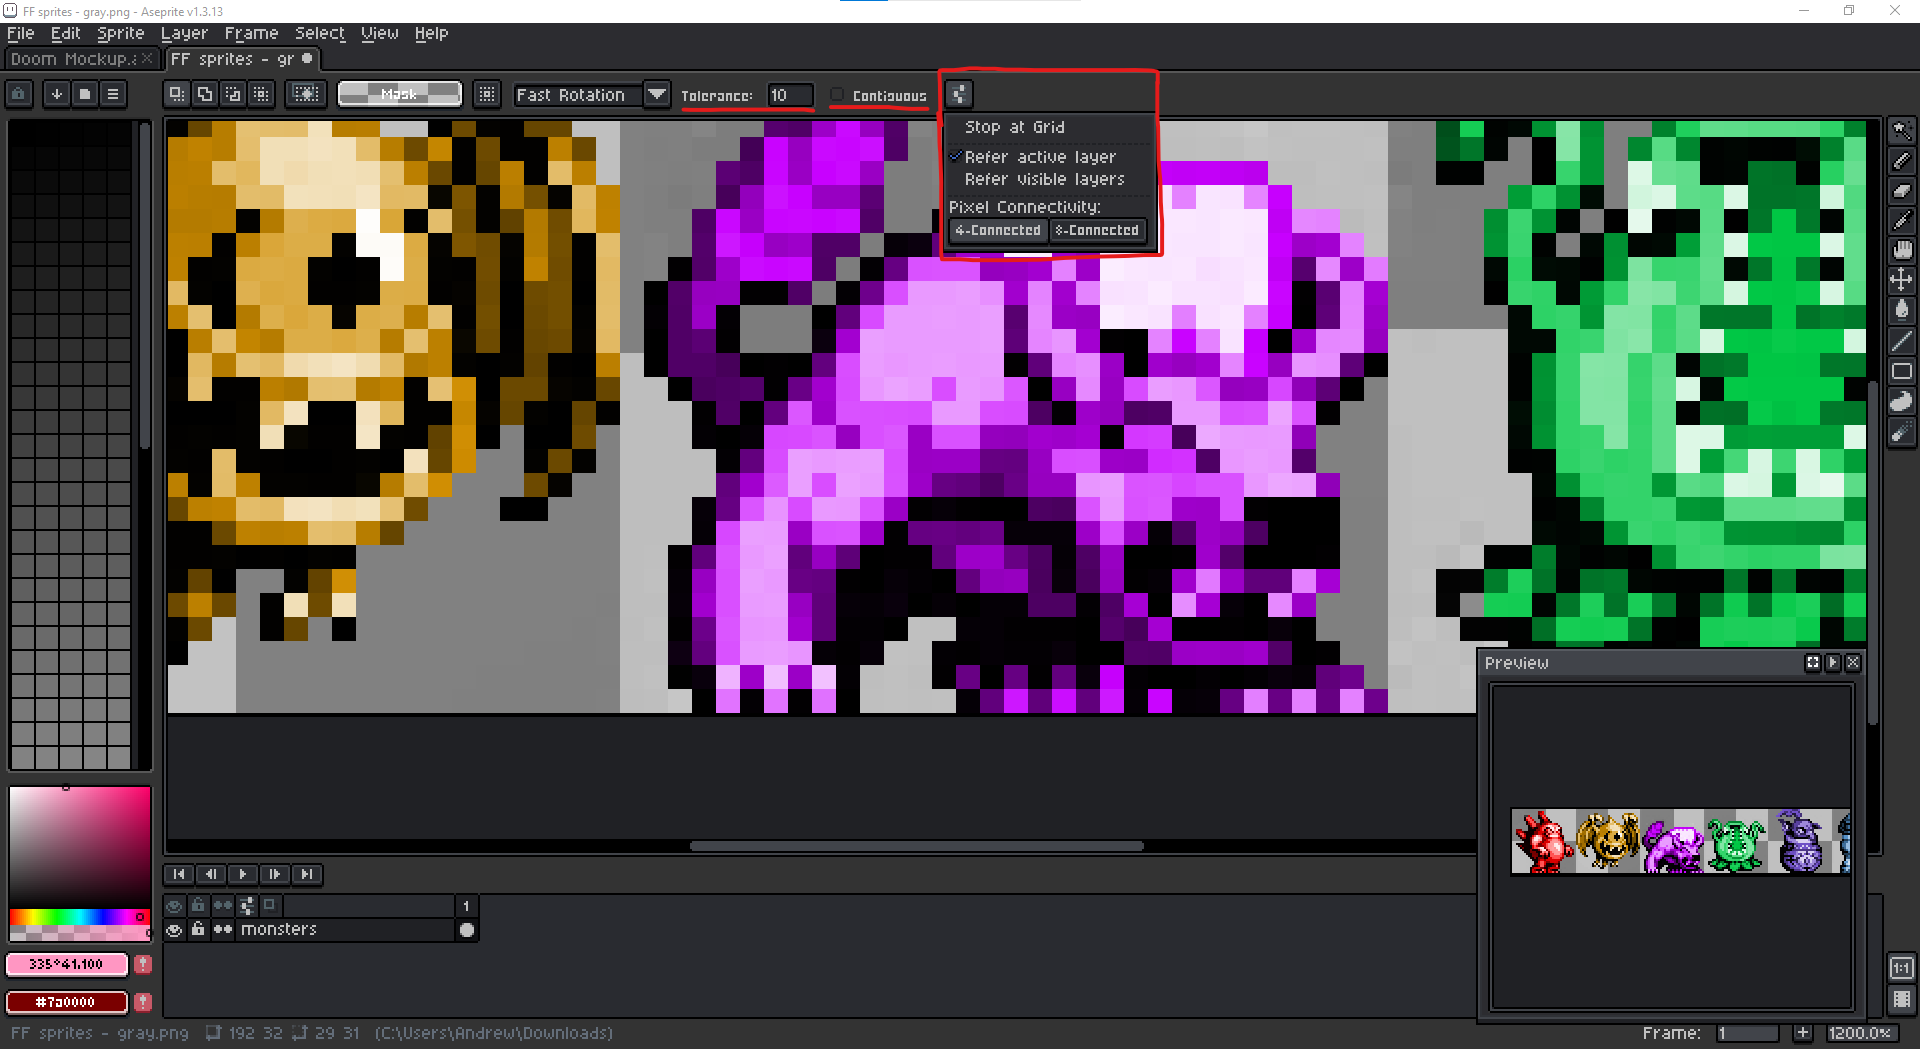
For this purple monster, I'd have contiguous off and tolerance set to 0, except this monster colors got a bit distorted and compressed at some point and I'm not sure exactly when, but my point is they aren't identical so I set the tolerance to 10 instead, but now we can click an individual color on the sprite we want to change and bucket fill it with the new brush color.

Below is a quick rough edit just using general color tweaking tools and techniques
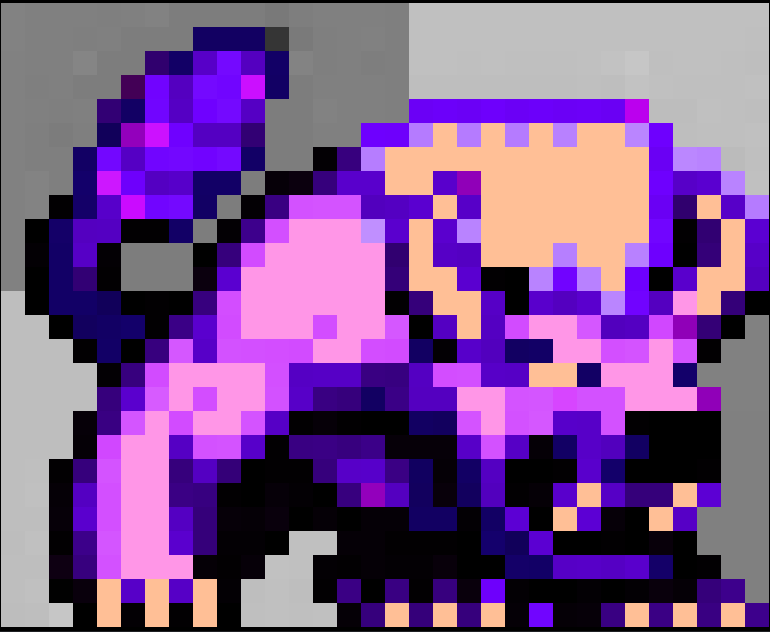
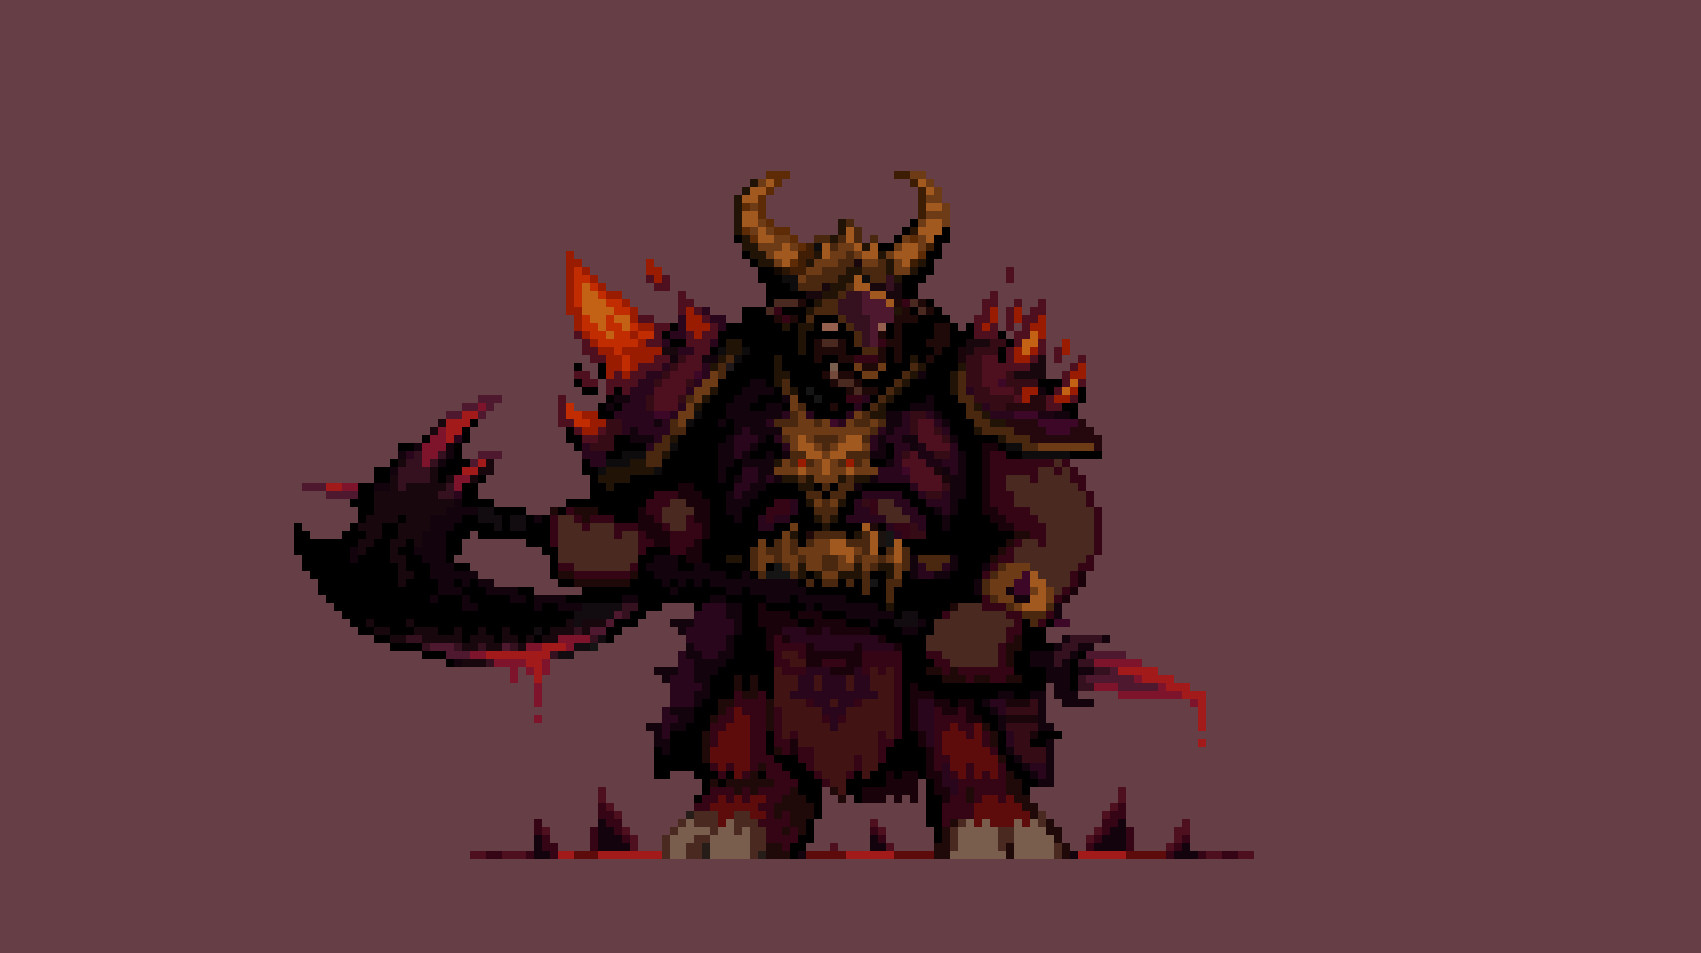
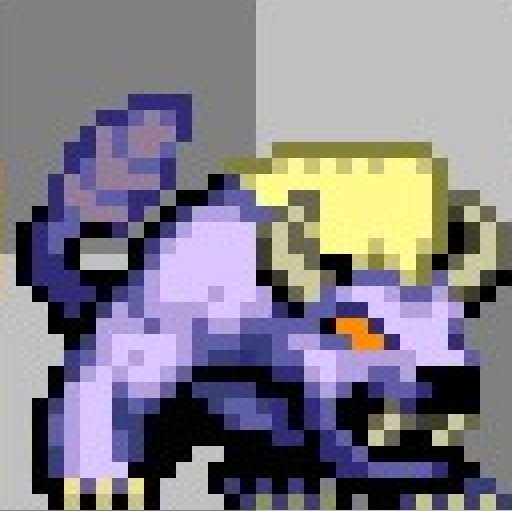
But it's mostly just to show you how the eyedropper and magic wand can be used to tweak colors quickly, in the end if I were to actually polish it all over again, it would end up looking like the one version below. All this combined is how sketch, design, and color monster sprites, except in reality monster sprites typically have more than one base color so when doing the overlay steps you'd have to use as many base colors as your monster needs for the different details such as the skin, the eyes, the hair, etc.
Anyway I hope my tips help and make designing monsters more enjoyable! See you in another tutorial someday!