
Tutorial 1: Basic setup
Part 1: The sprites
The most simple avatar can be created using only a single layer and two images.
Top tips:
- Most controls have sliders to input a value, but if you want to type in your own numbers, you can hold Ctrl and Right-click the slider, and it will become a text box. You can usually type numbers outside a slider's range, too!
- Hovering over any button or control will give you an explanation of what it does.
Creating a layer set
A Layer Set is the format in which your avatar is saved. Think of it as a project file. It contains all the information about where your sprite images are located, along with the details about their movement, animations, and any States set up to modify them.
There are 3 options for the Layer Set interface, which can be chosen in the Advanced menu, under Appearance. Pick whichever suits you best!


With the default ("Buttons") Layer Set UI: Start by pressing the "New" button (first on the left). 
You will be prompted for a save location and filename. I recommend keeping your XML files in the RahiTuber directory, but they should work anywhere.
With the "Menus" UI, press File > New, and you will be prompted for a save location as above.
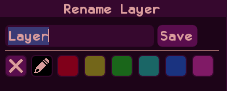
If using the "Legacy" Layer set UI: Start by typing a name for your avatar in the “Layer Set” box. Press the Save button to create your file. When the file exists, the “Save” button will change to say “Overwrite”, so you’ll know if you’ve already used that name before.
| Important: RahiTuber has no "undo" function (currently). The recommended workflow is to save your layer set each time you do something you like, and use the "reload" button to "undo". |
Now you can create a layer. Do this with the "Add Layer" button.
The layer has more buttons on its header bar. From left to right:
Visibility, Move Up, Move Down, Rename, Duplicate, and Delete.

You can rename your layer anything you like, and even pick a colour for it to keep things organised.
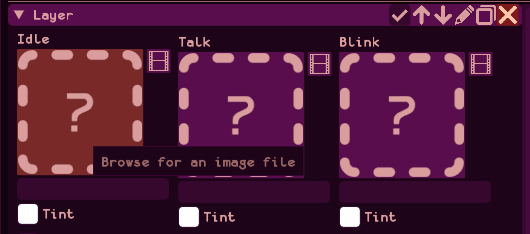
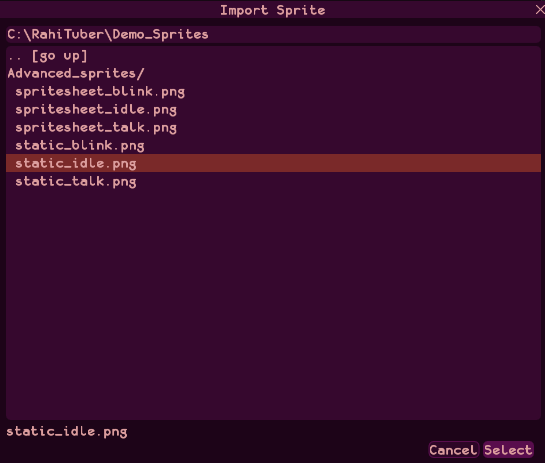
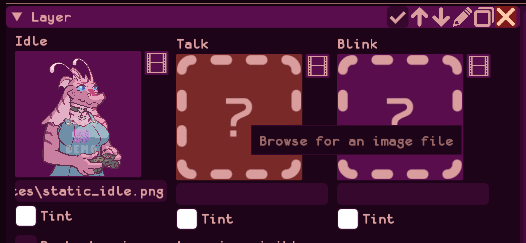
Click the layer header to expand it. Now you can add an image for your idle sprite. This will be visible while you’re not talking. I’ll use the files in the Demo_Sprites package available as an optional download from itch.io. The idle sprite is called “static_idle.png”. First, click the “?” box, then select the file you want.
Once you've added an image, you might want to change the composition settings. These define the way that the layer is blended onto the canvas - the most important one you might need is the "Scale Filter" option. The default is "Nearest Pixel", but if you have art with smooth lines and soft edges, you might want to go for "Linear" instead.
Next, add an image for your talking sprite. This one’s called “static_talk.png”.
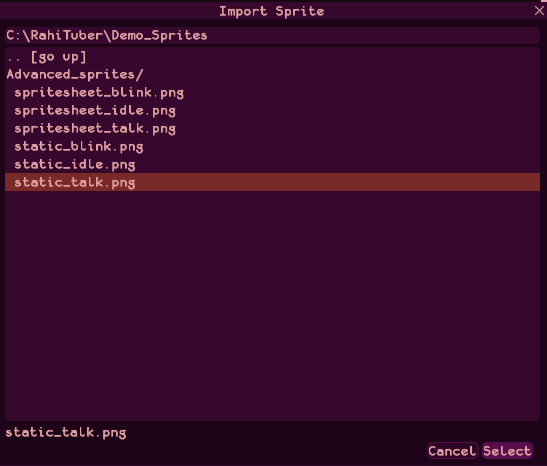
While this is already a functional avatar, we can also add a “blink” sprite to give it a bit more life. That’s “static_blink.png”.
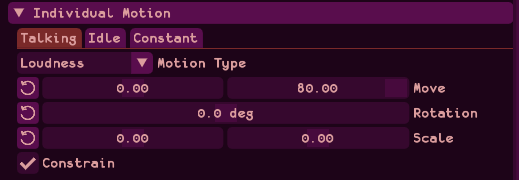
There are other options automatically enabled to give your character some motion. These are located in the "Individual Motion" section, under the Talk and Idle tabs.
The Idle motion is set up to move and scale your avatar to give the impression of breathing. By default, this will only occur while your character is not talking, but you can change that with the "Continue Whilst Talking" option.
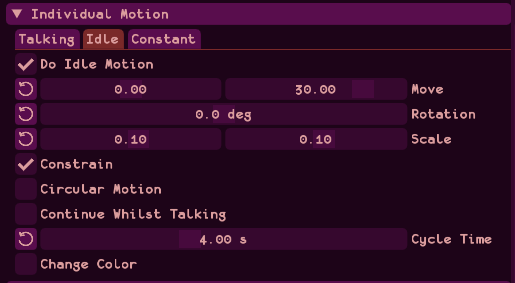
The Talking motion is set up to move your sprites up and down while you speak. This can either be driven by the loudness of your voice, a constant regular bouncing motion, or just a single bounce each time you start talking.
Changing the position
For each layer, you can adjust the position using the "Transforms" section:
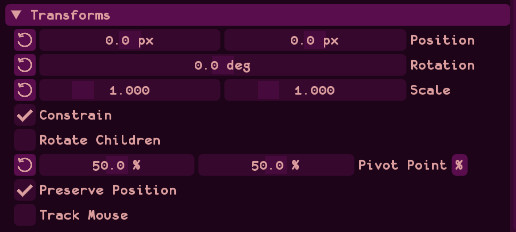
This is also where you can adjust the Pivot Point (the spot the layer rotates and scales around), and you can also enable Mouse Tracking here.
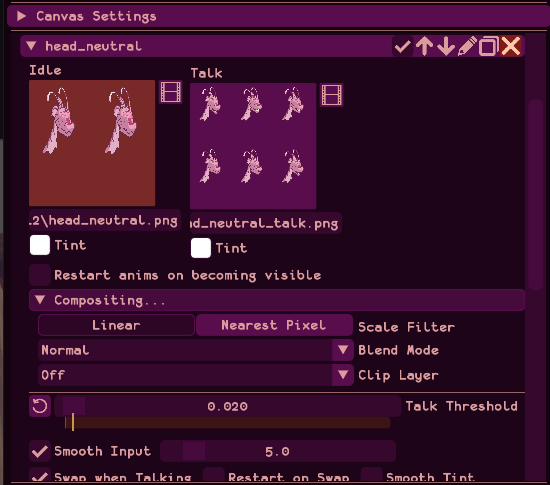
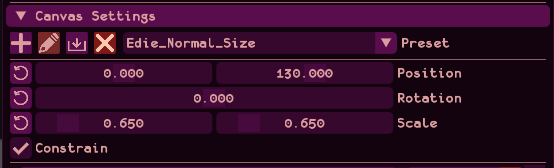
If you have a setup with more layers, you can adjust the position of all of them at once using the Canvas Settings section found above all the layers:
Part 2: The audio
At the bottom of RahiTuber’s menu you will find the “Audio Input” section. Here you can select the microphone you want to use as input.
If you click the Audio Input title, some more options will become visible. You can use these to tweak the overall behaviour in response to your voice (below, you can see my preferred settings), but it’s best to leave these alone until you get a feel for how the avatar moves on the default settings.

On your avatar’s layer, check beneath the sprites.
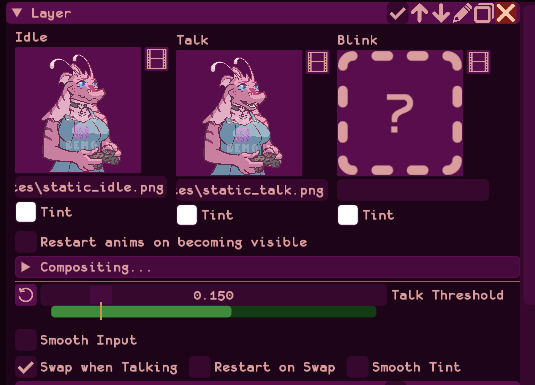
You will see a “Talk Threshold” slider. When you speak into the microphone, the bar will light up to show your current speaking volume, and turn green when that volume passes the threshold set by the yellow bar. Speak normally into your microphone, and adjust the slider until the bar turns green for each syllable you speak, but goes red when you’re not talking.
If the green bar always goes past the end, or is always too low, then you may need to adjust the "Max Level" option in the audio settings. This describes the maximum volume that RahiTuber can expect to hear from your mic - so if you have a quiet microphone, it will need to be lower, and for a loud microphone, higher.
Press Esc or right-click to close the menu, and talk into your microphone - the avatar will now bounce and open its mouth while you’re talking!
Don't forget to Save your Layer Set once you're happy with it!