Hey everyone! I've been planning to make an art discussion series about a Doom mockup. It's been tricky for me to decide if I actually want to do this or not because it's a fun idea, but it's not so straightforward like a tutorial would be. So with that said this is probably just going to be a series of discussions about how I'd draw a Doom mockup.
Now if you don't know what Doom is, they're a series of games (gory games) about a Mars space marine battling and killing demons trying to invade humanity. These games are very gory because they often take place in hellish or futuristic environments with a lot of brutally tortured corpses littered throughout the maps as well as brutal combat happening between you and the enemies. So if you don't like gore, you may have to avoid these discussions. The games are first person shooters but I plan to do a top down pixel art version instead and maybe have a level layout similar to a classic Zelda game or dungeon crawler. I've gathered some screenshots of Doom so here they are. You've been warned!
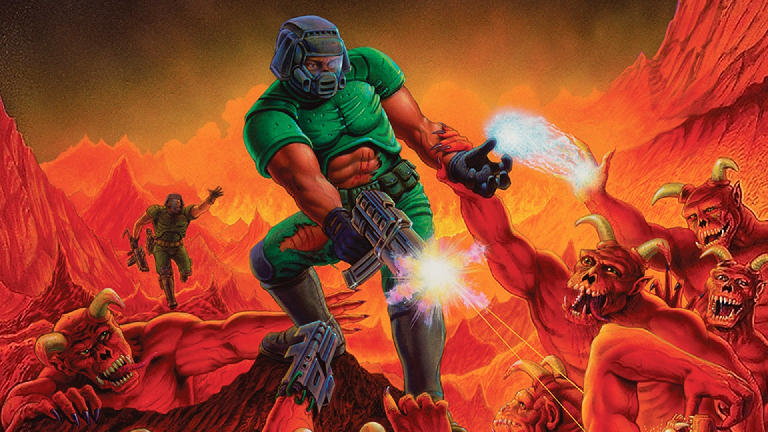
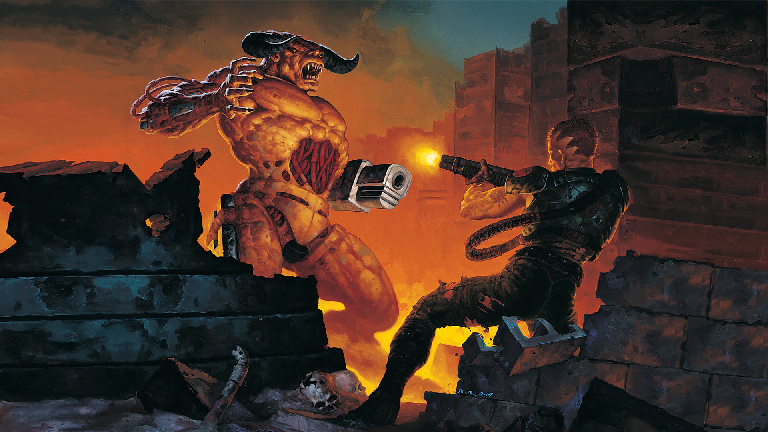
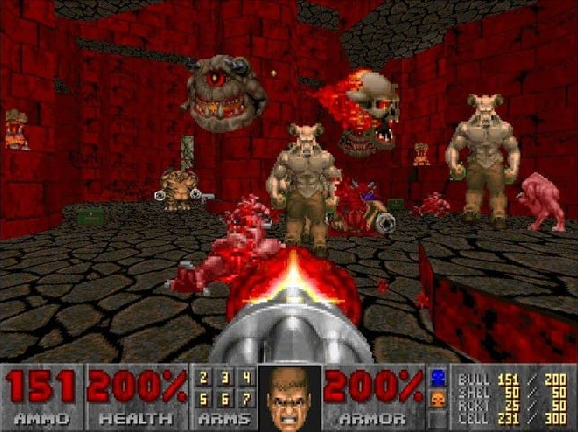
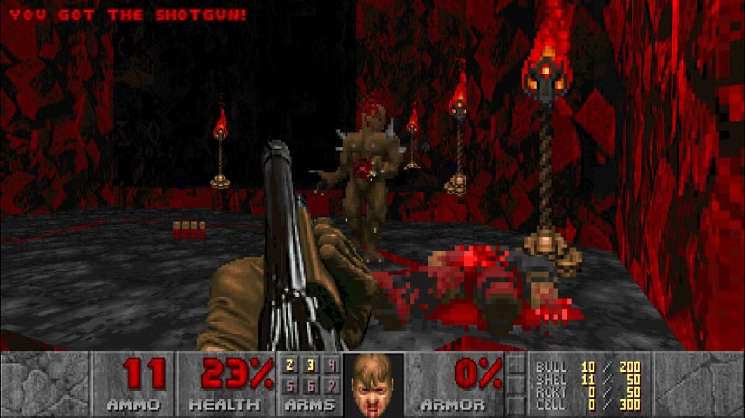
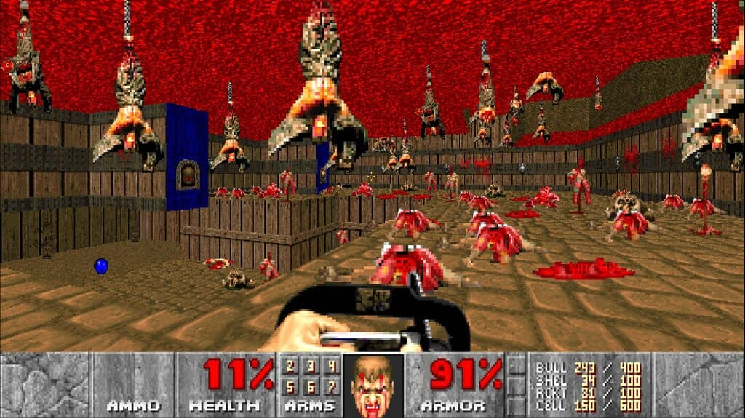
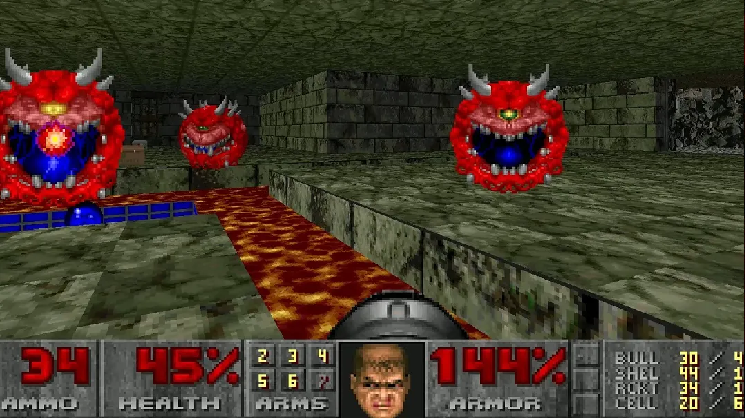
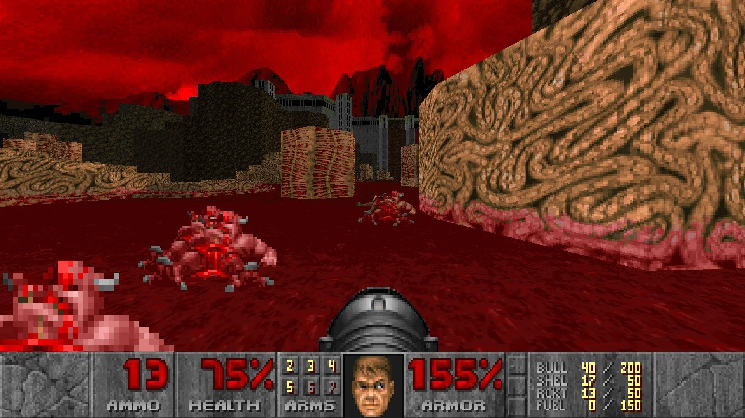
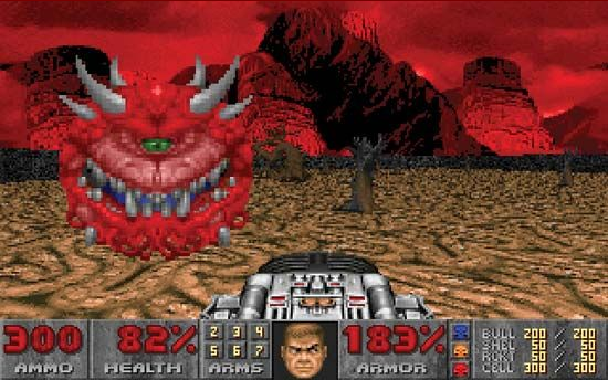
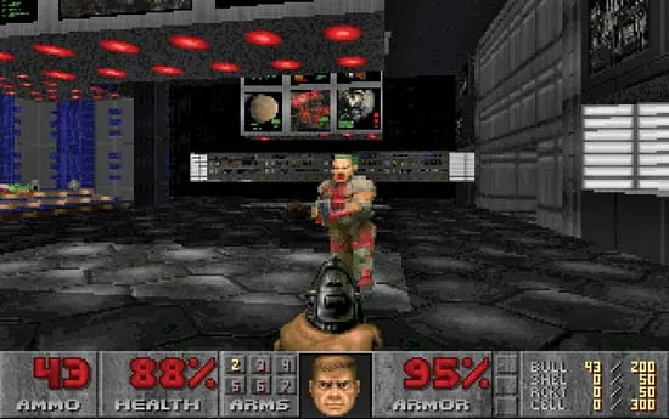
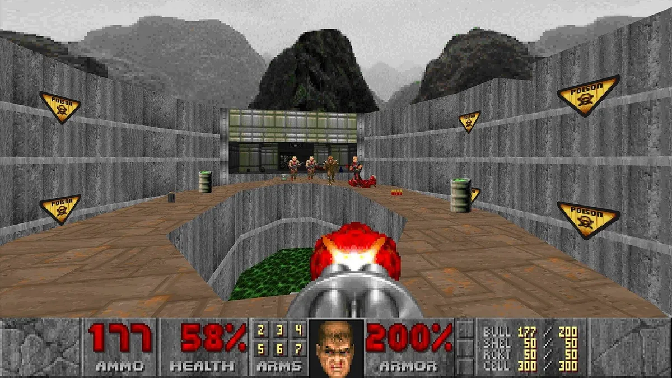
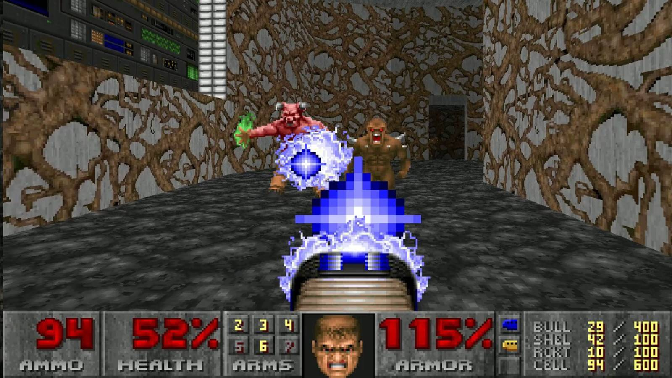
...and then we have Zelda over here. A peaceful game.

So what I want to do is basically just slap the two ideas together (Doom and Zelda) and end up with a cool mockup that I can show around to people who like gore! Not really. I just want to have more mockups in my portfolio. My portfolio is found on Cara, but unfortunately Cara doesn't allow NSFW content, so at the very least I will save it on my Google Drive account.
Getting Started
The first thing I do when I plan a fan mockup of a game is try to characterize what makes that game. For example, common things that characterize Doom games are hellish or sci-fi environments littered with dead bodies and demons that inhabit the levels, but classic Zelda games commonly have an overworld that has puzzly navigation elements such as upper and lower floors that the player can't always easily navigate to and from unless he finds stairs or ramps to climb, or rivers that can prevent the player from crossing unless they have learned to swim. After that, I have to decide which characteristics I want from both games to display in my scene because I can't fit all of them into the mockup. For example, I probably can't fit every single Doom enemy type into the mockup because we just don't have enough space here for that. But once I've decided on the characteristics I want from both games, I try to make a sketch that fuses the two ideas together.
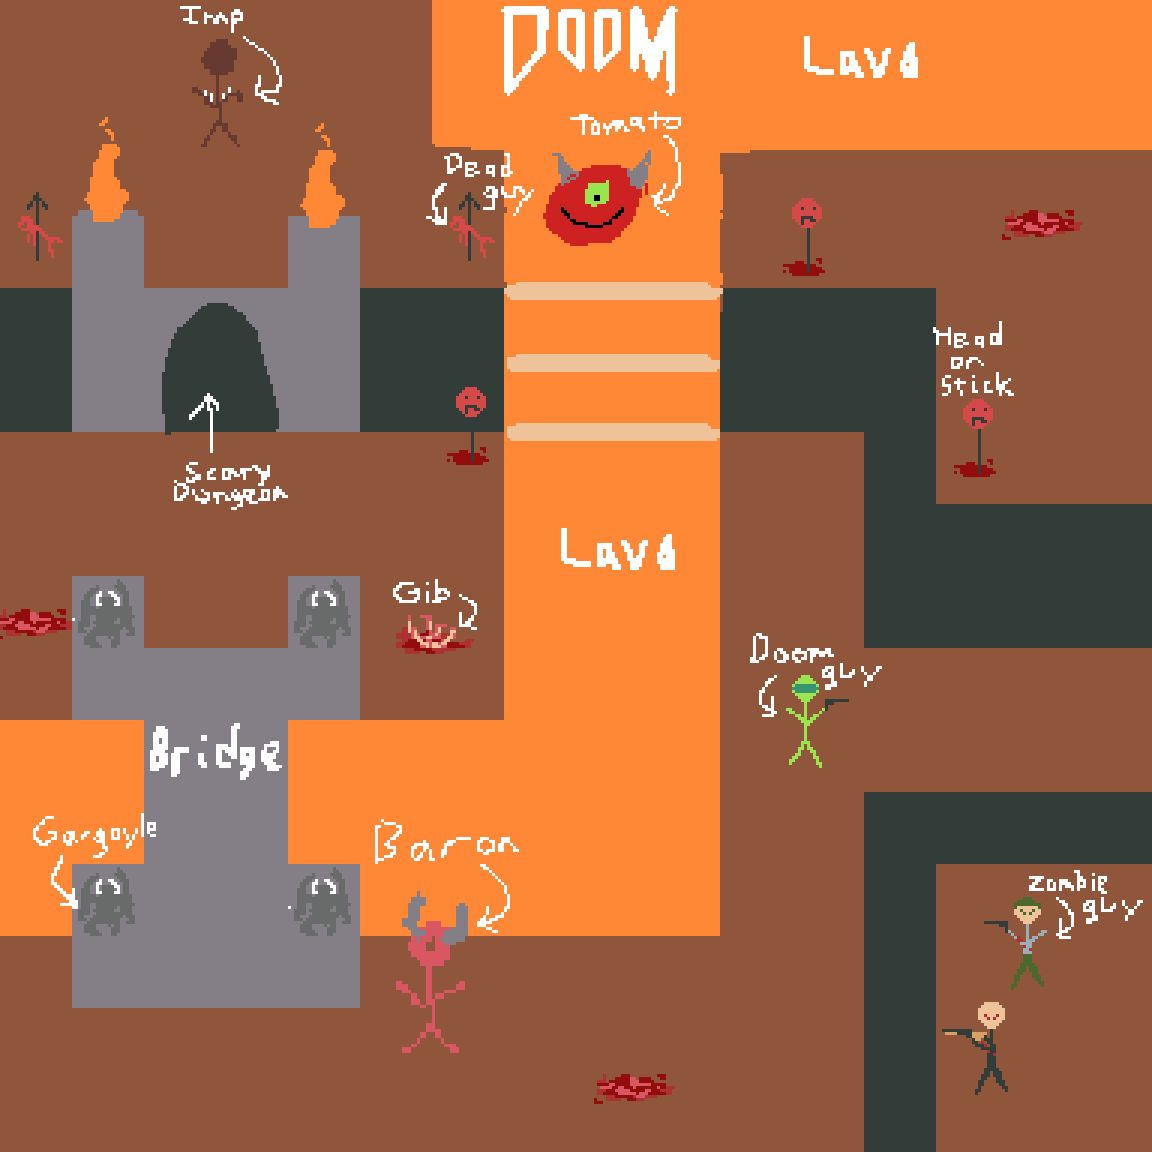
Although this sketch is lacking quality, the importing thing is that it shows a plan that we can work with to start detailing in the future. It's very hard to jump straight into detailing each of the assets unless we have at least a sketch first. I've sketched in some monsters and bits of gore here and there but it doesn't matter exactly which Doom monsters we want in the scene or exactly where each asset needs to go. I just know I want a hellish landscape with igneous rocks and lava, doom slayer, demons, gore, and a dungeon or something like that. Those are the key ideas that I will most likely keep from sketch and to the final drawing. I may add a locked gate before the dungeon because in Doom games you'd often have to collect keys to progress through the levels but I'm not entirely sure yet. But this is all I can say for this post. I'll be planning the next post so I'll see you in that one next sometime!

