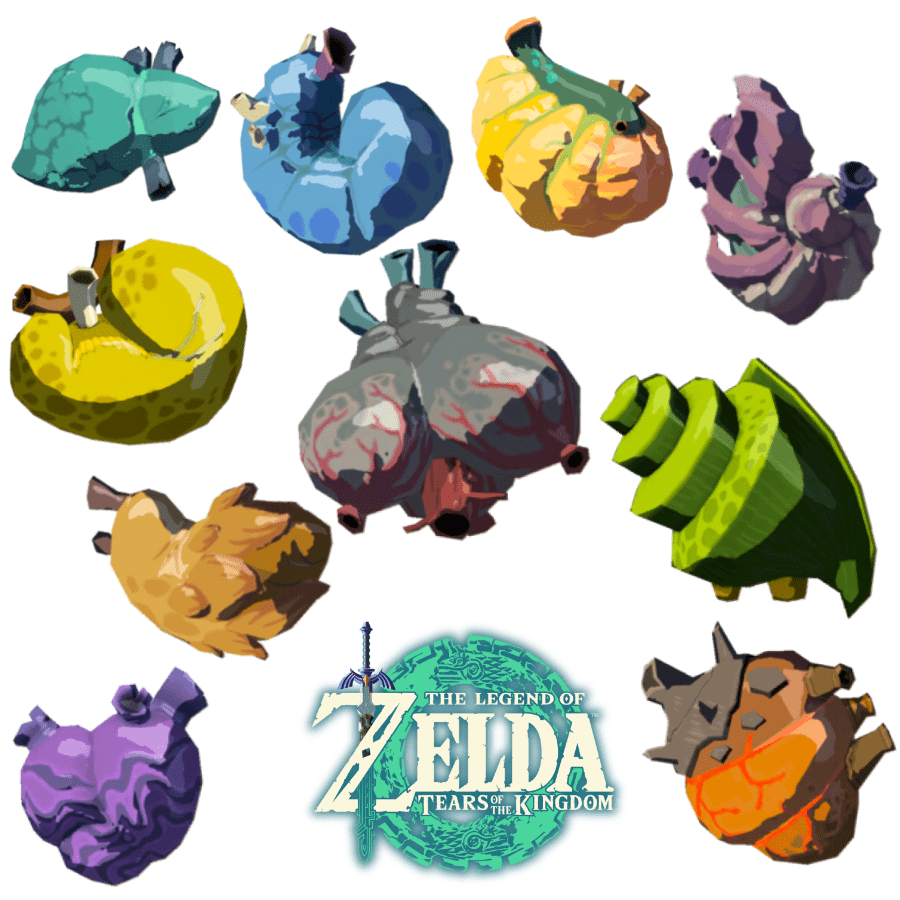
Hello. It's been a VERY long time since of made one of these tutorials. Today I drew some monster guts from Zelda: Tears of The Kingdom and I'm just going to briefly describe how I drew them.
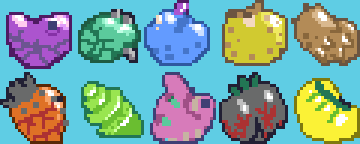
So basically they look like this.
The first and most straightforward thing to do is try sketching them at a very basic level. I'm using a grid of 24x24 pixels here.
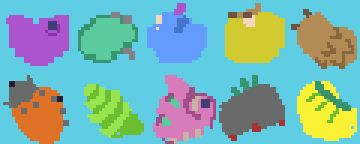
This gives us the general idea that these are monster guts. Then I figure we can just add a little more detail to some of these guts, such as the veins and spots.
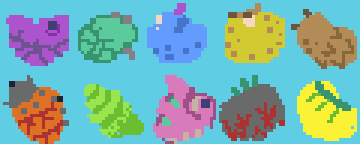
We could shade it right now, but a quick little shaded outline can do a lot for these sprites already without needing to figure out the shading just yet.
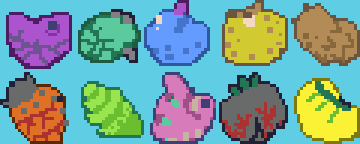
Now we can see that they sort of pop against the background and their shapes stand out. We want these guts to be kind of greasy, which requires some shine. You need to have some knowledge about reflections of light here. It's kind of like shading, but you need to keep in mind that it's more like showing the light source itself within the reflection of these guts. The light source would be pretty bright, such as the sun, which is what I usually try to illustrate when I'm doing these kind of sprite reflections. So you might get something like this, which isn't really super accurate yet, but I fix it later. (I leave the pink gibdo guts kind of dry looking so there's no reflection on that once actually)
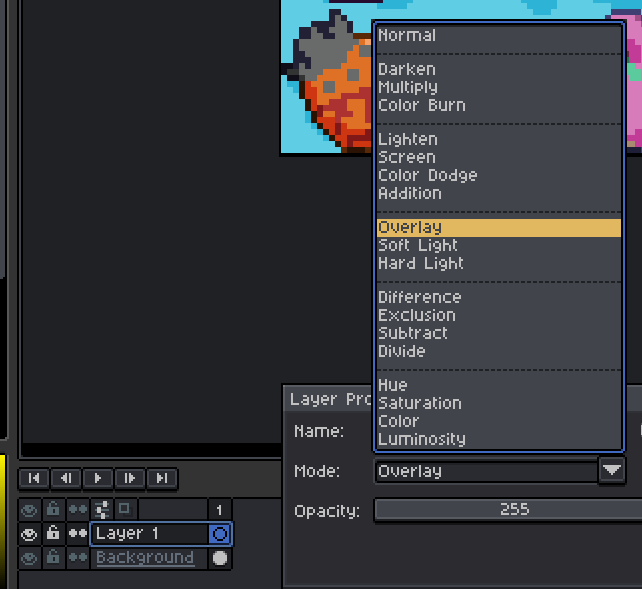
Alright, now for some shadow. I use a quick overlay technique to get the shadows done quick. I make a new layer in Aseprite, set it to "overlay", pick a shadowy black color (such as just literally black).
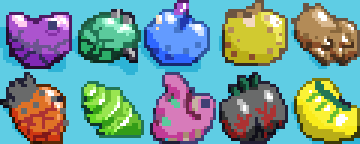
and then you can draw over the guts in the new layer to get something like this.
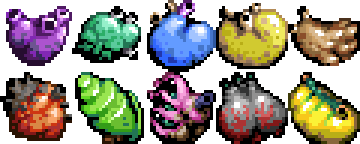
And finally, just gotta polish the sprites. This just requires a lot of attention to detail, colors, shapes, and you just take the sprites as far as you want to go with them. Here's the final results. Have a look!
I hope you enjoyed this short tutorial. Hopefully I will be back for more shortly! (kinda busy but we'll see)

