
Tips and tricks welcome, starting with which file format works best for export. Thanks in advance!

CAM software developed by artists for artists to create unique and original works on a 3-axis CNC router or mill. · By
Thanks for sharing! I'll make sure there's a Snapmaker post in the next update that goes out that includes these changes. Let me know if there's anything else you find that could use changing in the post to improve it at all so it can be included with the post that goes out with the update. :)
- Charlie
Hey, a quick update with a couple more settings I changed. It looks like FeedMax ought to be 1000 mm/min for the 50 watt module that comes with it, and 3000 mm/min for the upcoming 200 watt module upgrade (I think they're shipping now but I don't have one yet). The top spindle speed is 12000 for the 50 watt, 18000 for the 200.
Anyway, PixelCNC's Easel-based output continues to work well with the Snapmaker with the above settings changes. I'm doing a 6" diameter relief right now about 1/6" deep that seems to be going well. It has both a roughing and a finishing pass with a 0.25mm radius tapered bit. At 50 watts, its not exactly fast, but its relatively quiet and its getting it done. :-)
Thanks again!
- Chris
Hi Charlie,
I'm just realizing that I can actually set jog/rapid speed via gcode and override whatever might be in the firmware. Is there some way to specify that the "rapid speed" from the settings gets exported? It looks like the way Snapmaker's Luban does it is just by including a "G0 Z80.00 F[speed]" at the top, though I'm not sure if Z80.00 is relevant.
Thanks again!
Chris
Hi Chris,
You can make a custom post that includes a feed command in its RapidBlock definition. This will result in outputting whatever feed rate is used by the operation the rapid is occurring for, or you can just hard-code a feed rate directly into your custom post.
So if you want the rapid to use the operation's feed rate, then change the RapidBlock definition to:
RapidBlock "[CNC_SEQUENCE][CNC_GCODE][CNC_X][CNC_Y][CNC_Z][CNC_FEED][EndOfBlock]"
Or, if you want to hard-code a feed rate, you can just put it directly in the definition.
RapidBlock "[CNC_SEQUENCE][CNC_GCODE][CNC_X][CNC_Y][CNC_Z]F100[EndOfBlock]"
If you're already using a custom post, you can just make these changes to that post. If you are using an existing PixelCNC post then be sure to make these changes to a copy to make the changes to, and use the copy, otherwise your changes will be overwritten by an automatic update.
Let me know how it goes!
- Charlie
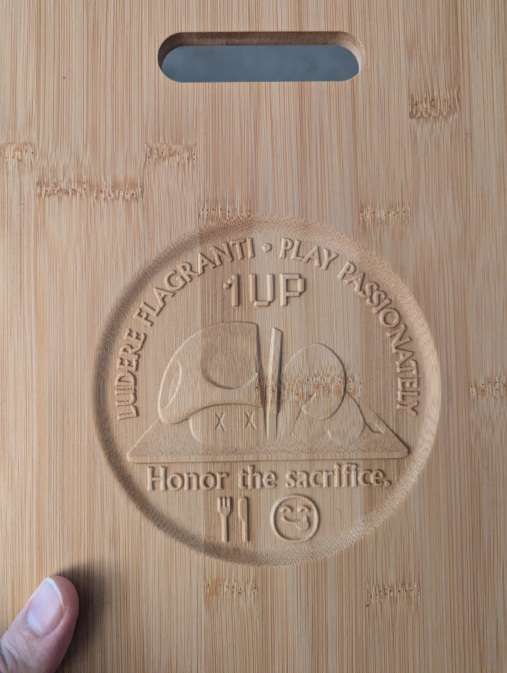
For anyone else using the SM 2.0 with the 200 watt CNC and bracing kit: I was able to get great results while going much faster by using 1/4 inch bits rather than the included 1/8th inch (had to order a 1/4 inch ER11 collet from Amazon). With 0.5mm and 1/32" diameter tapered ball ends, I was able to get up to about 68 in/min (single-pass, full 1/8" depth, roughing pass unnecessary) before the quality dropped off on some bamboo cutting boards. Time was maybe 1.5 hours.
Also, Charlie, I emailed you a bug report with some SVG attachments but hadn't heard back yet so I am concerned it may have gone to your spam folder. Please let me know if you didn't get it. Thanks!
Hey, I re-sent it at 4:09pm about two days ago, just FYI. No rush on my end but just wanted to confirm. The attachment was a zip file this time instead of SVGs in case that makes any difference to your email filters.