
Hey guys I'm back. In this tutorial I'll go over my process for drawing a bugbear goblin. This one looks kind of like a troll, but it's technically smaller than an actual troll. I still like the way it turned out. Before I go through the steps, I'll explain what a bugbear is, at least from what I've understand. A bugbear is a type of goblin that is pretty big and strong, but not as big as a troll. It is pretty hairy like a caveman, based on references I was looking at. These guys usually have a large spiked mace or morning star. Generally they're not completely dumb as a troll or ogre, so they might be a bit more experienced with combat. That's pretty much it for the description this time. In short, I think of it as a medium sized troll with a lot of hair. Let's get to the steps!
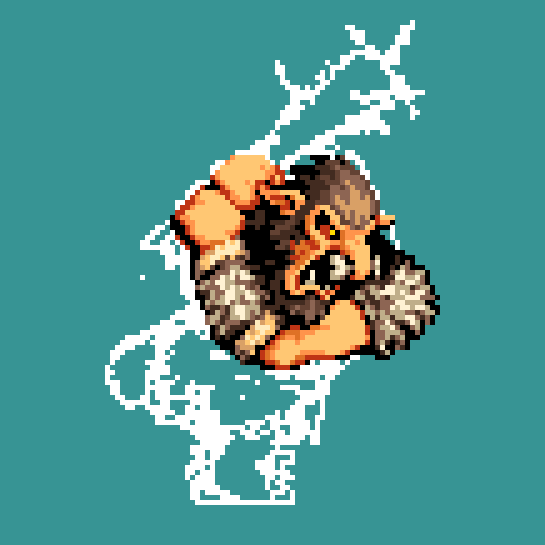
Step 1 - Line Sketch.
I wanted to depict him charging at something or someone to showcase his aggressive nature. Here you can see he has some a lot of overgrown facial hair. I was brainstorming what he would wear. They sometimes wear a light amount of metal armor so I sketched what appears to be a pauldron, but the route I ultimately took with this one was to give him a pelt based outfit. Obviously there's the spiked club I plan for him to have. And I want him to be bigger than the previous goblins I illustrated, but not too big. Maybe I'll do an even bigger goblin in the future than a smaller goblin rides on.
Step 2 - Head
I wanted to try a different skin tone: orange this time, and try a different styled eye. Here I start experimenting with the shaggy hair on his head. I give him a nose ring for now but I change it later.

Step 3 - Arm
I figure his arm is an easy place to start next. First I test out more hair on his arm, but then I decide it would be simpler to just do pelts for his design.

Step 4 - Nose Bone Trinket
So originally I gave him a nose ring, but I kind of already did that with the very first goblin I drew, and since I was starting to lean towards this tribal design, I thought why not give him one of those tribal bone piercings through his nose?
Step 5 - Skirt
At this point, I was getting ideas that maybe this guy hunts in the snow and lives with a local tribe of goblins which live in some snowy mountains. In that case, he'd need to keep warm, so I give him a thick hide of clothes around his waist, and give him an emblem that represents his tribes emblem so his peers will recognize him as one of them.
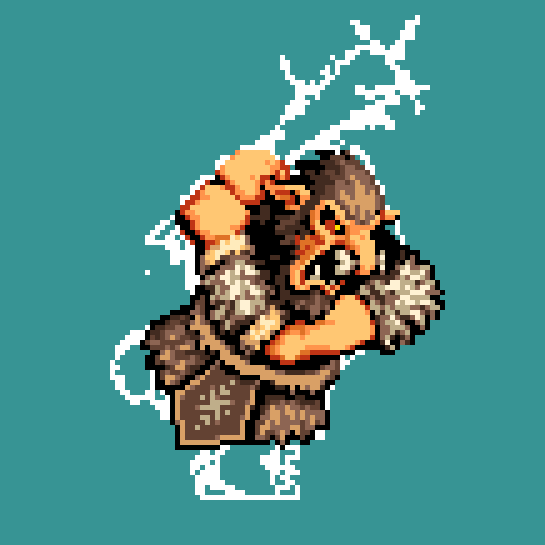
Step 6 - Legs
Originally I was thinking of giving him some fur boots since, everything else he's wearing is made of fur, but I decided that would make his color palette start to become unbalanced, so I decided to just give him a few wraps around his feet instead. Hopefully that will keep his feet a little warm.

Step 7 - Club
The club was pretty simple to draw. I just started by sketching in a large trimmed tree branch.
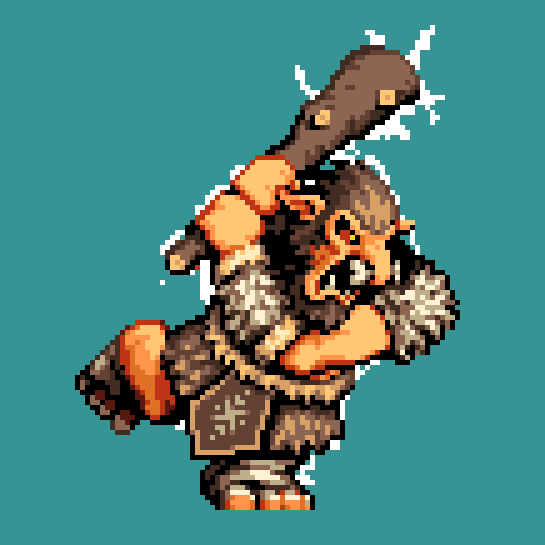
Step 8 - Spikes
Then I add in the spikes. These spikes are made of bone; maybe ribs, maybe creature teeth.
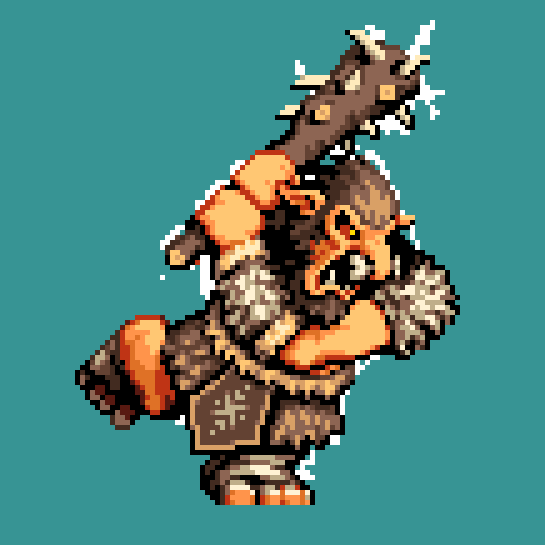
Step 9 - Polish
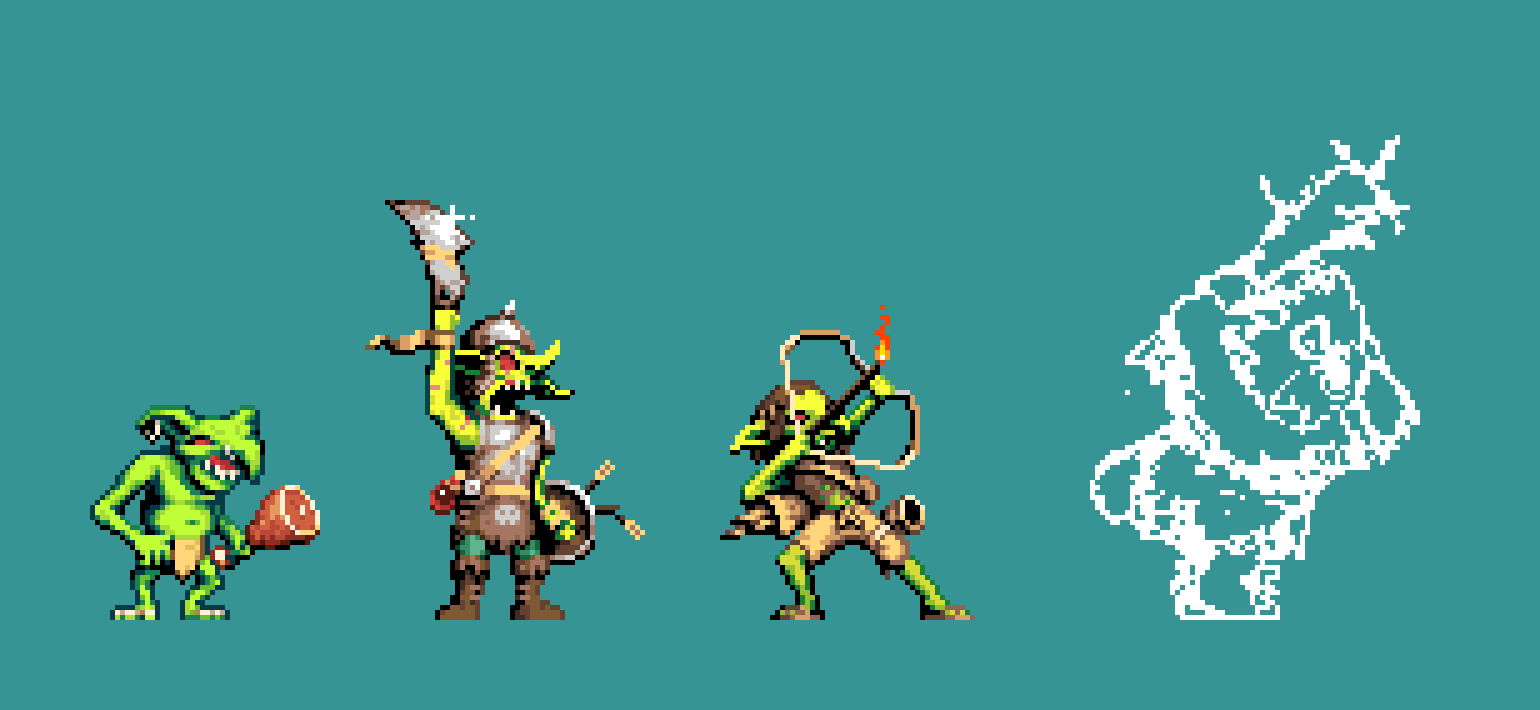
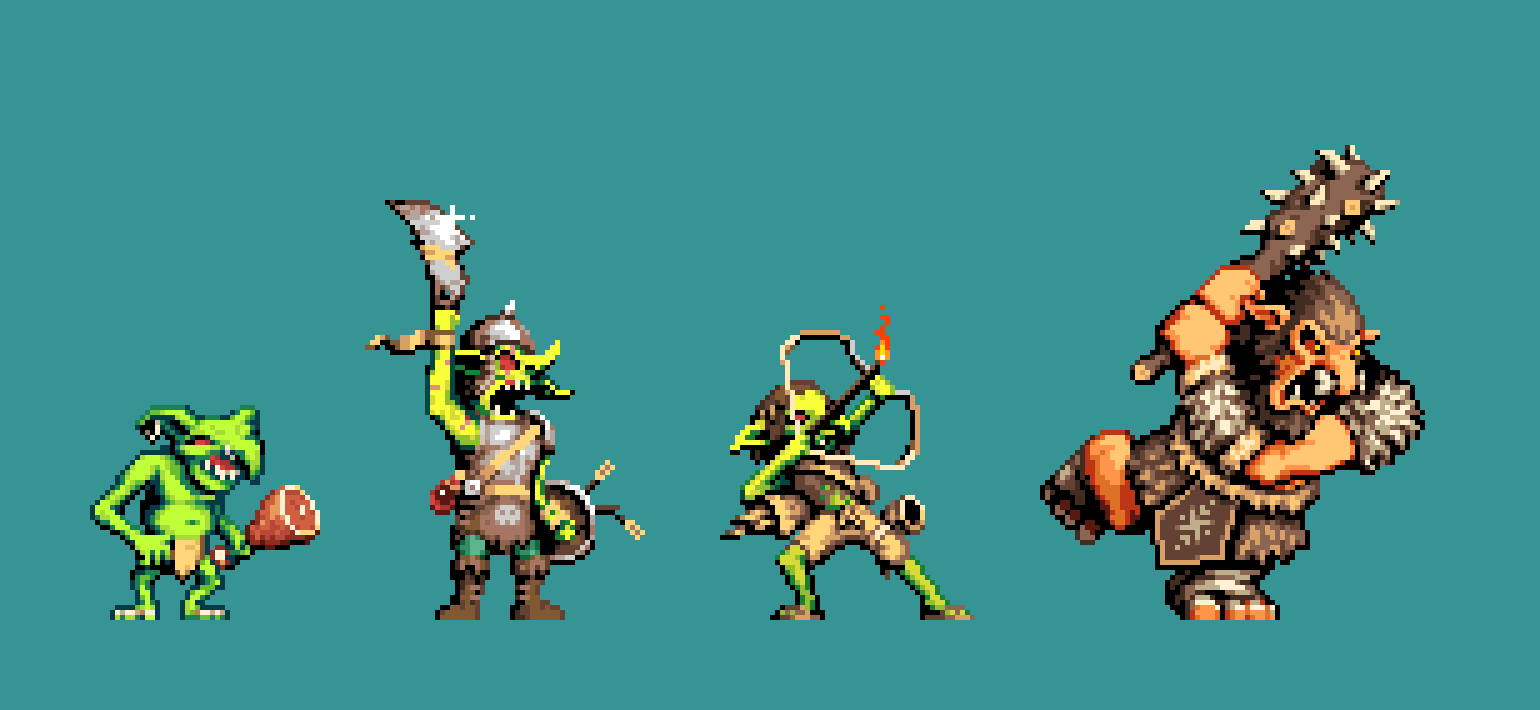
Finally I remove the underlying white sketch so I can see what the final result would look like and go ahead and polish the sprite. Here he is alongside the rest of the goblin crew.
So thanks for checking out this post! Still more goblins planned in future blogs. Stay tuned for that, but for now see ya later!