
Hey guys I'm back with another tutorial. This time we're drawing a block of dirt with some grass on top. If you're still very new to pixel art and haven't checked out my complete beginner guide, I suggest that you check it out because there is a lot of useful information in that tutorial that will help with this one. Ok with that being said, this block will roughly be around 16x16px, but it will have some grass on top so it will be a little taller. For now lets create a canvas with the size of 48x48px just to have a little extra room to work with. Make sure color mode is set to RGBA so that there is no limit to our color choices. Make sure background is set to transparent, in other words, we won't have a background for now. And make sure the pixel aspect ratio is set to 1:1, what this does is set the pixels' width to height ratio to be equal.
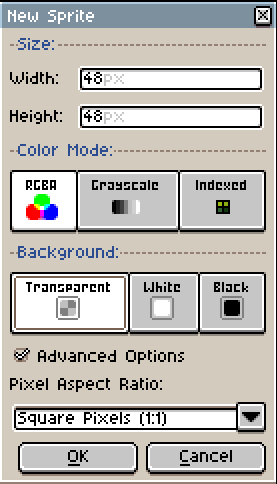
After all that is set, hit OK. If you want to double check the size of your canvas, you can see the width and height in the bottom-left corner of the screen.
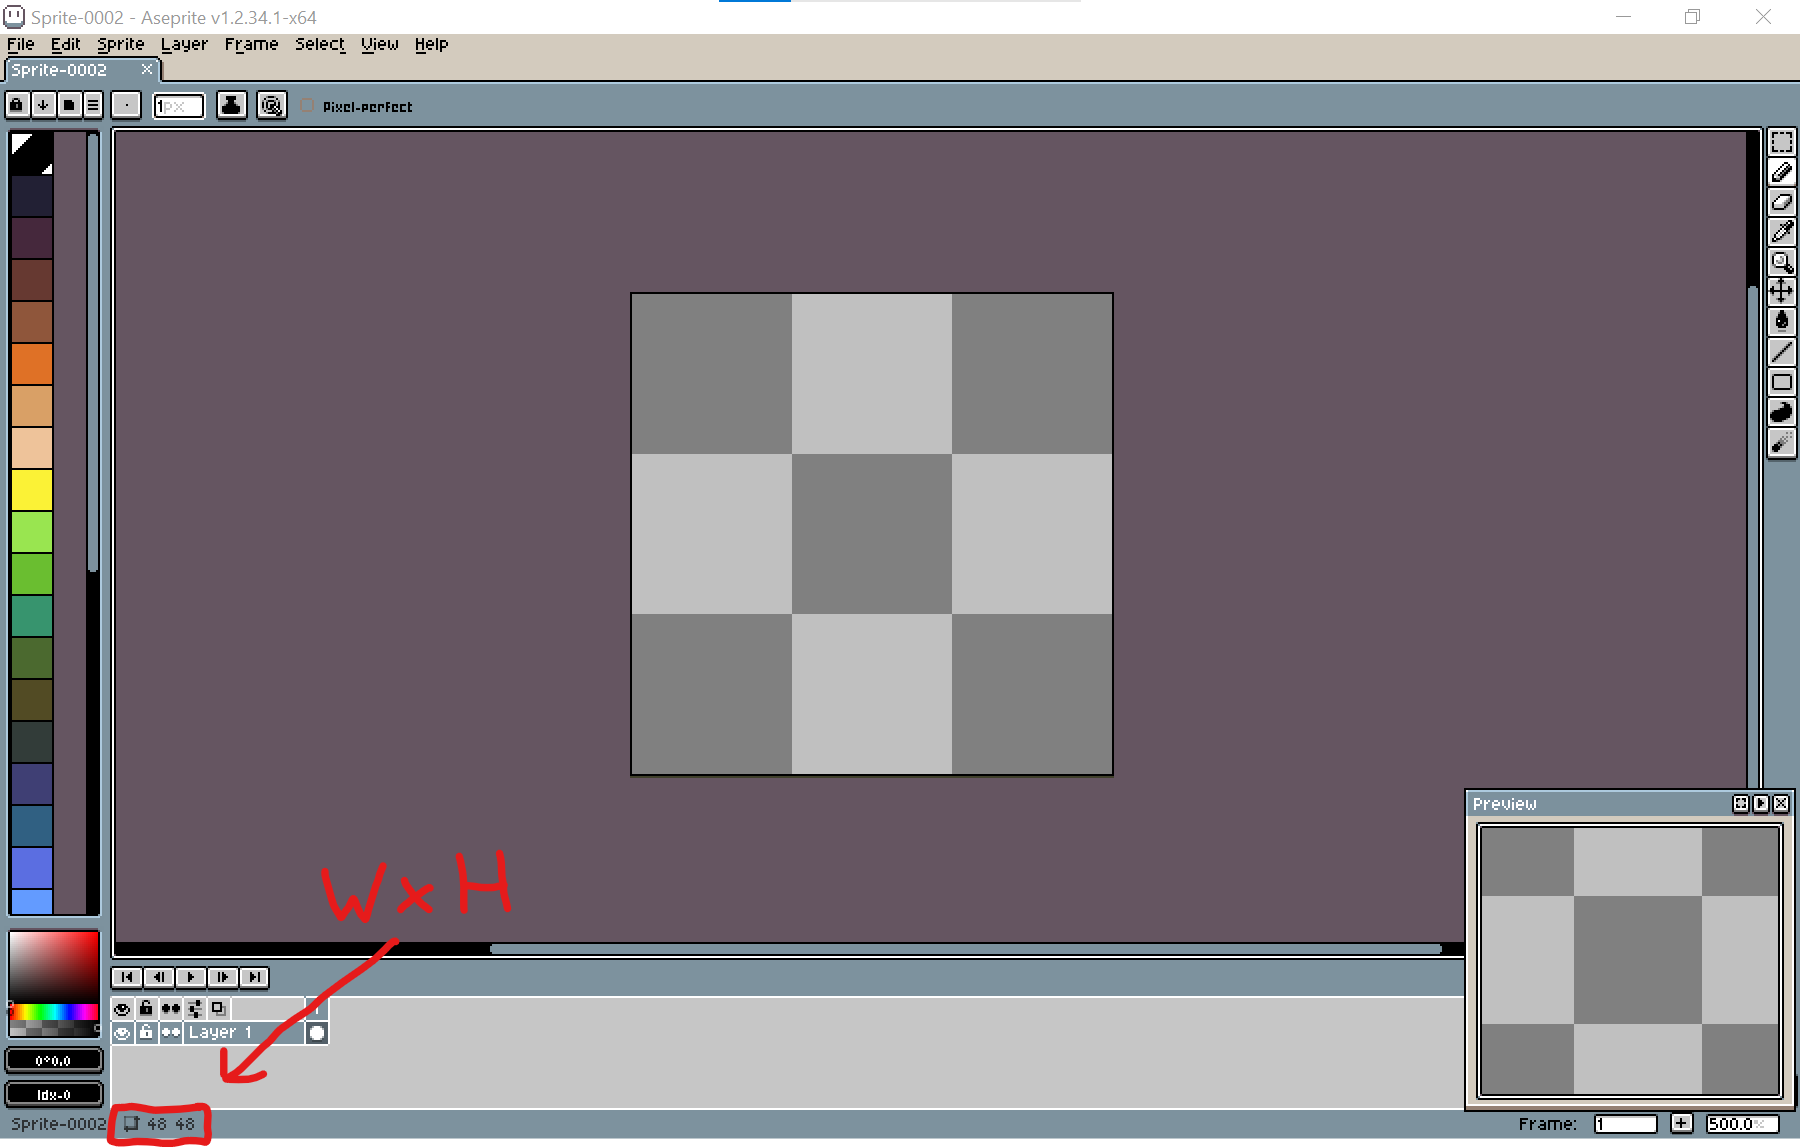
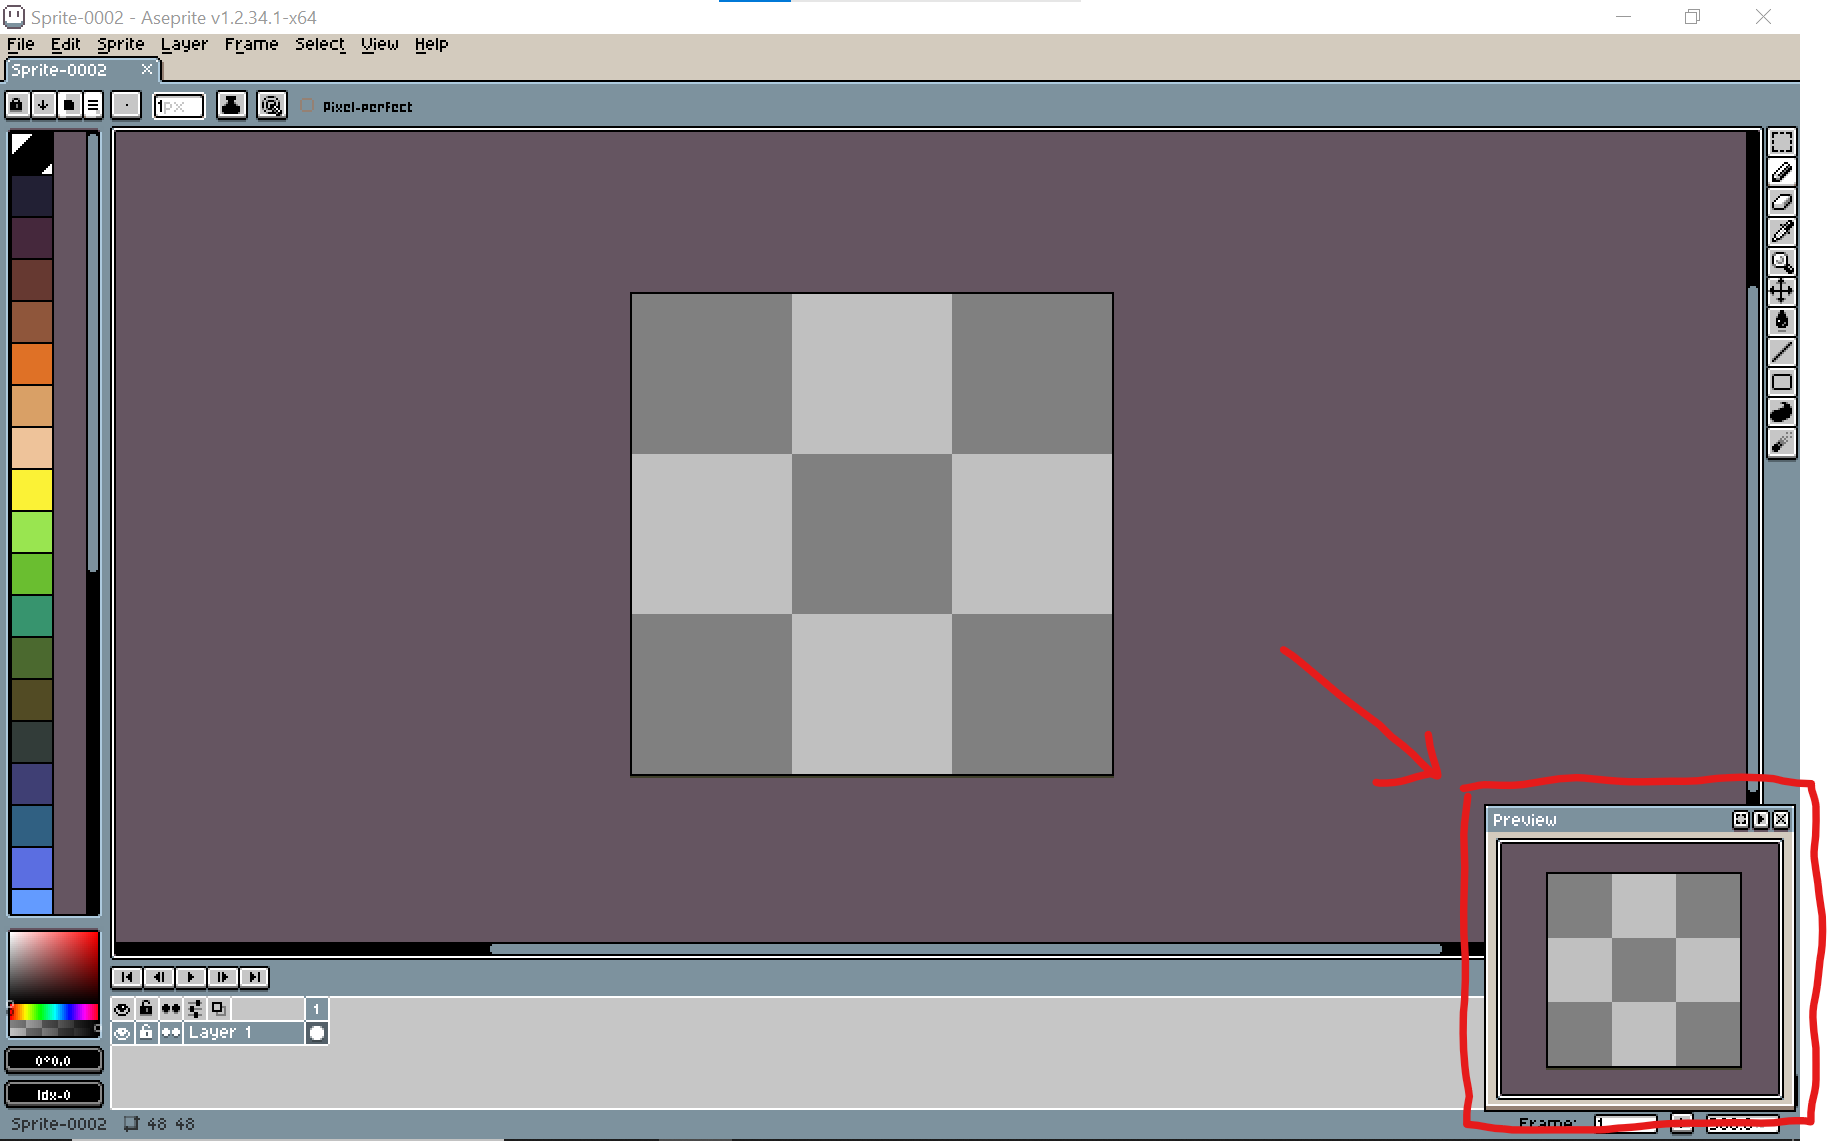
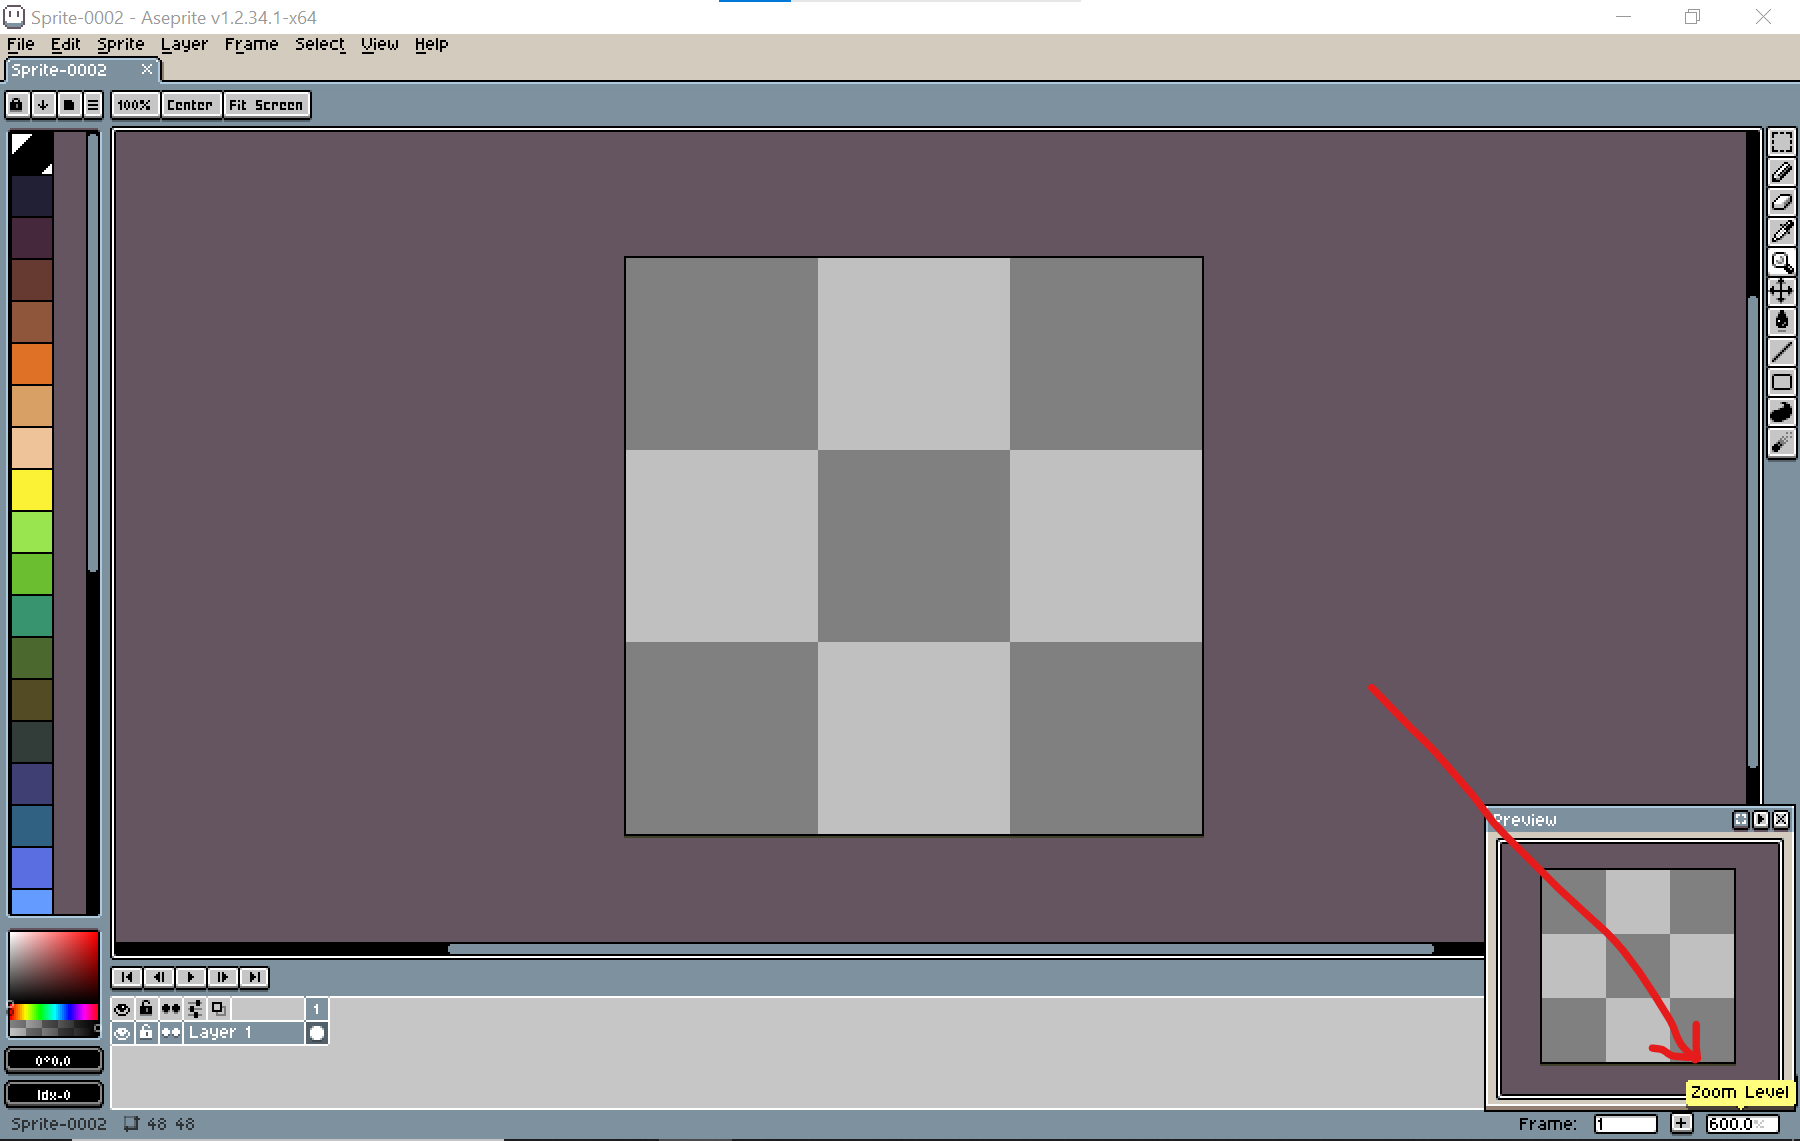
Next thing I want to talk about is the preview window. The preview window is a window that displays your artwork in front of the Aseprite interface real-time. You can activate it by pressing this button in the bottom right corner of the screen.
It can be resized and moved around like any other PC window. I always keep mine small in the bottom right corner.
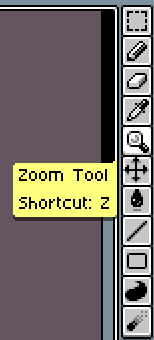
Now we need to talk about navigating the canvas. It's usually very hard to draw while zoomed out and sometimes we need to zoom in. There's a few ways we can do this. The first one is use the zoom tool. With this selected, you can left-click to zoom in or right-click to zoom out, or click-and-drag the mouse left or right to zoom around. (You may see a hand tool in place of the zoom tool. Click on it and you should be able to find the zoom tool next to it.)
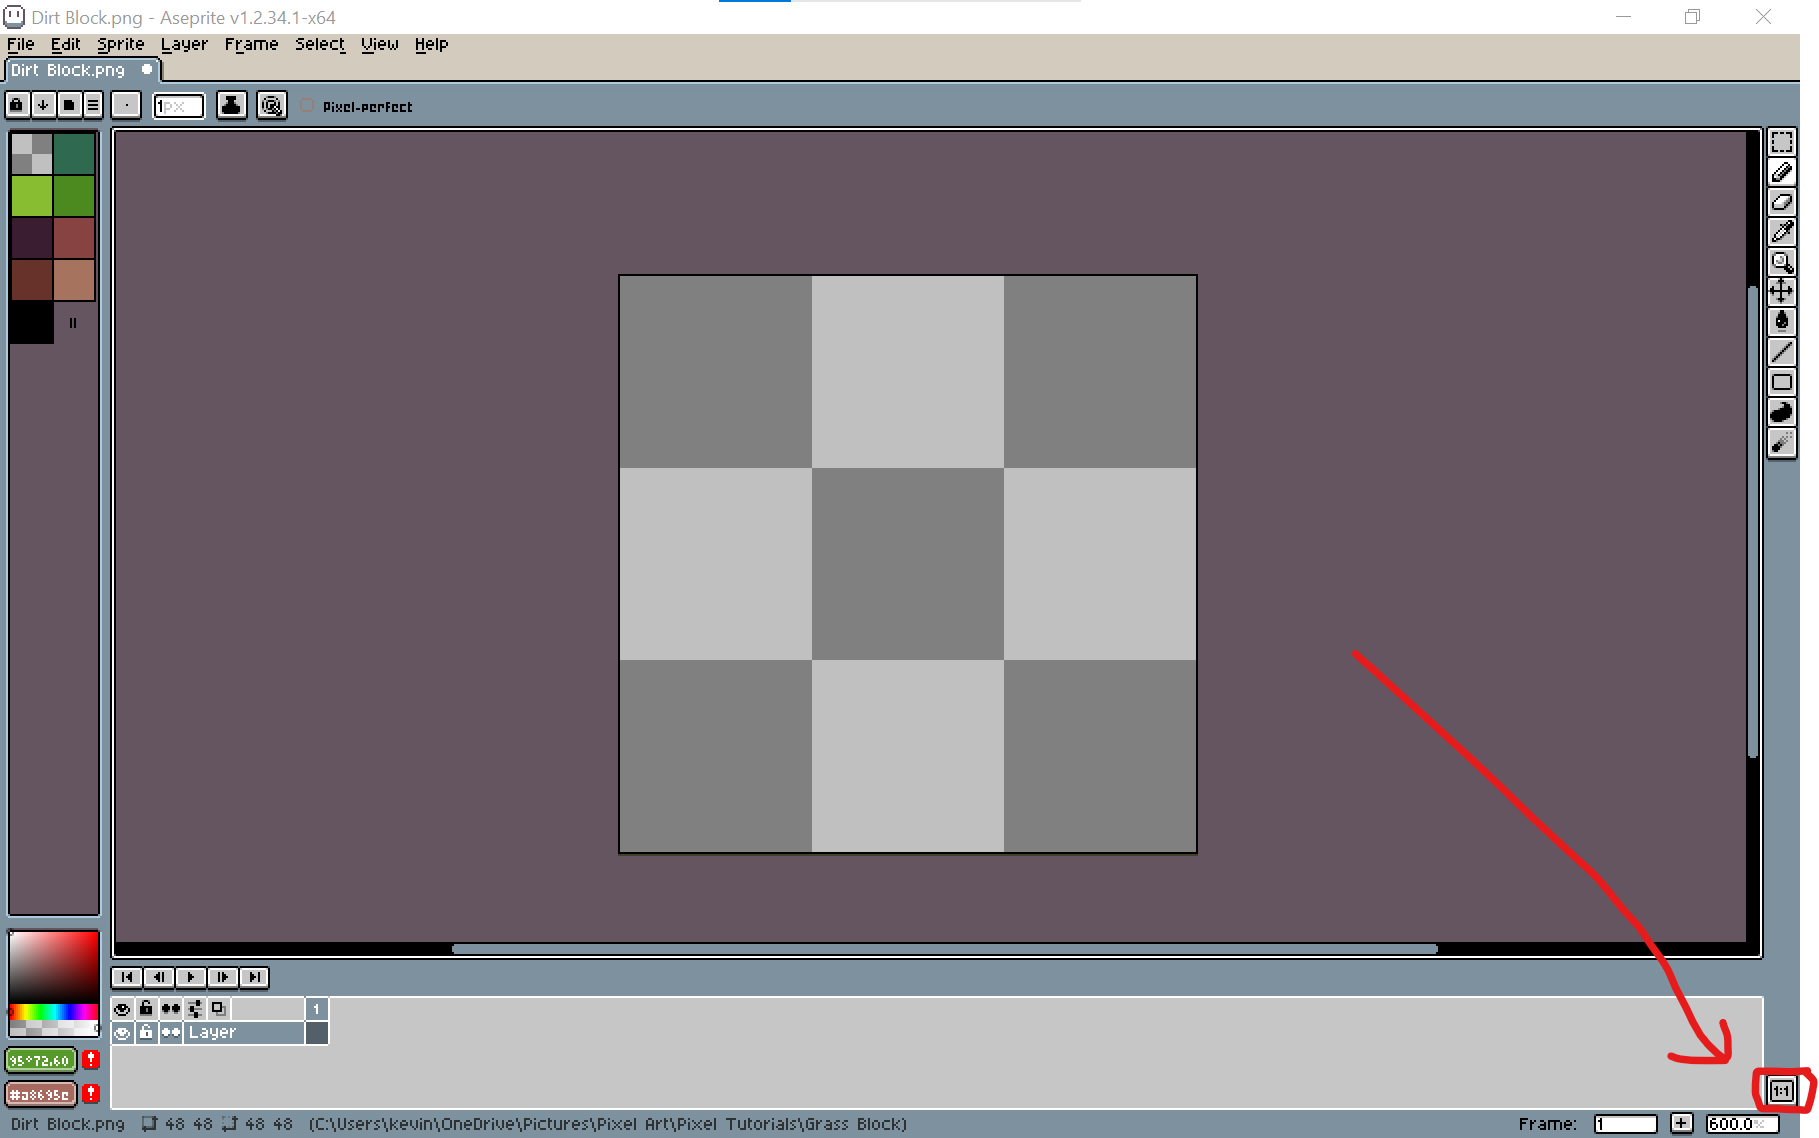
Another way is to modify the zoom level directly. This value can be found in the bottom right of the screen.
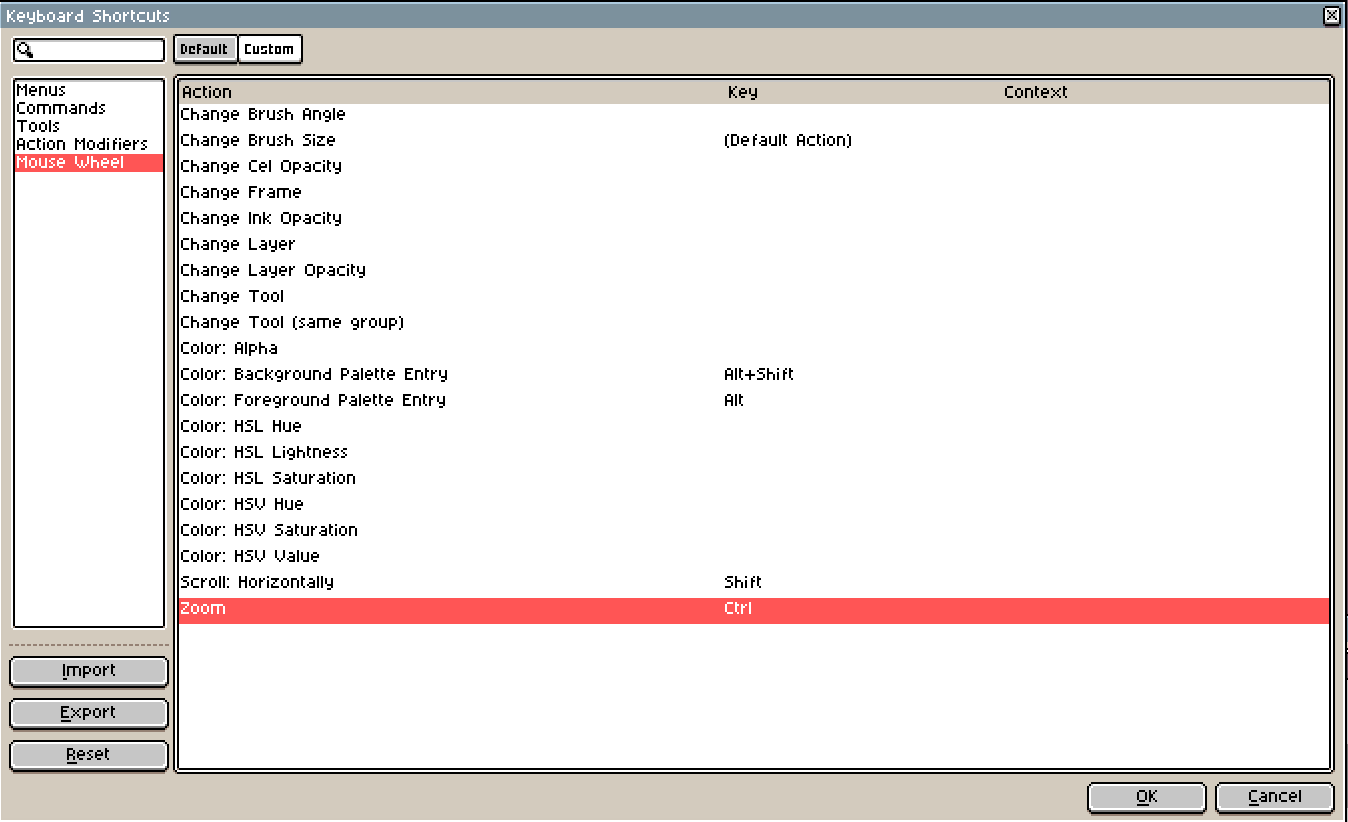
But my favorite way to zoom in and out is use a shortcut. I have mine set to (Ctrl) and scrolling the mouse wheel. If you want to zoom this way, make sure it's set up in your keyboard shortcuts.
The next thing you need to know is how to pan the view. When you're zoomed in, sometimes you won't be able to see other parts of the canvas that you need to see so it helps to know how to move the camera around. You can do this one of two ways. You can use the hand tool found in the same slot as the zoom tool.

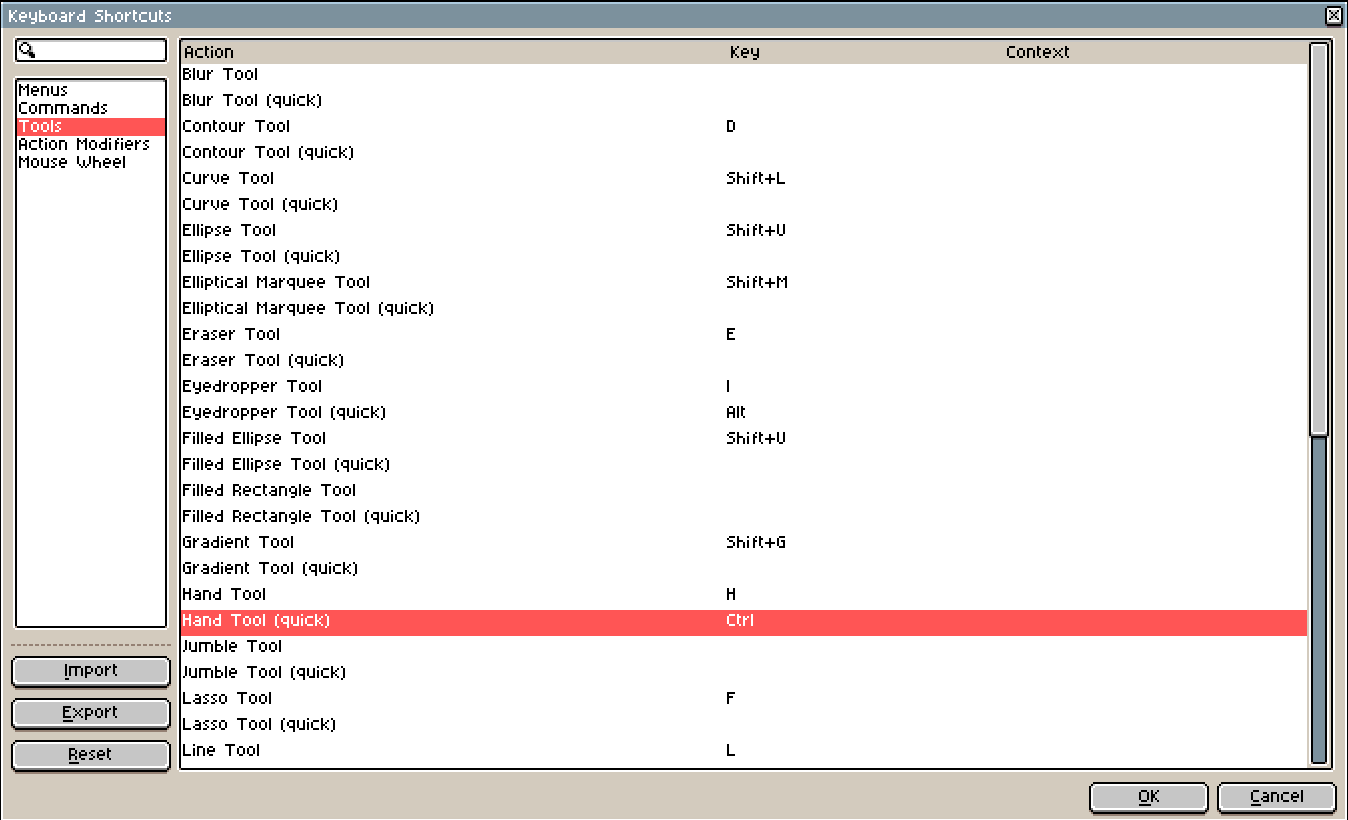
or you can create a keyboard shortcut for the tool. I have mine set to (Ctrl) for hand tool (quick). What "quick" does is only select the tool while you're pressing the key and deselect it whenever you're not.
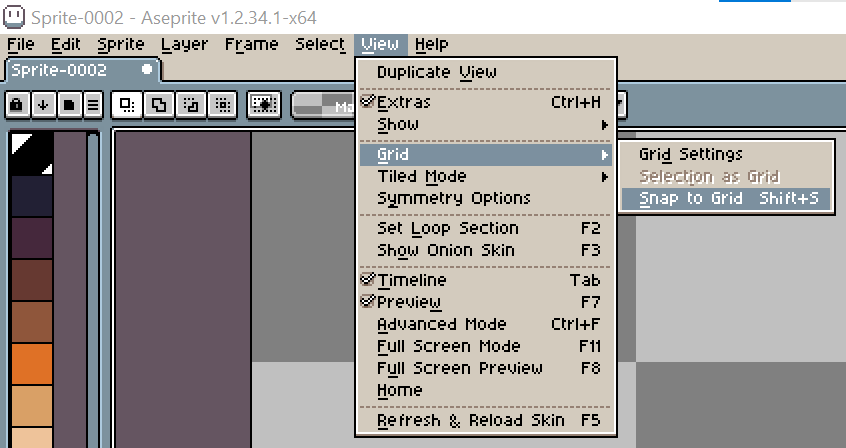
The navigation functionality works for both the main canvas and the preview window. Okay so now that you now how to create a canvas, use the pencil and eraser, and zoom/navigate the canvas. You should be ready enough to start drawing a block of dirt and grass. Set your active color to some brown dirt color, doesn't need to be exact. You can draw the dirt block with the pencil if you want, but that would be incredibly tedious. There's a few better ways to create squares. The easiest is to create a square with the filled rectangle tool. The other way is to select a square with the rectangular marquee tool and fill it in. When using these tools, make sure that your grid spacing is set to 16x16px and snap to grid is on because we want to make sure that the block is perfectly in the center of the canvas.
Filled Rectangle Tool
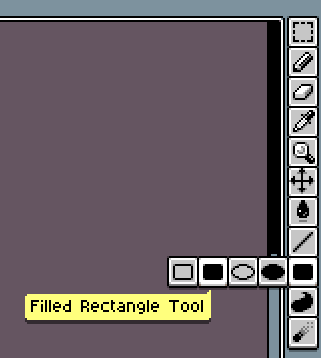
Okay so first I'll explain the filled rectangle tool. What this tool does is pretty self-explanatory; it creates rectangles filled with your active color. You do this by selecting the tool and clicking and dragging.
Rectangular Marquee Tool
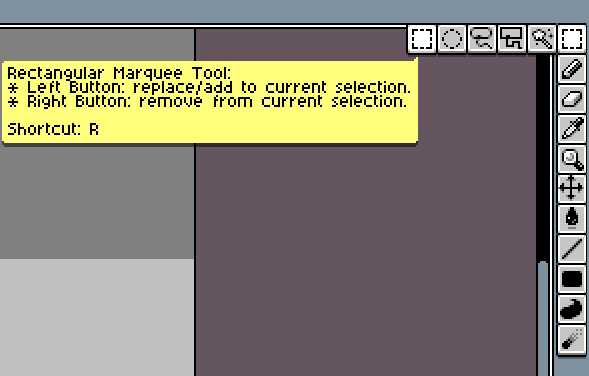
The other way is to use the rectangular marquee tool and fill in the selection. What it does is makes rectangular selections of areas on the canvas. If you use this tool, the way you'd create a square is click and drag with the tool to create the selection, or if you have the preference set,
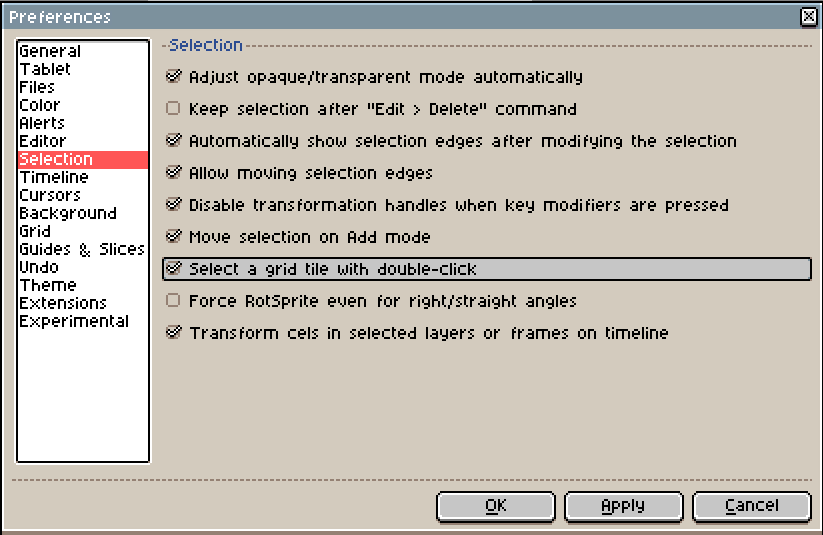
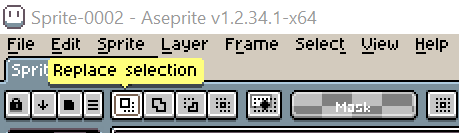
you can double click on the transparent background to select squares. Most of the time you will probably want to have the replace selection option checked.
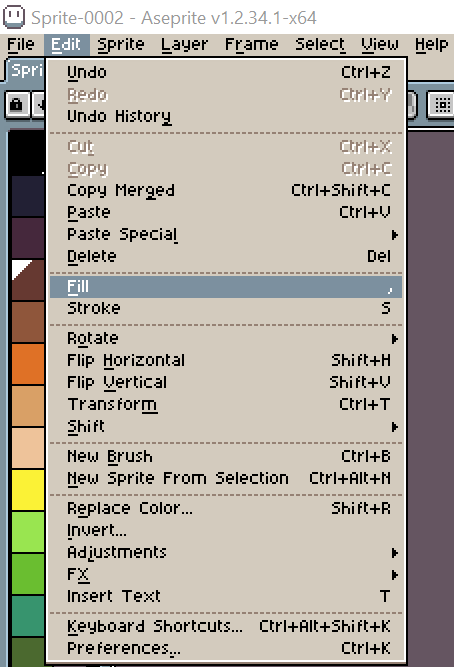
After that, you'd need to fill it in. You can use the paint bucket tool
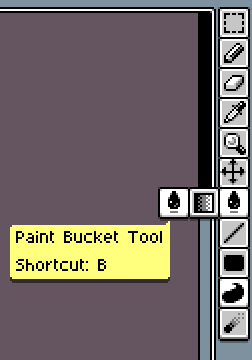
and left-click inside the selection, or you can go to Edit-Fill, but I often just use the shortcut (,).
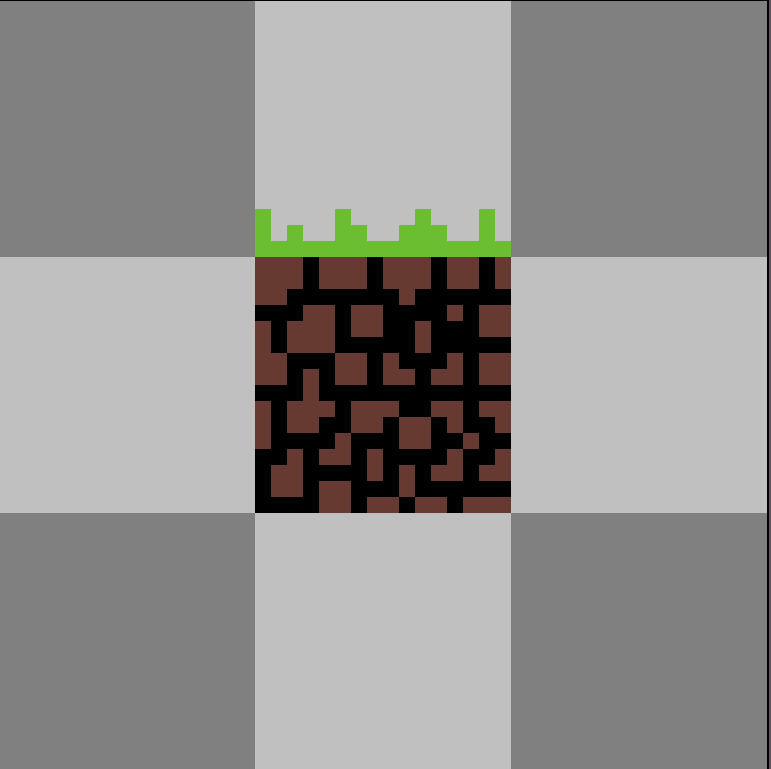
Now you should have created a 16x16px brown square in the center of the canvas. After that, draw a thin layer of grass on top and give it a few spikes of grass sticking out.
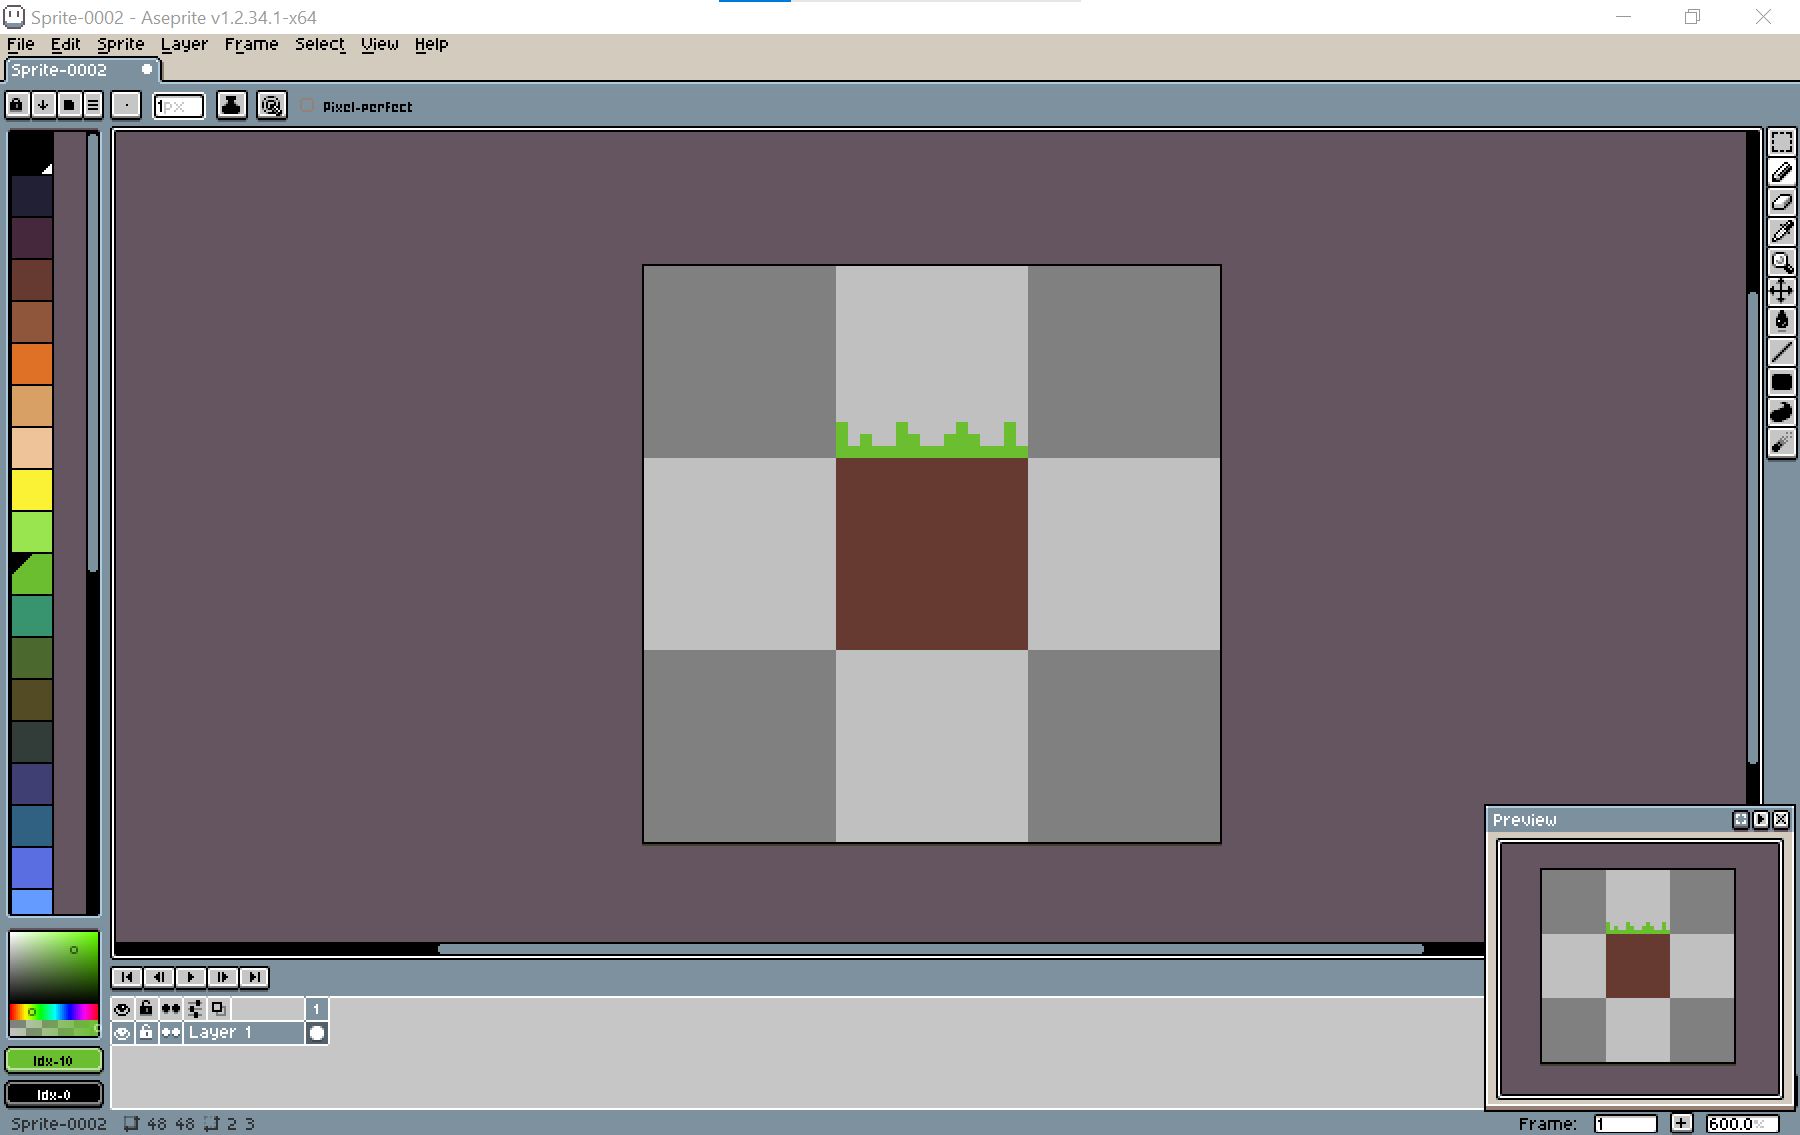
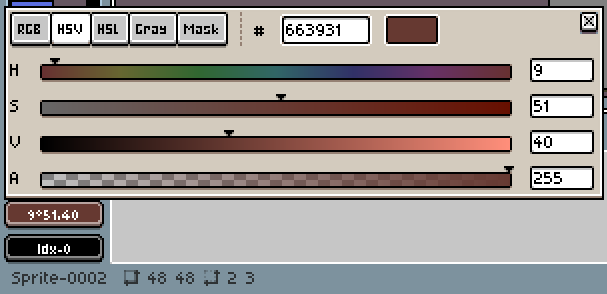
Now lets add more detail. We can illustrate pebbly texture inside of the dirt with shading. Shading is the process of illustrating light and shadows. We can start by adding brighter colors, or darker colors. However I recommend starting with the darker colors first because it will lay the foundation for the brighter shading. You probably have your grass color selected right now, it will help to revert back to the dirt color first. You can use the eyedropper tool and left-click the dirt to set the active color back.

but if you remember from the first tutorial, I have my right-click function set to copy colors by default. It's just easier for me. Once you select the dirt color, slide the Value or Lightness to the left by using the color HSV (Hue, Saturation, Value) and HSL (Hue, Saturation, Lightness) sliders. You can find these sliders by clicking on your active color.
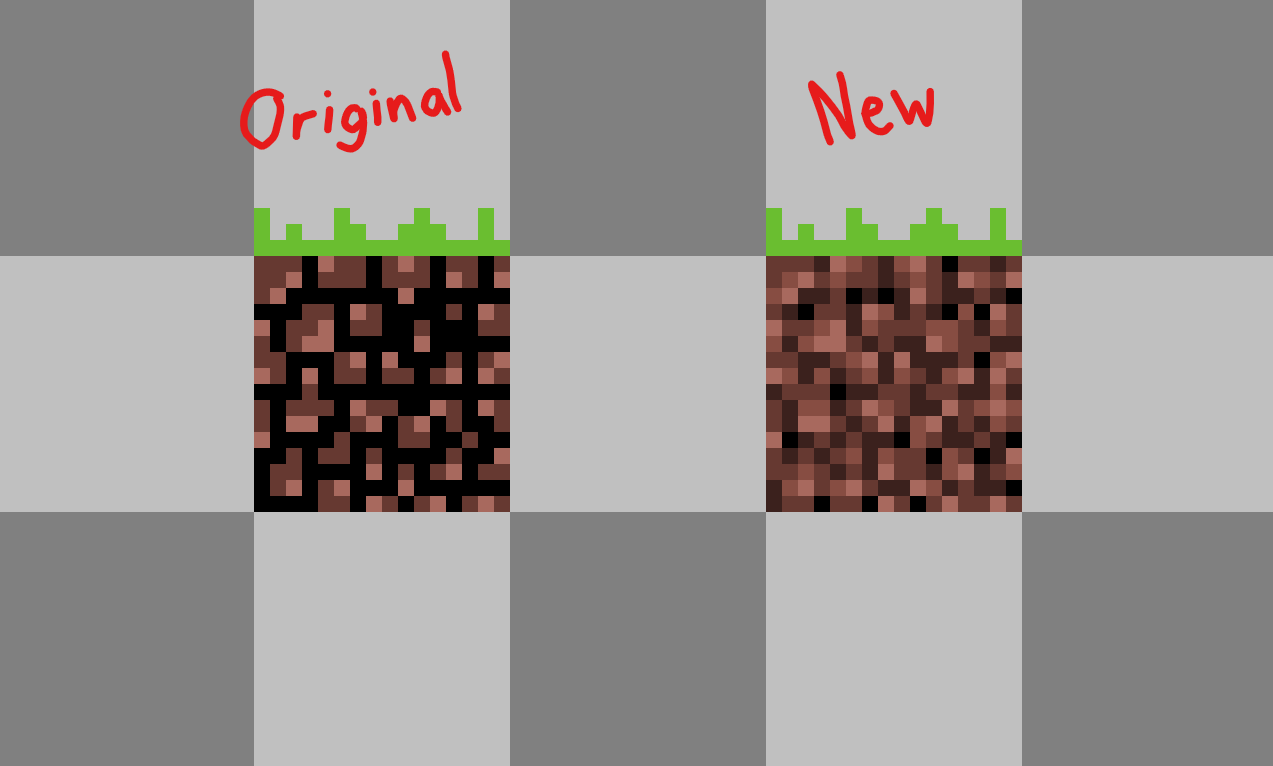
The purpose of drawing the shadows here are to illustrate numerous individual pebbles in the dirt. I'm using black for the shadows.
Now that we have our individual pebbles, we can start adding light to them. Technically when shading there are A LOT of factors to consider about the lighting, but you don't need to know all that just yet. All you need to know is that we're using 3 shades for now. So once you have your shadows drawn out, add the lighter tone to your pebbles. It doesn't need to be perfect.
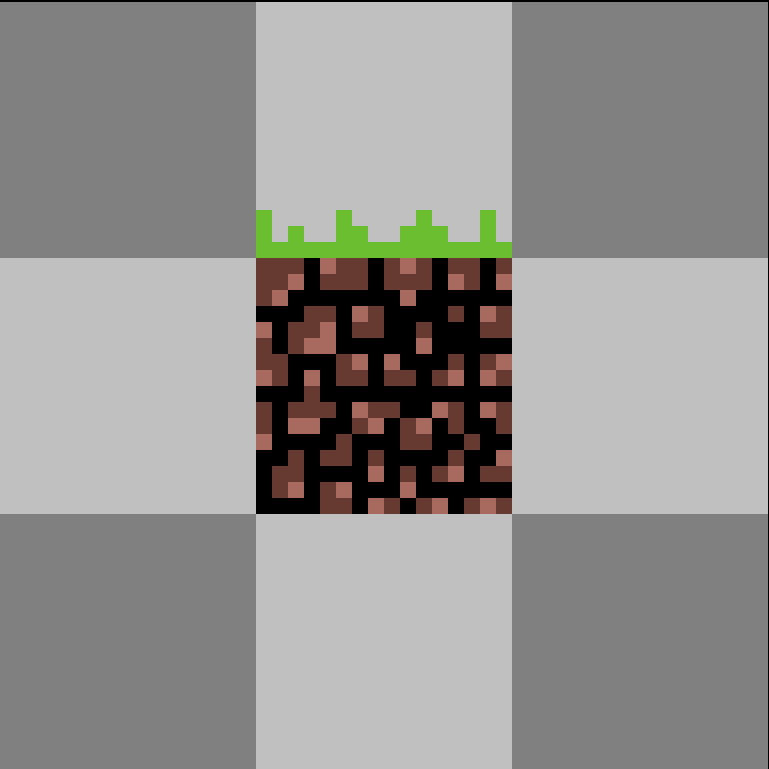
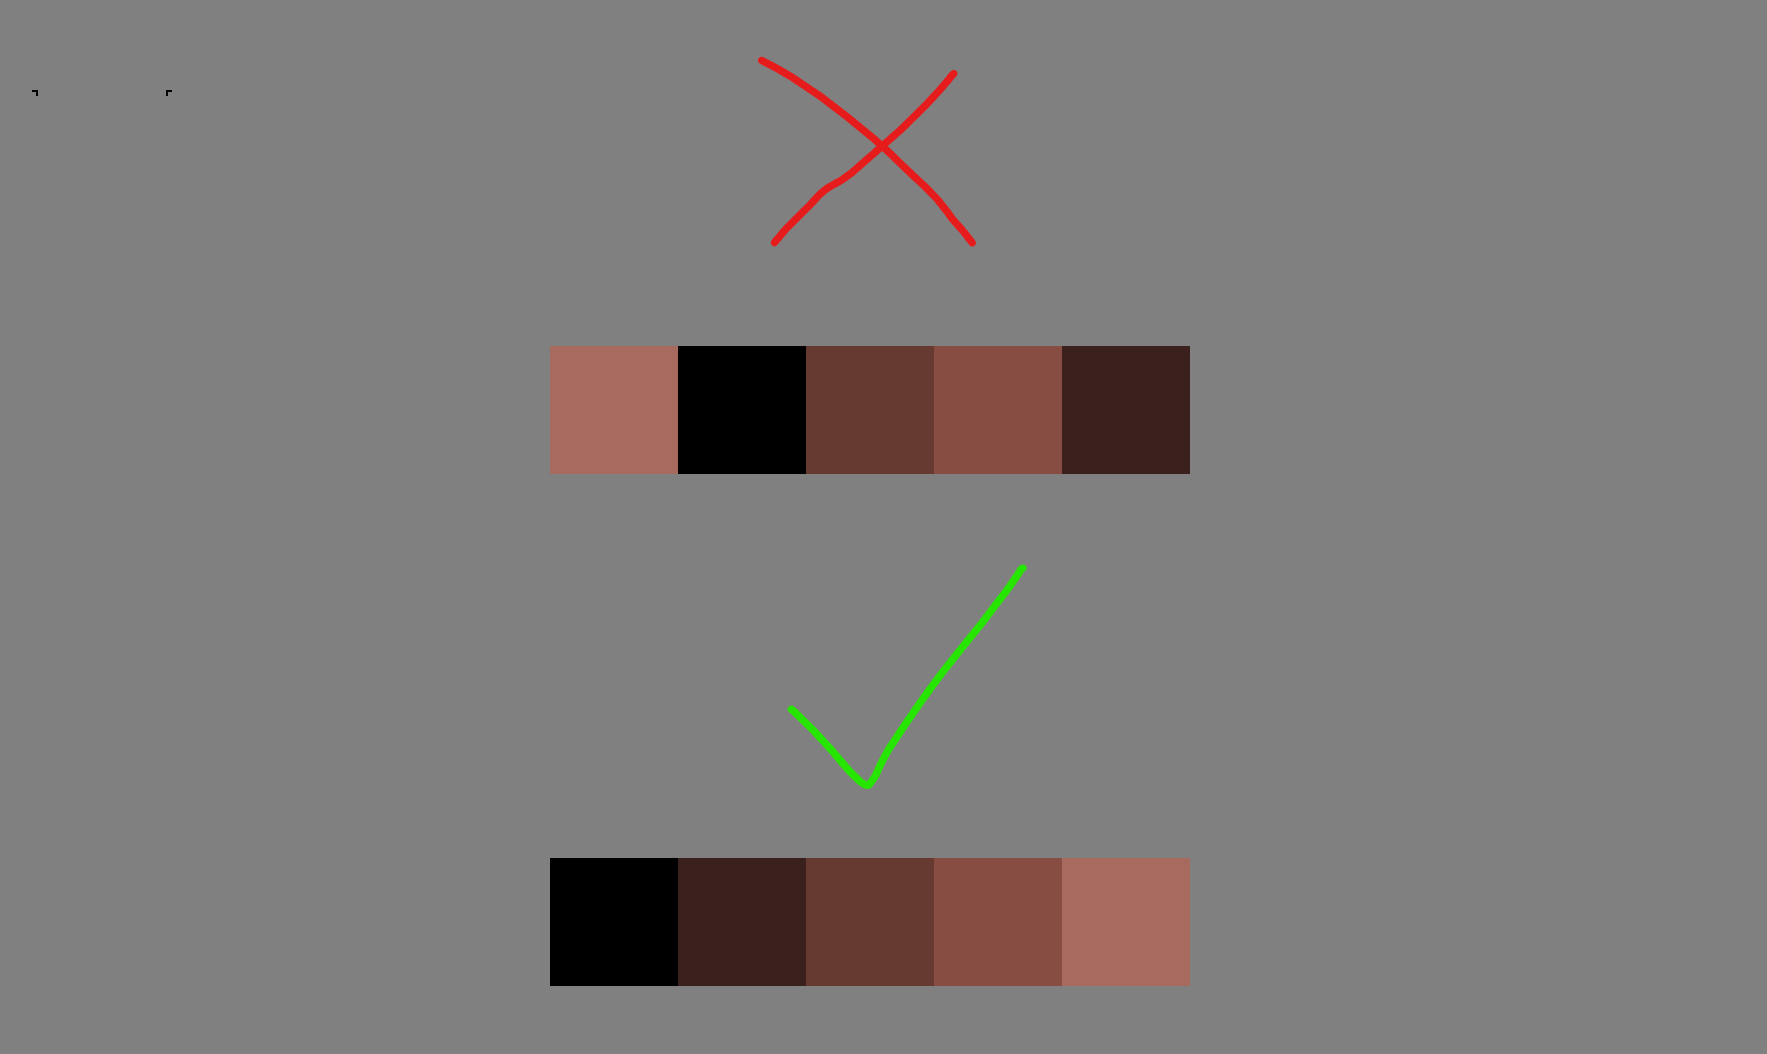
So this is shading, but lets take it further. Instead of using only 3 shades, let's use 5. Now, this is not a strict rule, but try to keep your shade transitions smooth and you should end up with something more visually appealing.
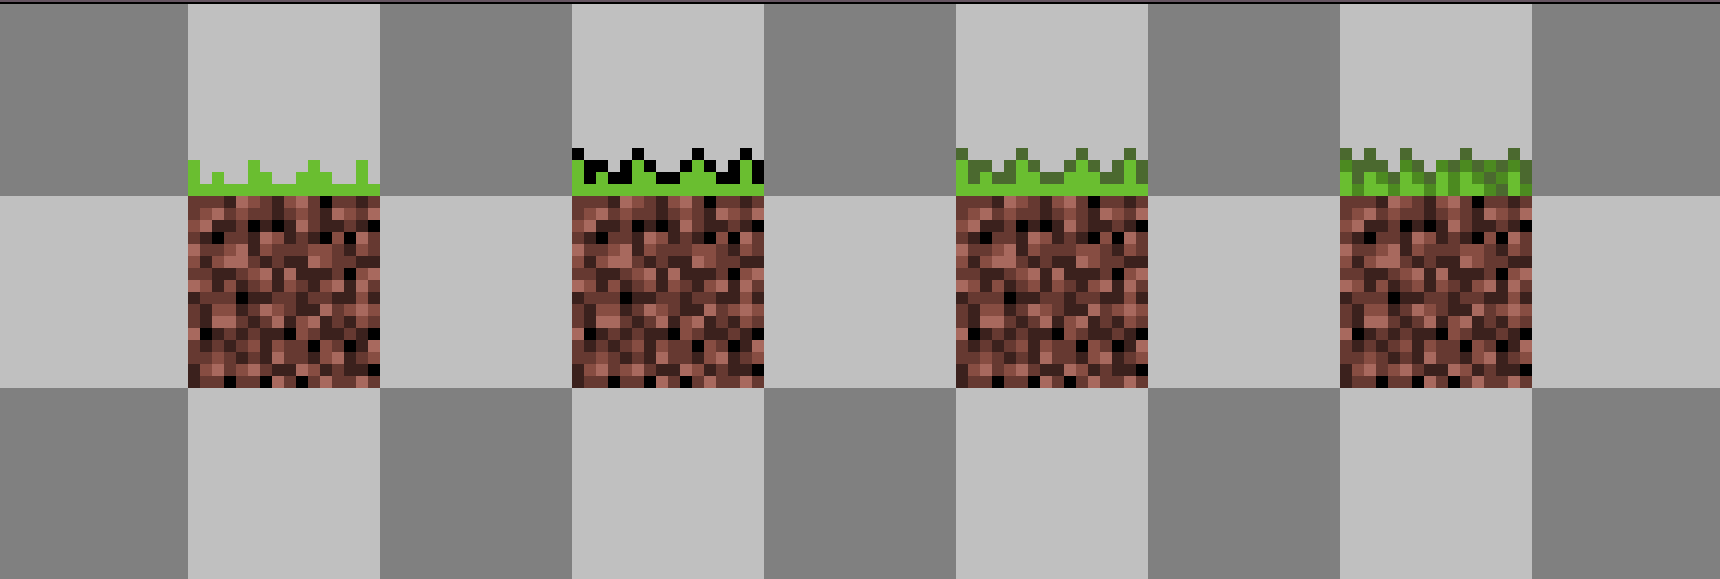
Now we just need to work on the grass and we're done. For the grass, notice how the color blends in too much with the background, we will need more contrast between the two. There's a few ways you can do this. Two that I know of are you can add a black outline, or you can add a selective outline (tinted outline). I often prefer using selective outlines, it's just my style. After you add the outline, try shading it. You want to show spaces in between the blades of grass similar to the crevices between the pebbles, and again, try to keep it visually smooth enough.
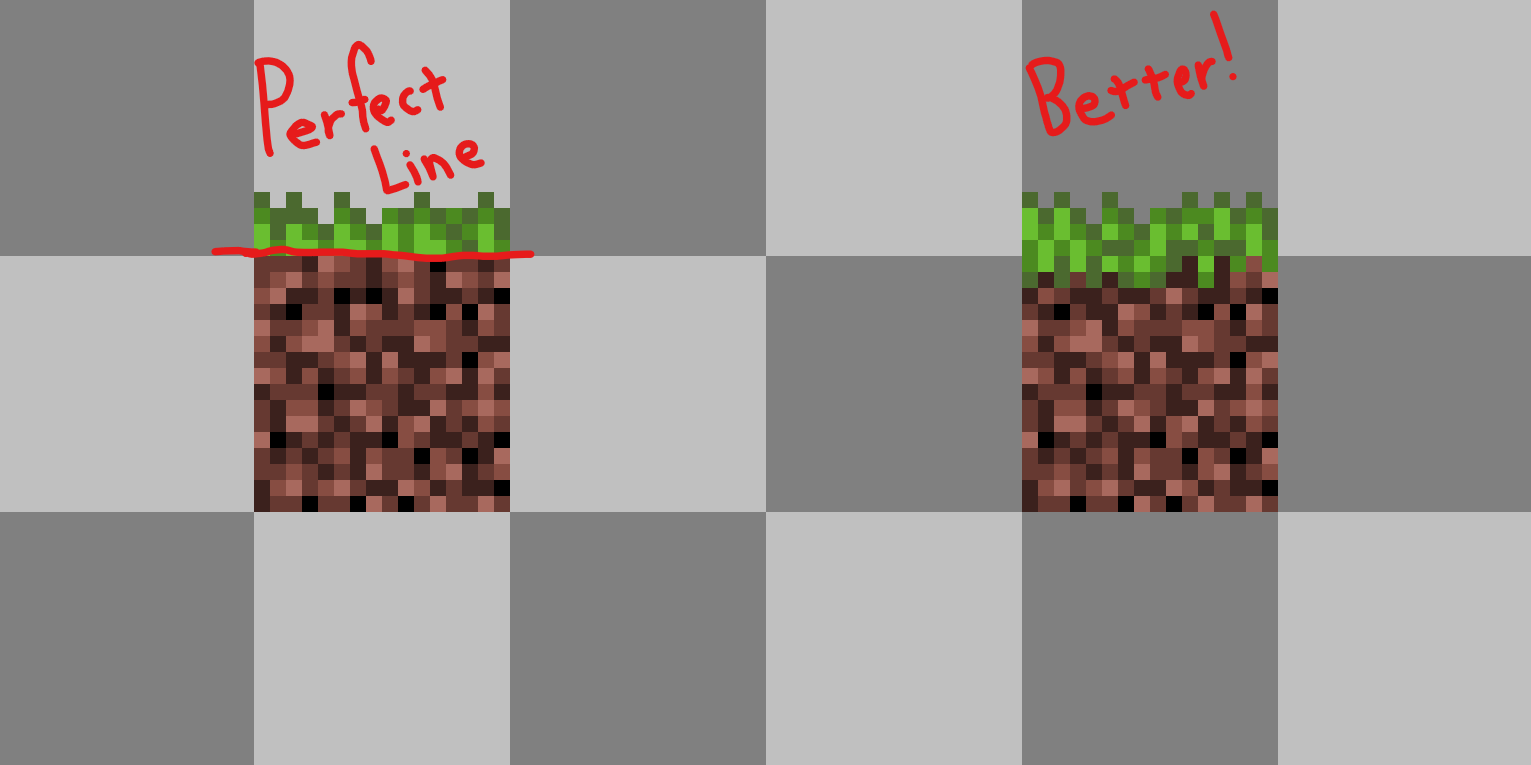
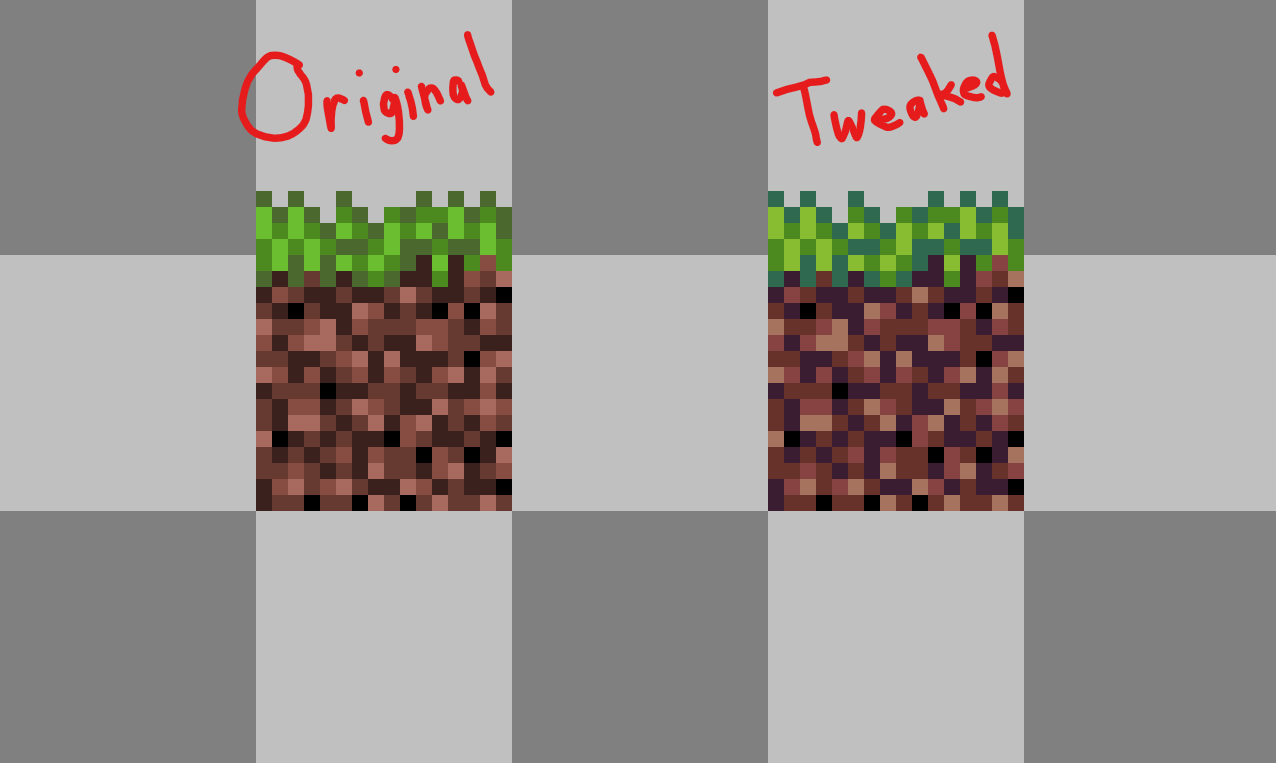
The next gripe I have about this block is that the transition between the dirt and grass is too perfect of a horizontal line. It would help to break up the transition a bit.
And finally the last thing I want to talk about is tweaking colors after you're done. It's not a huge difference but it helps with getting the right colors you want. To do this, you'll need to select pixels by their color. There is the magic wand tool for that, select it.
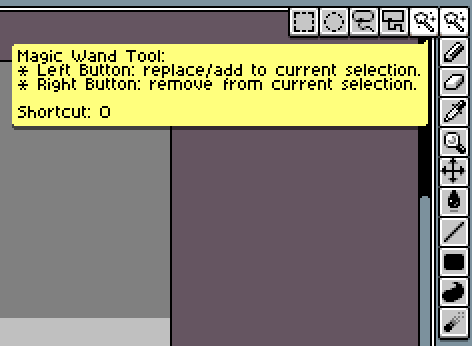
Make sure tolerance is set to 0, and contiguous is unchecked and "replace selection" is selected.

Once that's done, you can click on a pixel on the sprite and it will select all pixels of matching color.
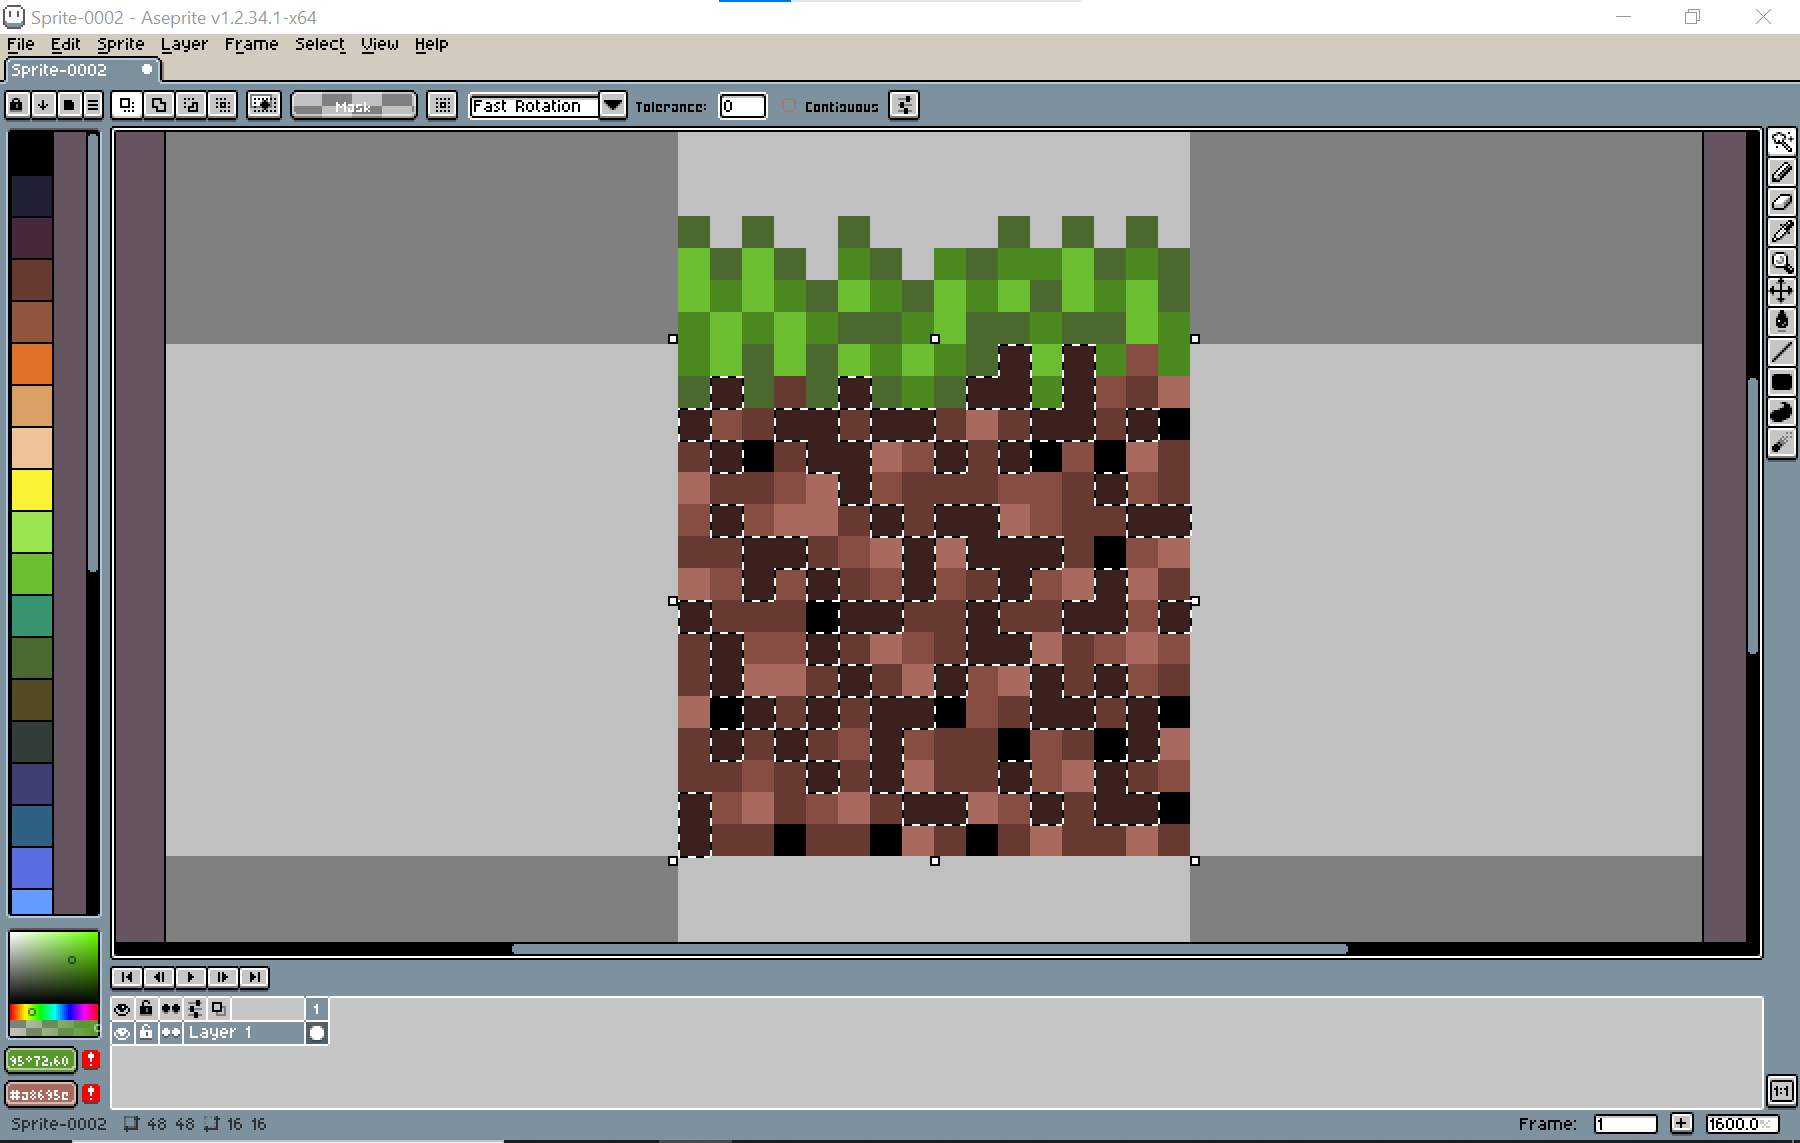
From there, you can fill the new color you want and do this for all the other colors. It helps to use the eyedropper tool and color sliders so you color choices don't end up too far off.
So finally, that's it for the tutorial! Congrats on making it this far. Next time, we'll start creating a grassy scene but until then, see you next time.