Avatar Creation
Avatar creation is currently a bit overcomplicated, and it will be easiest for you if you are somewhat tech savvy. That said, nothing in here is especially complex once you learn the rules, and if you get stuck, I and others may be happy to help you get un-stuck! 😄
The Basics
Note: Make sure all your avatar’s images are the same size! This is a limitation which will be removed in the next version of PNG2br.
Each avatar is a plaintext file with the extension “.2br”. Two example avatars, “bear” and “popcat” ship with PNG2br. If you open one in Notepad or another text editor, you will see something like this:
avatar
  format: '1.0.0'
  name: "popcat"
  states:
    [1]:
      name: "normal"
      animations:
        [1]:
          name: "idle"
          frames:
            [1]:
              filename: "popcat1.png"
              duration: 100
        [2]:
          name: "talk"
          frames:
            [1]:
              filename: "popcat2.png"
              duration: 100
            [2]:
              filename: "popcat1.png"
              duration: 50
Those of you familiar with MoonScript may recognize this as source code, and it is, albeit sandboxed. This means you could write the above document in different ways, some more compact and less human-readable than the version shown.
Each Avatar contains States, and each State contains at least one Animation: “idle”. Each State can also contain the animations “idle-blink” and “talk”. Each Animation contains at least one Frame, which specifies an image filename and a duration, in milliseconds.
State Properties
  name: <String>
  animations: <Array<Animation>>
  [effects: <Effects>]
Each state has a name and an array of animations. Optionally, you can define effects for a given state, described later in this post.
Animation Properties
  name: <String>
  frames: <Array<Frame>>
Each animation has a name, which is one of "idle", "idle-blink", or "talk", and an array of frames.
Frame Properties
  filename: <String>
  duration: <Milliseconds>
  [offset_x: <Pixels>]
  [offset_y: <Pixels>]
Each frame specifies a filename for the image to use and a duration in milliseconds. Each frame can optionally specify an offset_x and an offset_y in image pixels. The origin of an avatar is the bottom center of each image. The offset properties are applied to this origin.
Paths are Relative
All paths specified in a .2br file are relative to the .2br file. You will notice this when reading the sample avatars that come with PNG2br: Because the needed images are in the same folder as the .2br file, the image paths are naked: "popcat1.png" and similar.
Effects
Each state can optionally specify effects to be applied to it. The full range of effects available are outlined below. You may specify any or none of these effects, in any order, however: There may only be one of each effect applied to a state.
effects:
  tint:
    on: true
    r: <0-255>
    g: <0-255>
    b: <0-255>
    flash:
      on: true
      period: <Seconds>
  shake:
    on: true
    power_x: <Pixels>
    power_y: <Pixels>
    period: <Seconds>
  squash:
    on: true
    scale_mod_x: <Multiplier>
    scale_mod_y: <Multiplier>
    period: <Seconds>
  wobble:
    on: true
    max_angle: <Degrees>
    period: <Seconds>
  sine_x:
    on: true
    amplitude: <Pixels>
    period: <Seconds>
  sine_y:
    on: true
    amplitude: <Pixels>
    period: <Seconds>
  bounce:
    on: true
    impulse: <Pixels>
    gravity: <Pixels>
    restitution: <Multiplier>
    delay_min: <Seconds>
    delay_max: <Seconds>
Tips
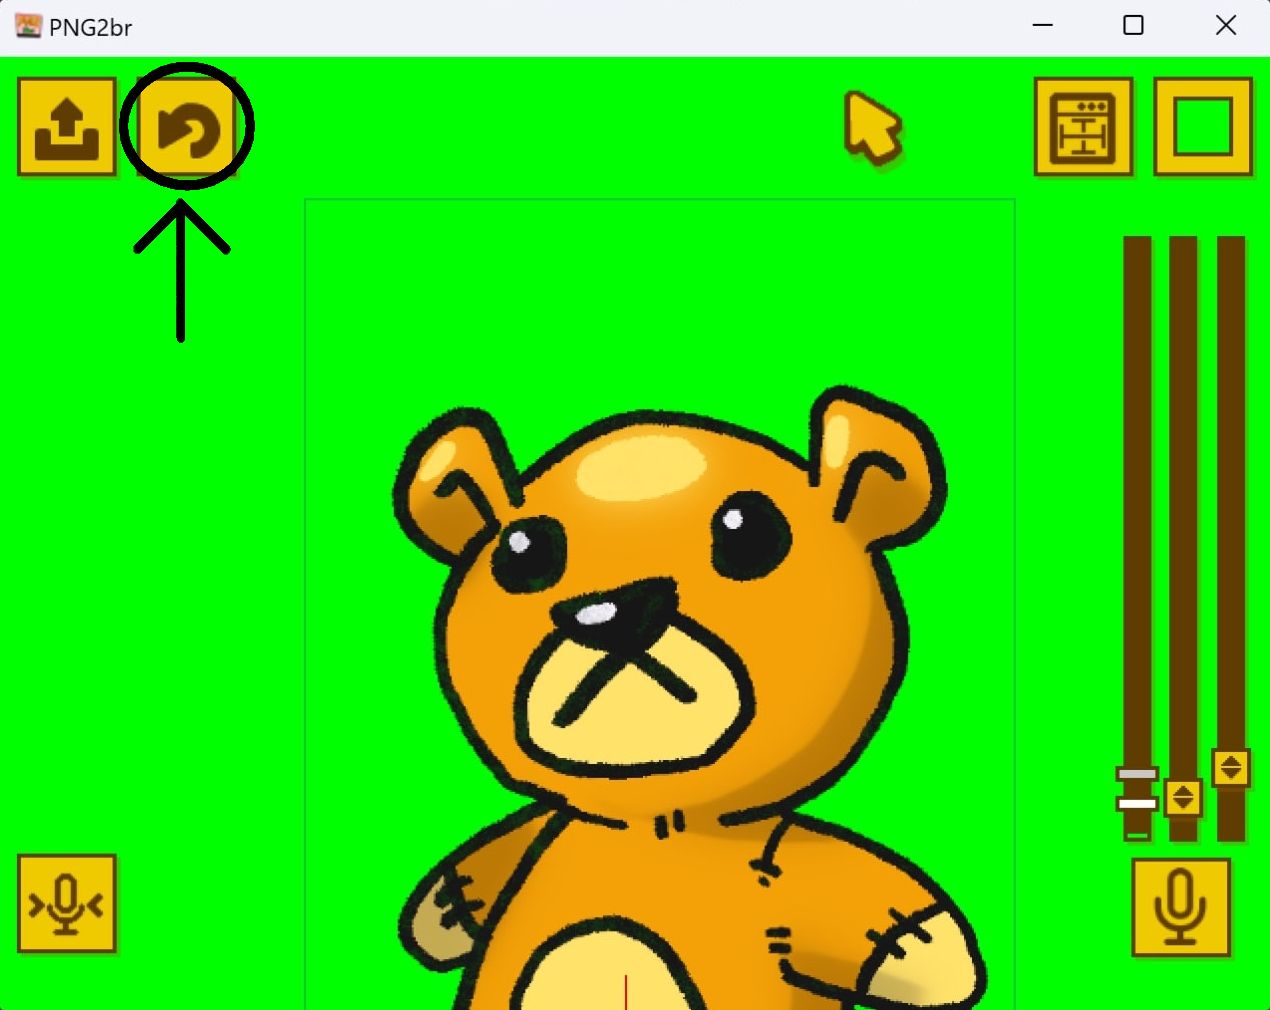
Use the Refresh button at the top left of the UI to reload the open avatar. This way, you can see your changes as you work on your avatar.

Further Information
If you are still confused about how to create an avatar for PNG2br, I highly recommend watching the video tutorial linked at the top of this post and following along with it. If you still have questions or get stuck, post here and the community and someone may help you out.


