
Today we're drawing a hedgehog pie from the Final Fantasy series. Like a hedge hog, it is has spikes on it's back. It is red in appearance and has green eyes. It is a pretty round stubby creature with a mischievous grin. It has arms and legs that somewhat resemble those from a raptor dinosaur. If you think they sound interesting, you can read more about them on the Final Fantasy Wiki. Anyway time to get started.
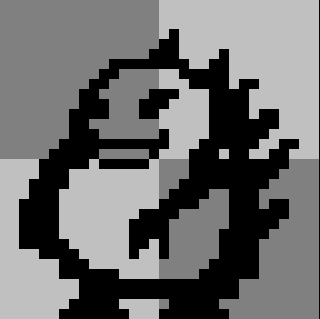
Step 1 - Sketch
From experience, I'm sure this sprite can fit into a 32x32px canvas. Going off the description I wrote above, I'm going to draw a round figure with a grin and spikes on it's back. The arms and legs can be sketched in very quick too, no need to get them perfect at this stage.
Step 2 - Color
Now we pick some quick placeholder colors. From reference, we know the creature is red and has green eyes so we'll add those colors to the drawing.

Step 3 - Shade
Start by shading the belly. It's the most simple to shade because it's very similar to shading a sphere. From there, we now have a good sense of light direction that we can apply to the rest of the sprite. I shaded the belly from the front, that's why the spikes in the back don't receive much light.

Step 4 - Nubs and Limbs
The limbs we currently have are off position, we'll have to adjust those. What I did here was render out the body and the head so that I know where the "nubs" will go (left image). Once I had that I could branch out the arms and legs from the nubs (right image).

Step 5 - Polish
Now that our sprite pose is looking pretty accurate to the original creature design, we can finalize the sprite. This step is all about cleanup, rendering, adjusting colors, and adding in the small details. Make sure the bordering pixels of the sprite have good contrast against the background so that we can see the sprite silhouette nice and clear.

Conclusion
This is the final sprite I created! Let me know what you think and share your version in the comments if you want. If you have any more questions about how I created this sprite, feel free to ask me. Anyway, good luck and see you in my next pixel tutorial!