The images / videos on this page are from an older version of the app, the UI has changed since then.
When you launch Gridless you will see a welcome screen. Here you can see the your editor's version as well as recently opened projects.
You can also switch to an alternative font here by pressing Safe font button - this will ensure all language characters will be rendered correctly.
- If this is your first time with Gridless, you should click Open Demo button to open up an example project. Feel free to take a peek at how some things are done there.
 You can click anywhere on the screen to close the welcome screen. To open it back up simply press the icon in the far upper-left corner.
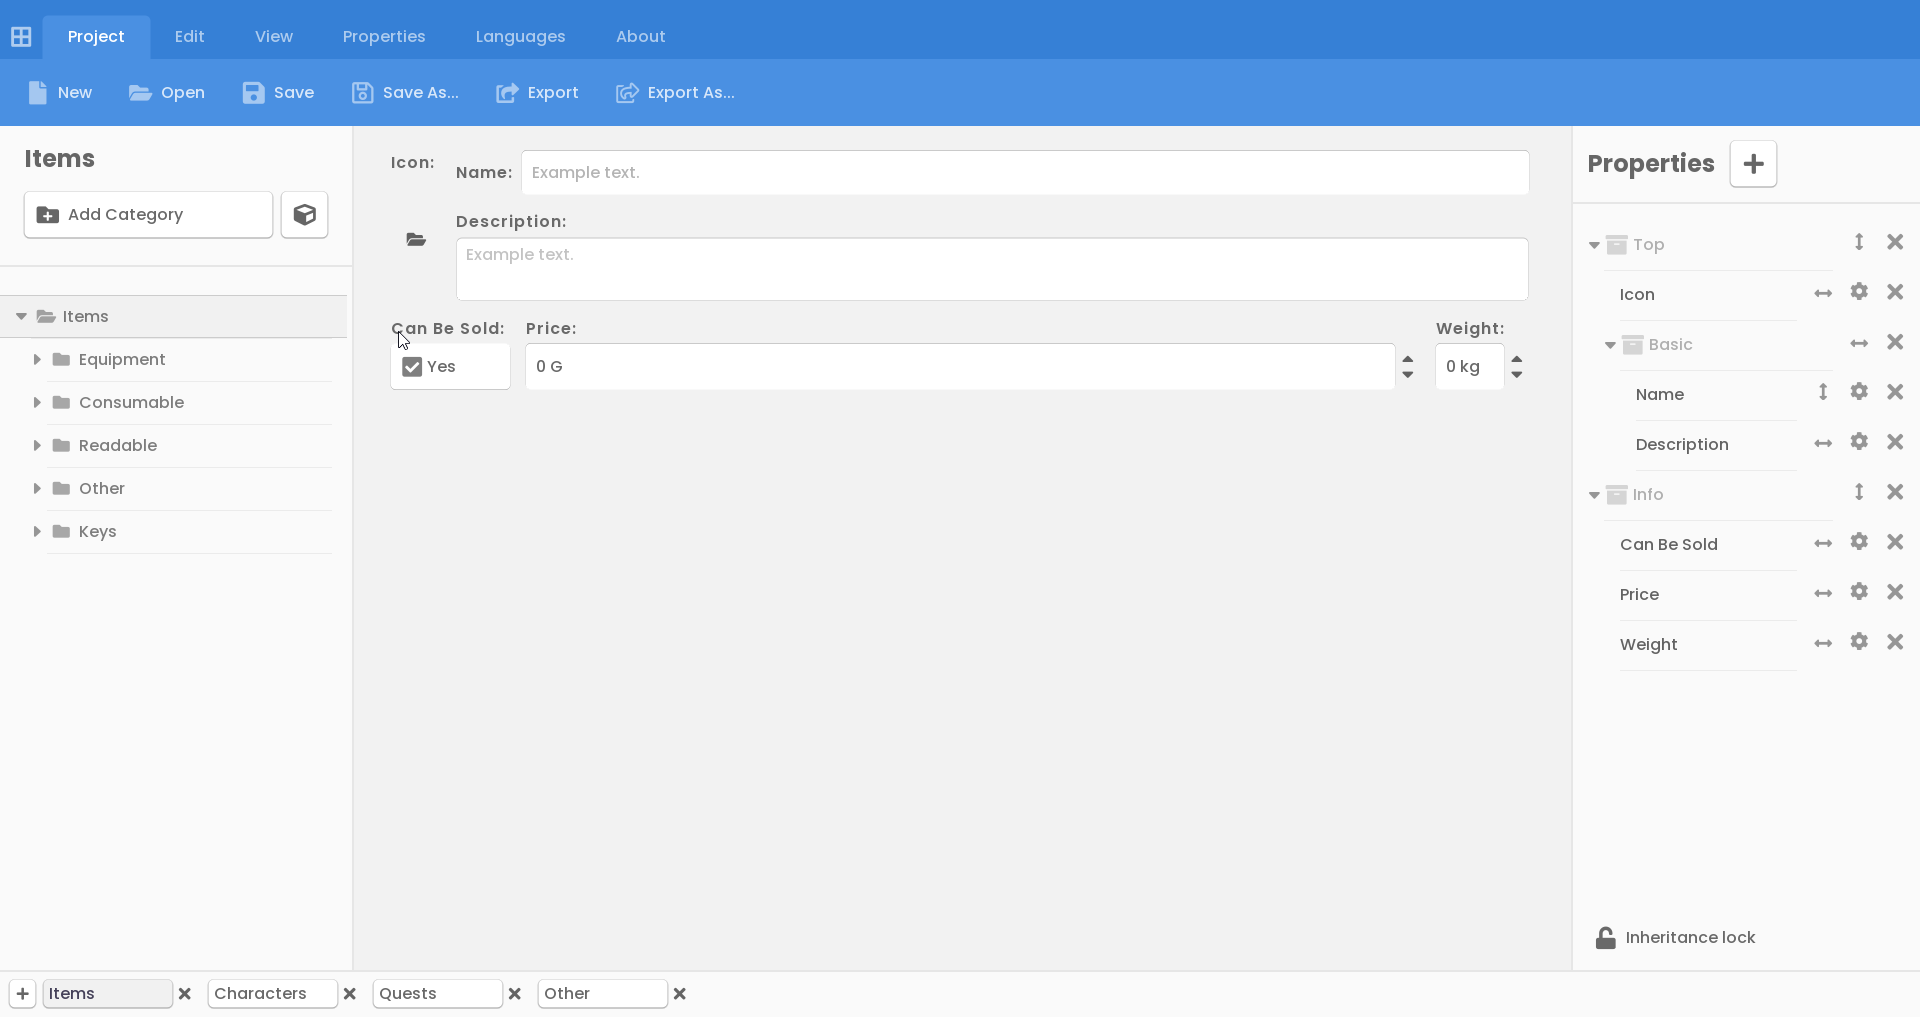
- Left - Categories/Items tree:
- Structure of Categories and Items. You can doubleclick to change its name, drag and drop to rearrange. You can only add Items to Categories.
- Center - Property editing:
- This is where you can edit the properties added in this Category or its parents.
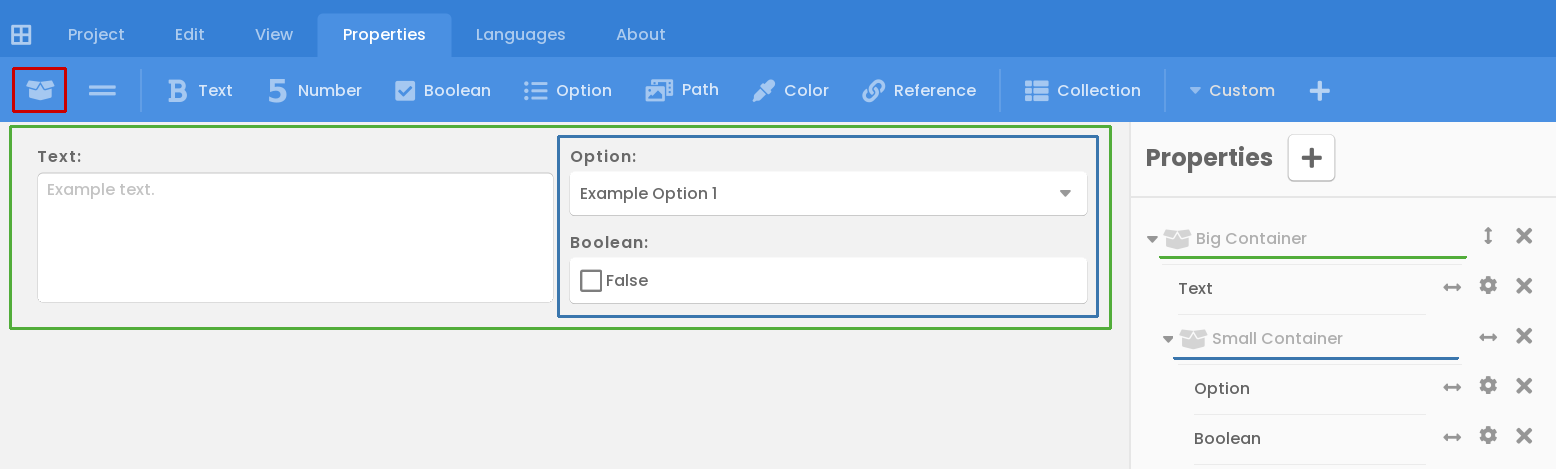
- Right - Properties tree:
- Structure of Properties and Containers. Here you will see 3 types of buttons:
- Arrow - switches between horizontal / vertical alignment
- Cog - opens up property config (here you can change f.e. min/max values of Numbers or add options to an Option property)
- X - deletes property / container
- Structure of Properties and Containers. Here you will see 3 types of buttons:
You can add properties by selecting one from the top-down menu after pressing the + button on the right
or
switch to the Properties tab at the top of the screen. Here you will also be able to create your own custom inputs and add them to your category.

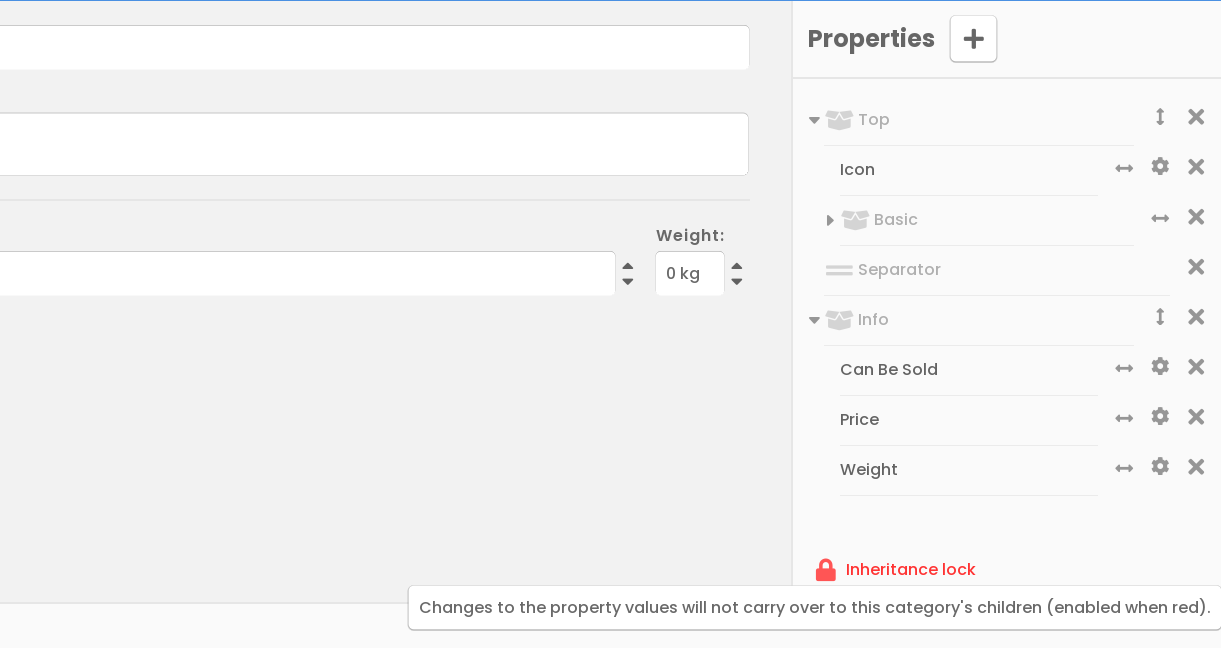
Inheritance
Whenever you add / remove / change a property in a category, all objects in that category will be updated to reflect changes made. This means that you can easily set up default properties / values for each item without having to redo the designs every time.
If you need to edit a property's value without it propagating to its children, set the Inheritance Lock to true (bottom-right).
Designing layout:
When you add properties to a category you also design the layout of their inputs. By default, properties' inputs are added in a vertical column, one below another. If you feel like that's good enough for your project, you can leave it at that. However, some projects require lots of data inputs that need to be organized. You have a couple of tools to create your custom design:
Align:
Changes if the property input is aligned horizontally or vertically.
- Press the double-sided arrow in the properties tree to switch between alignments.

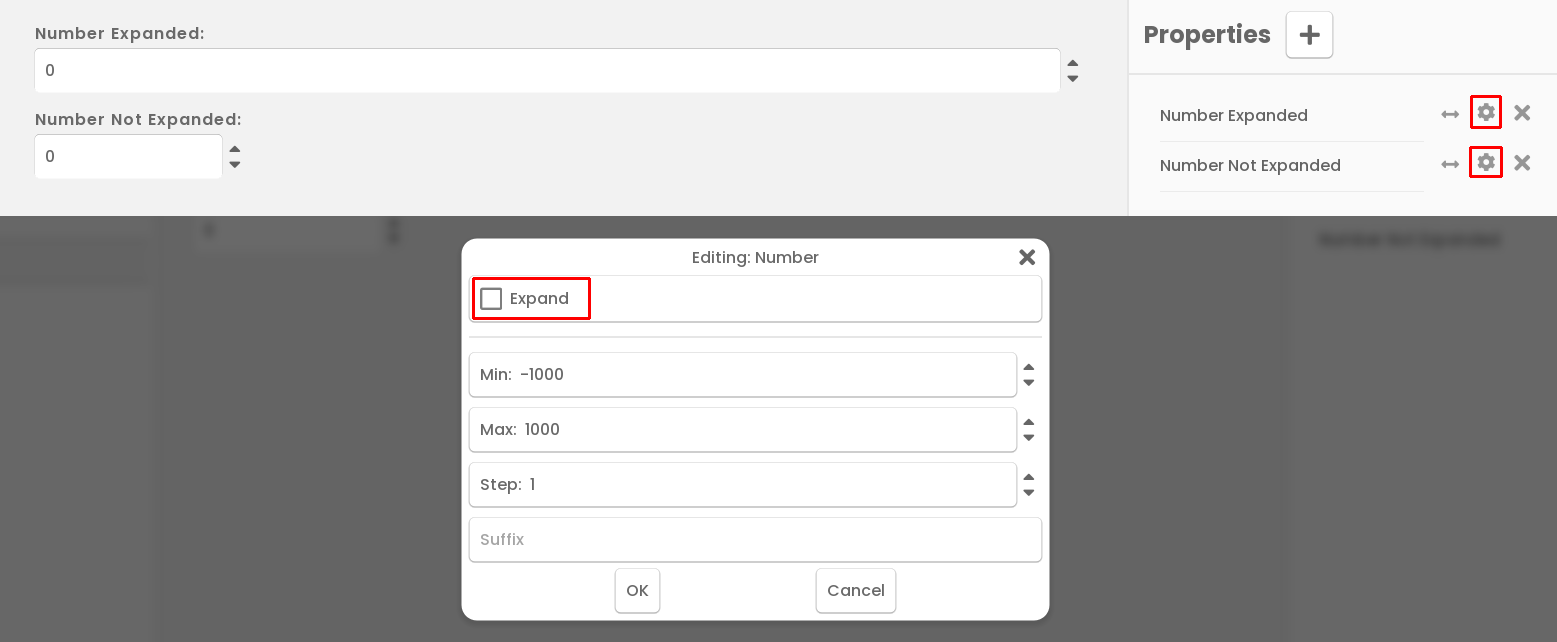
Expand:
Expands or contracts the input horizontally.
- Press the cog icon in the properties tree and select Expand.
Containers:
Allow for nesting multiple properties in horizontal or vertical layouts. Usually at least two properties are needed to see a difference in a container. You can nest containers to create complex designs.
- Press the container button and in Properties tree, drag and drop a property in it.
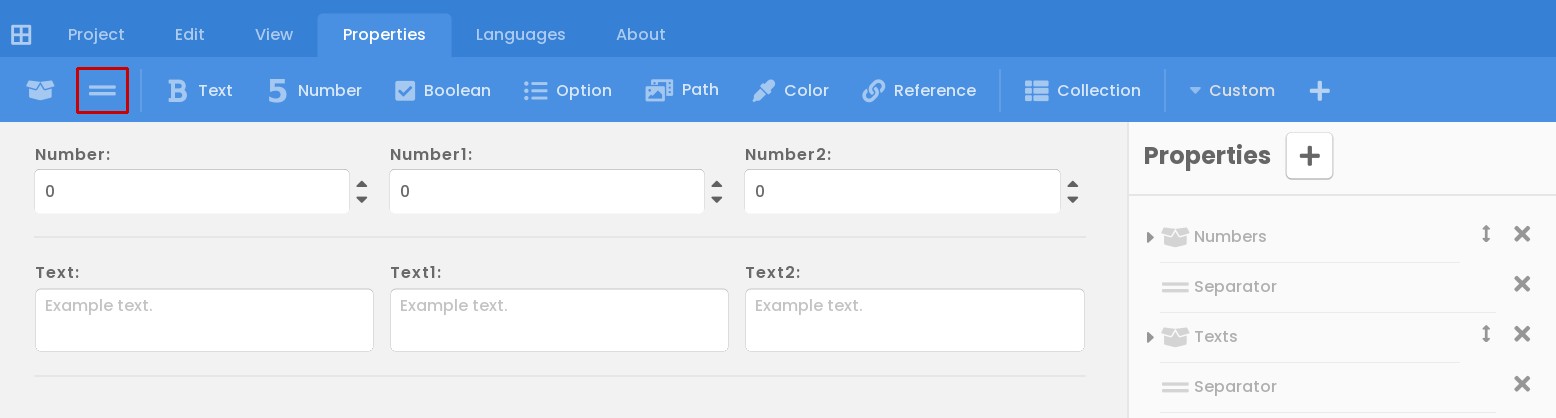
Separators:
Show a line separating two properties or containers.
- Press the separator button and in Properties tree, drag it to the desired place.