Introduction:
As a beginner, me and my team of three have taken up our very first 2D platformer project for our B. Tech CSE (Gaming Specialization) course at Vellore Institute of Technology, Bhopal, India. The development process has been a very fruitful experience so far, and during it, we figured out a neat little way to make your camera follow your main character in a 2D environment. There might be multiple and far detailed ways to do this, and this might be common knowledge to already experienced developers out there, but as a band of beginners, we figured it might be of use to somebody who's sailing on the same boat as us.
Step-by-Step Process:
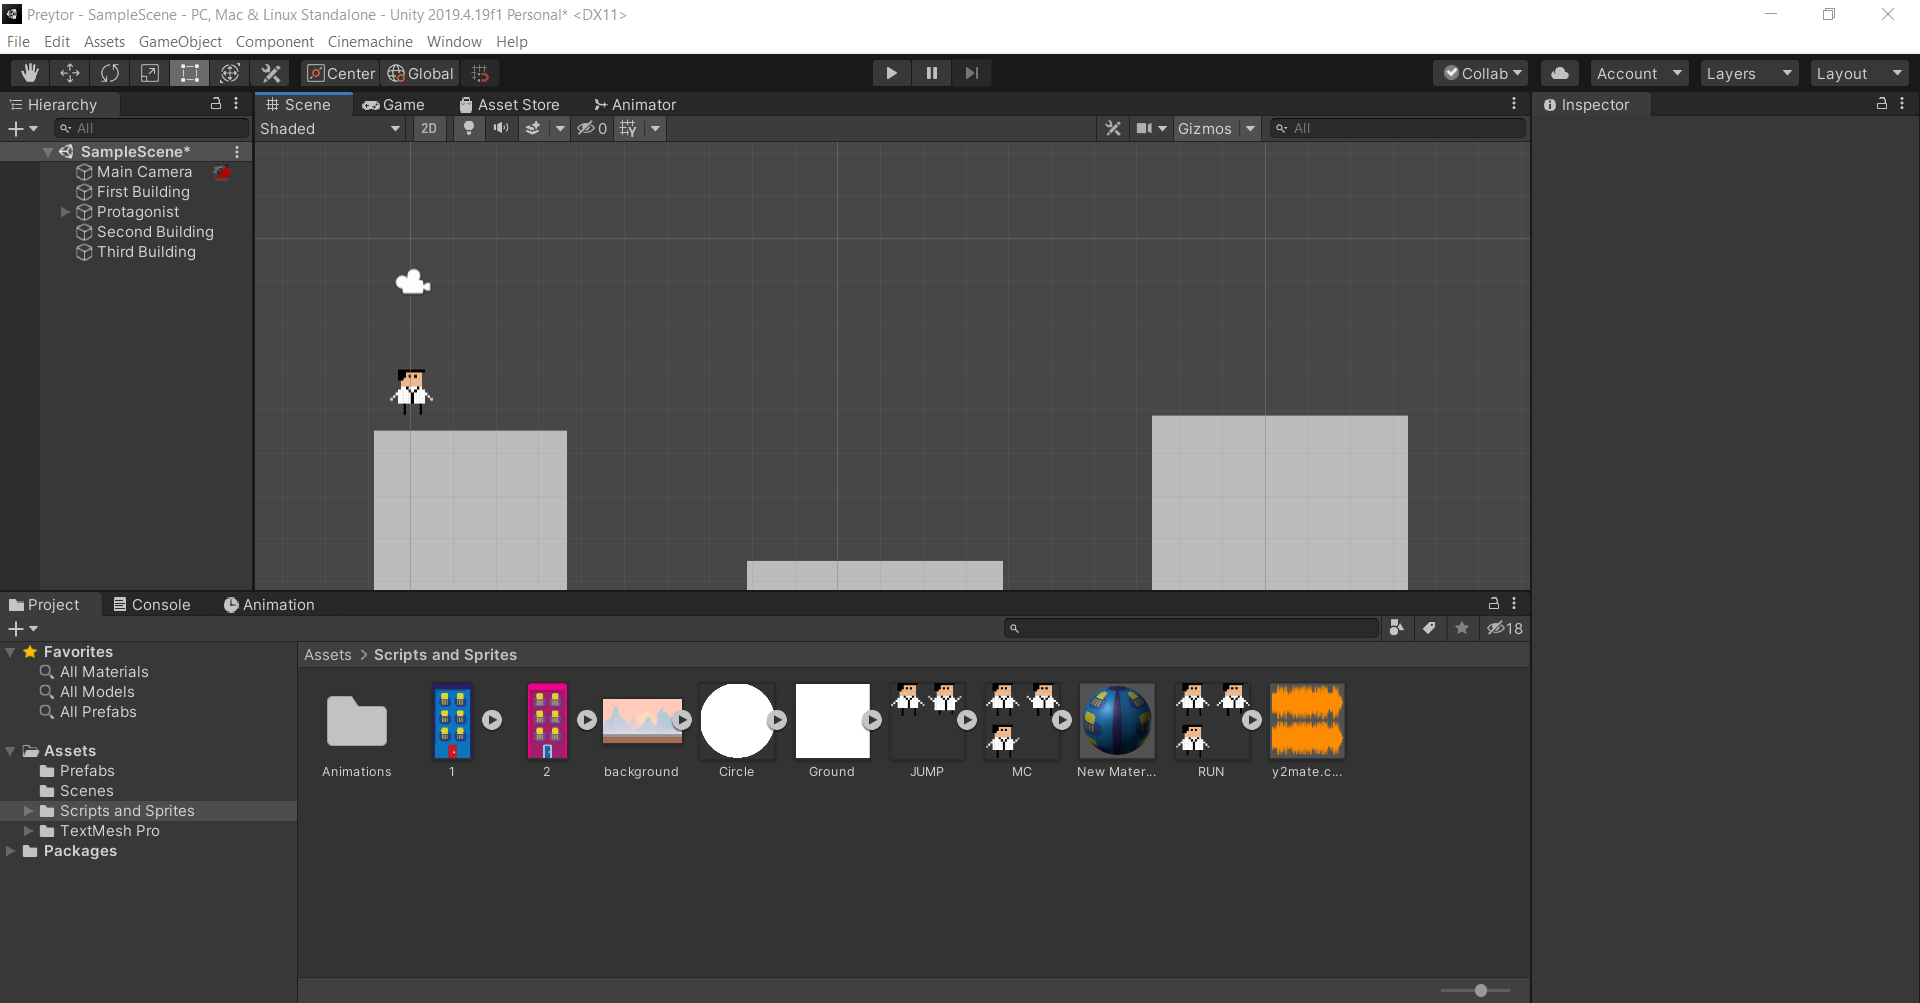
- Firstly, we have our Scene opened here where we already have our scripted-in character and a few Rigid Body objects ready where he can jump on and off of. As you can see, the camera has been untouched, and if we press play, it stays in the same place as it is.

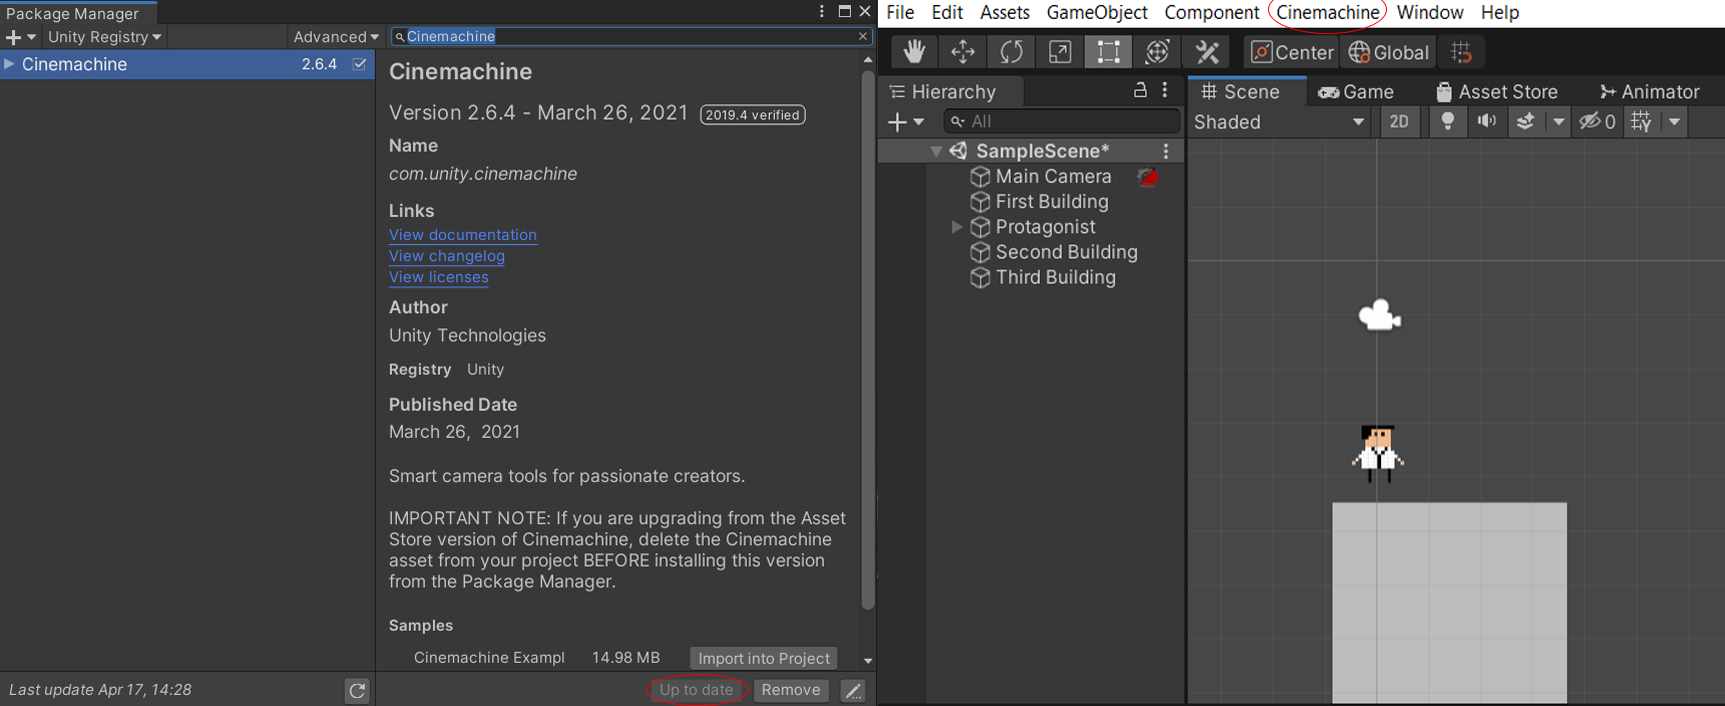
- Now, what you would want to do is to navigate up to Window>Package Manager and click on it. The Package Manager window will pop-up and look something like this:

- In the search bar on the top-right, search for Cinemachine and Install it. I have it already, but depending on your internet speed, it'll take from mere seconds to a minute or two. It will appear beside your component tab like this:

- Here's the fun part. Click on Cinemachine, and in the drop-down menu, select Create 2D Camera. On doing that, you will see a new camera by the name of CM vcam1 on the left. This is the camera that will follow your player. Click on it, and in the Inspector, you will see a tab called CinemachineVirtualCamera. Next to Follow, you'll see None, which means the Camera right now doesn't know what to follow. Let us fix that. Drag your Player from the Heirarchy menu (Protagonist here), and drop it right on it. This is how it will look:

- Now, all you have to do is click play, and voila! Your camera will follow your player to whatever edge of the map you have defined. Also note that you can change the X, Y, Height and Width values of the camera and it's angles in the Body Section under the Inspector:

We hope this tutorial was of use to you. Thank you for sticking with us so far. We are also open to suggestions and/or constructive criticism in the comments down below, as we are beginners ourselves and want to improve over time to compete with many of the already established talented developers here. Thank You.
~ Abhinav Thakur,
Vellore Institute of Technology, Bhopal, India
EJL Jaithra,
Vellore Institute of Technology, Bhopal, India

