

No current plans. I'm mulling around rebuilding the entire AutoUI - there are a few things that bother me having used it as much as I have, and that is one of the things I'd love to integrate.
A member registered May 30, 2020 · View creator page →
Creator of

A bite-sized cozy incremental game where you harvest materials and craft potions!
Play in browser

An incredibly large number of player/enemy ships as pixel-art!
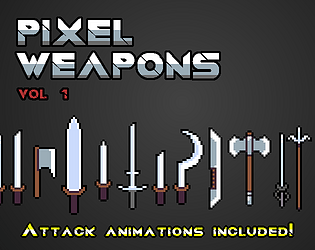
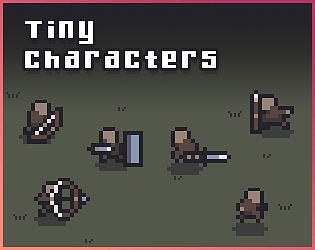
Animated swords, bows, spears, axes and more!
Room-based procedural floor path generation
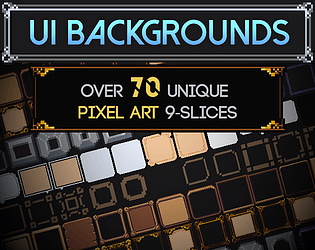
Over 70 pixel-art card/Icons!

A collection of custom, must-have functions for GameMaker

A UI system for GameMaker for responsive, dynamic interfaces in seconds
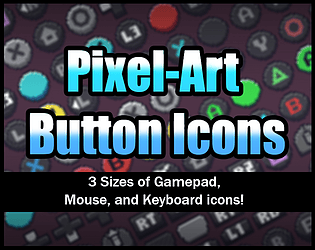
A collection of gamepad/keyboard/mouse icons!
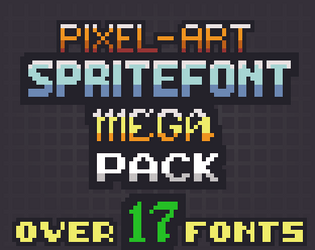
A collection of over 17 spritefonts

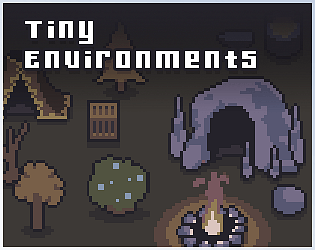
16x16 tilesets with tons of environmental objects
Perfect for survival games, auto-battlers, rpgs, and more!
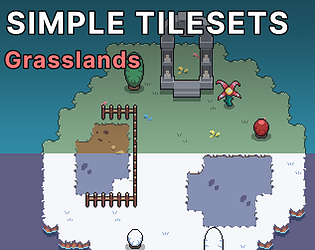
A grasslands that blends well with other simple characters (includes a bonus snow tileset!)
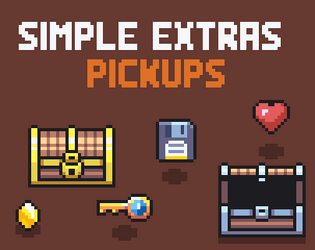
A small collection of pickup-able objects for a top down-game
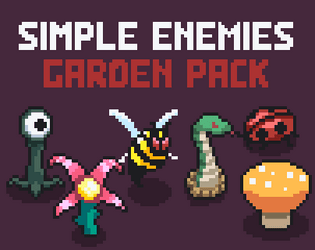
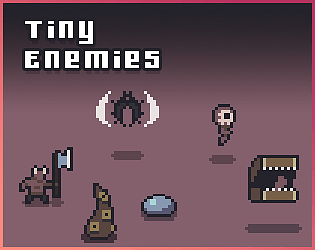
A group of pixel-art fantasy enemies for a grassland area.
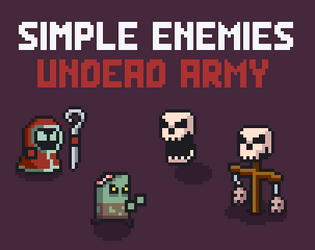
A group of dark-magic pixel art enemies
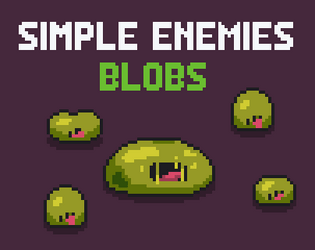
Simple version of both a large and small blob enemy
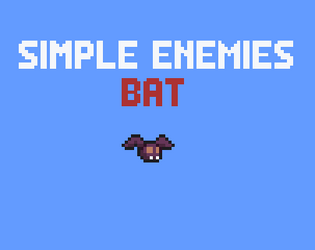
A traditional pixel-art bat enemy
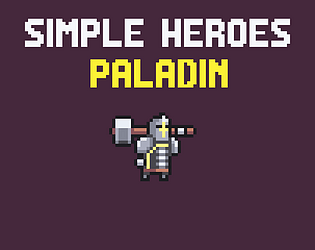
A simple 2 directional Paladin for top-down or platformer
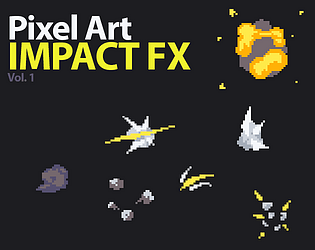
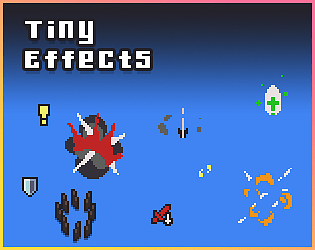
Pixel art style combat effects for both top down and platformer games