Awesome!!!
A member registered Feb 12, 2018 · View creator page →
Creator of
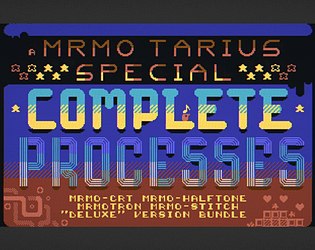
A bundle including all of the deluxe versions of my processes!
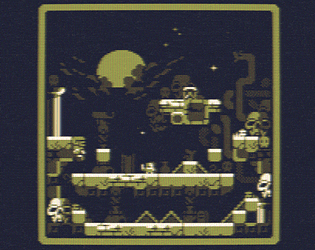
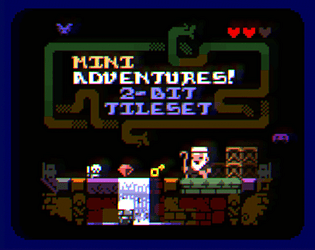
A dungeon-oriented two-bit tileset
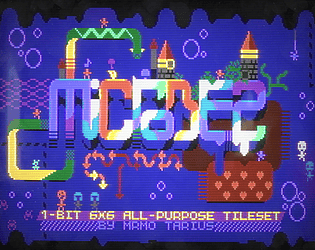
All-purpose 1-bit tileset
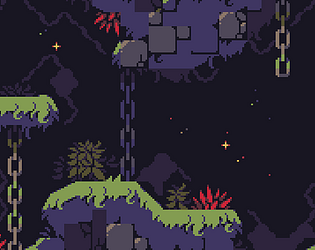

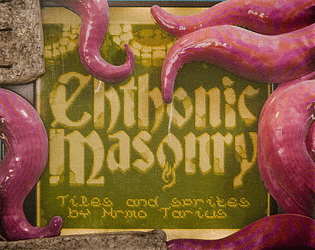
Experimental hand-painted tileset
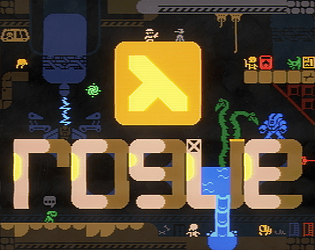
Lambda-themed 1-bit tileset
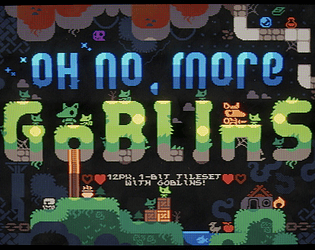
1-bit tileset with goblins
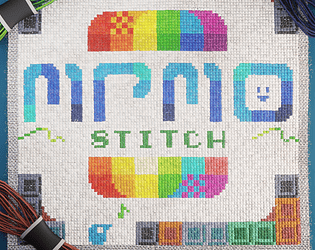
Blender-based cross-stitch embroidery emulation process
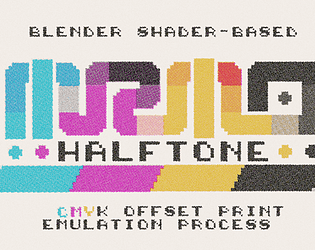
An offset printing emulation process in Blender
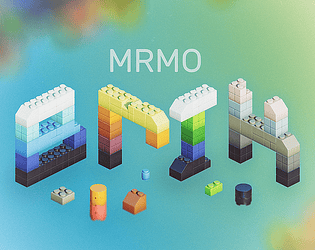
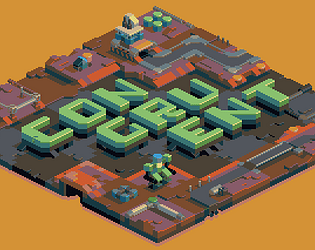
A bricky isometric tileset
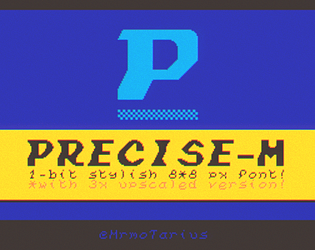
A stylish 8x8 bitmap font
A dungeon-oriented two-bit tileset
All-purpose 1-bit tileset
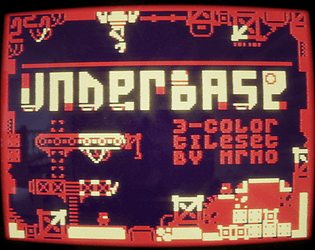
A versatile three-color low resolution tileset
Recent community posts

Mrmo Tarius Special - Complete Processes comments · Replied to Aymen Al-behadili in Mrmo Tarius Special - Complete Processes comments
Hey! Thanks a lot for supporting me, and I hope you have fun making stuff with the processes!
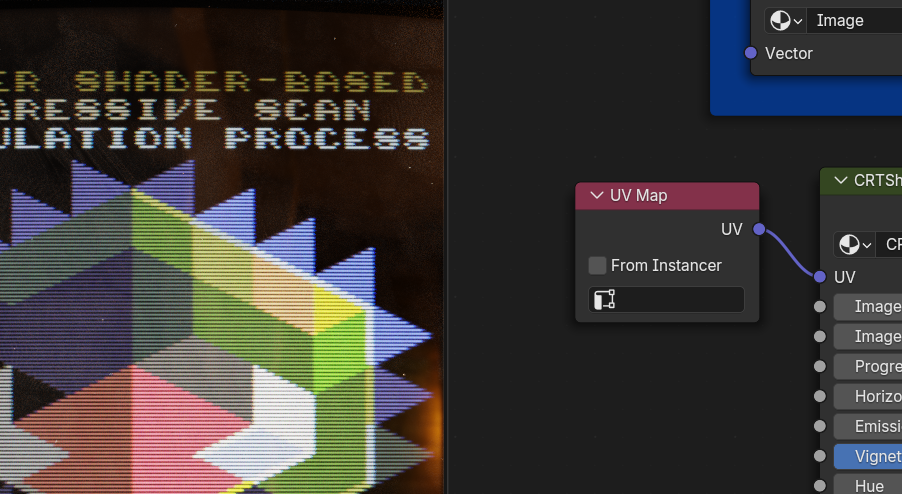
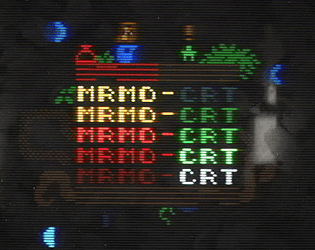
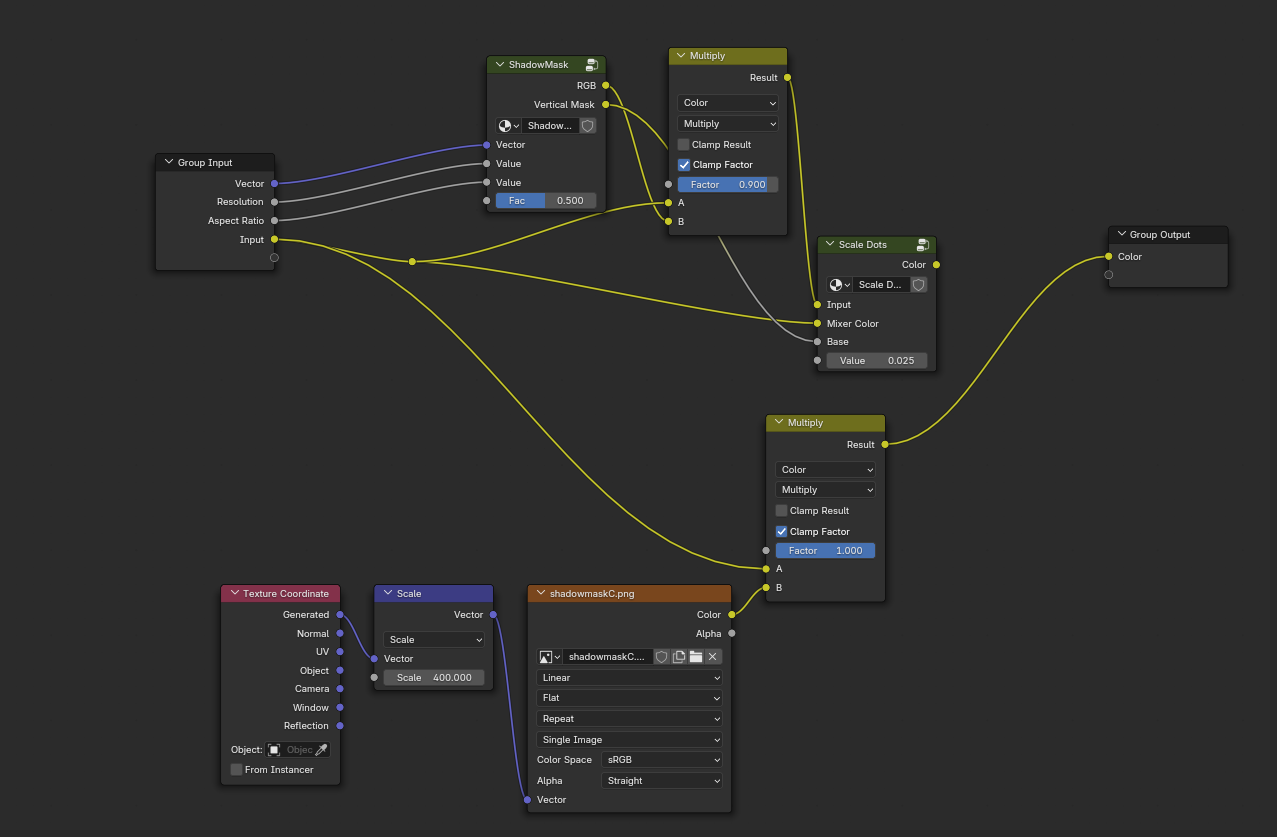
TriCRTops should actually work with Cycles, I used to use some Eevee-specific nodes but they should all have been replaced, and I left the process as "Eevee-only" basically just because I hadn't tested it properly. Just disable the "From Instancer" option in the UV Map and it should work!