
I'm "deinra" on Discord.
A member registered Mar 21, 2024 · View creator page →
Creator of
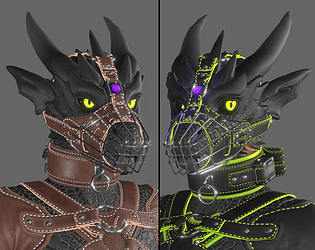
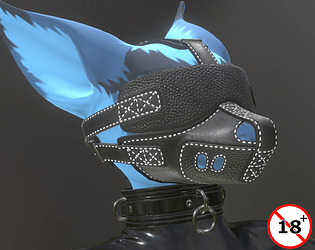
A Muzzle for CreatureTime's ScaledWyvern avatar
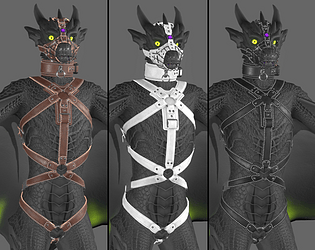
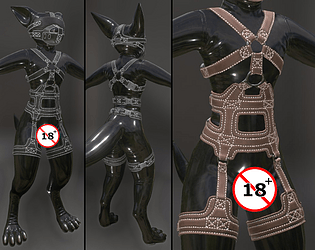
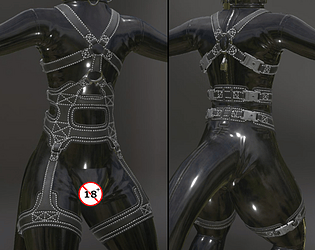
A Leather Harness for CreatureTime's Scaled Wyvern avatar
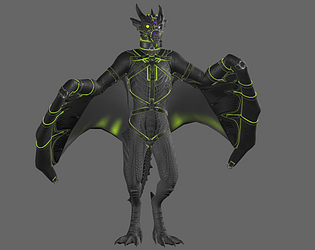
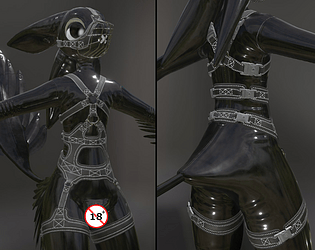
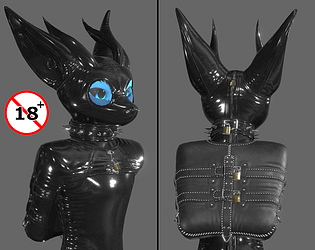
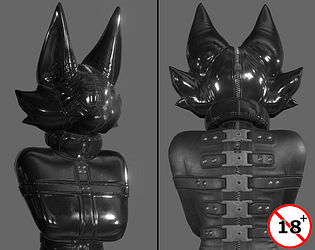
A Wingbinder for the ScaledWyvern avatar
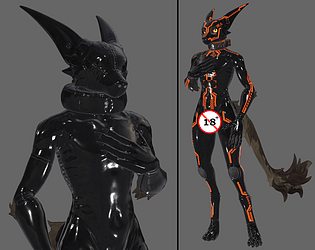
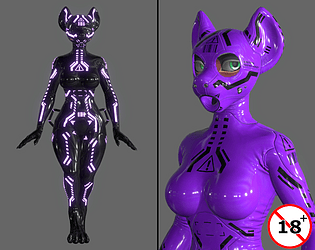
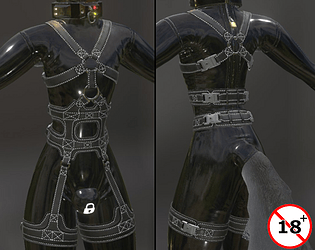
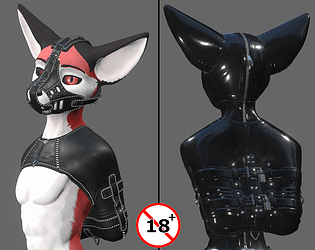
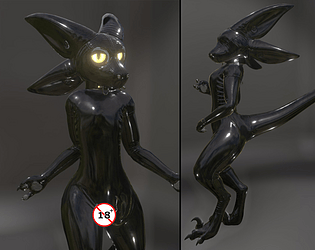
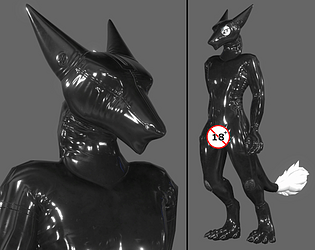
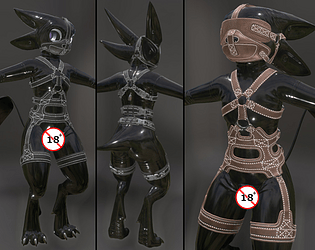
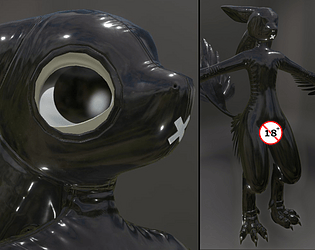
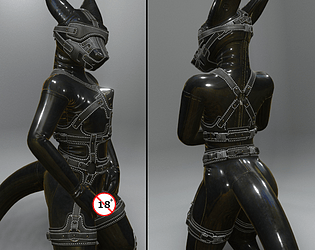
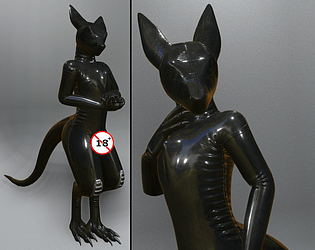
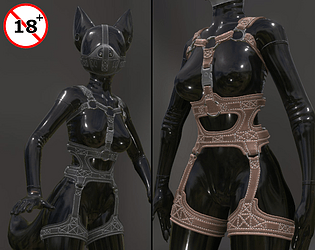
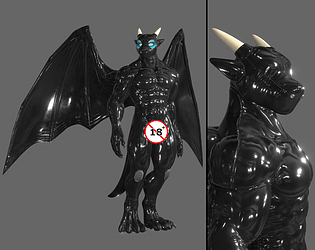
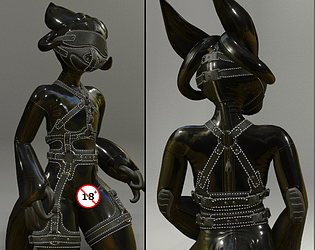
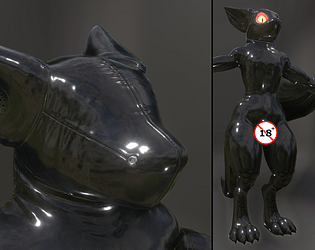
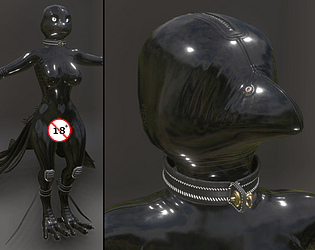
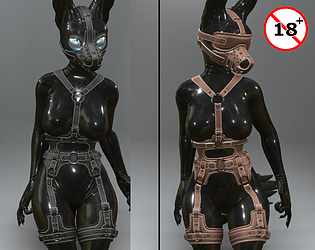
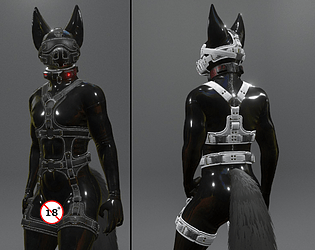
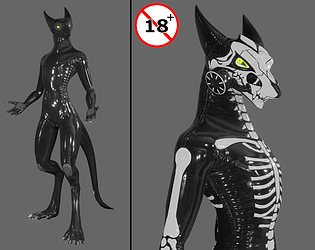
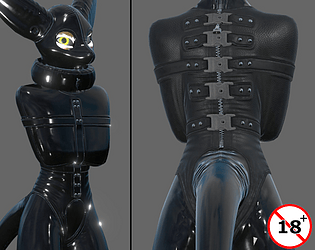
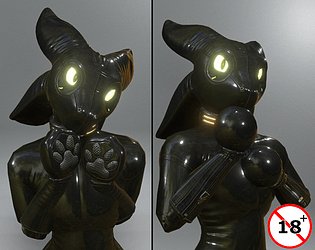
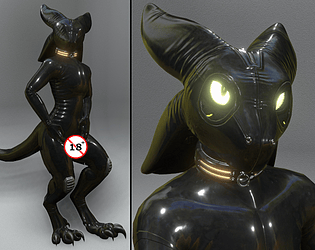
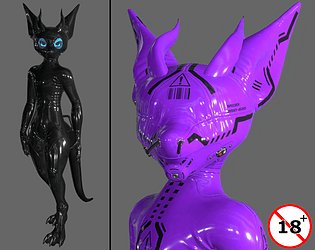
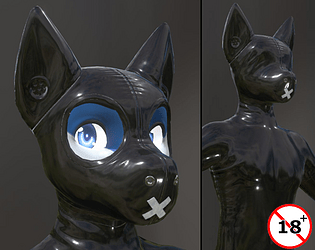
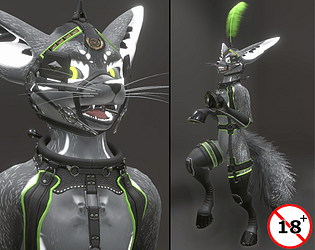
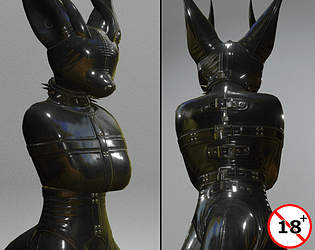
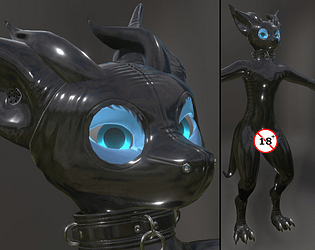
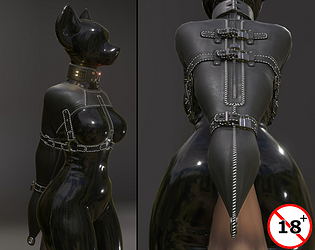
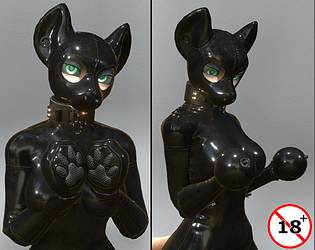
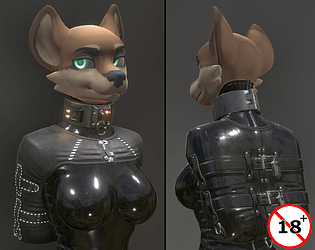
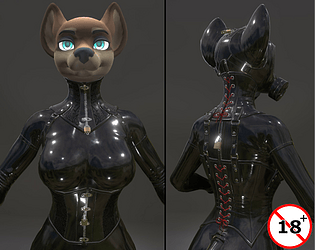
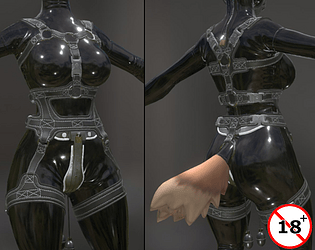
Latex Outfit for Tokyozilla's Voxien avatar
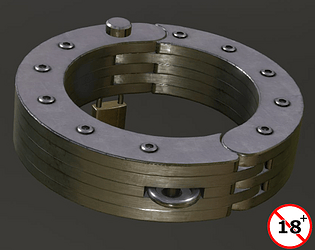
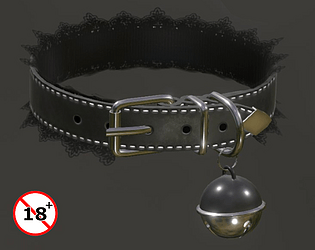
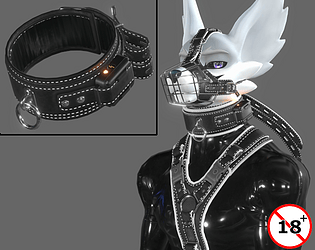
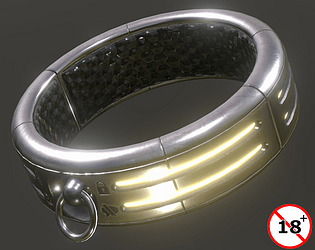
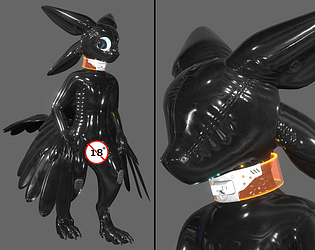
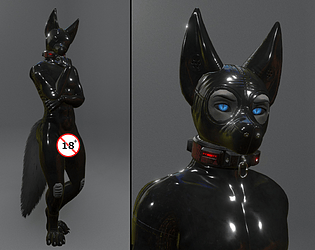
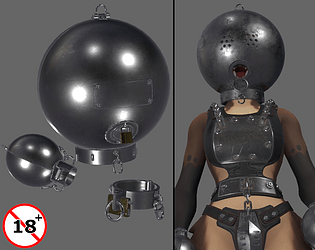
A Very heavy collar
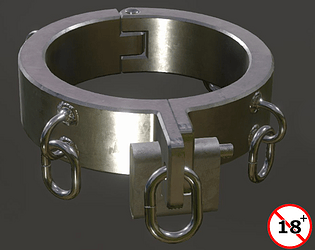
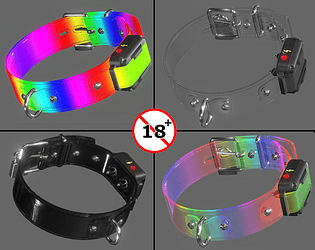
A rather heavy looking collar
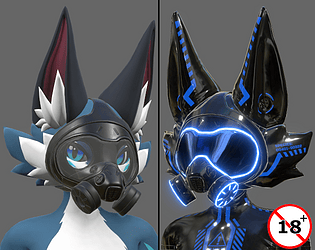
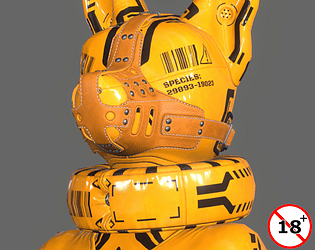
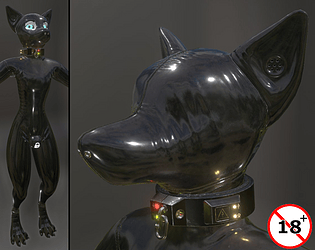
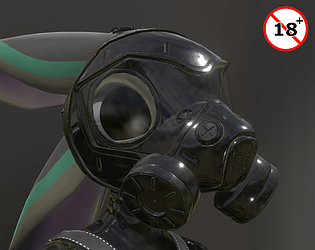
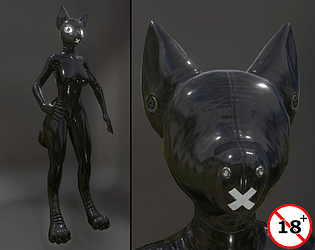
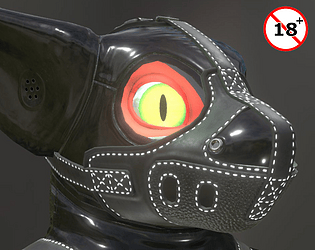
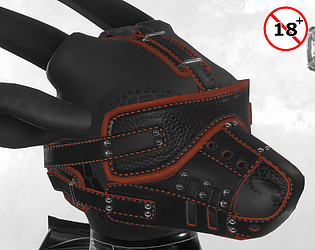
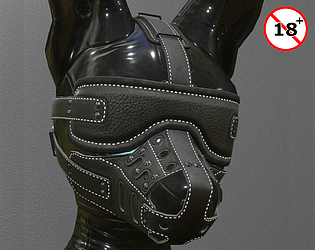
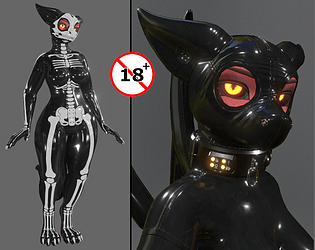
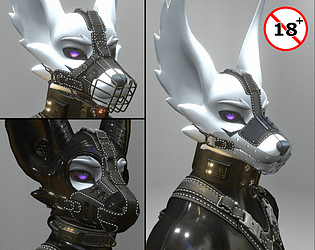
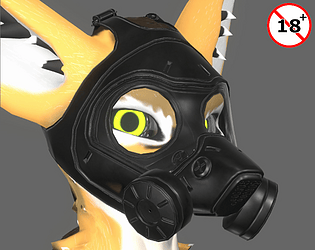
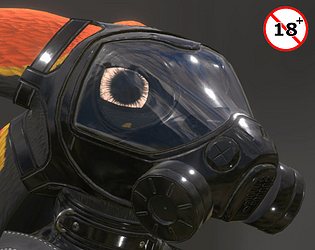
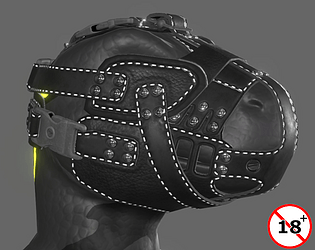
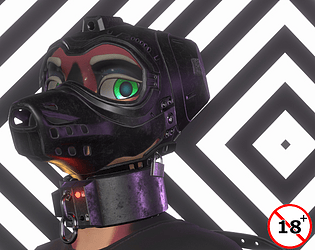
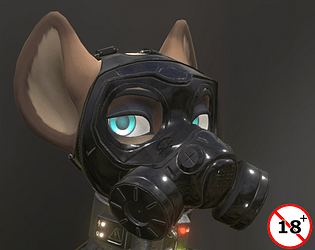
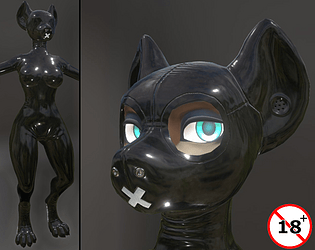
A Gas Mask for the Novabeast avatar
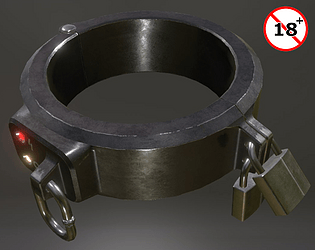
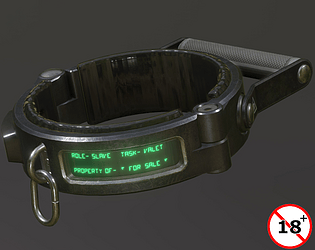
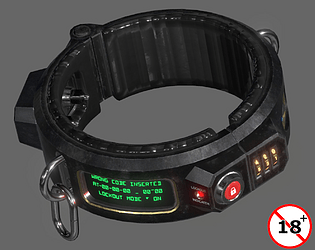
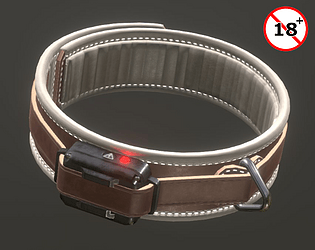
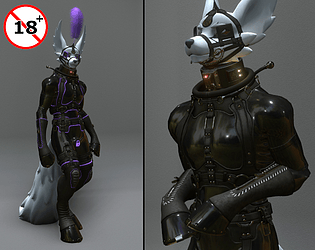
A Heavy Shock Collarollar for VRC/Unity/Resonite
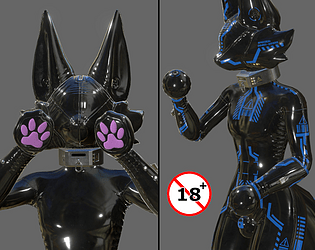
Bondage Mittens for the Novabeast avatar
A reverse-prayer armbinder for the Novabeast avatar
Latex Outfit and Hoods for the Calypso Shark
Latex Outfit for the Shawn Shark Avatar
Reverse-Prayer Armbinder for the Hyenid
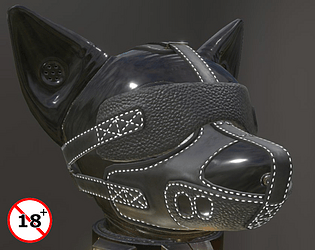
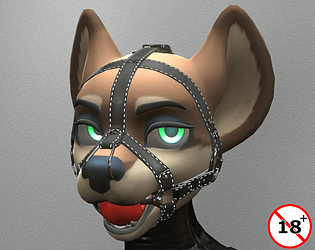
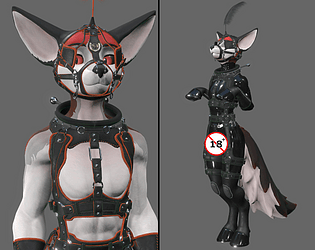
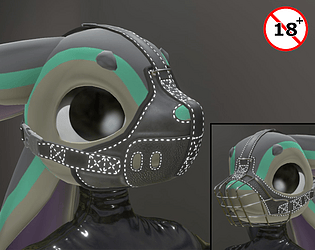
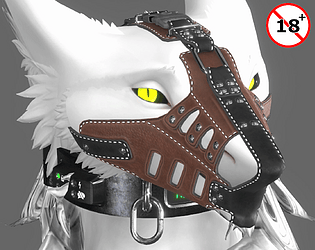
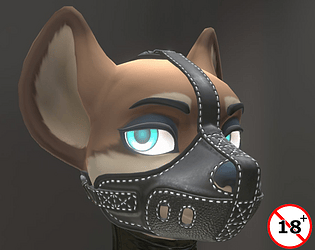
Muzzle and Blindfold for the Canis Woof avatar
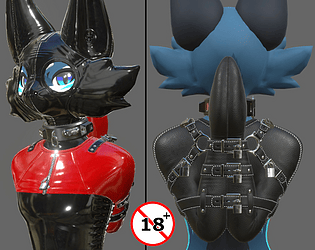
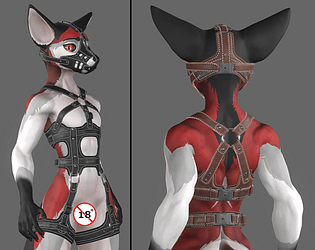
Leather Harness for the Canis Woof avatar
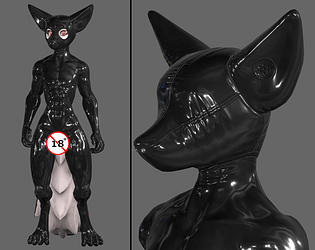
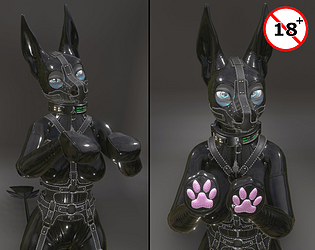
Latex clad outfit for the Canis Woof avatar
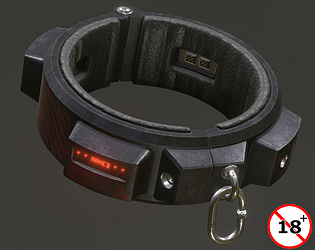
A shock collar with explosive shaped carge
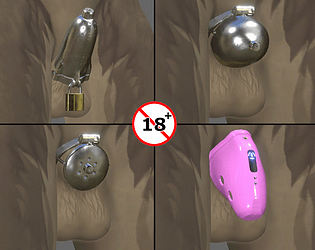
Cages for frisky digital furries
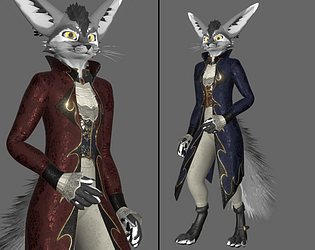
Baroque-styled outfit for the 'Rex' avatar

A collar for VRC/Resonite
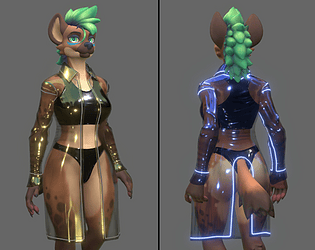
A Blade Runner inspired coat for the Hyenid
Ponyplay Tack for the Viwi avatar
A turian collar
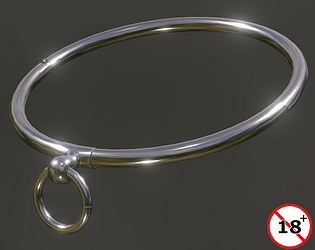
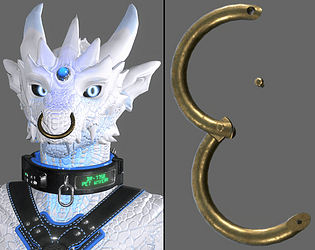
A torus-shaped collar

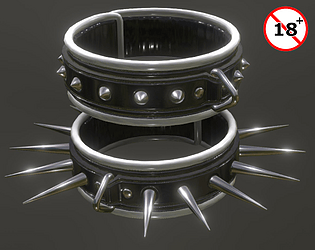
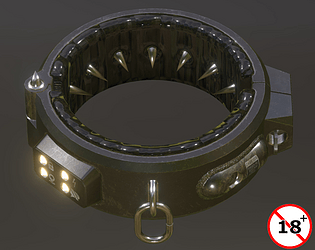
A pronged collar
A collar for the maso'
Latex for the Wolfman avatar
Bondage item for the Viwi avatar
Avatar asset for Unity-Based (VR) Games
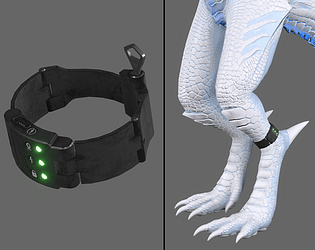
Ankle Monitor asset for Unity-based (VR) Games
Collar asset for Unity-based VR Games
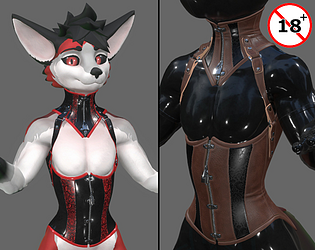
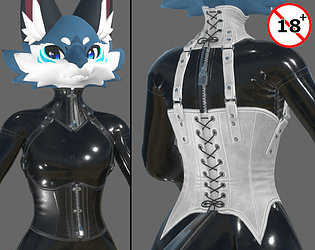
Corset(s) for the Viwi avatar
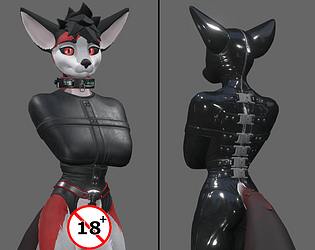
Sleeveless Straitjacket for the Viwi avatar
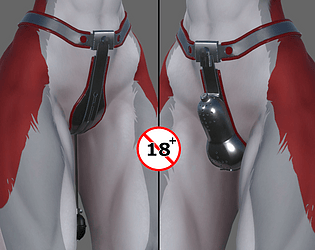
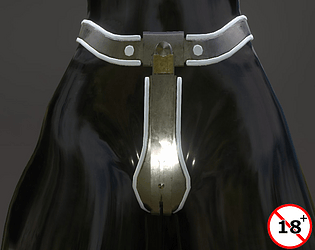
Chastity Belts for Viwi avatar
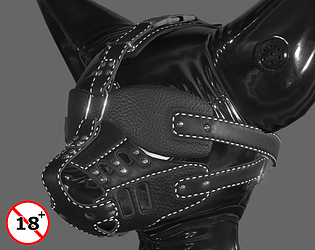
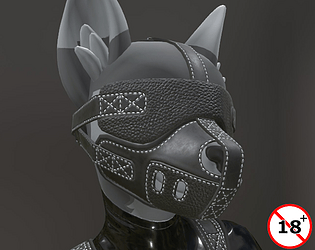
A Leather Muzzle /w blindfold for the Viwi avatar
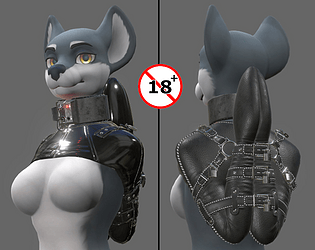
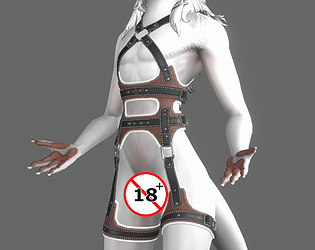
A Leather Harness for the Viwi avatar
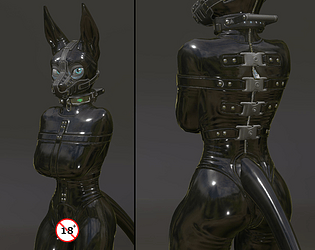
A Latex Outfit and Hoods for the Viwi avatar
A muzzle and blindfold for the Javali avatar

A Leather Harness for the Javali avatar
A latex outfit for the Javali avatar
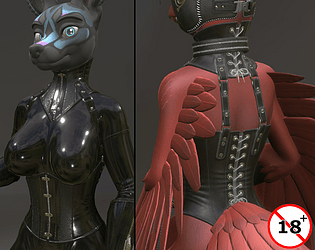
Latex Outfit & Hoods for Zairiza's Sergal avatar

A Draught Harness (& Bridle) for the Tychoraptor avatar
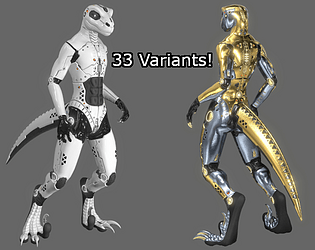
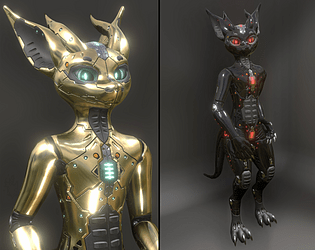
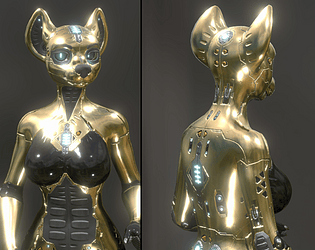
A 'droid texture mod for the Tychoraptor avatar

A Latex Outfit and Hoods for the Moonfang Dragon avatar
A Latex outfit and Hoods for the Welpling avatar
Sleeves with integrted cuffs for the Hyenid avatar
A leather Muzzle & Blindfold for the Juniper avatar
A Leather Harness for the Juniper avatar
Latex Outfit and Hoods for the Juniper avatar
Leather Muzzle & Blindfold for the Kita'Vali avatar
Leather Harness for the Kita'Vali avatar

Latex outfit and Hoods for the Kita'Vali avatar
A Gas mask for the Davali avatar
A pair of muzzles for the Davali avatar
Leather Harness for the Davali avatar
Latex Outfit & Hoods for the Davali avatar
Leathe Muzzle for the Neorca avatar
Leather Harness for the Neorca avatar

Latex Outfit and Hoods for the Neorca avatar
Leather Muzzle for the Sergodal avatar
Leather Harness for the Sergodal avatar
Latex Outfit with hoods for the Sergodal avatar
Chastity Belt for the JuWi Female Canine VRC avatar
Leather Muzzle for the JuWi Female Canine VRC avatar
Leather Harness for the JuWi Female Canine VRC avatar
Latex outfit for the JuWi Female Canine VRC avatar
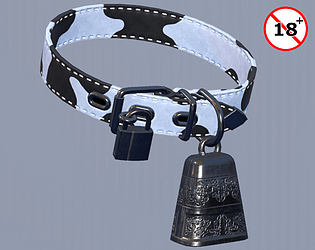
A collar made of Vinyl
A collar with a number-dial lock

A collar for lazy slaves
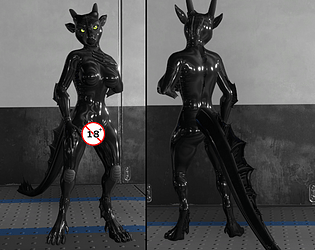
Latex Outfit for the Draconian avatar
A Latex Outfit for the Spiri'Vali avatar
A straitjacket for the Tychoraptor avatar
Shock Collar for Mental Wards
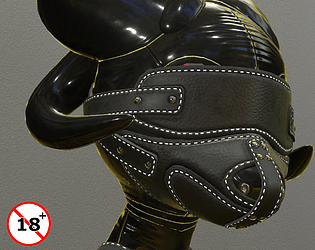
Leather Muzzle /w a Blindfold for the Wickerbeast avatar
Leather Harness for the Wickerbeast avatar

Latex Outfit for the Wickerbeast avatar
A muzzle & blindfold for the Toastacuga avatar
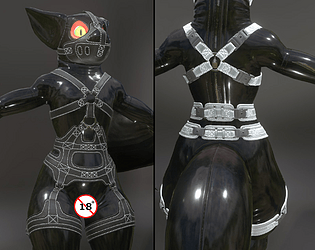
A Leather Harness for the Toastacuga avatar
Latex outfit for the Toastacuga avatar
A Leather Muzzle ( & blindfold) for Kudalyn's Dragon avatar
A latex outfit for Kudalyn's Dragon avatar

Chastity gear for Kudalyn's avatars
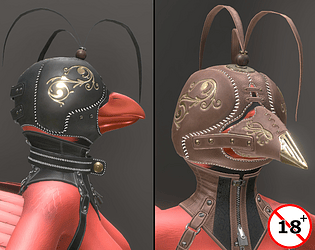
A Falconry Hood for Kudalyn's Avian avatar
Latex outfit for Kudalyn's Avian avatar

Ponyplay gear for Kudalyn's Dragon and Jex avatars
A set of bondage mitts for Kudalyn avatars
A Corset outfit for the Kudalyn avatars
A sleeveless Straitjacket for the Kudalyn avatars
A muzzle for the Jex avatar
Leather Harness for Kudalyn avatars
Latex Outfit & Hoods for the Jex avatar
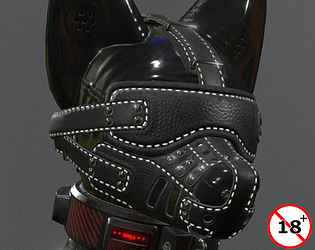
A Leather Muzzle for the Archer Canine avatar
Leather Harness for the Archer Canine avatar
Latex Outfit for the Archer Canine avatar

Latex outfit for the Aurora Wolf avatar
Latex Outfit for the Azalea avatar
A Draught Harness (& Bridle) for the Coyote Mk2 avatar

A Gas Mask for the Coyote Mk2 avatar
A set of Muzzles for the Coyote Mk2 avatar
Leather Harness for the Coyote Mk2 avatar
Latex Outfit for the Coyote Mk2 Avatar
A Leather Muzzle (& Blindfold) for the Kobodal avatar
A Leather Harness for the Kobodal avatar

Latex Outfit & Hoods for the Kobodal avatar
A U-binder for the Nardoragon avatar
A Leather Muzzle for the Skadi Sergal avatar
Leather Harness for the Skadi Sergal avatar
Latex Outfit for the Skadi Sergal avatar
A Gas Mask for the Rexouium avatar
Neck & Torso Corset for the Novabeast avatar
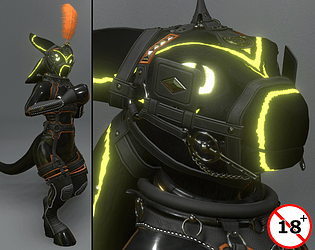
VRC/Resonite Bondage gear
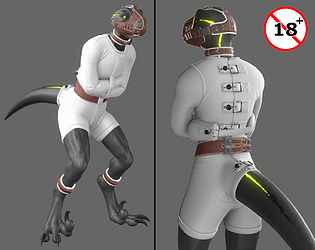
Sleeveless Straitjacket Onesie for the Rexouium
Neck & Torso Corset for the Rexouium avatar
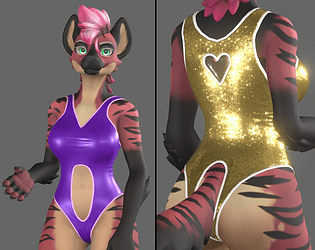
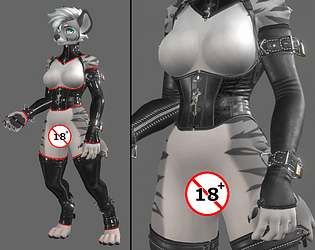
A Swimsuit for the Hyenid VRChat avatar
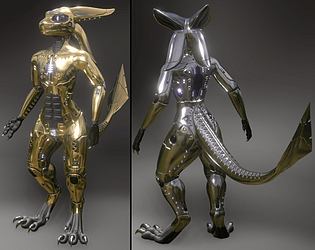
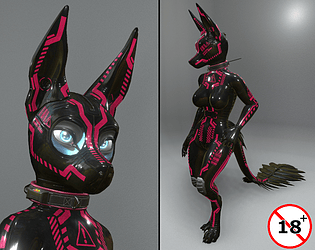
Droid texture reskin for the Nexa'Vali avatar
Bondage mittens for the Nexa'Vali avatar
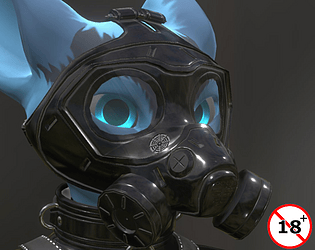
A Gas Mask for the Nexa'Vali avatar
Ponyplay tack for the Nexa'Vali avatar
Leather Muzzle & Blindfold for the Nexa'Vali avatar

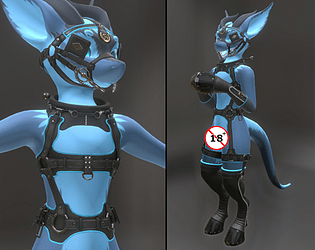
Leather Harness for the Nexa'Vali avatar
Latex Outfit & Hoods for the Nexa'Vali avatar
Muzzle and Blindfold for Winterpaw's Masc Canine avatar
Leather Harness for Winterpaw's Masc Canine avatar
Latex Outfit & Hoods for Winterpaw's Masc Canine
Leather Muzzle for the Tychoraptor avatar
Leather Harness for the Tychoraptor avatar
Latex Outfit & Hoods for the Tychoraptor avatar
'Sequel' to Nardoragon's Latex Outfit
Latex Outfit for Winterpaw's Canine avatar - Old Version
Harness for Winterpaw's Canine avatar - Old Version
Muzzle for Winterpaw's Masculine Canine avatar - Old version
A 'sequel' to Rexouium's Latex Outfit
Draught Harness & Bridle for the Rexouium avatar
A Muzzle & Blindfold for the Rexouium avatar
Leather Harness for the Rexouium avatar

Latex outfit & Hoods for the Rexouium avatar
Bondage Mitts for the Nardoragon avatar
Straitjacket for the Nardoragon avatar
A 'droid texture mod for the Nardoragon avatar
Draught Harness for the Nardoragon avatar

Corsets for the Nardoragon avatar
Gas mask for the Nardoragon avatar
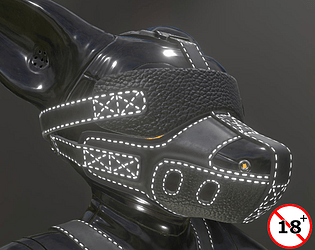
Muzzle and Blindfold for the Nardoragon avatar
A Leather Harness for the Nardoragon avatar
Latex Outfit for the Nardoragon avatar
Straitjacket for the Novabeast avatar

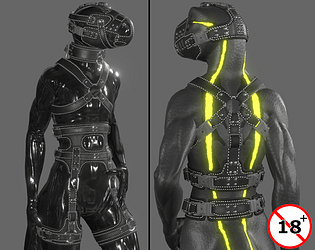
Harness for the Novabeast avatar

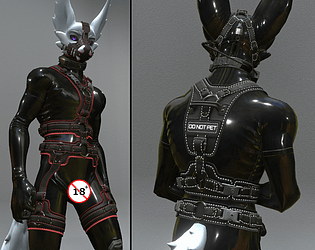
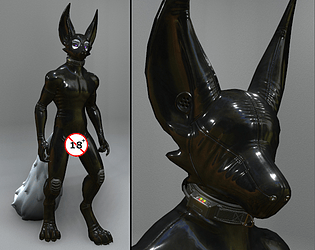
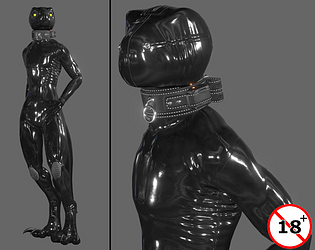
Latex outfit for the Novabeast avatar
A Multi-Mask for Alber's Hyenid avatar
A 'Wasteland dog' Armor for Alber's Hyenid avatar
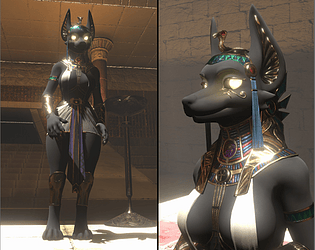
A Kemetic-themed outfit for Alber's hyenid avatar
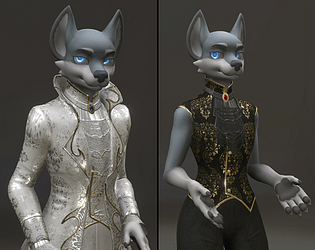
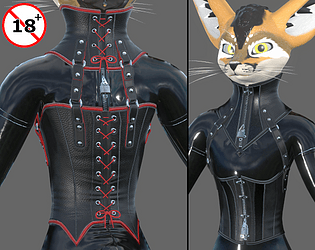
A Baroque-styled outfit for Alber's Hyenid avatar
A V-shaped armbinder for Alber's Hyenid avatar
Bondage Mitts for Alber's Hyenid avatar
A Medical Straitjacket for Alber's Hyenid
A bolero Straitjacket for Alber's Hyenid avatar
A U-binder for Alber's Hyenid avatar
A Droid texture mod for Alber's Hyenid
A portal restraint suit for Alber's Hyenid avatar
Draught Harness & Bridle for the Hyenid avatar
Neck & Torso Corset for the Hyenid Avatar
Gas mask for Alber's Hyenid avatar
Chastity Belt for the Hyenid avatar
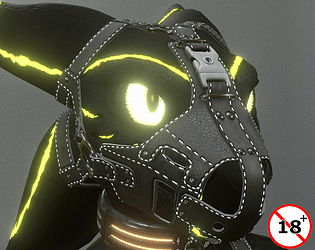
Leather Muzzle & Blindfold for the Hyenid avatar
Leather Harness for Alber's Hyenid
Latex outfit for the hyenid
Recent community posts
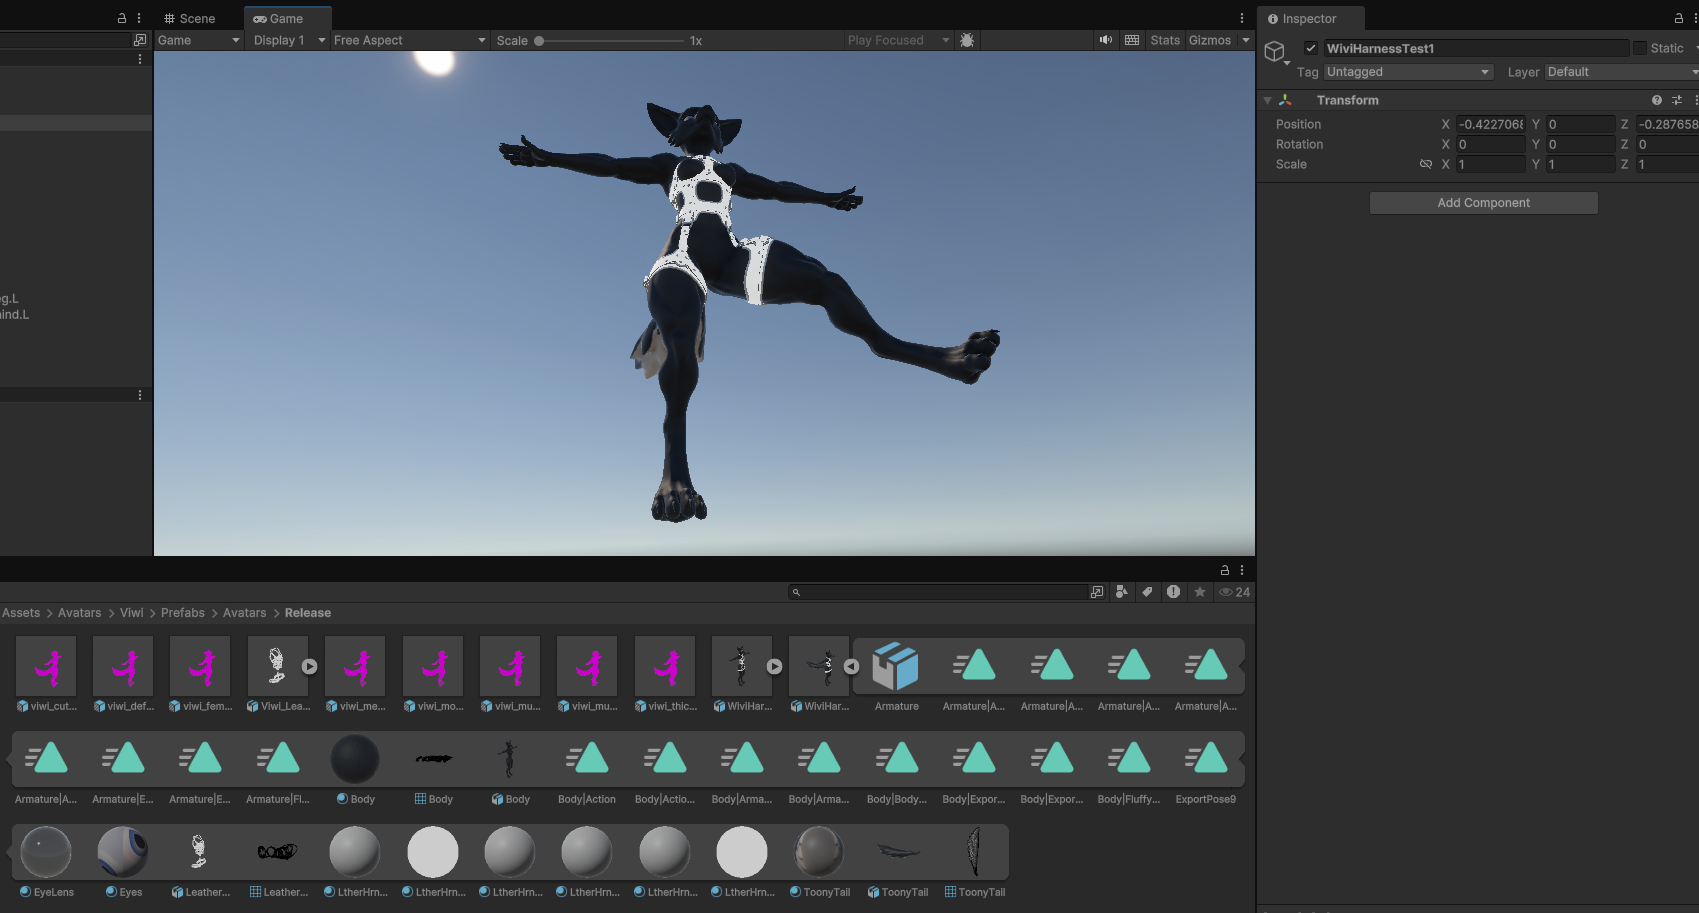
Been doing this 3D-modeling thing for almost 20 years and I've never come across anything like this. Why would everything work perfectly fine up until the point it's made a playable asset makes no sense. Like from where does the harness find a different armature to follow? Does the plugins you have add one?
Though, I'll mention again the previously mentioned animation Action sets the Viwi armature has in it. They have names like "Action.001", "Export Pose", "FluffyTailPose". They were actually a major headache for me when I was making the Viwi into an avatar on Resonite.
In fact, when I play a few keys forward on any of the Action poses, the armature plays into the Rest Pose. And from the look of things, that thigh strap clipping in like that for you is where it would be when in rest pose.
So, if there is a way to remove those Action poses from the armature, we might be on to something?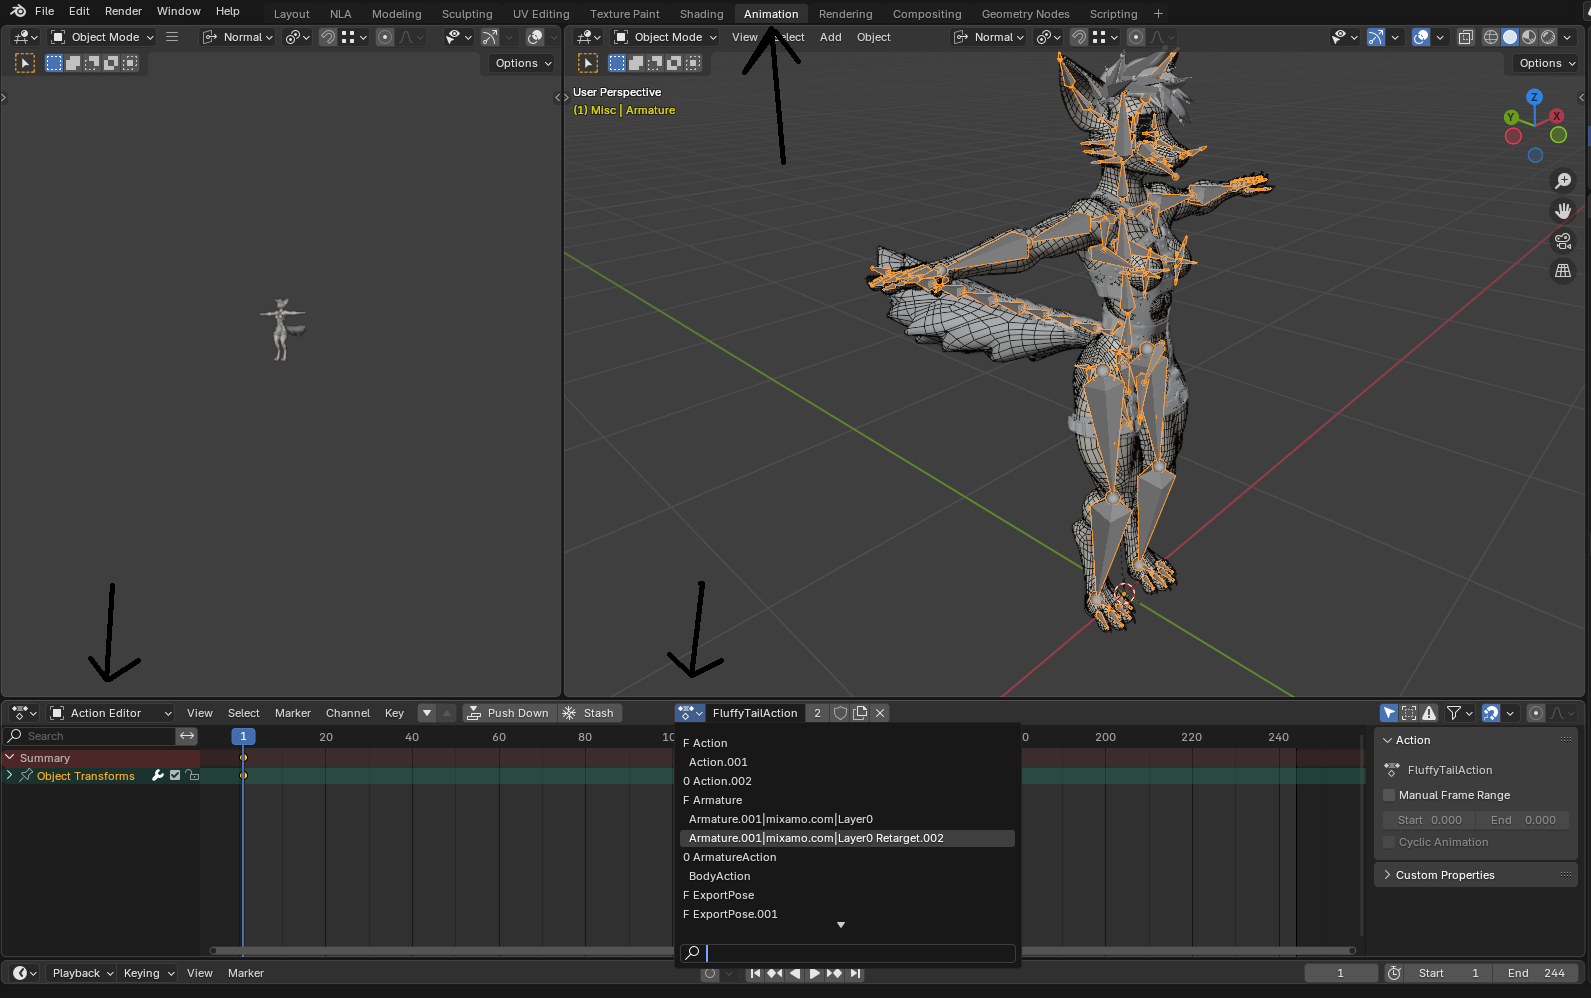
So, I opened the original out-of-the-box "viwi174_release_v1_1.blend", to which I appended the harness then to. Then assigned the harness to use the Viwi's original Armature, not the newely post-append Armature.001. Exported them as FBX and unchecked "Add Leaf Bones" just to be sure. Imported it to the unity package with the Viwi in it, dragged it to the scene and give the left leg a pose to see if the rigging holds and pressed Play: