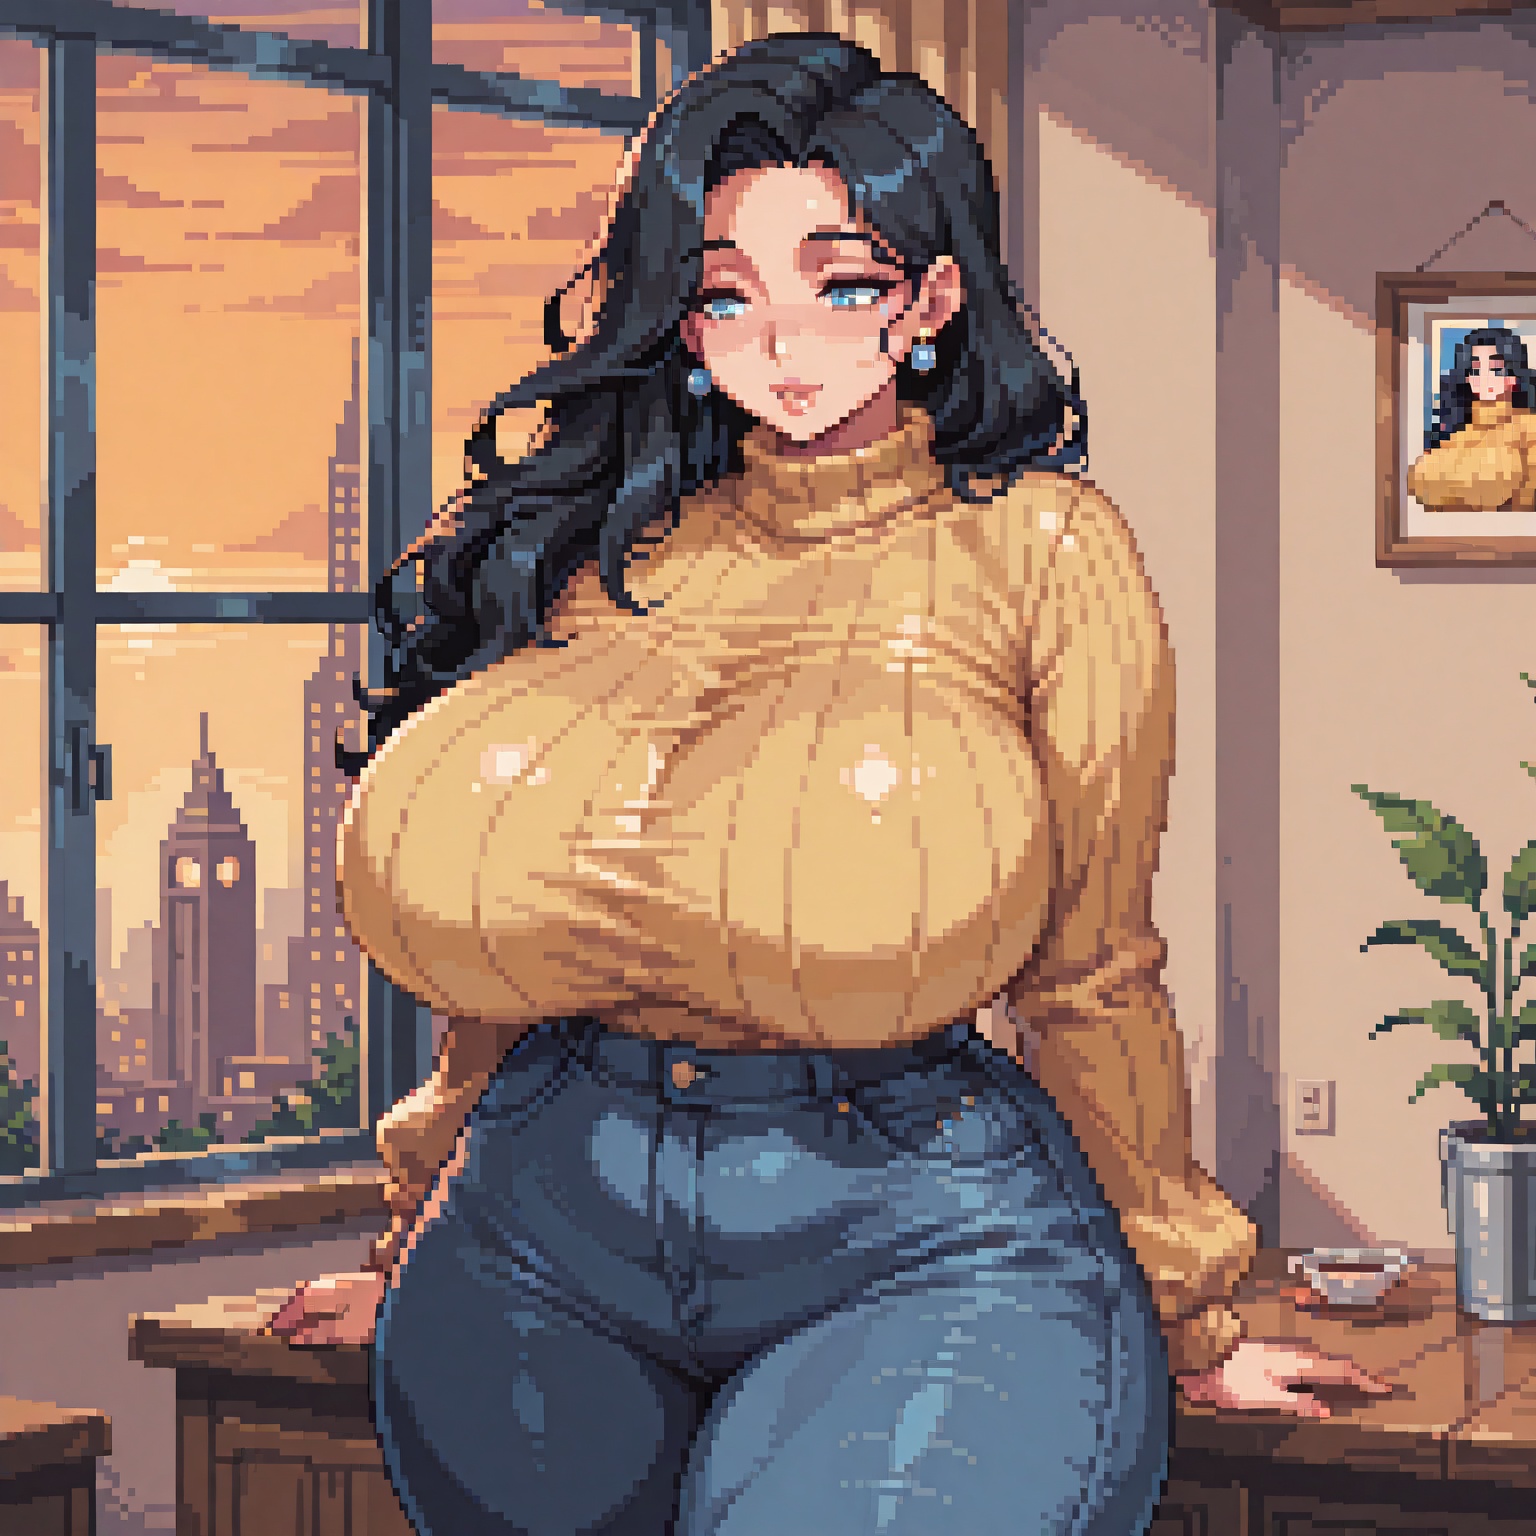
Yo, sorry for the delay. As mentioned in previous posts I use Stability Matrix but you can absolutely use Stable Diffusion WebUI Forge in the same way. The process is still the same. Use highly descriptive prompts like:
Face
small head, attractive realistic anime face, soft blue eyes with natural highlights, no stars no sparkles in eyes, calm gentle smile, glossy natural pink lips, long voluminous wavy jet black hair cascading softly over shoulders and back,
Style
masterpiece, best quality, pixel art, detailed pixel art, retro pixel art, chunky pixels, clean sharp pixels, sharp pixel edges, vibrant colors, limited color palette, dithering, pixel shading, pixel highlights, glossy pixel skin, sprite style, no anti-aliasing, hard pixel edges, high resolution pixel art,
------ YOUR OTHER PROMPTS HERE ----
highly detailed pixel art, intricate pixel details, fluid physics in pixel style, glossy pixel reflections on skin and fluids, vibrant retro colors,  polished modern pixel rendering
Style Part 2 - Also make sure to use Negatives
lowres, bad pixel art, blurry pixels, anti-aliased edges, smooth gradients, realistic, photo, 3d render, modern smooth anime, cel shaded smooth, vector art, soft edges, high detail without pixels, deformed pixels, extra pixels, bad dithering, merged pixels, noisy pixels, text, watermark, signature, child, loli, young girl, underage, small breasts, flat chest, horns, ram horns, goat horns, animal ears, pink cap, hat, cap, baseball cap, overexposed, underexposed, bad lighting, extra limbs, bad anatomy in pixels
If you are just starting out try using LoRas like the character and style specific ones listed on Civitai, search "Starmaker Story"
How to Use LoRAs in Forge
- Install LoRAs:
- Download .safetensors (or compatible) LoRA files from sites like Civitai.
- Place them in the models/Lora folder (inside your Forge installation; create the folder if it doesn't exist). Subfolders are supported and will appear as filters.
- Load and Apply:
- In the UI, go to the LoRA tab (below the prompt).
- Click Refresh if needed to see new files.
- Click a LoRA tile—it automatically adds <lora:filename:weight> to your prompt (default weight is usually 1).
- You can also manually type it: <lora:your_lora_name:0.7> (adjust the weight; 0.6–0.8 is common for subtle effects).
- Generate — Match the LoRA to the base model (e.g., don't use an SD 1.5 LoRA with an SDXL checkpoint, or vice versa). Include any trigger words from the LoRA's description.
A reminder I heavily trace and edit my images, so they will not produce an exact match. Though it is a good starting block and if you are just wanting to live out a fantasy no easier way. GL 👍