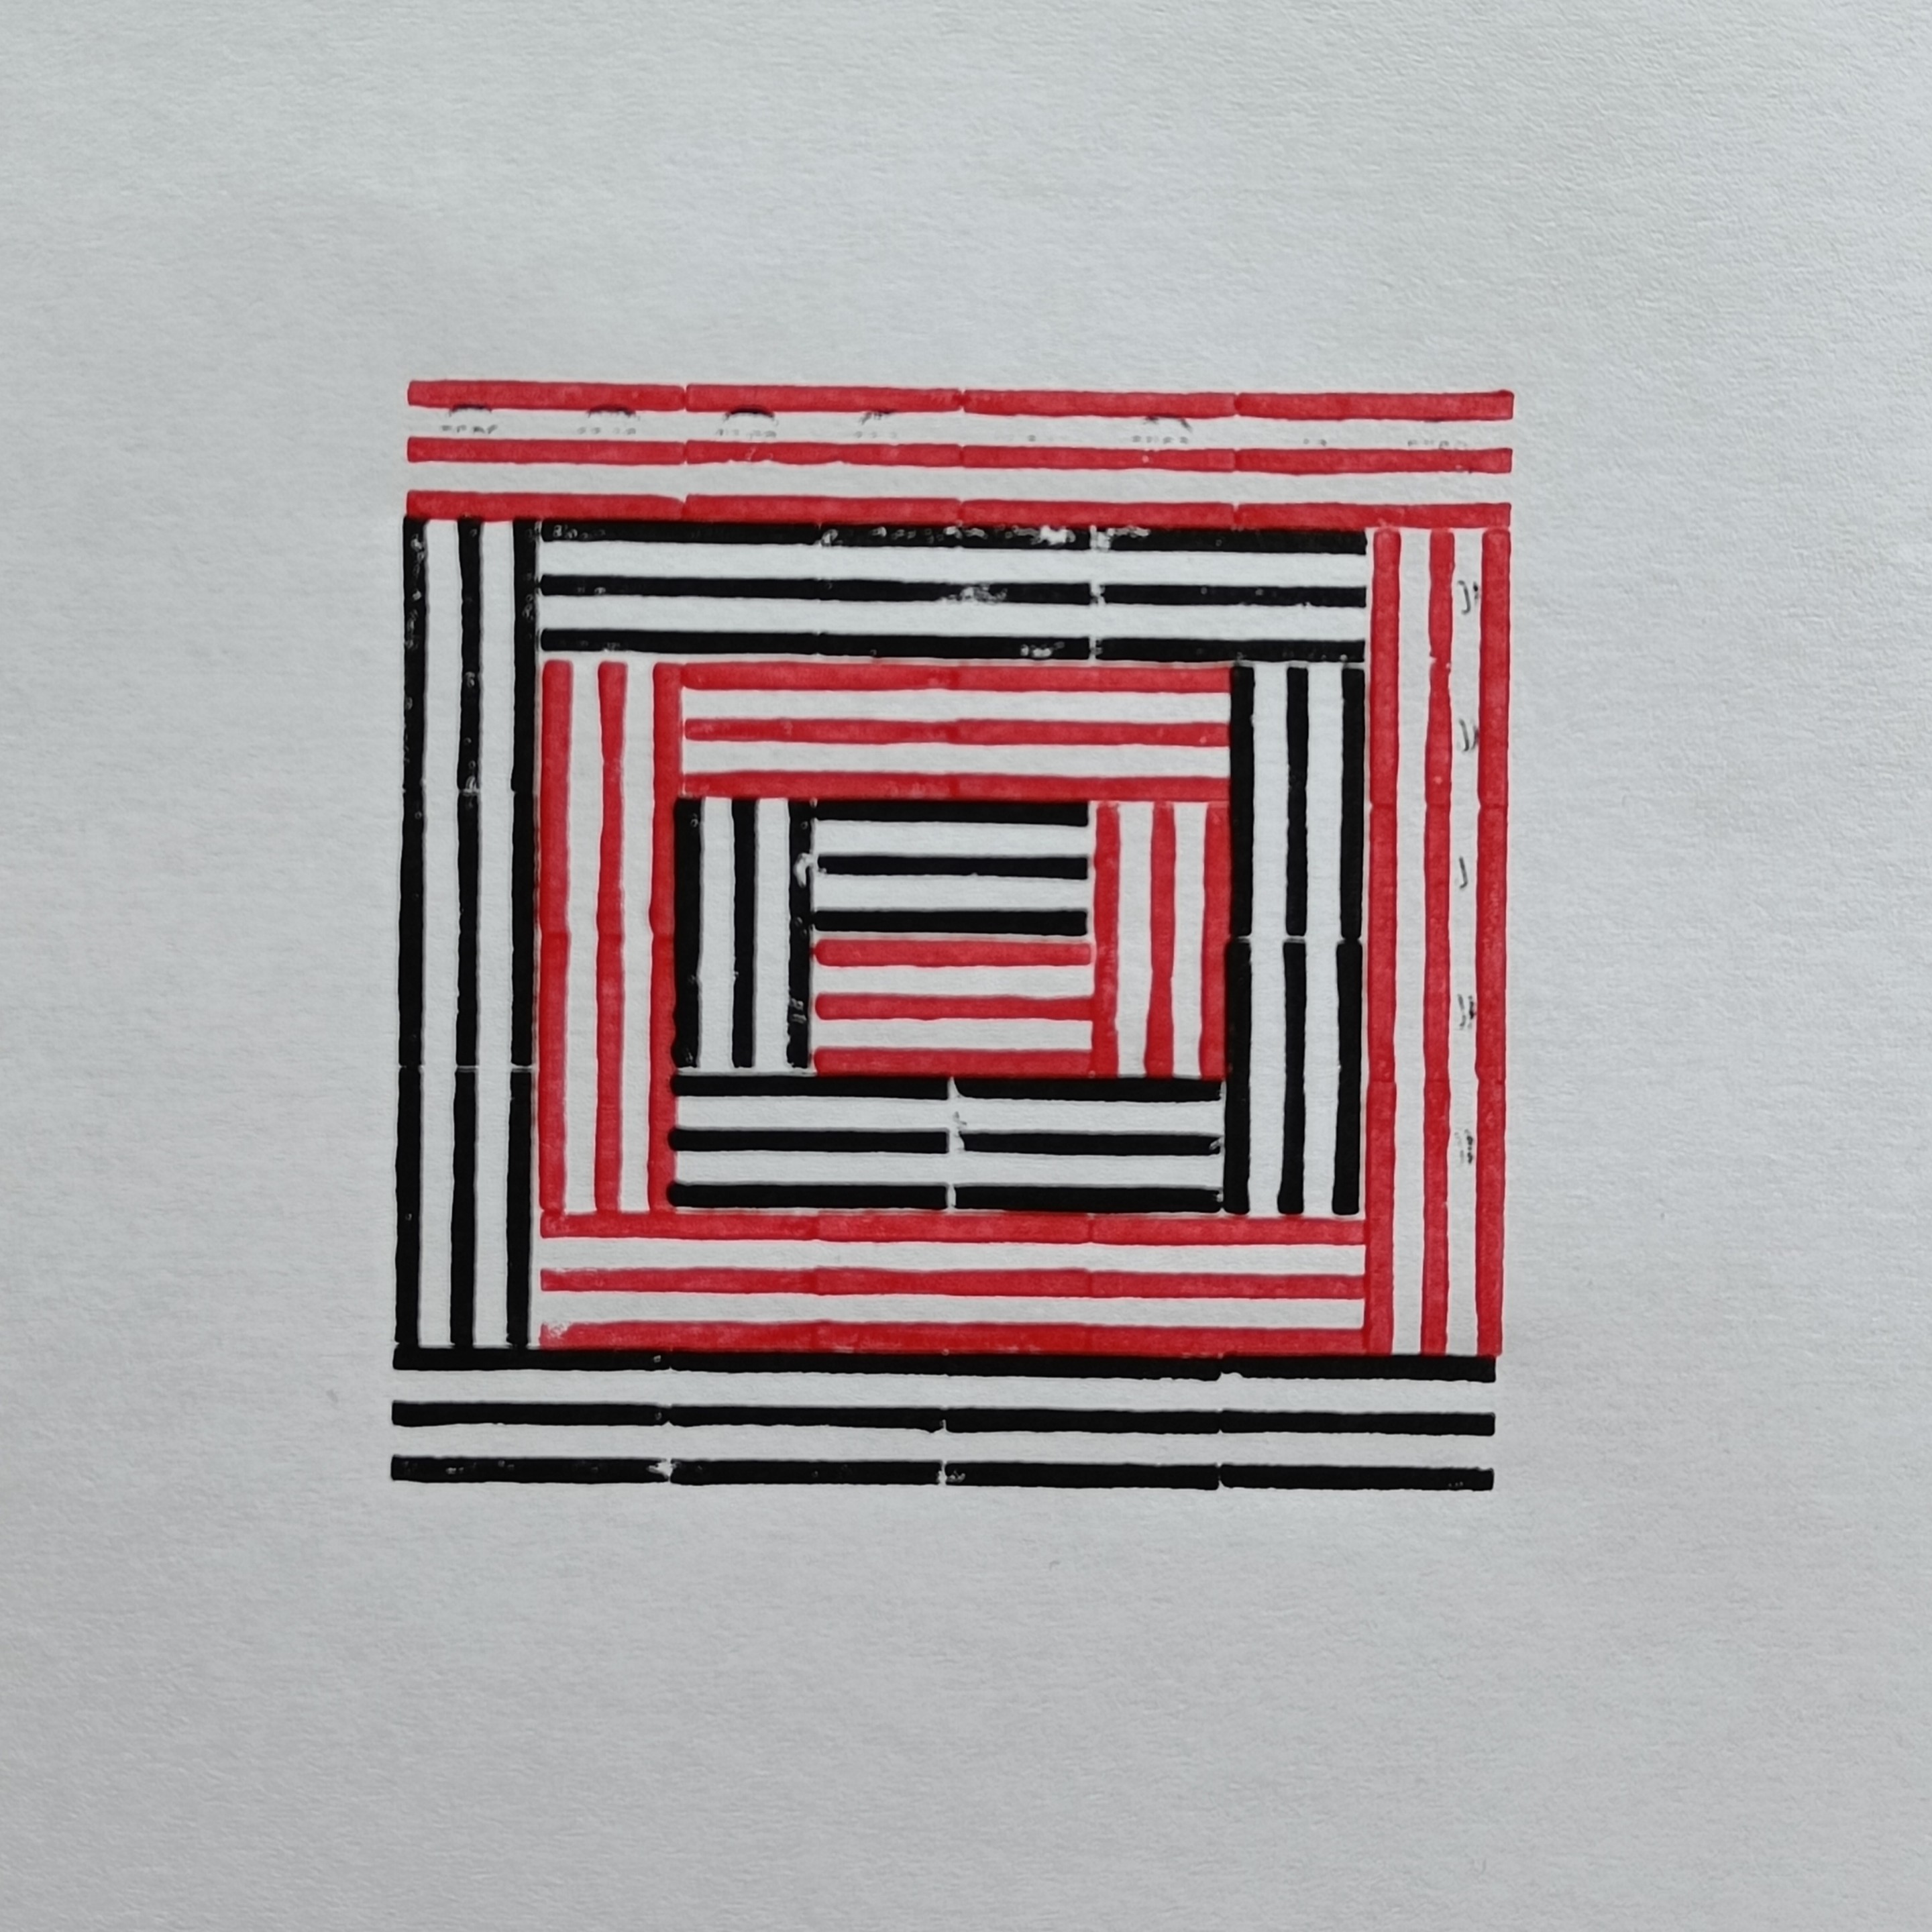
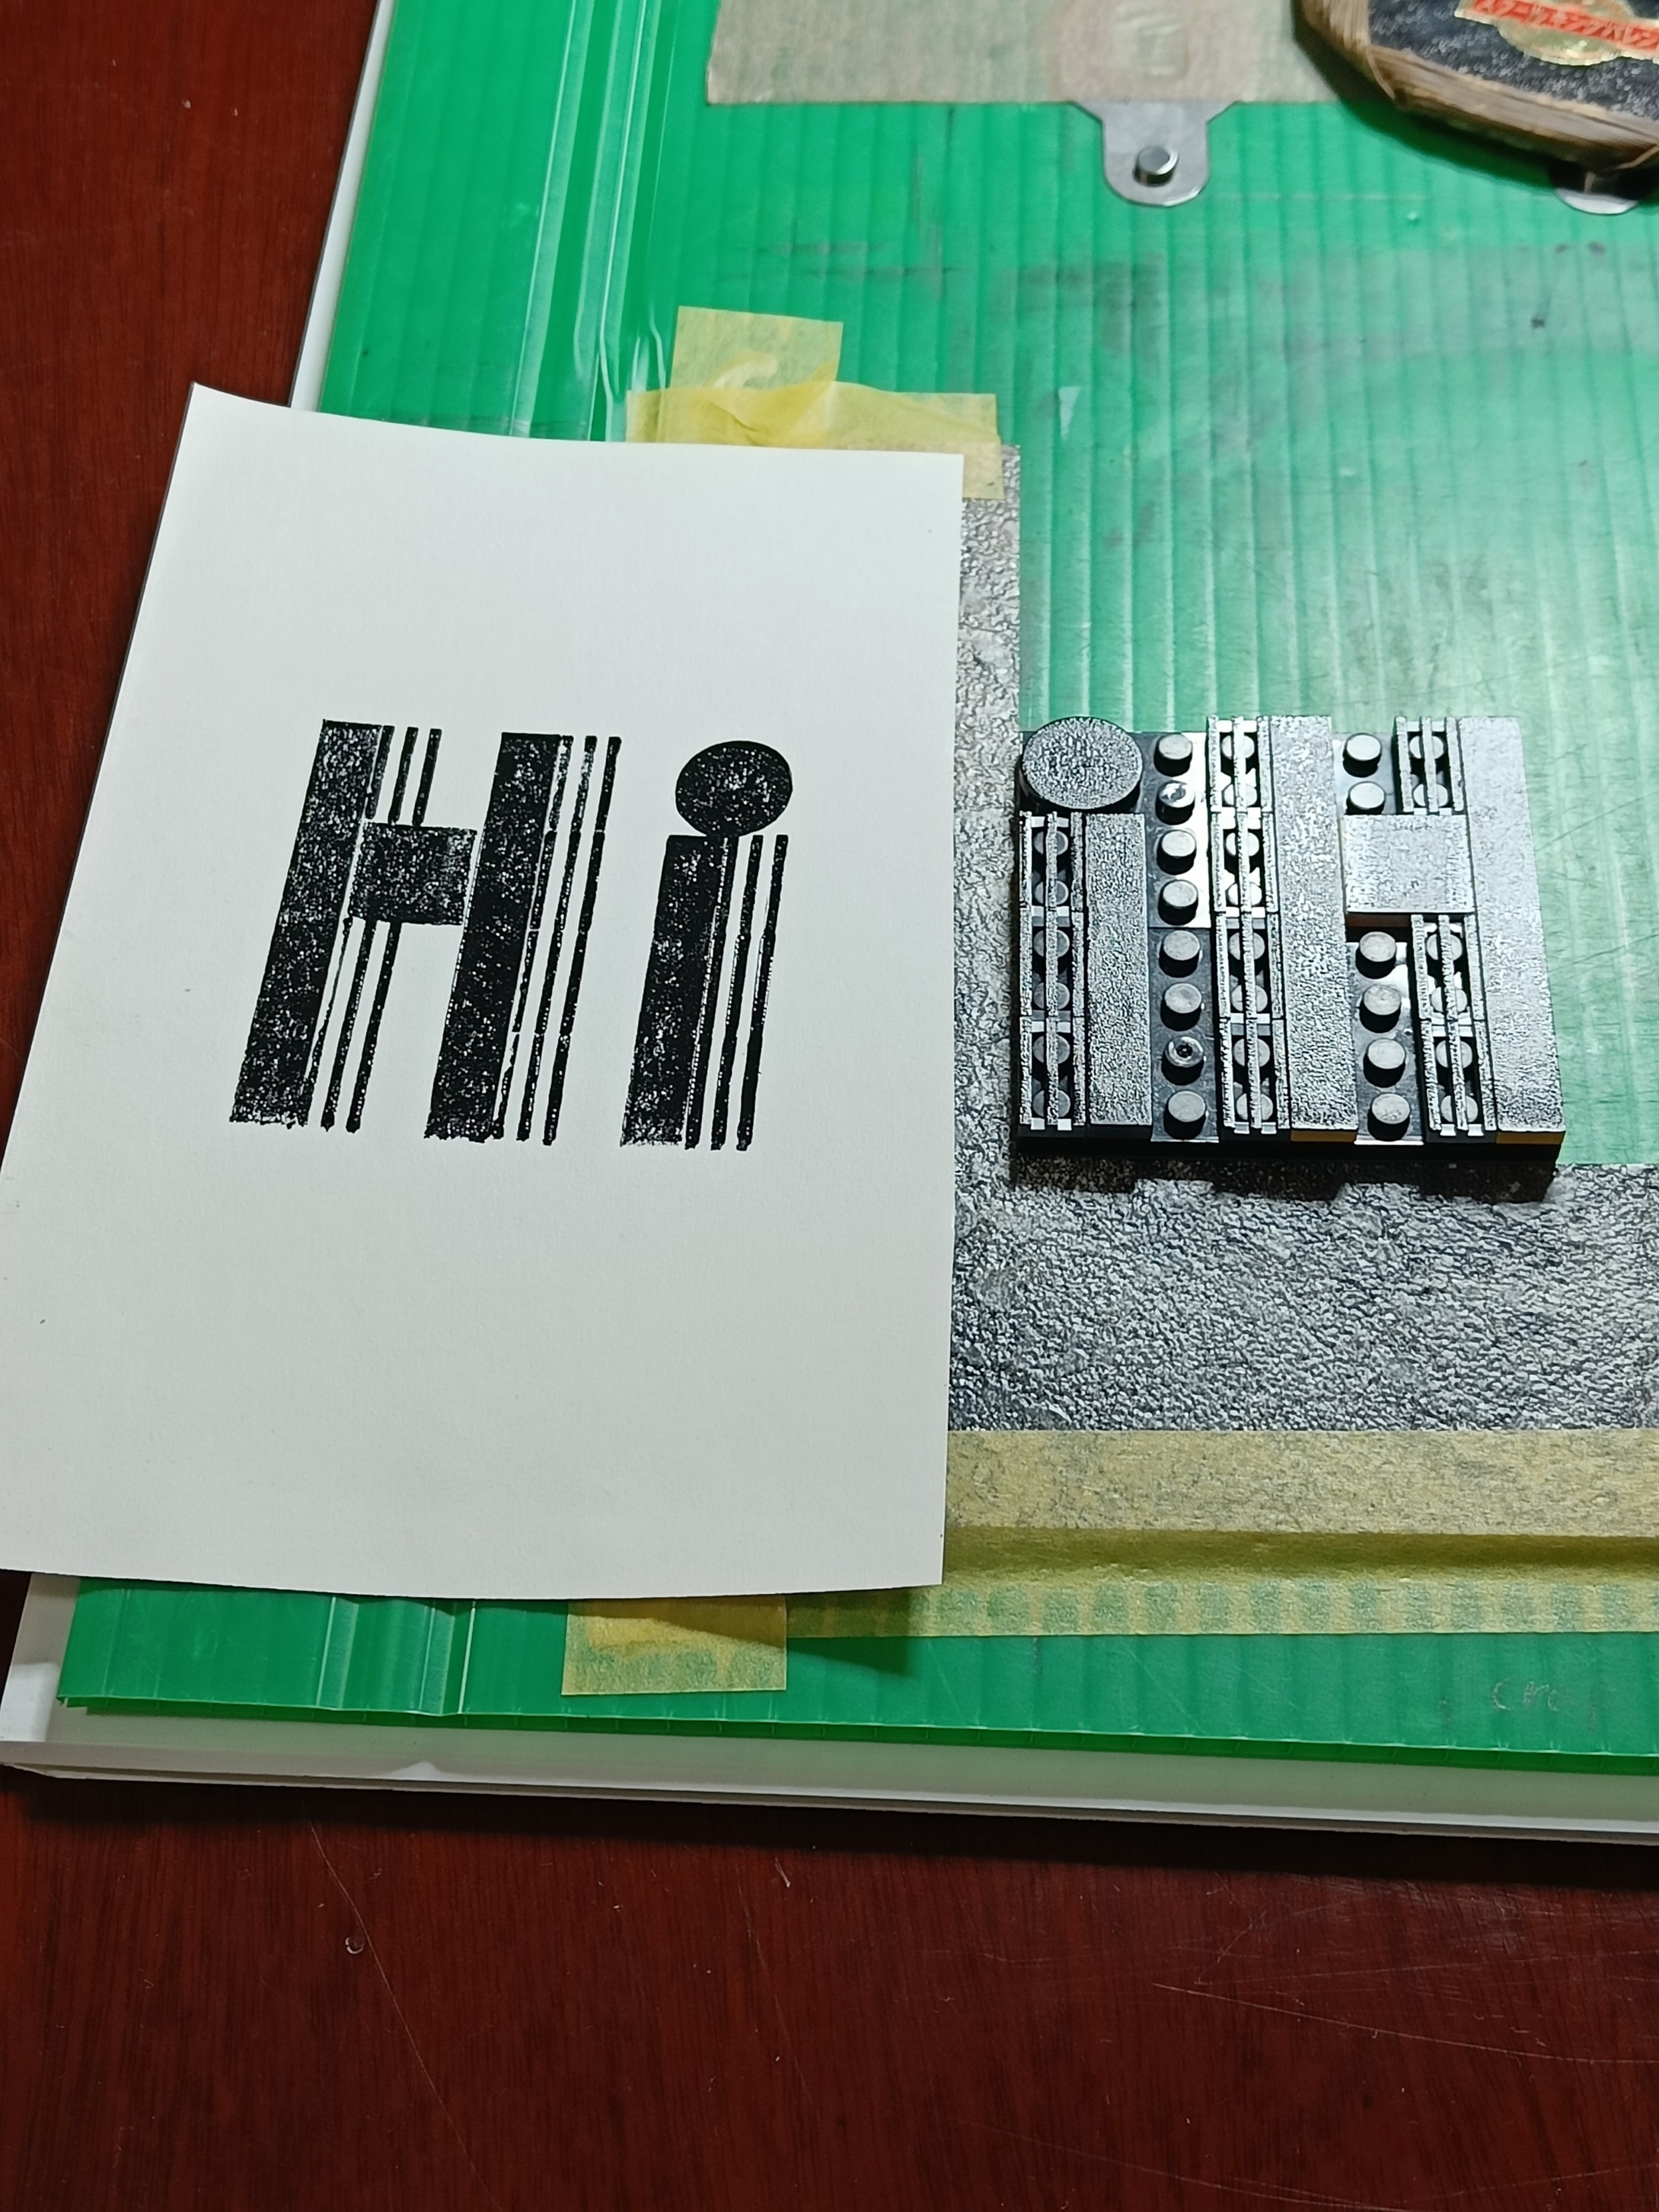
So here is a piece with excellent registration. In fact it’s the same plate turned around and inked again with a 2nd colour. My typical setup for rolling-ink prints is shown in the “Hi” picture. I have an “L” (made from scrap kitchen floor lino) taped down that registers the bottom-left of the plate.
If you are prepared to have 2 ink plates out and 2 rollers, you can tape the top-edge of the paper to the board, print the first colour; lift the paper up (but leave taped); change the plate and ink it with the second colour; drop the paper back down, it should register on the 2nd plate in the same place. And i have done that. I use Cranfield Caligo Safe Wash which stays workable plenty long enough to do that, but with water-based inks, maybe not.
However, i also use Ternes Burton pins, you can see them taped down near the top of the image (the right-hand one is partially hidden under a plastic/bamboo brayer). They are described here: https://handprinted.co.uk/products/ternes-burton-registration-pins-plastic (they seem to be plastic now, not metal). Each paper you print is placed down and registered to the pins with 2 plastic tabs that you tape to the paper. You can then take the paper off the pins, do what you like (e.g. print another 9 of that plate, and then prepare a second plate and colour), and put the paper back on the pins in exactly the same place. All the paper you are printing has to have a pair of tabs, but you can in principle do 50-off 4-colour edition prints. It’s a bit fiddly and tedious, but the results are good. Wide margins help as i find that even my frogtape yellow masking tape tears the paper when removed.
Thinking about all this to write this post, made me think of a way using Lego itself, which i may get round to trying today. I’ll let you know.