
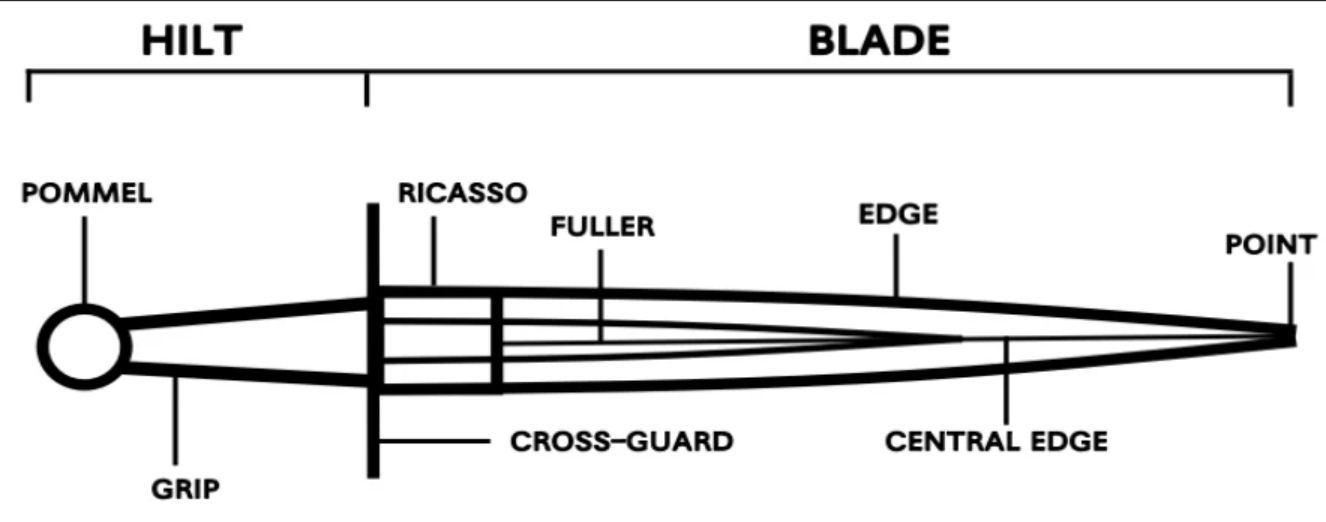
Hey guys, I'm back with a sword pixel art tutorial. In this tutorial I want to discuss how I would draw swords and help others understand a bit more about them. It helps to know some of the anatomy of a traditional sword.
But in pixel art, you don't necessarily need to know all of it starting out. However I think you should at least know the hilt and the blade. To start off, we can draw a very simple sword in 16px. The hilt could be brown and the blade could be white.

Then we need to know a little bit about reflection so that we can improve the shine of our blade.
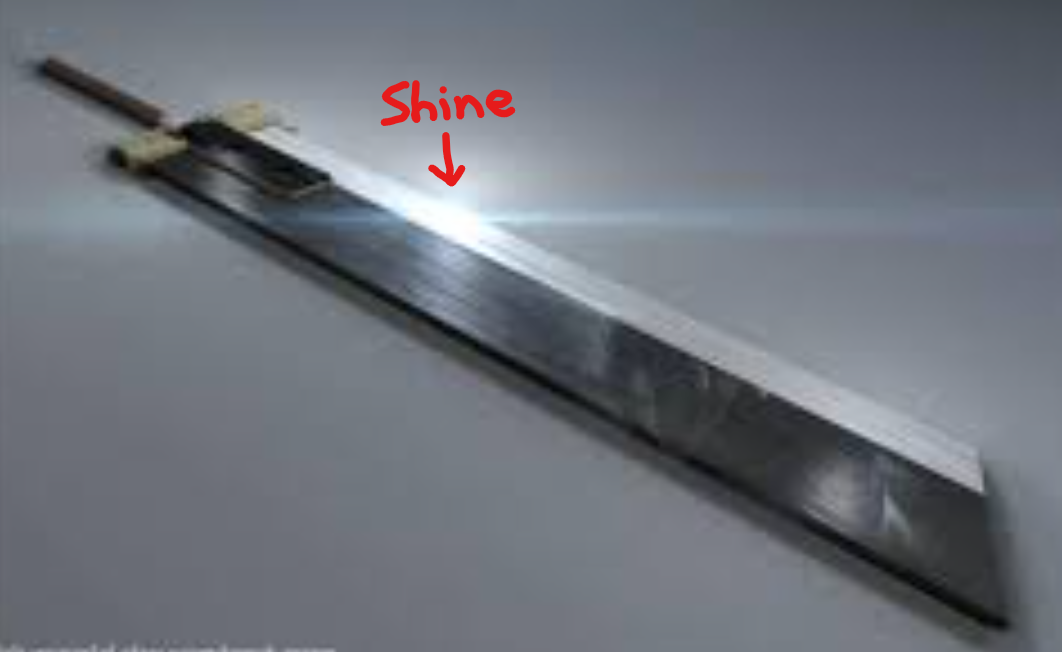
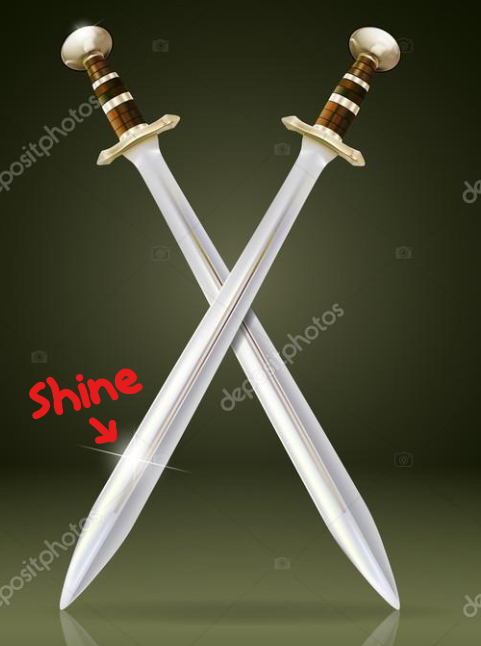
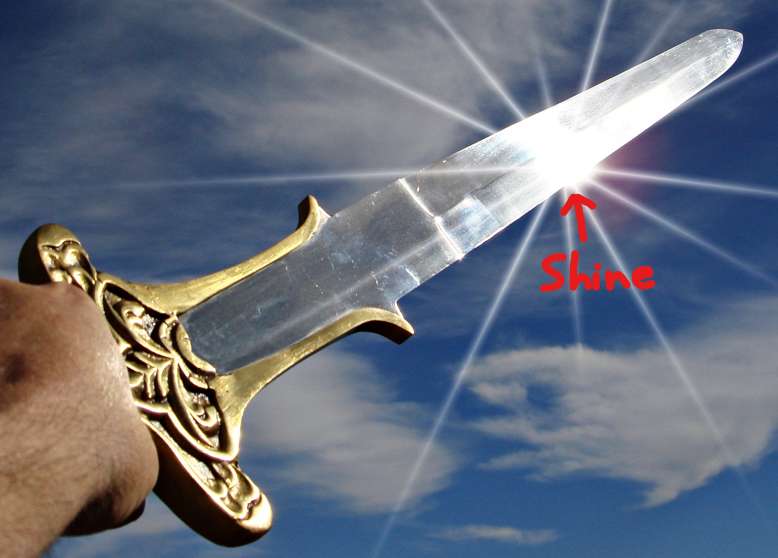
The shines here are relatively small compared to the full length of the blades and can pretty much go anywhere along the blade. Also the blades aren't actually white, they're made of metal so they're more gray or silver. Knowing this. I created a few examples of shiny blades here.

Then we should improve the hilt. We could add a shadow between the grip and the cross guard to make them appear as separate shapes. I also think it makes the cross-guard appear thicker, which makes wielding the sword seem a bit safer.

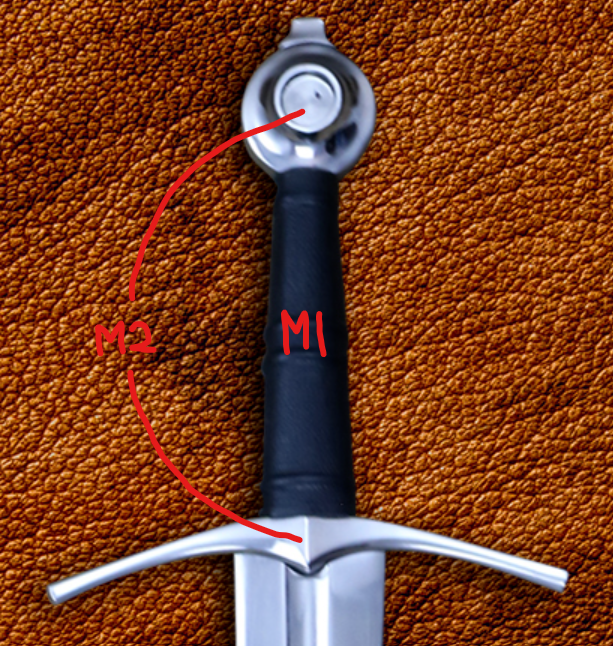
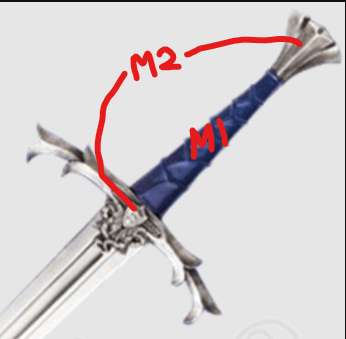
Just a small detail, we should shade the grip as if it were round. It's similar to a cylinder so I would shade it the same way.


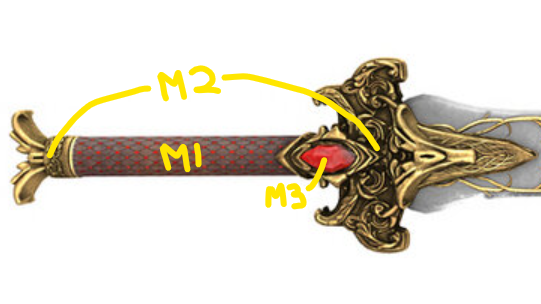
And we can use more colors for the hilt to make it more interesting. If we look at some swords, the colors are usually seperated into 3 parts: the pommel, grip, and cross-guard. Sometimes there will be a gem or something on the cross-guard as well.
For now, I'm just going to keep it simple. I'm going to use a gray pommel and cross-guard, but a brown grip.

Since I want my pommel and cross-guard to be made of metal, to illustrate that, I add some shine to them as well.

Then I think an outline would help it stand out against the background. I prefer selective outlines. I think of them as shaded outlines. Pretty much where the light hits, the outline appears brighter.
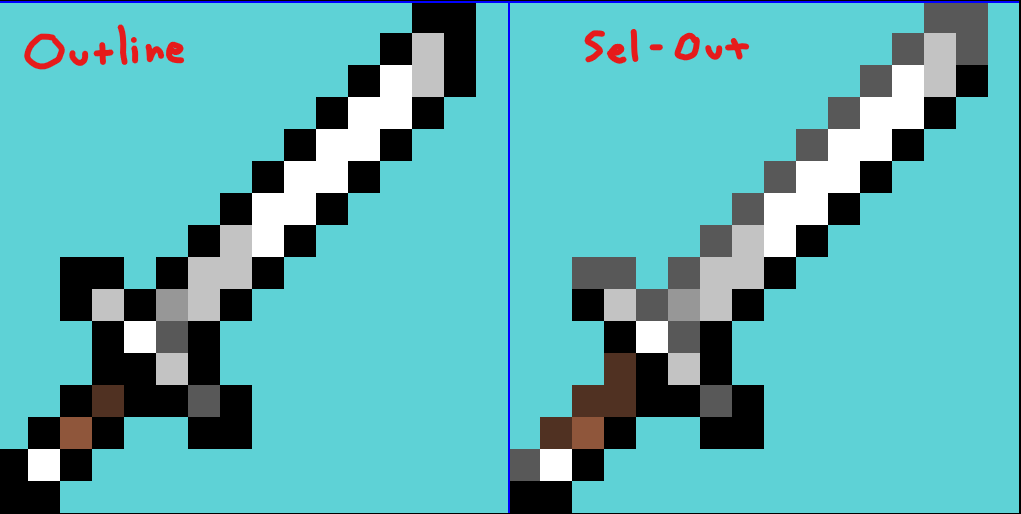
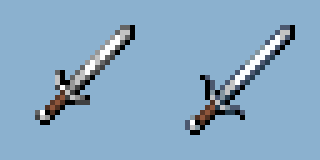
For a simple sword, this is pretty much done in my opinion, but here's a little secret: you can actually use a blue tint for the metal, just keep it very slight. You can see the two end results here.
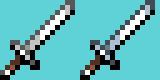
Here are variants of the original sword, only having a few differences. These are both 32px, the cross-guards are curved, and the shine on the left sword is split into two white smears. Also notice how now you can see that the blades have 2 faces: the left face of both swords are in the light, and the right face of both swords are in the dark.
The next sword we can try drawing is a claymore. It appears just like the sword above but there are a few differences. The main difference is that the blade is longer. The second difference is the cross-guard's shape. The arms of the cross-guard, or "quillons" are straight (not curved), and they are slightly angled upward forming an obtuse angle just above the cross-guard. The ends of the arms have quatrefoils that resemble four-leaf clovers.

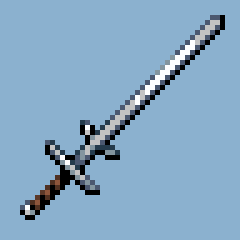
The quatrefoils won't matter much because I'm drawing the claymore at a 48px resolution but it's still good to know in case you ever want to draw a very detailed claymore. Using the original sword as a template, this is what I came up with.

The last one I want to draw for this tutorial is a Zweihander. The most iconic features of the Zweihander are its massive length (even longer than the claymore) and its parrying hooks.
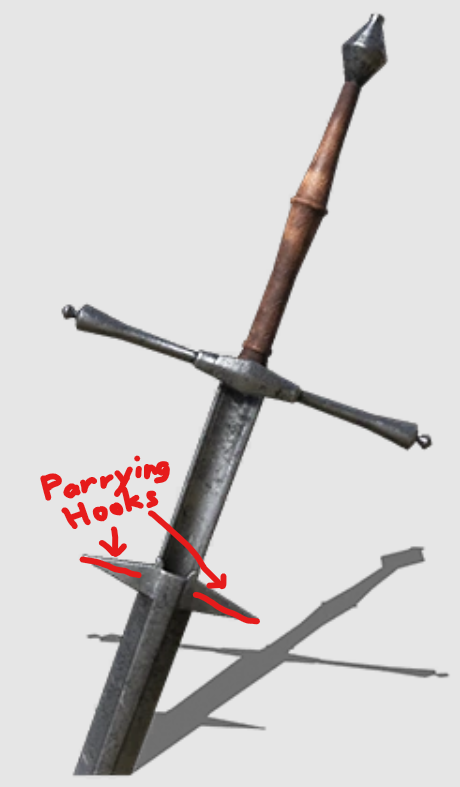
For this one, the cross-guard shape can vary but the parrying hooks are positioned just above the cross-guard (about 1/5th from the cross-guard towards the point of the blade). They can point straight out or upwards similar to the arms of cross-guards. Using the claymore as a template, you might end up with something like this. This time I made the grip ruffled.
So thanks for checking out the tutorial. I hope you learned a bit about swords and I hope to see you in the next tutorial!