

to make a custom campaigng
You will have to modify the text file at the mod folder changing the values of the game
Editing Keys
- ENTER creates or spawns items,tiles,etc
- delete destroys any entity or tile that is selected
- USE W,A,S,D to move the camera arround
- Arrow keys can be used for detailed editing of objects that is (Rotation,Position,Scale)
- Press the TEST button to test the map
- Press the Tab key to end testing
Creating your first map
once on the main menu of the game click the editor button to start the editor
your screen should look like this

to created your first Tile or block drag your mouse on the white screen
you will see a transparent red square being stretched from your first click to your mouse location then press the enter key
you will see something like this

if nothing got created make sure to select a block texture on the list by clicking on it
now if you press the test button you will see nothing on the screen only pure darkness that why you need lights in your level
to create a light click the block combo box and select entities
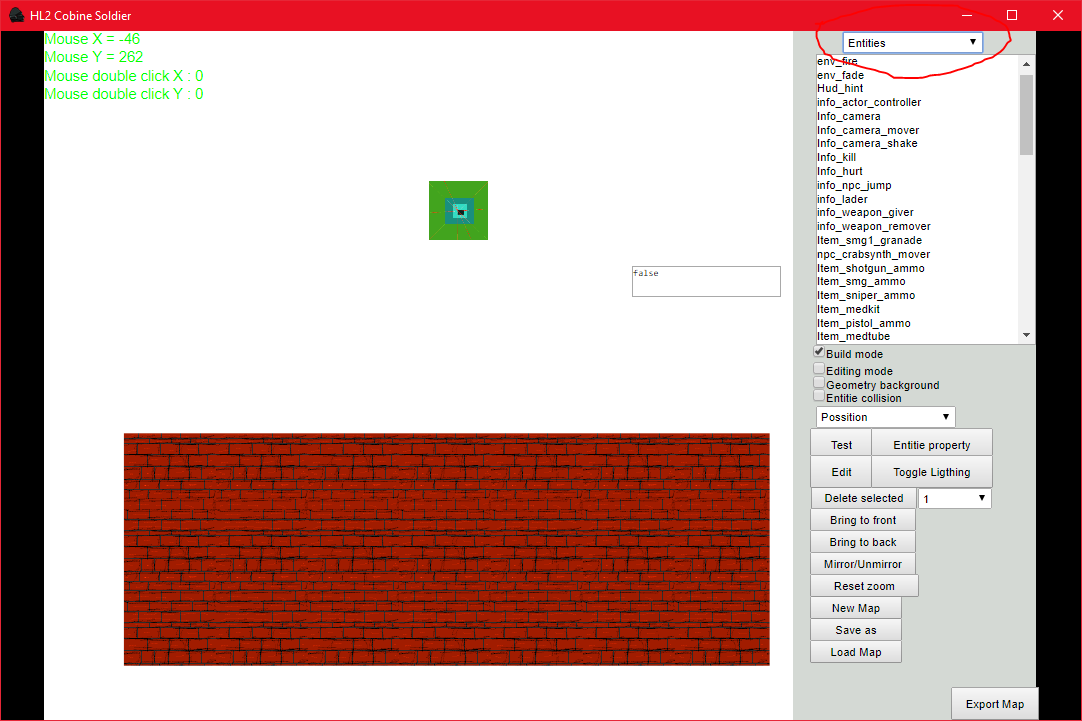
then scroll down the list until you find an entity named Ligth_point
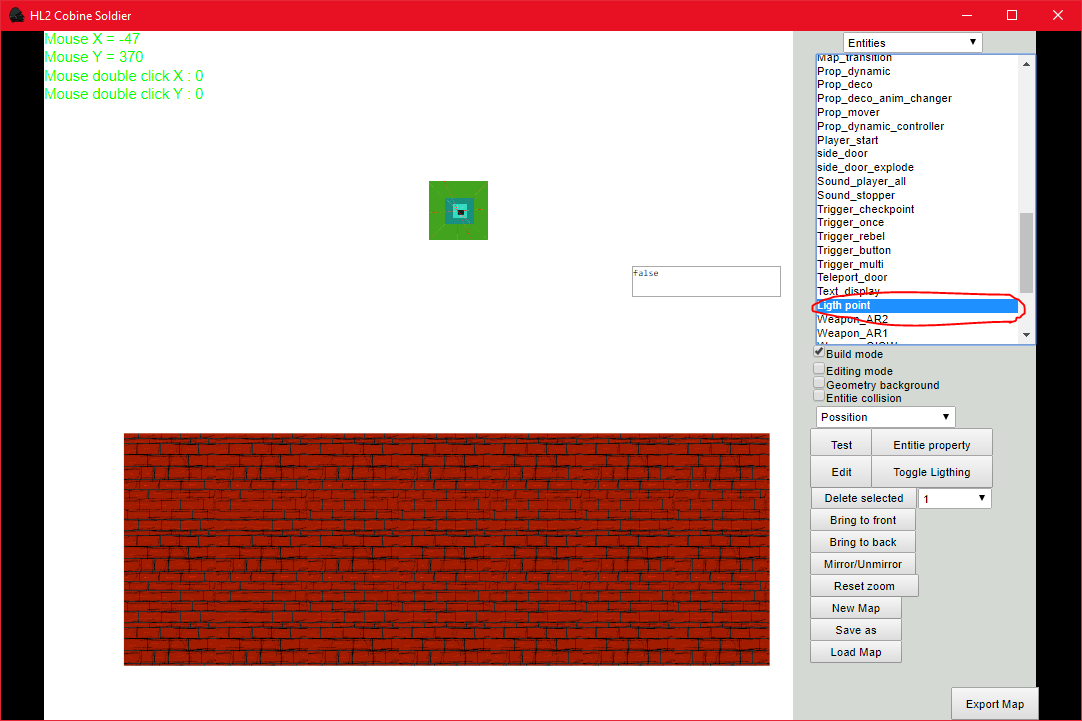
With the entity selected press enter with the mouse cursor on the screen
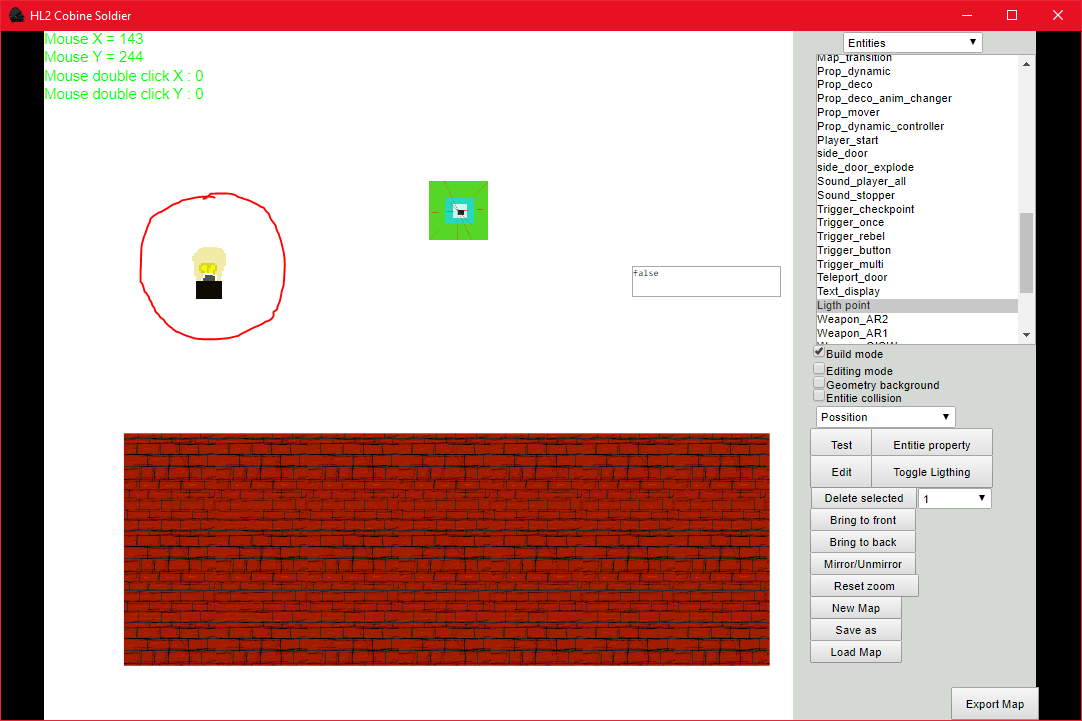
Now if you play the map you will see that part of the map darkness is gone
But Wheres the player ?
Scroll up on the list until you find an entity named Player_start

Place it on the map
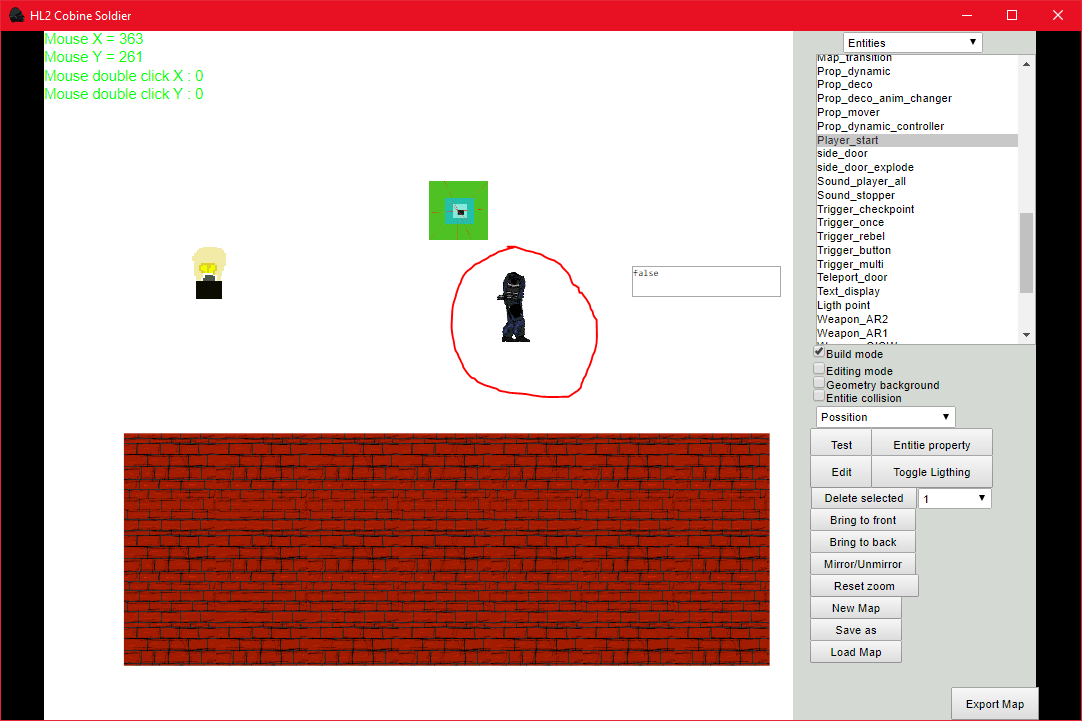
now if you test the map you will see something like this
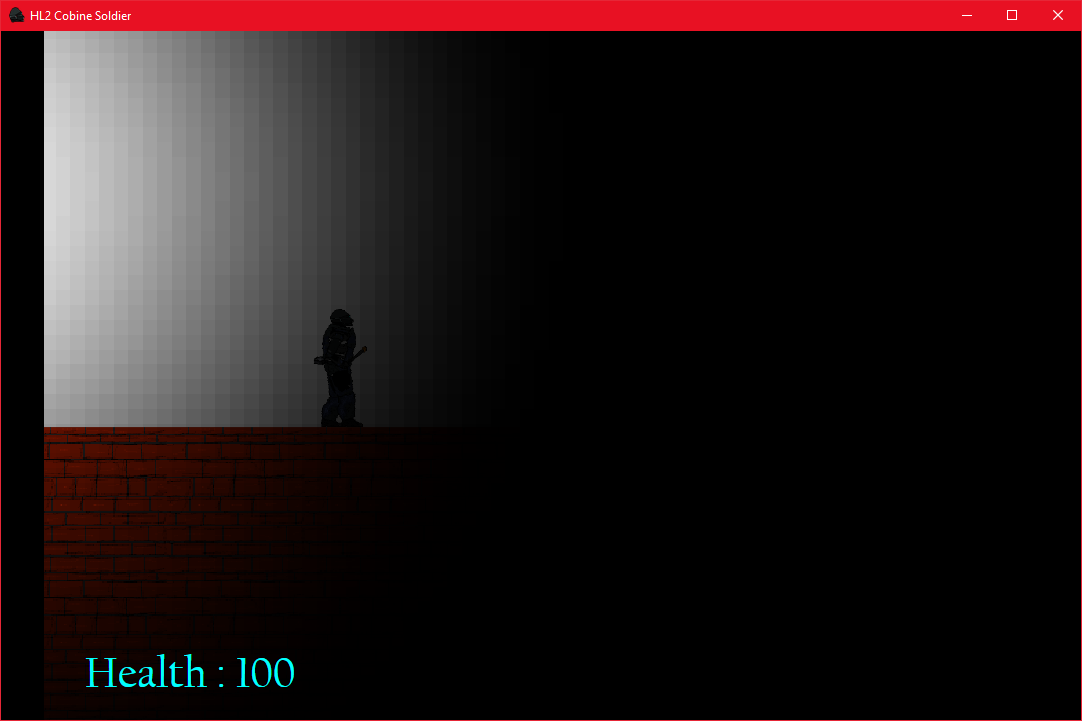
and congratulations you have made your first map have fun
Saving your progress
now is time for the important stuff saving the map file once
to save the map file click the save as button on the editor
For this toturial we Will be saving the map as
Test_map
But you can name it whatever you like
chose where to save the map and done
Exporting Maps
once your map is finally done is time to export it
lets say that the map name is : Test_map
there is a button labeled "Export Map" in which will create a map file that the game qualifies that can be used only to play
Preparing the map
once the map has be exported it needs to be added in the "Maps" folder of the game in order for the game to load it
But if you lunched the game you might noticed that you cant play the map this is because you haven't specified which map to load
Modding the game files to load the map
Inside the game directory there should be a folder named Modding
Inside the folder you will see some .txt files but the must important is the Mod_menu
There you will find Keys that can be edited one of them is : "Chapter_1_map_page1":"Bad_train_trip",
To test your added map change this "Chapter_1_map_page1":"Bad_train_trip", to this "Chapter_1_map_page1":"Test_map",
Testing the created map
now save the file and lunch the game and when you click the first level button on the new game screen the map that you created should start
NOTE
If yo want to make a map change you will have to use the entity called Map_transition
and on the map name field enter the name of the map to move to whit out the extension
and when playing the game the map will load after the event that fires the entity Map_transition
also there is some codes you can put in the map transition entity field to give some different results
- menu = takes the game to the main menu
- restart = restarts the level
- more to add
Careful testing the map transition on the editor save your map when testing because it will delete the map from the editor (not the file)
always save the map before testing