


My friend, take a look at this video tutorial.
A member registered Aug 04, 2020 · View creator page →
Creator of
16px.32px.48px
4 directions PNG
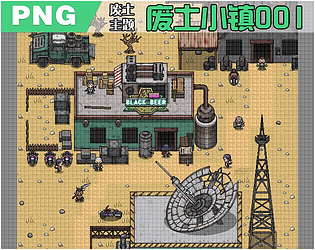
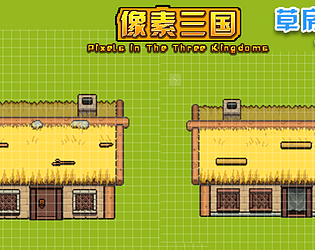
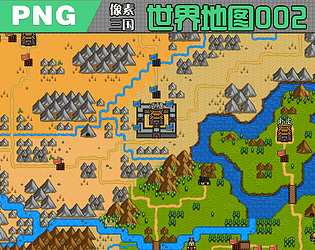
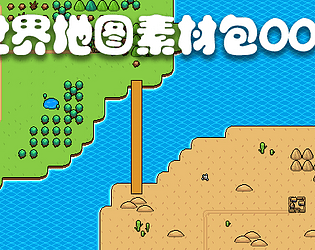
Tiles for the wasteland town
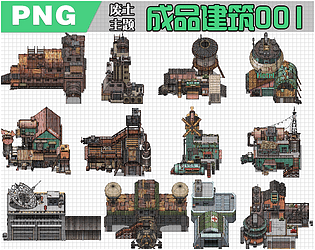
Waste soil finished construction
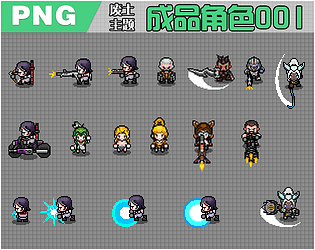
Wasteland theme, 4-directional character
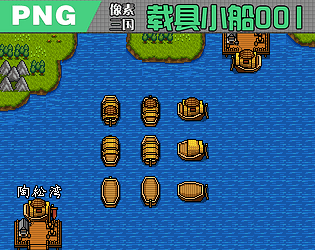
Vehicle small boat, with standby and moving animations
There are two versions, 32 and 48
This material is only available in 32px version. ****Please check carefully before making a purchase***
This material is only available in 32 * 32px version. ****Please check carefully before making a purchase***
There are two versions, 1 is a 32 pixel version and 2 is a 48 pixel version
This material is only available in 32 * 32px version. ****Please check carefully before making a purchase***
This material is only available in 32 * 32px version. ****Please check carefully before making a purchase***

There are two versions, 1 is a 32 pixel version and 2 is a 48 pixel version
There are two versions, 1 is a 32 pixel version and 2 is a 48 pixel version
There are two versions, 1 is a 32 pixel version and 2 is a 48 pixel version
There are two versions, 1 is a 32 pixel version and 2 is a 48 pixel version
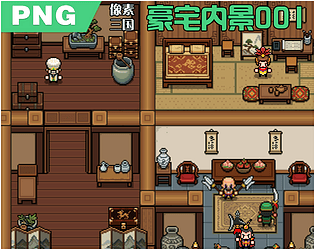
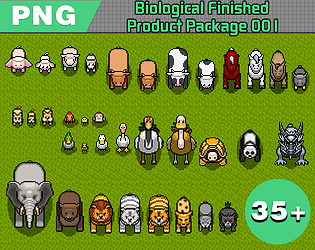
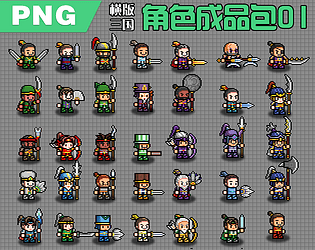
Finished product image. Ready to use upon opening the package. PNG format
Finished product image. Ready to use upon opening the package. PNG format
Finished product image. Ready to use upon opening the package. PNG format
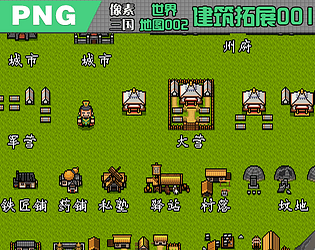
Finished product image. Ready to use upon opening the package. PNG format
Finished product image. Ready to use upon opening the package. PNG format

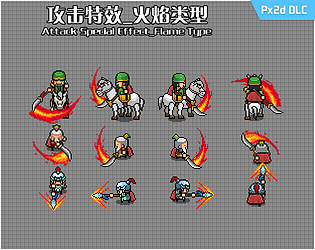
Px2d expansion pack
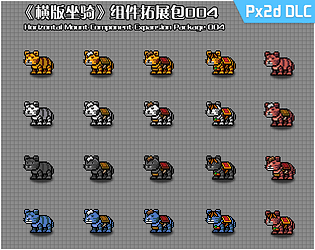
Px2d expansion pack
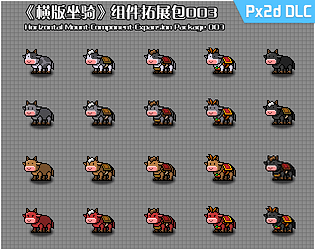
Px2d expansion pack
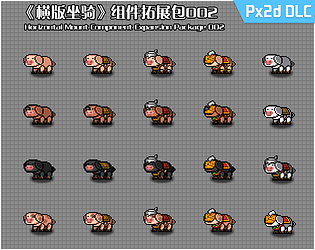
Px2d expansion pack
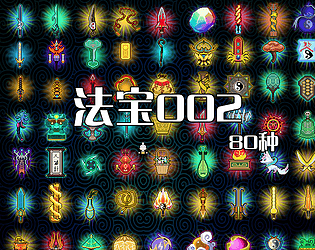
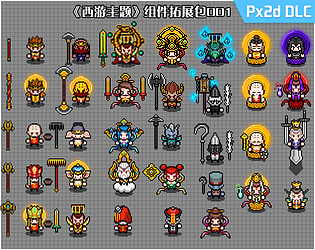
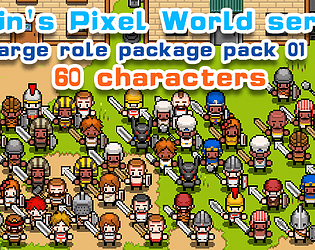
80 magic weapons
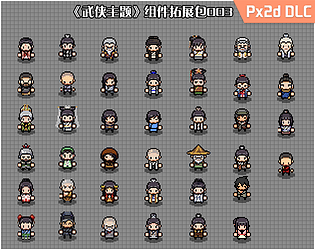
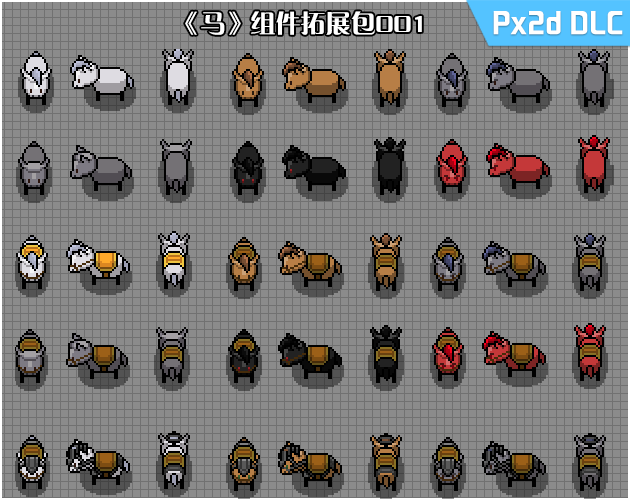
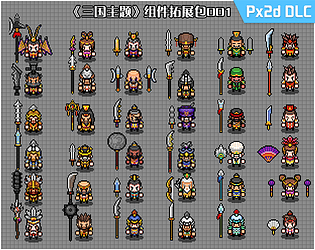
Px2d component expansion package
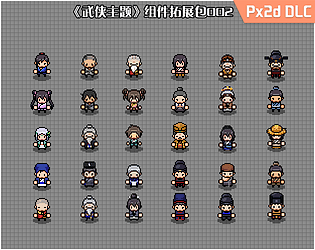
Px2d component expansion package
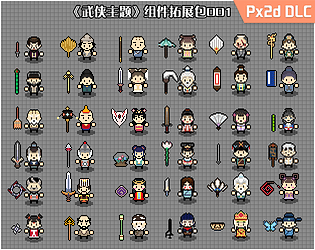
Px2d component expansion package
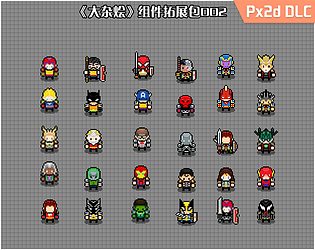
Px2d component expansion package

Px2d component expansion package
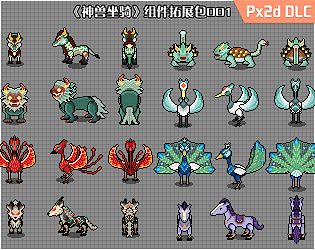
Px2d component expansion package

Px2d component expansion package
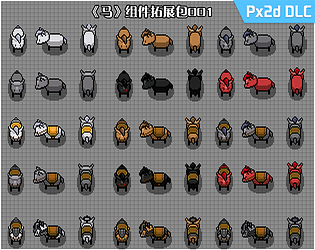
Px2d component expansion package
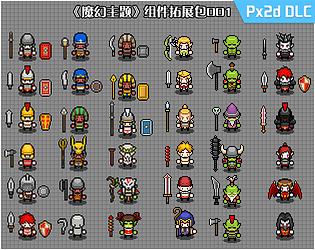
Px2d component expansion package
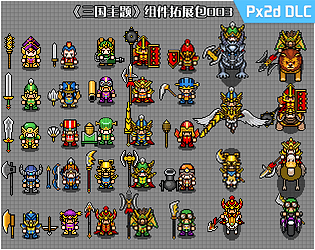
Px2d component expansion package
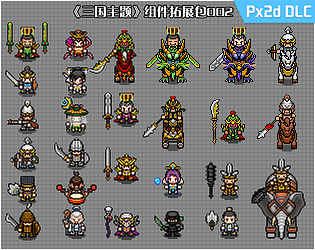
Px2d component expansion package
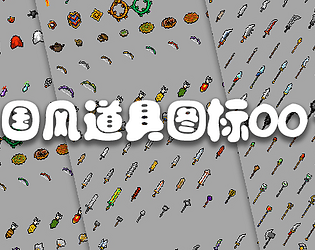
Prop icon
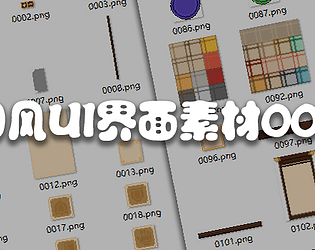
National style UI
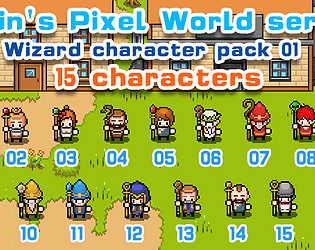
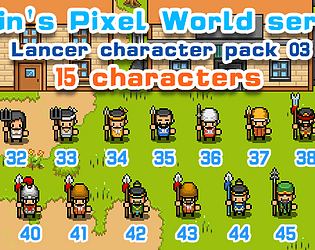
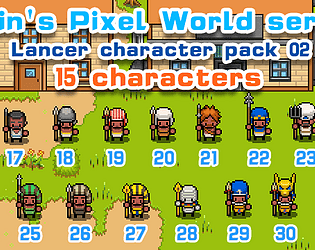
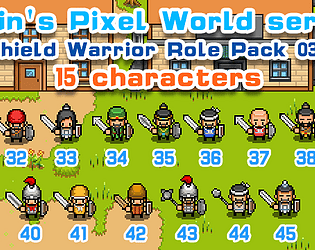
There are three versions of this material package. 32 * 32 version, 48 * 48 version, Rpgmaker version
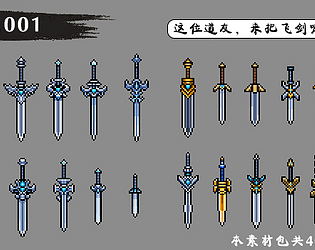
Essential equipment for sword cultivation, you know~
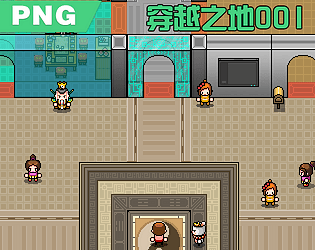
Suitable for 4-directional, ARPG-type games.
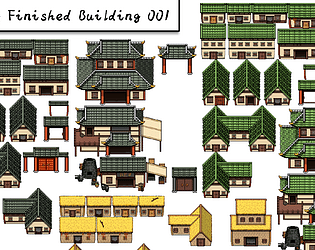
Finished building, ready to use after opening the package, with no brain swing~~
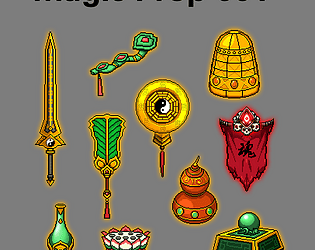
Magic Prop
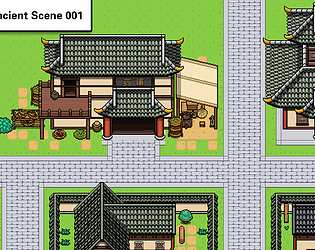
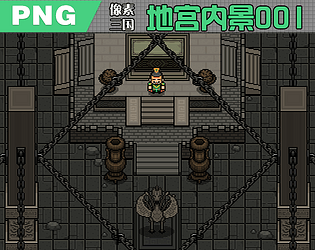
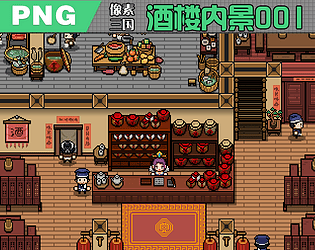
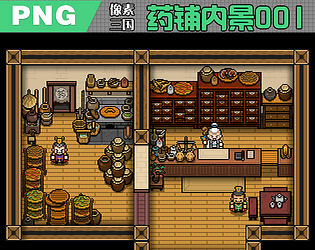
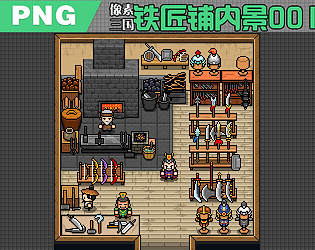
Oriental Ancient Scene
Px2d component expansion package
Px2d component expansion package
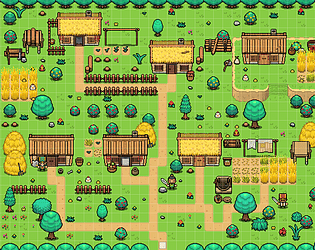
Pixel wind small mountain village scene
Suitable for 4-directional, ARPG-type games.
Suitable for 4-directional, ARPG-type games.
Suitable for 4-directional, ARPG-type games.
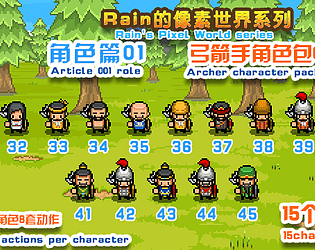
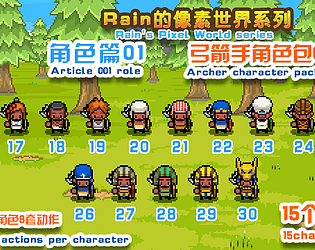
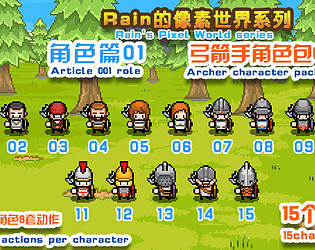
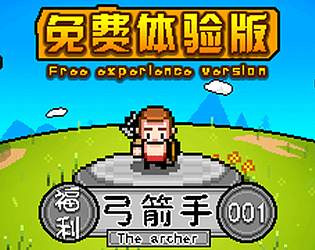
Long range warfare expert, archer
Suitable for 4-directional, ARPG-type games.
Suitable for 4-directional, ARPG-type games.
A soldier capable of both offense and defense
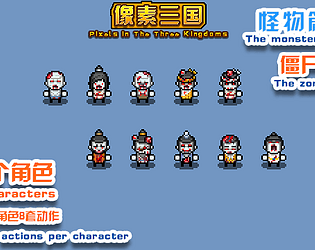
Zombies from the Three Kingdoms period
Archer trainee
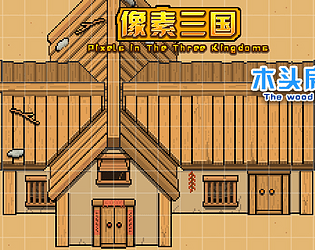
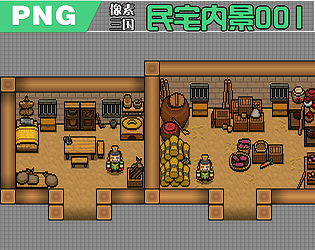
The wood house
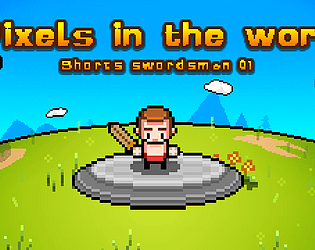
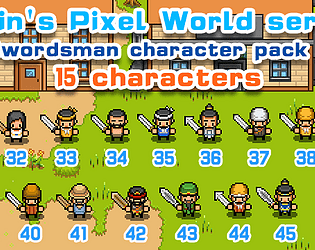
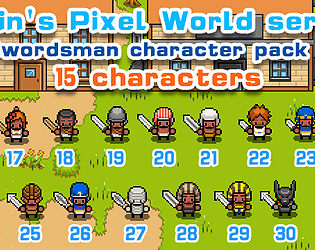
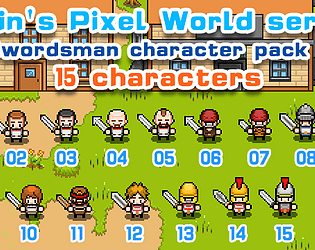
Swordsmen shorts experience version
The three articles
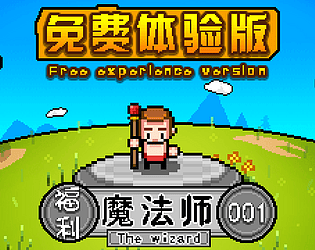
A person skilled in the use of magic
A person skilled in the use of magic
A person skilled in the use of magic
A soldier who conquers the cavalry
A soldier who conquers the cavalry
A soldier who conquers the cavalry
A soldier who attacks and defends himself
S profile Swordsman character action material
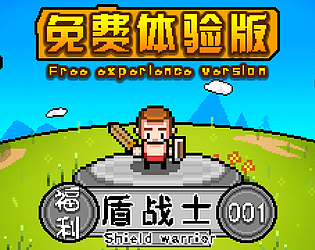
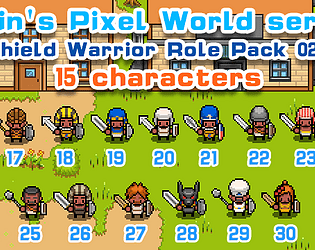
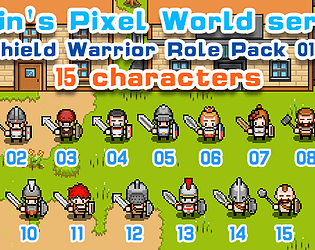
Swordsmen and shield fighters
A soldier who is both offensive and defensive
A soldier who is both offensive and defensive
Swordsman character ARPG game character action material
S profile Swordsman character action material
Recent community posts

P1 first met Px2d
This recording was made at an earlier time and is slightly different from the current page. It enables you to get a general understanding of the tool first.P2 creates a character
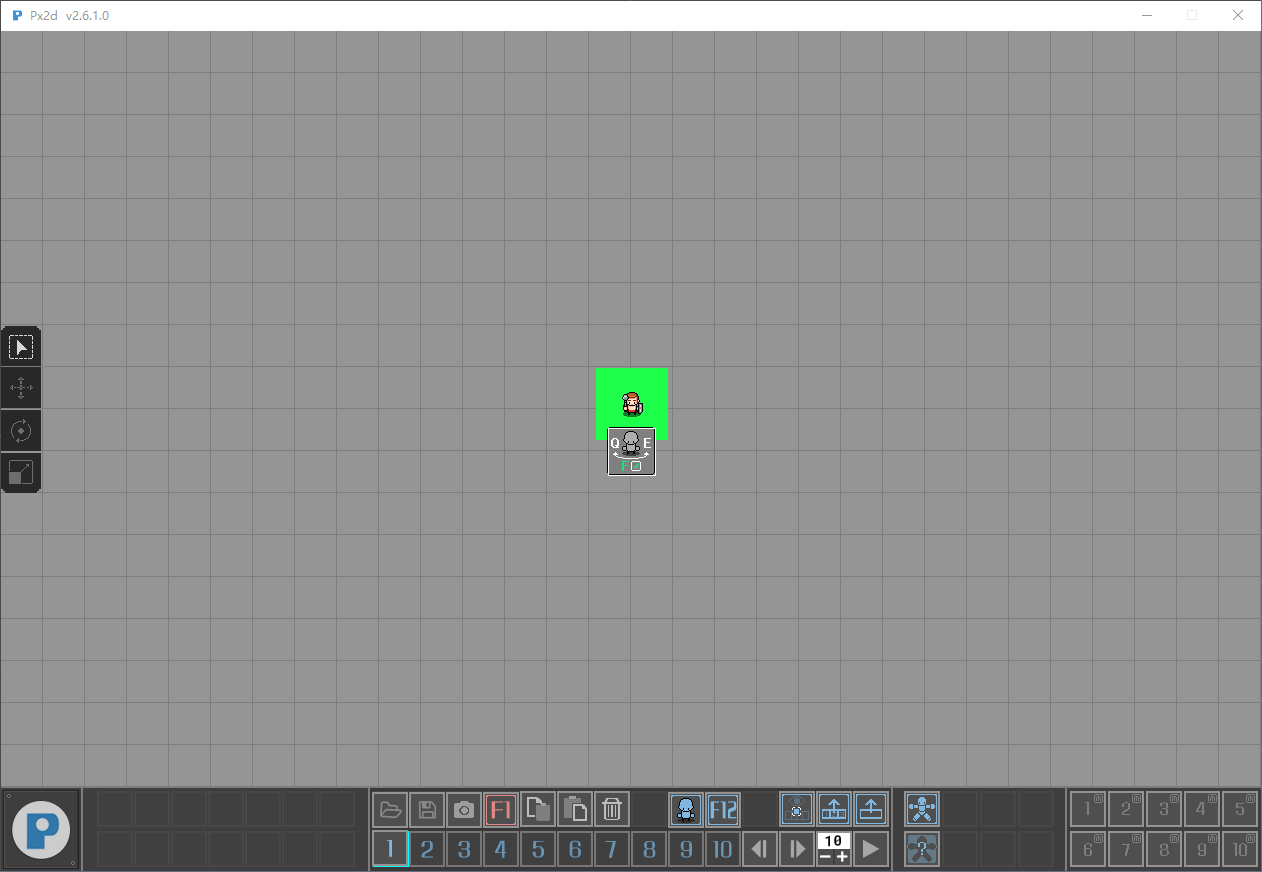
The second section is about creating characters, and this is extremely important. This will be used for changing the skins of subsequent actions.Create a character generator, select the character generator, press the Q and E keys, and you can change the perspective of the generated character. Then pressing the F key will generate the character.
After generating the character, select the character generator and press the backspace key to delete it.
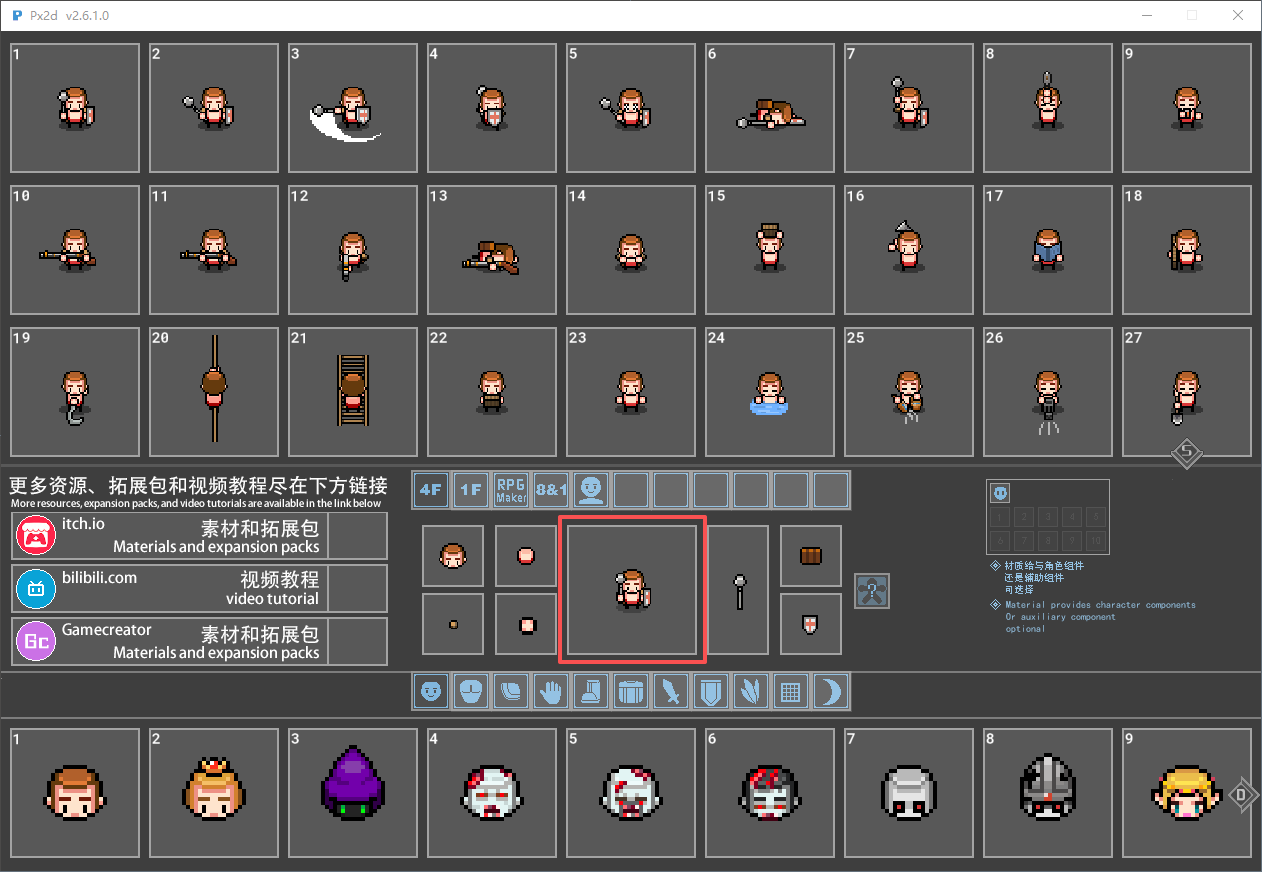
The character previews in the resource library are real-time, and this is a feature introduced in the 2.6.1 update. So, before creating a character, the preview area is naturally blank. No role.
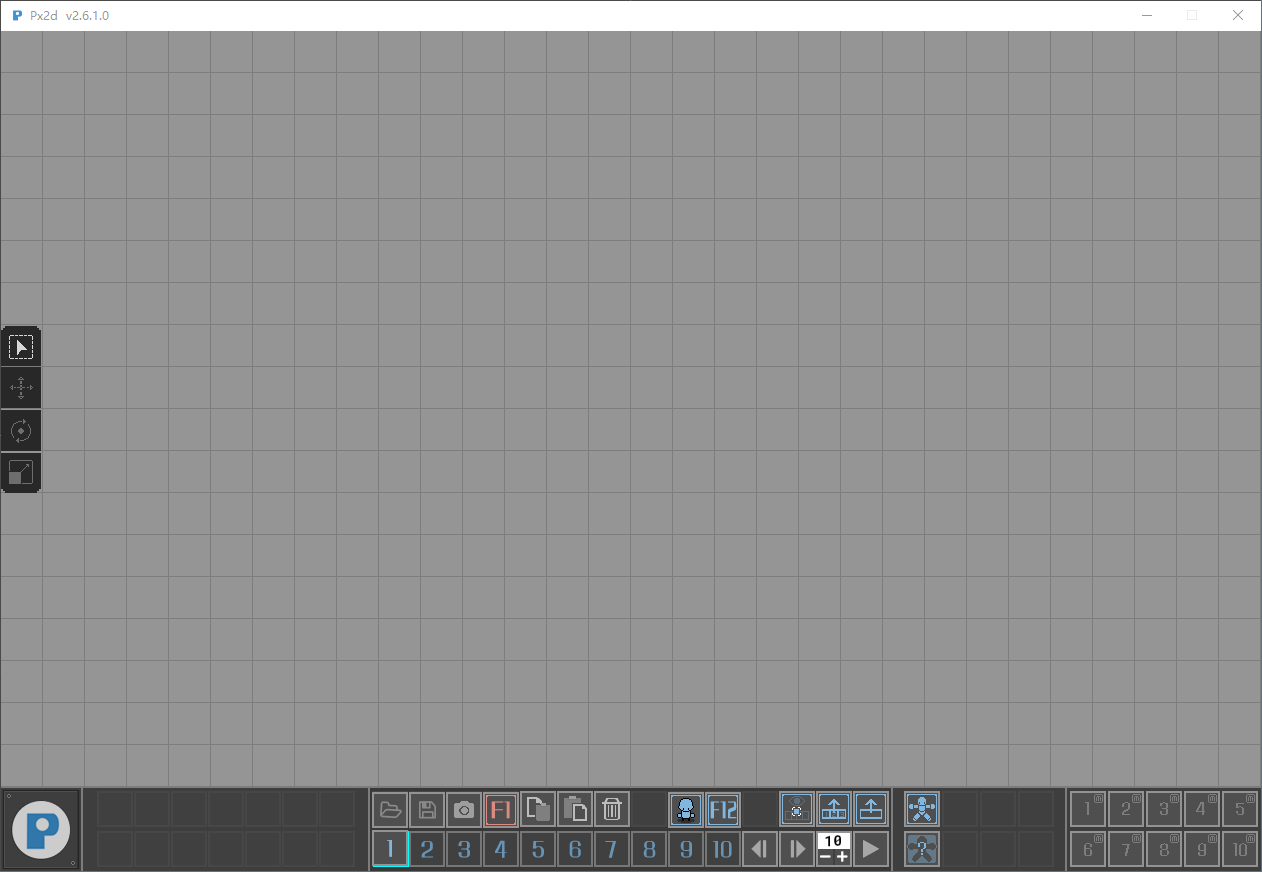
After creating the character, the preview will be updated.
In the Resource Manager, the A and D keys are the shortcut keys for quickly navigating through the materials on the left and right pages. The W and S keys are the shortcut keys for the up and down page navigation functions.
When choosing the following materials, select them by clicking the left mouse button.

Select the type of the material, and you can lock it by pressing the middle mouse button. Once locked, during the loading process, the items in the character's hand will remain unchanged. This is particularly applicable when you perform life-related actions and trigger special effects. Because in the life-action scenes, the props held by the characters are all made of weapon components. For example, actions like watering plants, felling trees, and fishing - the tools held by the characters - are all made using weapon components.***This is of great significance.***
P3 loading action
P4 Export Animation
Version 2.6.1's shadows no longer need to be handled. The export is in a normal semi-transparent state.P6 Custom Resources
In version 2.6.1, there is no need to make any changes to the configuration file. The tool will automatically load the resources now.P7 Custom Action
P8 replaces DLC
Replace attack effect
I'm extremely sorry for making you so angry. I can fully understand your feelings. Spent money on a tool, only to find it couldn't be used. This is really a very infuriating matter. But please calm down and don't get angry. Since you have spent money on my tools, I have the responsibility to be accountable to you. If you have any questions, please feel free to tell me. I will do my best to help you solve the problem. This action library was used by the older version of the tool. Now I have placed this action library in the root directory of the tool. Open the file in the action library using the tool, and then you can use it.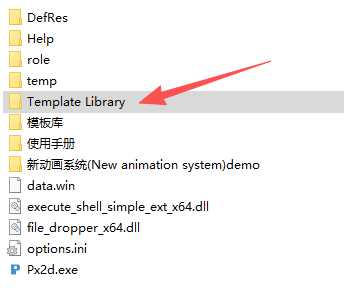
Hello! May I ask where the problem occurred? I can help you solve it.In the root directory of the tool, there is a help folder which contains the manual for using the tool.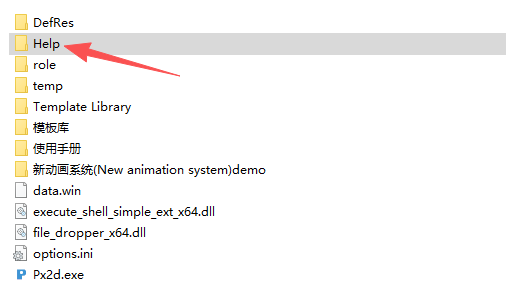

You can take a look at this user manual first.If you have finished reading the user manual but still can't operate the tool. Please contact me immediately. I can send you the video tutorial.