On Sale: GamesAssetsToolsTabletopComics
Indie game storeFree gamesFun gamesHorror games
Game developmentAssetsComics
SalesBundles
Jobs
TagsGame Engines

pwclay

5
Posts
1
Topics
A member registered Nov 08, 2023

Recent community posts

I *think* I understand what you said, but will definitely need to read it a couple of times & spend some time on the machine to make sure I do.  Your tip of rolling the mouse over to show the depth revealed the problem.

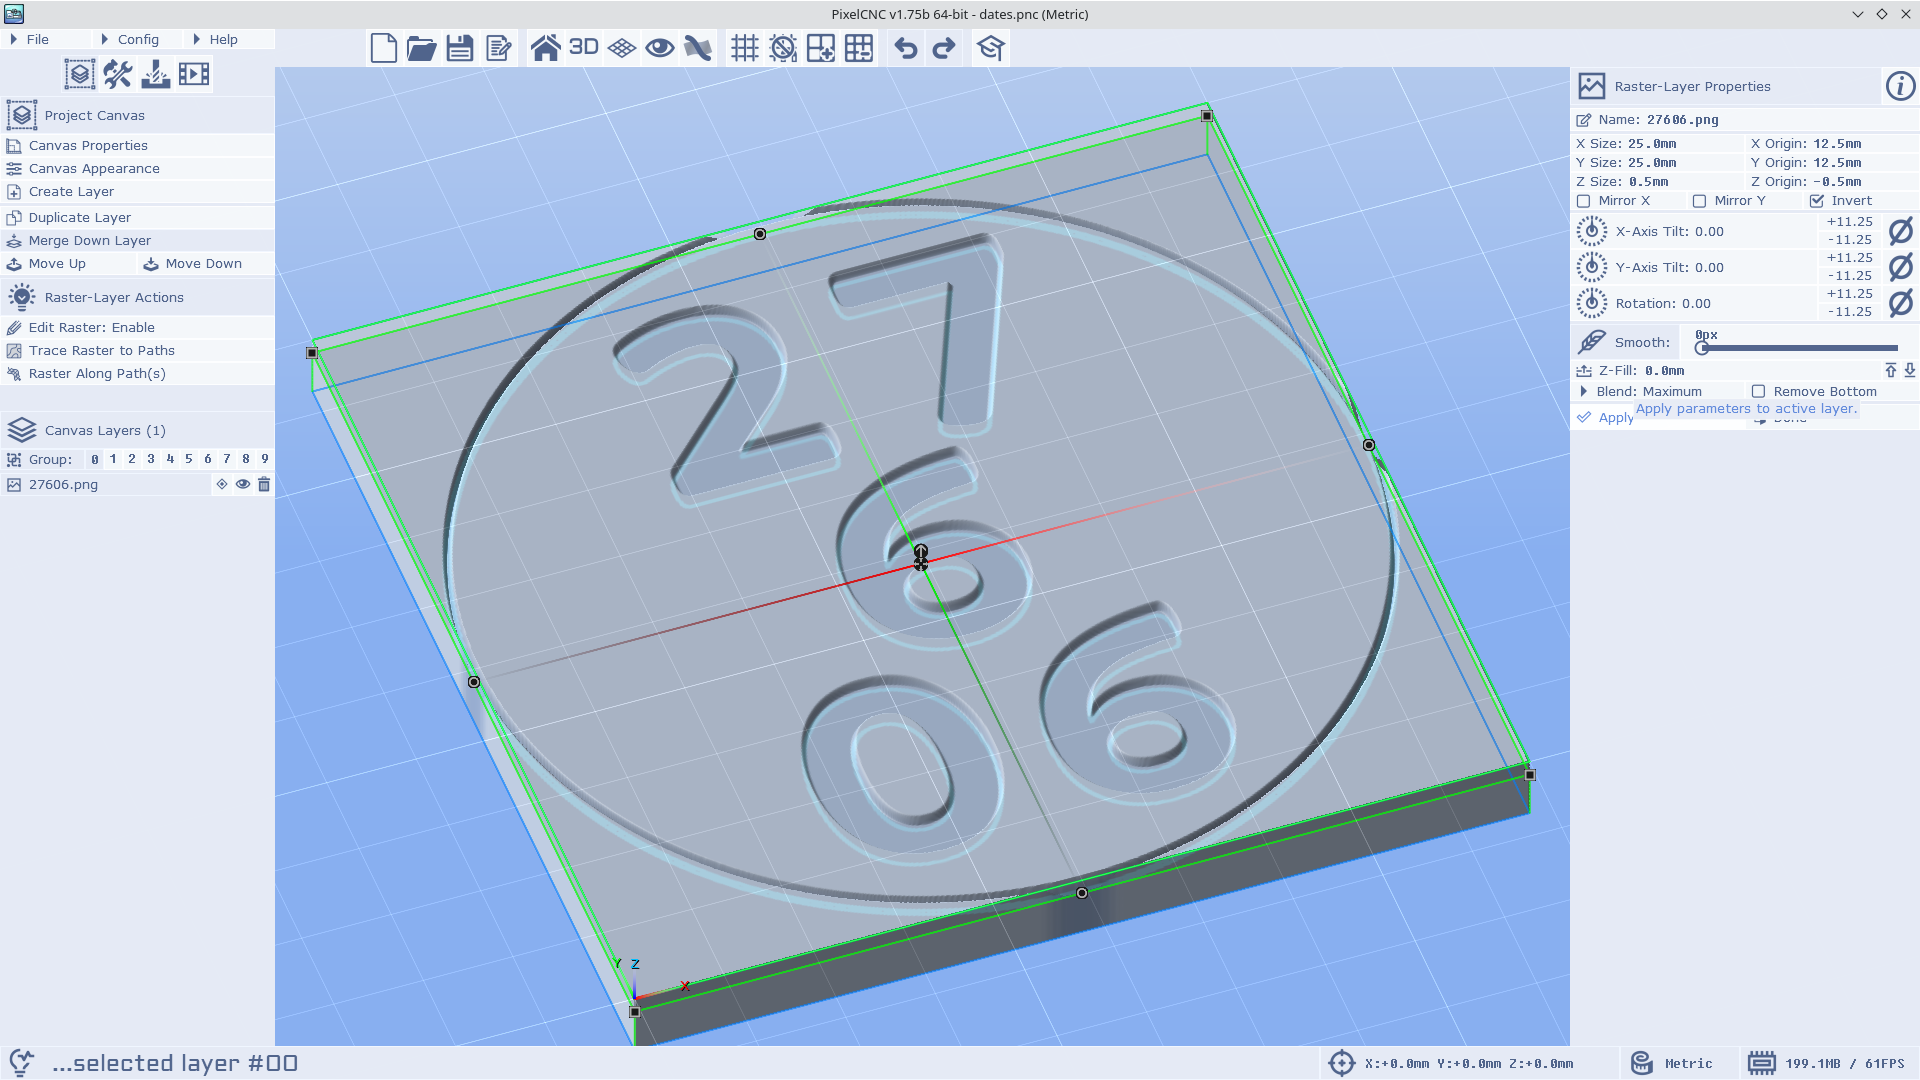
The circle around the perimeter was a different colour & it was 0.5mm deep as I would expect and as the layer properties showed.  But the characters were black & I am guessing because of the greyscale creates heights thing were 0.2mm, which I didn't notice because the perimeter ring is very thin (markup only).  Changing the imported image to all black has fixed the problem - everything is 0.5mm deep & the operation shows 3 cuts as expected.

I need to go back and work through the tutorial again, but I think that I am rolling now.

I appreciate your help, you have built a pretty powerful tool, it is going to take me a while to get to the bottom of what it can do.

Thanks for your patience, I am new with PixelCNC and am still far down the learning curve...

I *think* I set the canvas to 0.5 depth correctly, if I haven't, please let me know what I have done wrong.


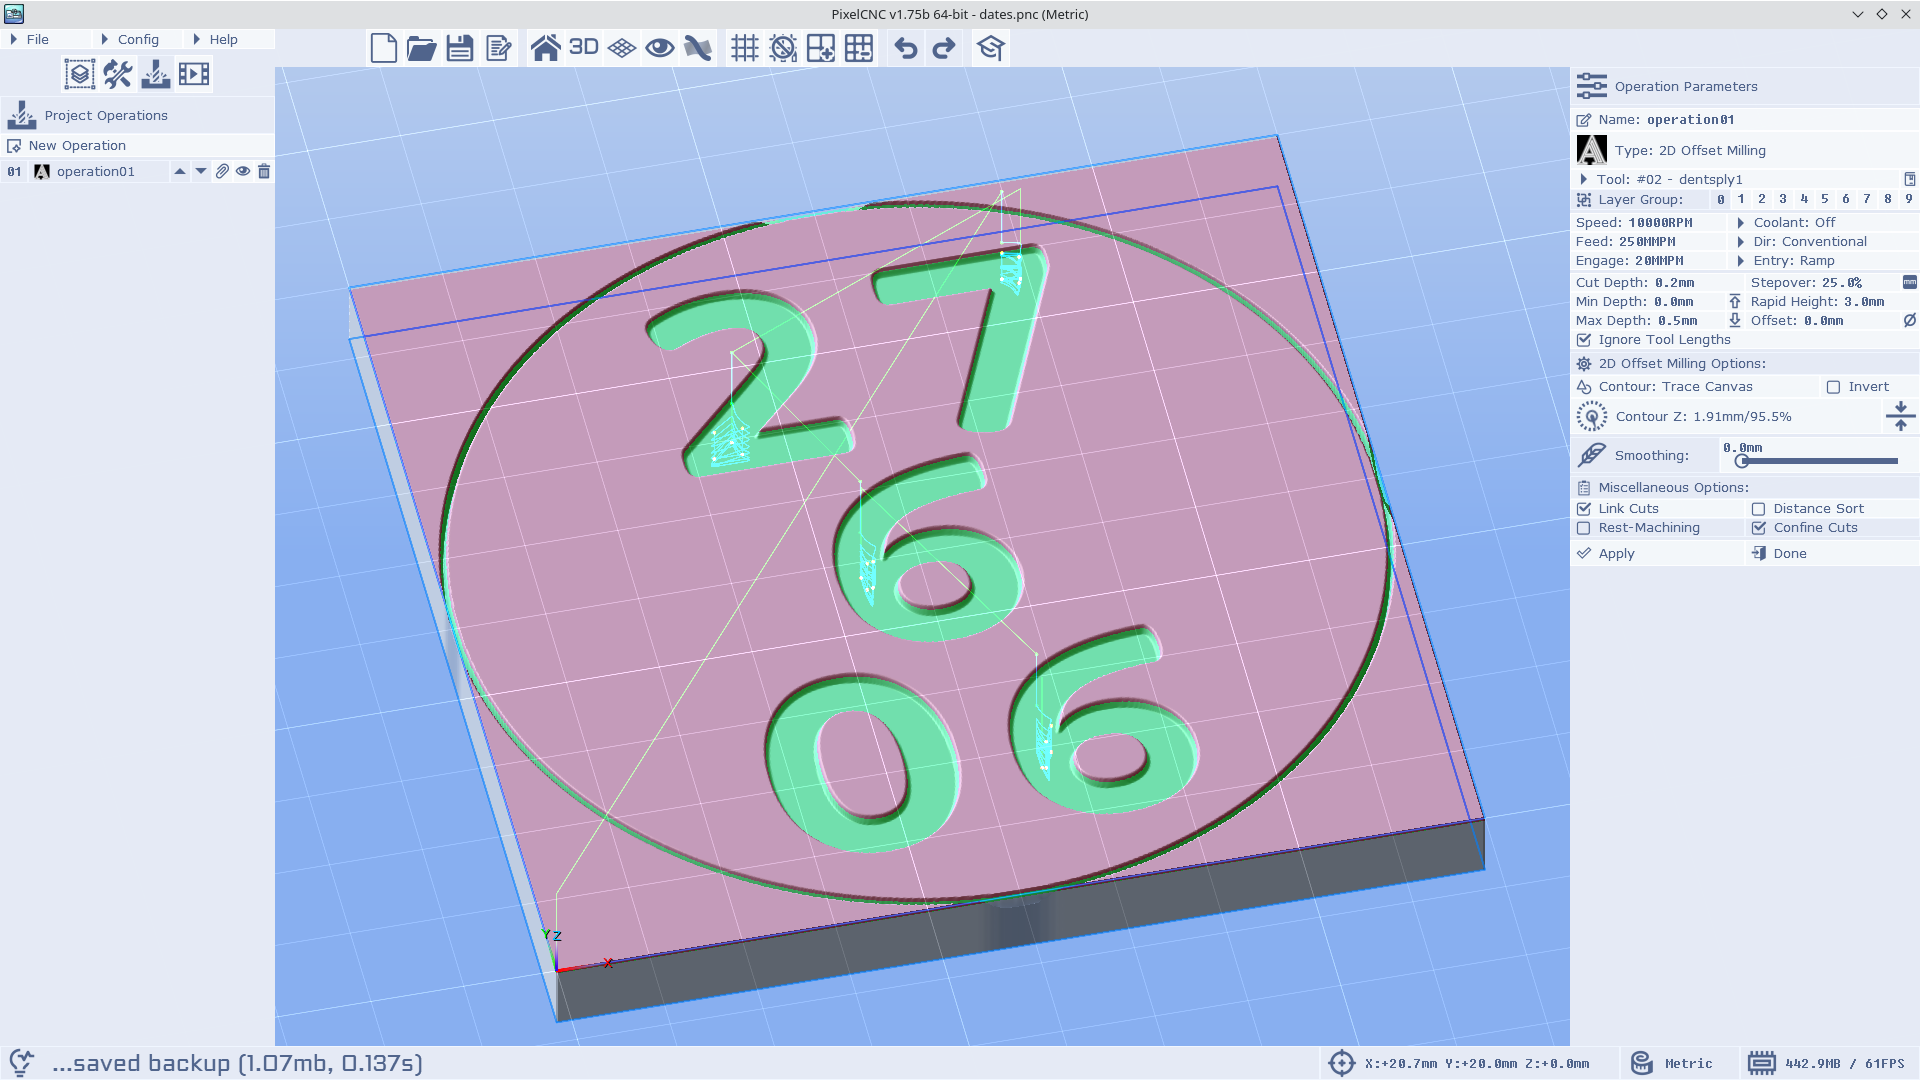
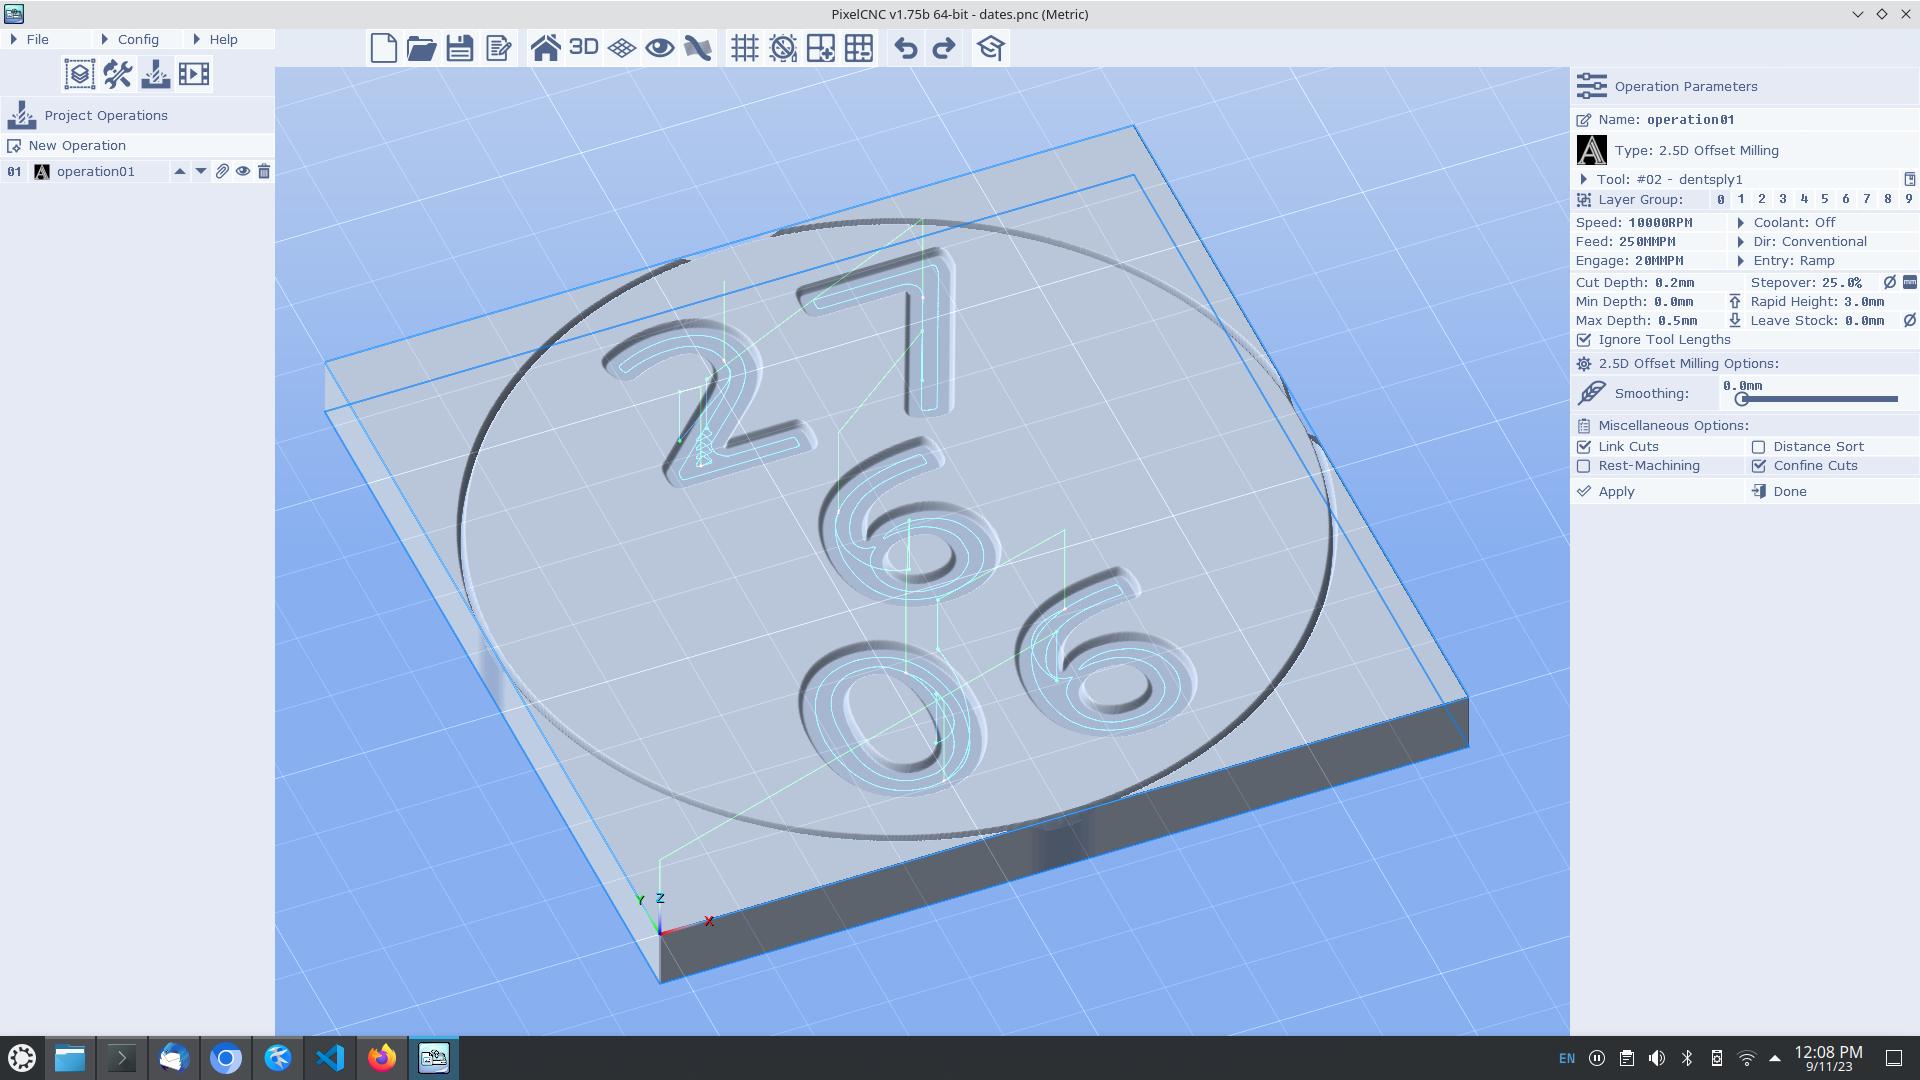
I switched to the 2D as you suggested, but curiously the calculations for the cutter size are different.  With the same tool in 2.5D I get a cut of the full digit outline as shown in the last screenshot, but not to full depth.  Using the same tool in 2D it only traces the widest part of the digits, but seems to go to the right depth:


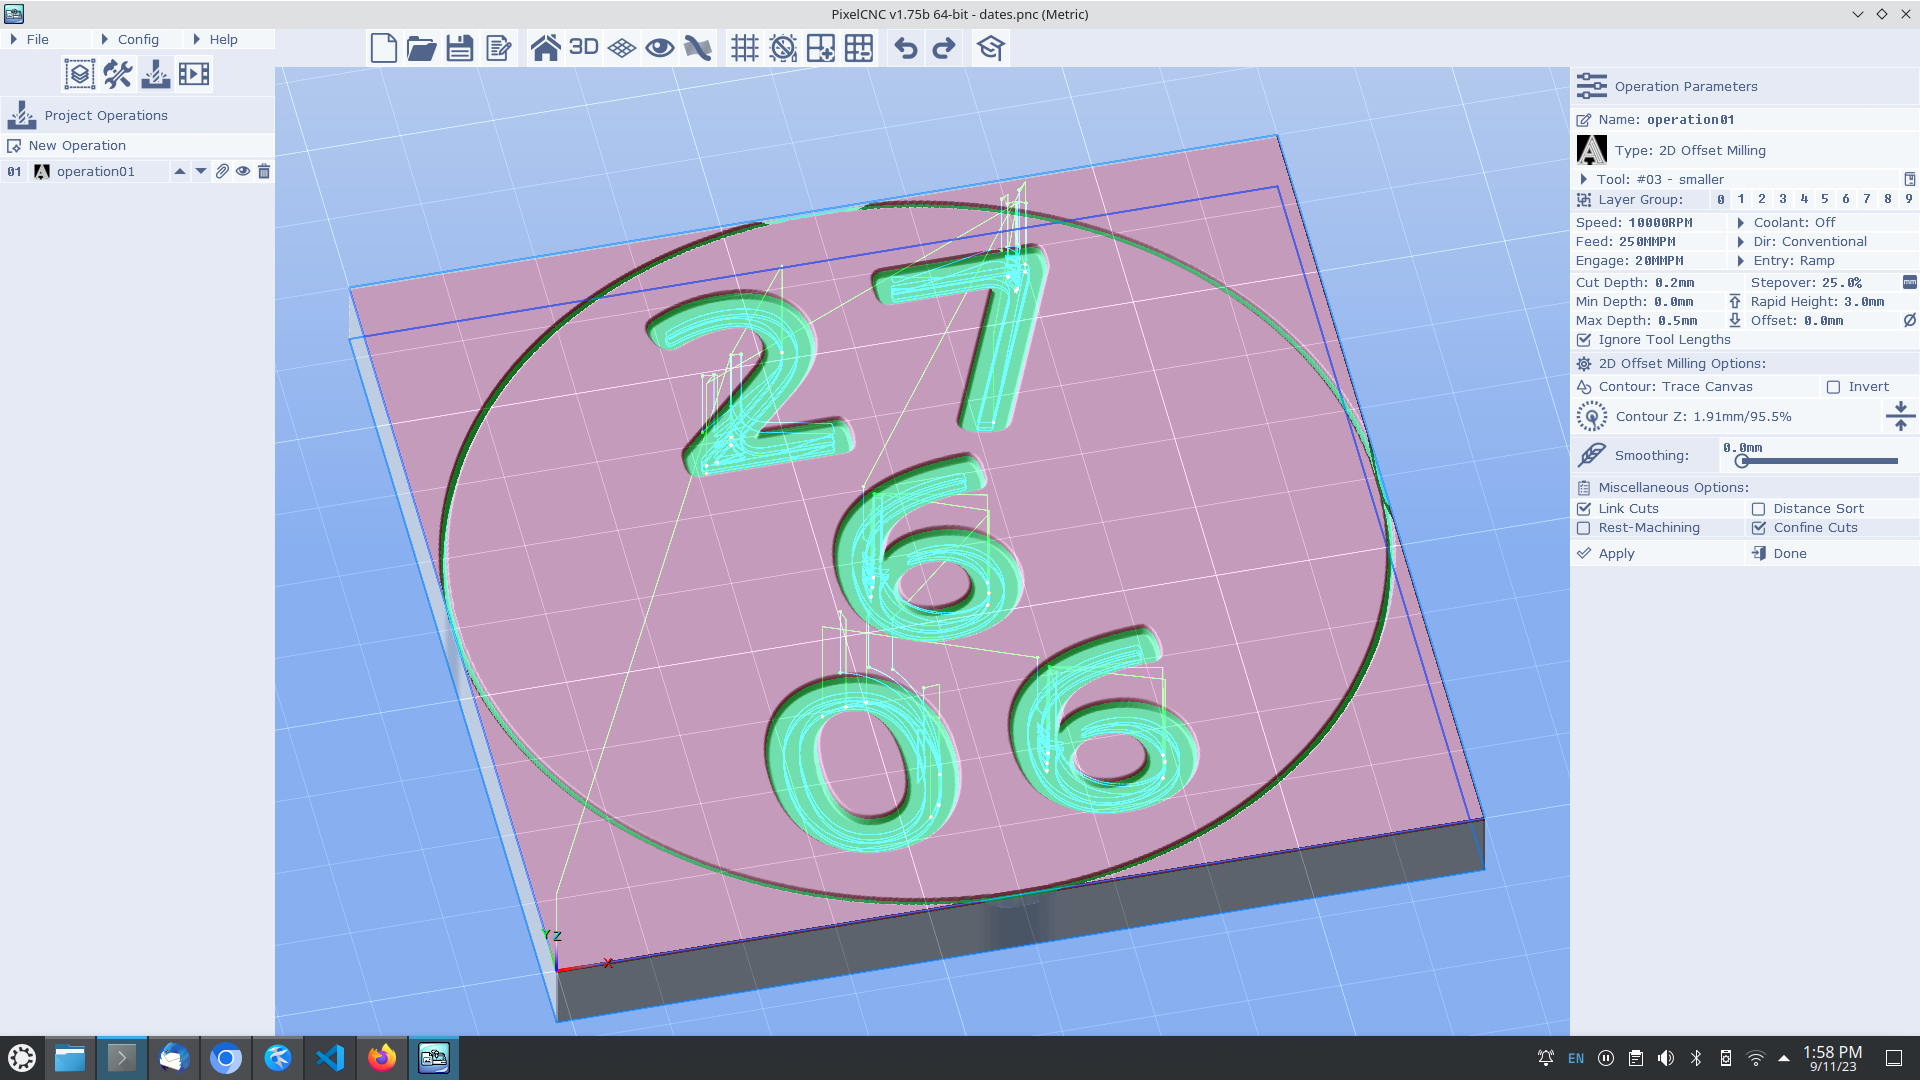
I need to reduce the tool diameter by about 1/2 to get it to trace the full digits:


This seems very odd given that the two operations are attempting to do the same thing.

Thanks again for your help.

Pat

I am wanting to go to 0.5mm in 0.2mm increments.  Your explanation is what I understand I *should* get, but I am not.  I have attached a screenshot of the project.  It is only showing 1 cut at 0.2mm.


Thanks for the quick response

Reducing the max depth from 2.0mm to 0.5mm & keeping 0.2mm cut depth gives the same result - one -0.2mm cut.

Pat

I am trying to cut some text 0.5mm down in 3 passes - 0.2mm for the first 2 cuts, then a finishing cut at 0.1mm.  The total design is small - 25mm square, hence the small cuts.

I have a layer with my design set up with a 0.5mm Z size & this looks good on screen.

I have an operation set up 2.5D offset milling, with the following settings:

Cutdepth 0.2mm

Max depth 2.0mm

Leave stock 0.0mm

Applying this creates one pass at 0.2mm.  I would expect there to be a second at 0.4 & then a third at 0.5mm   Both the graphical display and resulting gcode are the same - one cut at 0.2mm

Do you have any idea of what I could be doing wrong?  I can send the project file if you let me know how.

Cheers