
Thank you very much!! :D
A member registered May 13, 2019 · View creator page →
Creator of
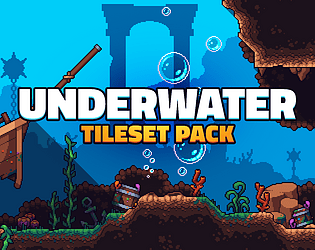
16x16 tileset to build custom underwater environments for your game.
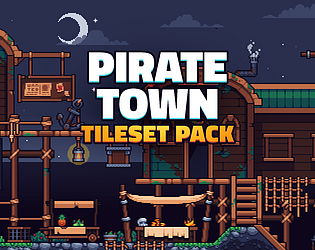
16x16 tileset to build custom pirate towns for your game.
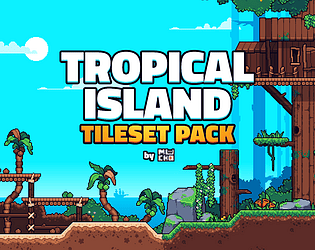
16x16 tileset to build custom tropical islands for your game.
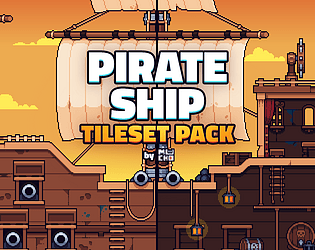
16x16 tileset to build custom pirate ships for your game.
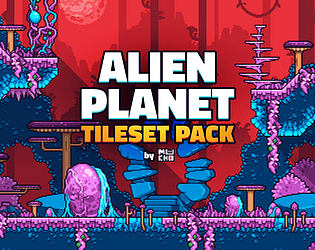
16x16 tileset to build custom alien planets for your game.
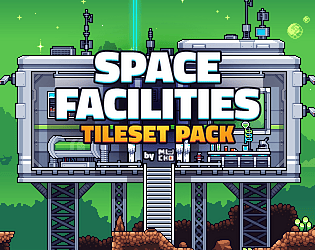
16x16 tileset to build custom space facilities for your game.
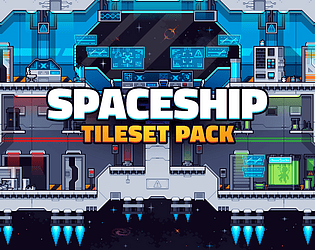
16x16 tileset to build custom spaceships for your game.

16x16 tileset to build custom mines for your game.
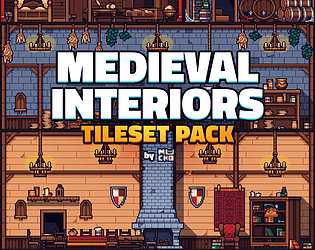
16x16 tileset to build custom medieval interiors for your game.
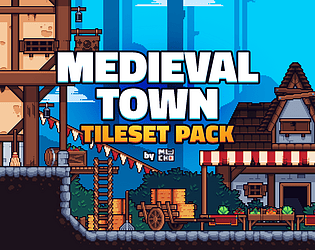
16x16 tileset to build a custom medieval town for your game.
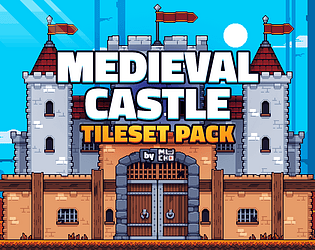
16x16 tileset to build a custom medieval castle for your game.
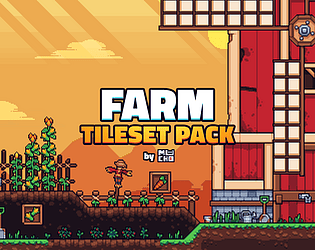
16x16 tileset to build a custom farm for your game.
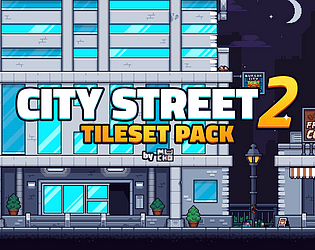
16x16 tileset to build custom city streets for your game.

Icons and props assets for your games.

Icons and props assets for your games.
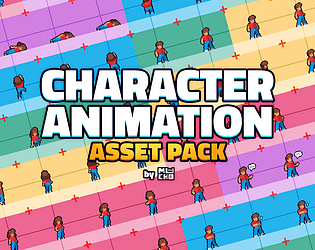
Animated characters for your games.
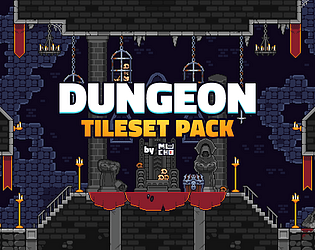
16x16 tileset to build custom dungeons for your game.
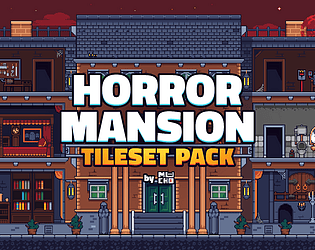
16x16 tileset to build custom horror mansions for your game.
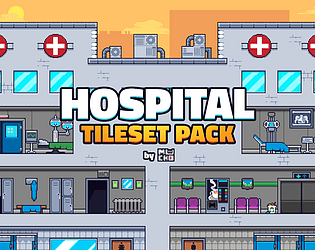
16x16 tileset to build a custom hospital for your game.
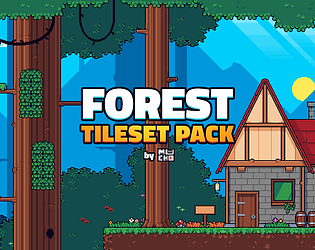
16x16 tileset to build a custom forest for your game.
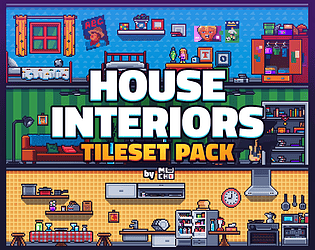
16x16 tileset to build custom house interiors for your game.
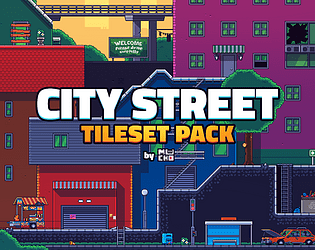
16x16 tileset to build custom city streets for your game.
Recent community posts
Character Animation Asset Pack comments · Replied to steven1022 in Character Animation Asset Pack comments
Hi, Steven!
We've just tested it using Pyxel Edit version 0.4.95 for Mac, and the source files open correctly. Could it be that you're using the unsupported free version of Pyxel Edit? If you're using the latest version, everything should work fine.

If you come across any clues that might help us investigate further, please feel free to share them. We're happy to help!
Hello! Thank you for purchasing our tileset! :)
To create buildings and skies like the ones in our demo images, you'll need to use the background sheet, where you'll find:
- Tiles for building construction: These are the fully colored tiles in orange, light blue, and dark blue.
- Detail tiles: Next to the building tiles, you'll find additional pieces with small rectangular details that can be placed on rooftops to add extra character to the skyscrapers.
- Sky background tiles: On the right, you'll see solid-colored tiles in lighter shades. These are used to create sky backgrounds in different hues, such as morning blue, afternoon yellow, or nighttime dark blue.
- Cloud tiles: This sheet also includes versatile cloud tiles that can be adjusted to create longer or shorter clouds, adaptable to various times of the day.
- Sun and moon tiles: These are also included for you to add a touch of atmosphere to your scenes.

We hope this clears up any questions you had.
Happy creating! Cheers!