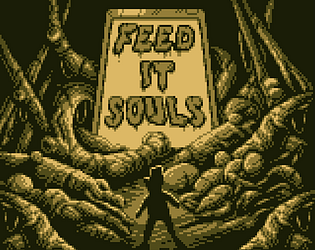
Thank you so much for taking the time to share your thoughts. So glad my creative choices connected with you like it did. Yes indeed, I am actively working on sorting a physical release for FITS: DOME out.
A member registered May 28, 2021 · View creator page →
Creator of
Reads your project's .gbsres files and exports all dialogue


Theme: An Awesome Discovery
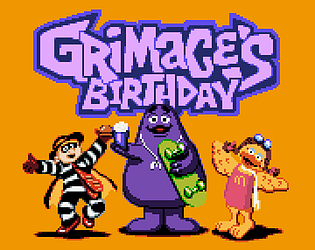
Help Grimace find his friends in time to blow the candles out!
Platformer
Play in browser
11 Assorted Tile Sets for platformer games in the style of the Game Boy
Platformer
A modified platformer.c file for use with GB Studio

A Brothers Grimm Tale adapted for the Game Boy
A guide to SGB mode in GB Studio

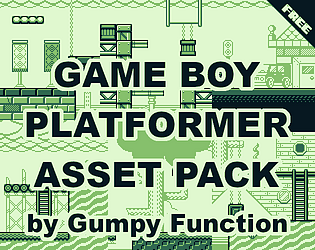
A downloadable Asset Pack for Game Boy Game Development