
Glad you like it! Happy to help, and your games are beautiful. Good luck with your projects!💌
A member registered Aug 28, 2025 · View creator page →
Creator of
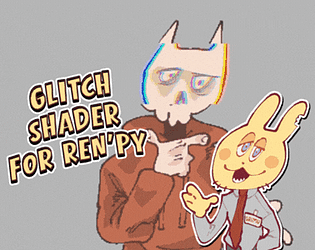
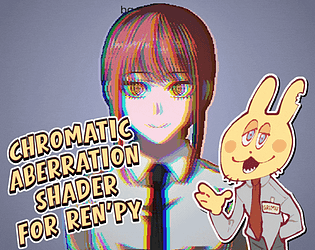
Corrupt Your Sprites. Add Glitch & RGB Split.
Perfect for horror, sci-fi, or flashbacks scenes.
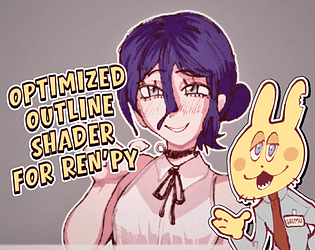
Outlines and shadows for your sprites.