
Not for this game, because it is complete.
A member registered Feb 01, 2019 · View creator page →
Creator of
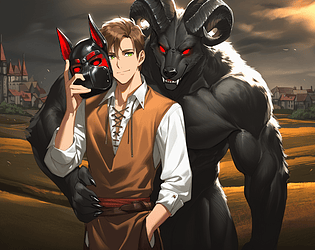
When an ancient deity is summoned to aid in a war, betrayal of his trust will have rippling effects.
Role Playing

An old prophecy will be told by those who live in a different future, with a differentiating consequence.
Role Playing
Recent community posts
Black Mask of Cernunnos - Demo community · Created a new topic Secret Bosses = Defeat 10 On Scene Enemies
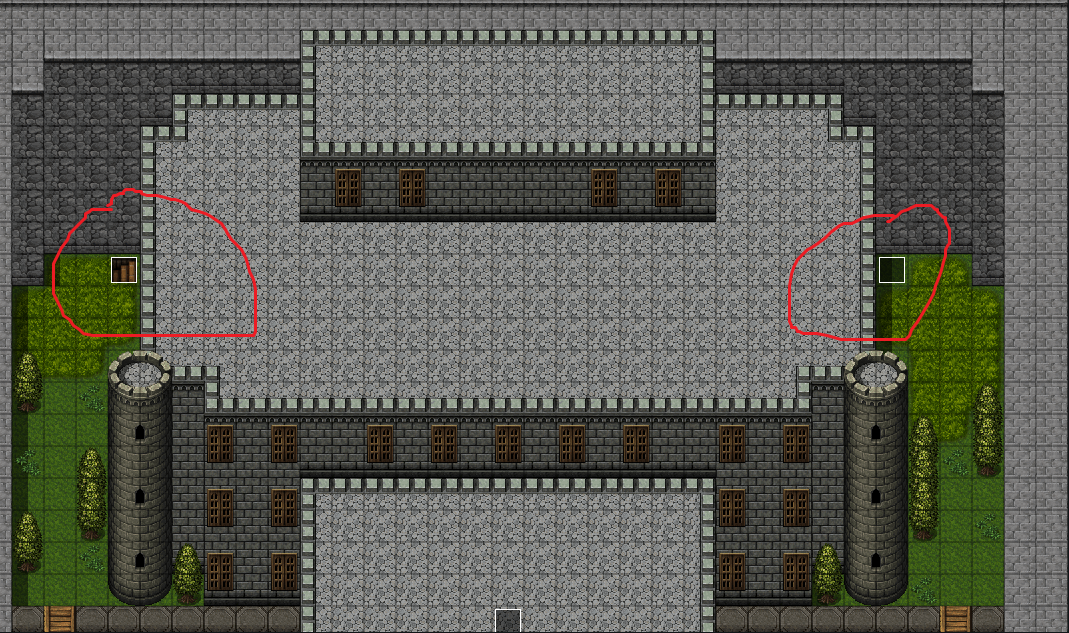
Black Mask of Cernunnos - Demo community · Created a new topic Scene Guide - PRESS PAGE UP TO END A SCENE
Black Mask of Cernunnos - Demo community · Created a new topic Bad Endings - - PRESS PAGE UP TO END A SCENE
Adult Censor Bar Asset Pack 2025 (FREE) community · Created a new topic Feedback from Itch.io Admins