With the new architecture ready in week seven and a clear definition of the game loop and backstory, we focused on building the Final Demo during weeks 8 and 9. I used the grey-box prototype on Week 7 to create a list of TODOs so each team member could pick what to work on.
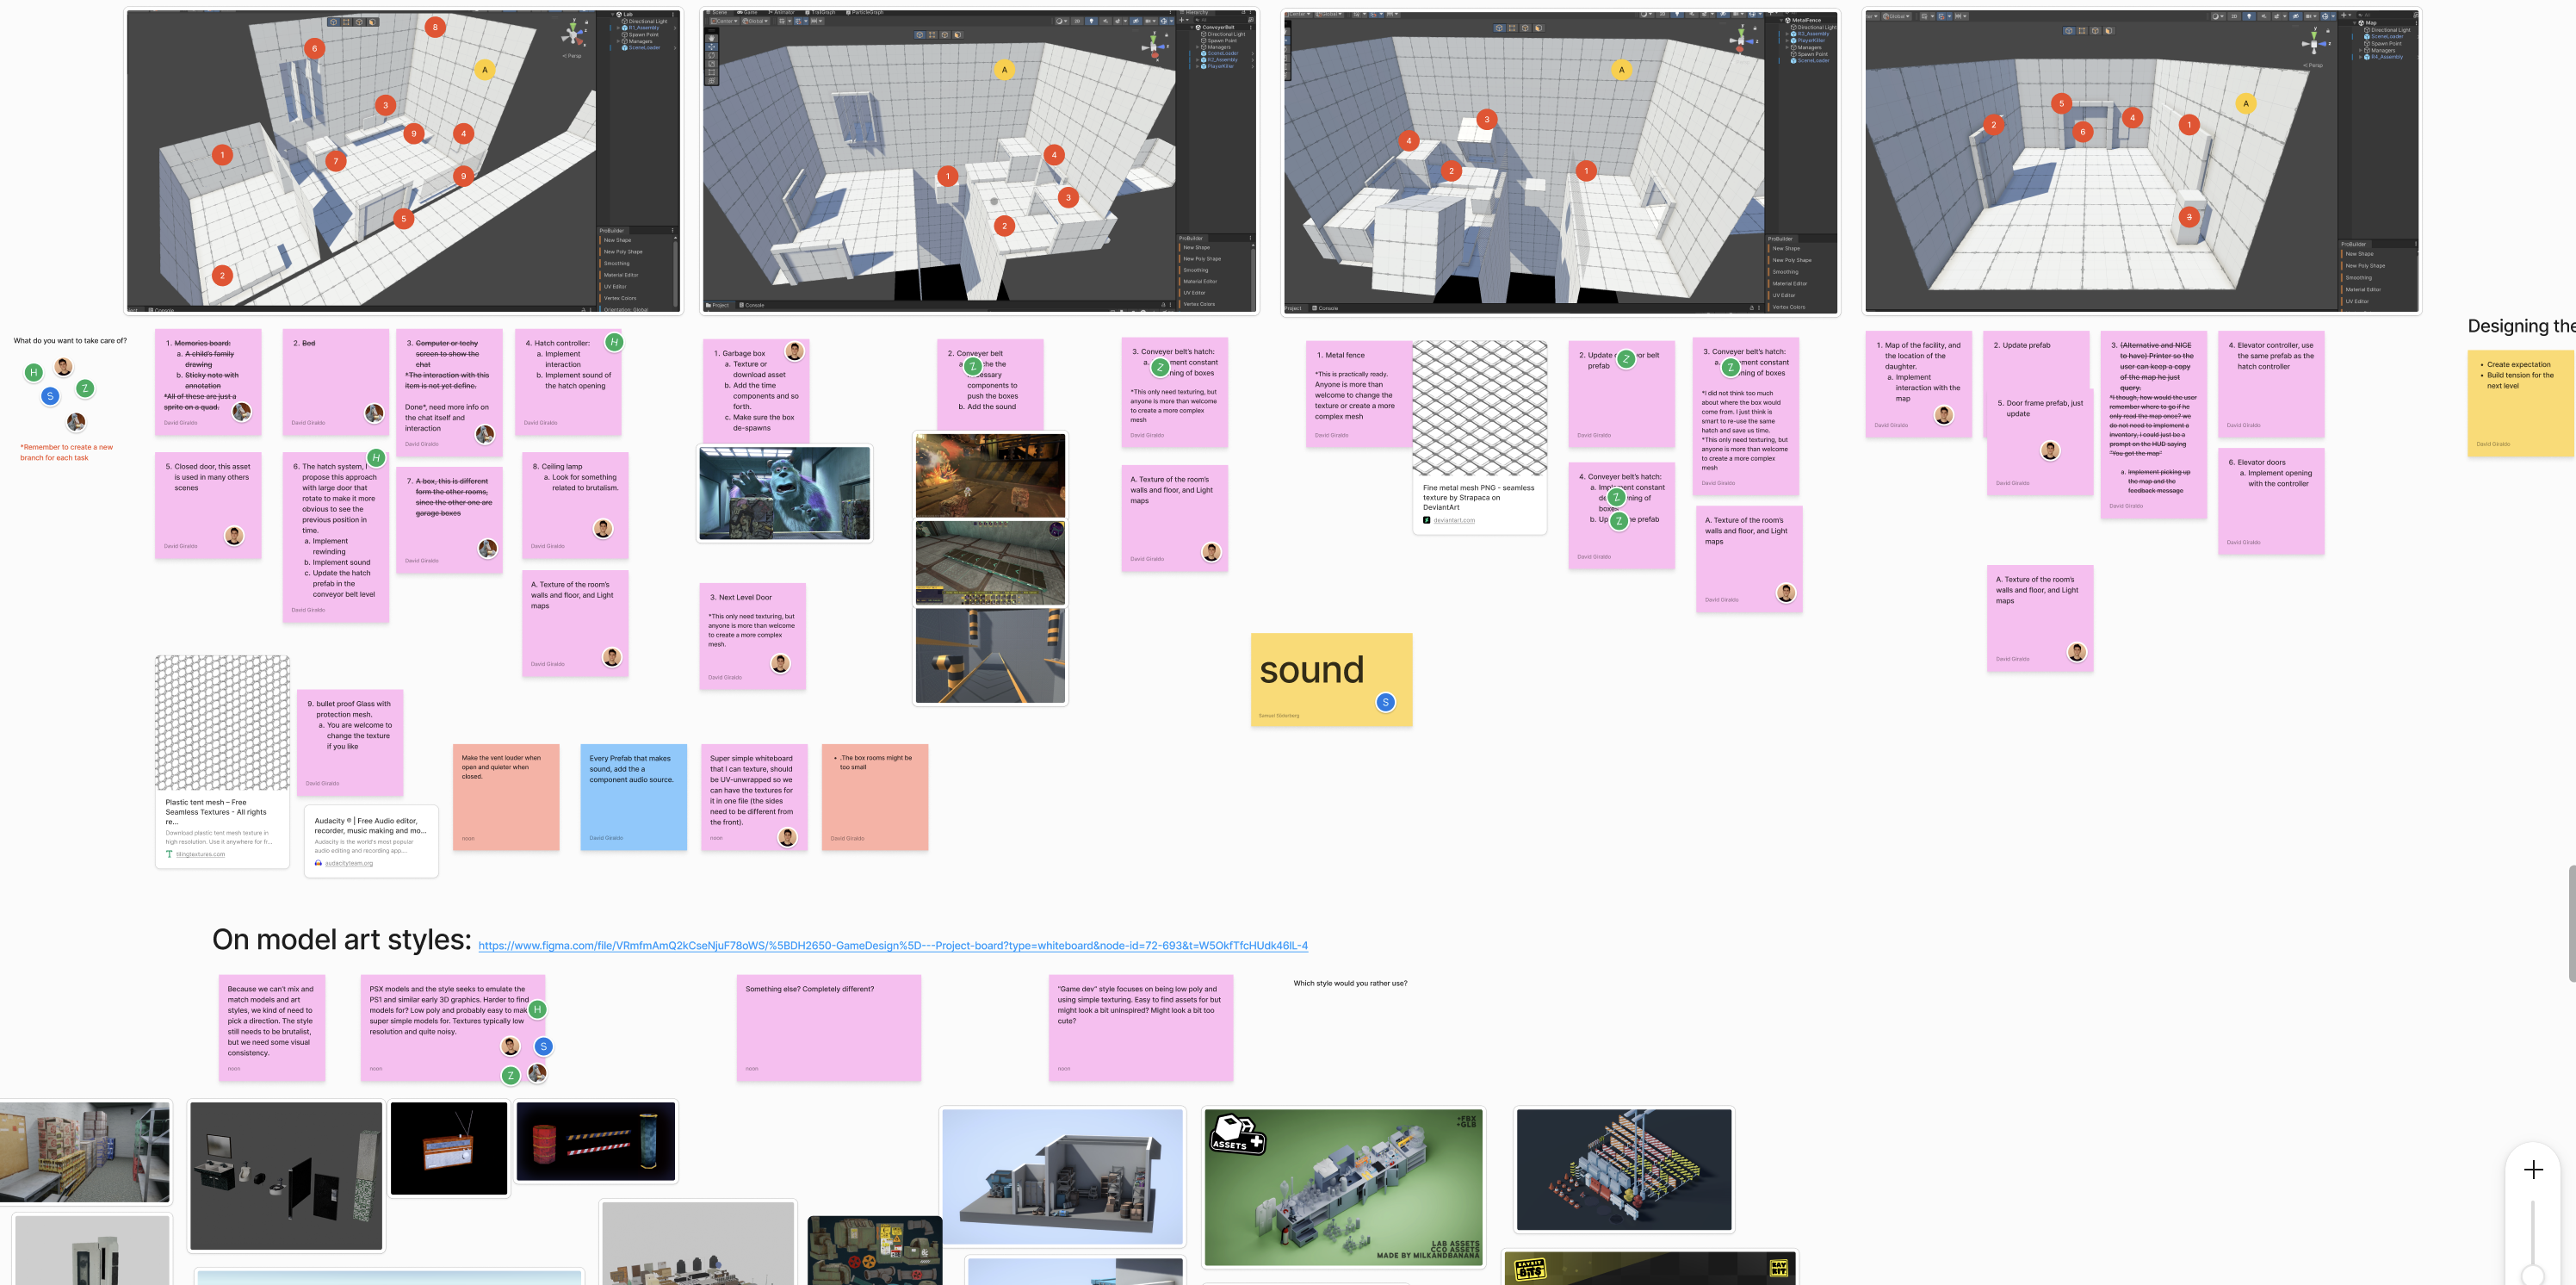
The implementation went smoothly, not without some learnings I want to share. As always, I strive to make this journal as helpful as possible for dev venturing into game development for the first time.
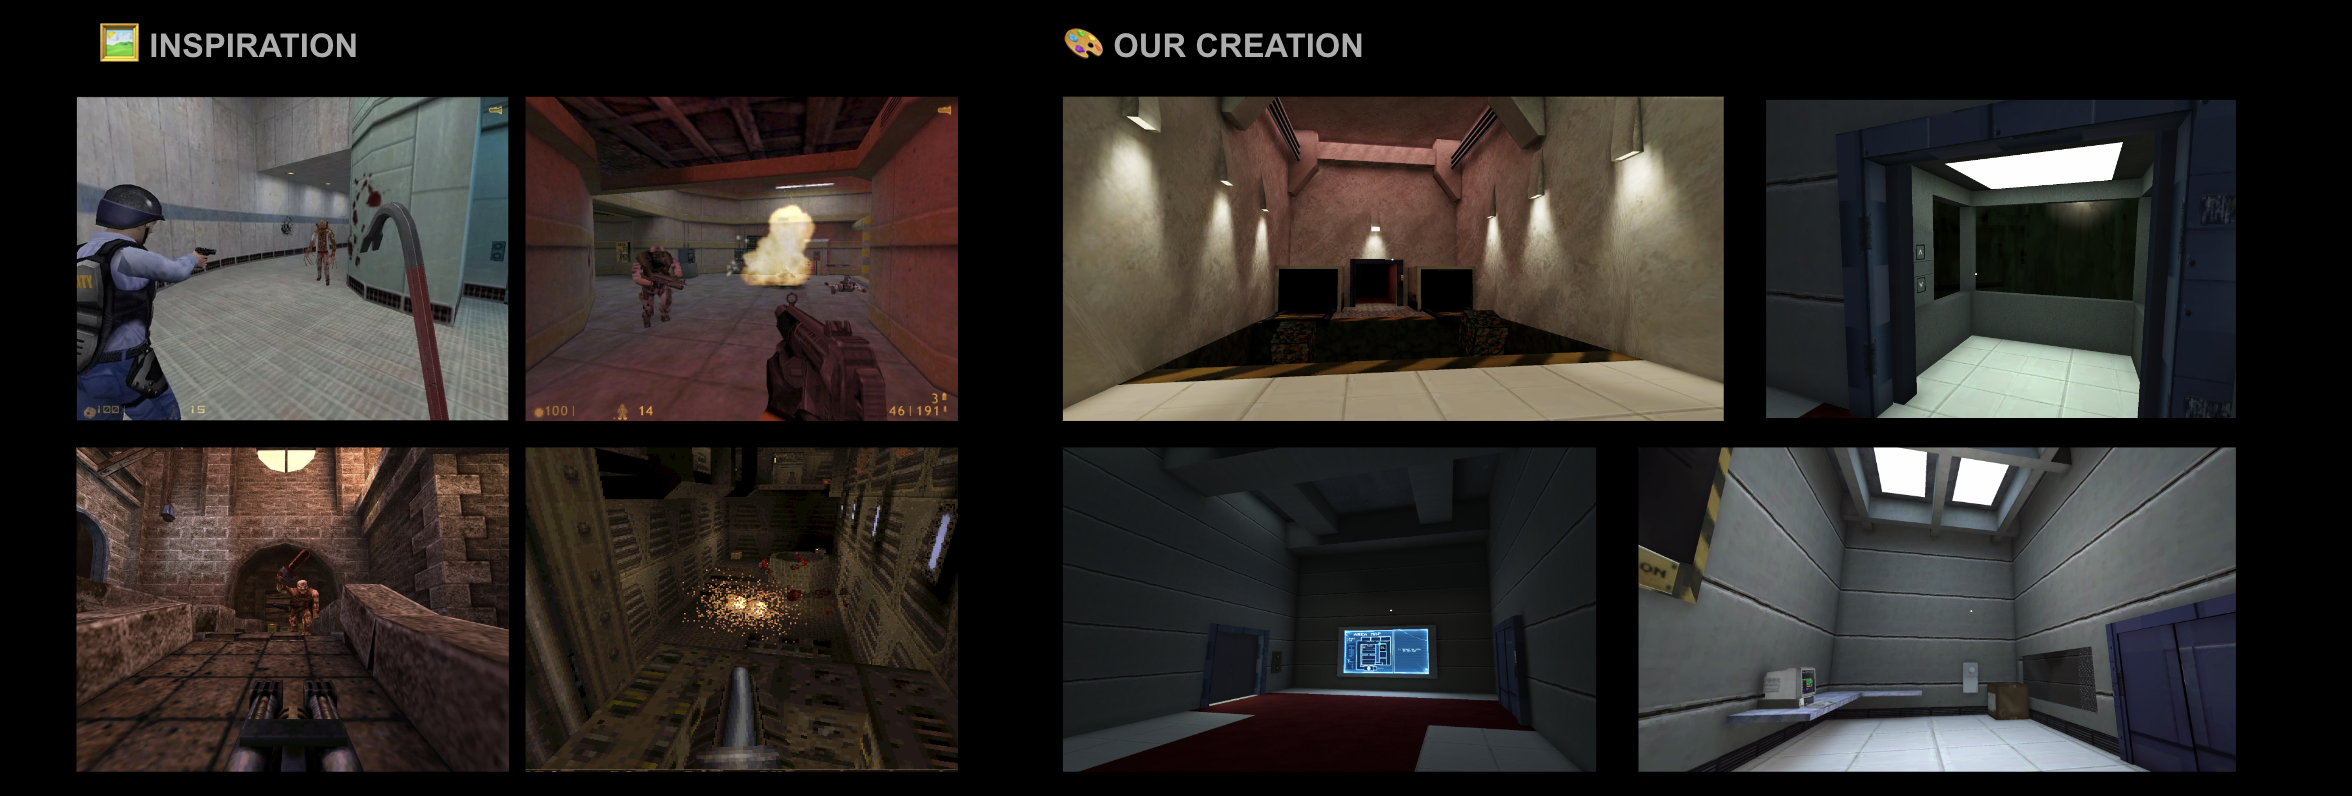
My years in consulting taught me that keeping a constant pace of deployments helps the team gauge the real effort required to release new features and get real-time feedback soon. Thus, we agreed to ship a new demo with fully texturized levels to get user feedback about the look and feel. We went after a “PSX”-low poly style, with low-tech models and textures to create a retro-futuristic vibe. We took inspiration from Half-life and Quake.
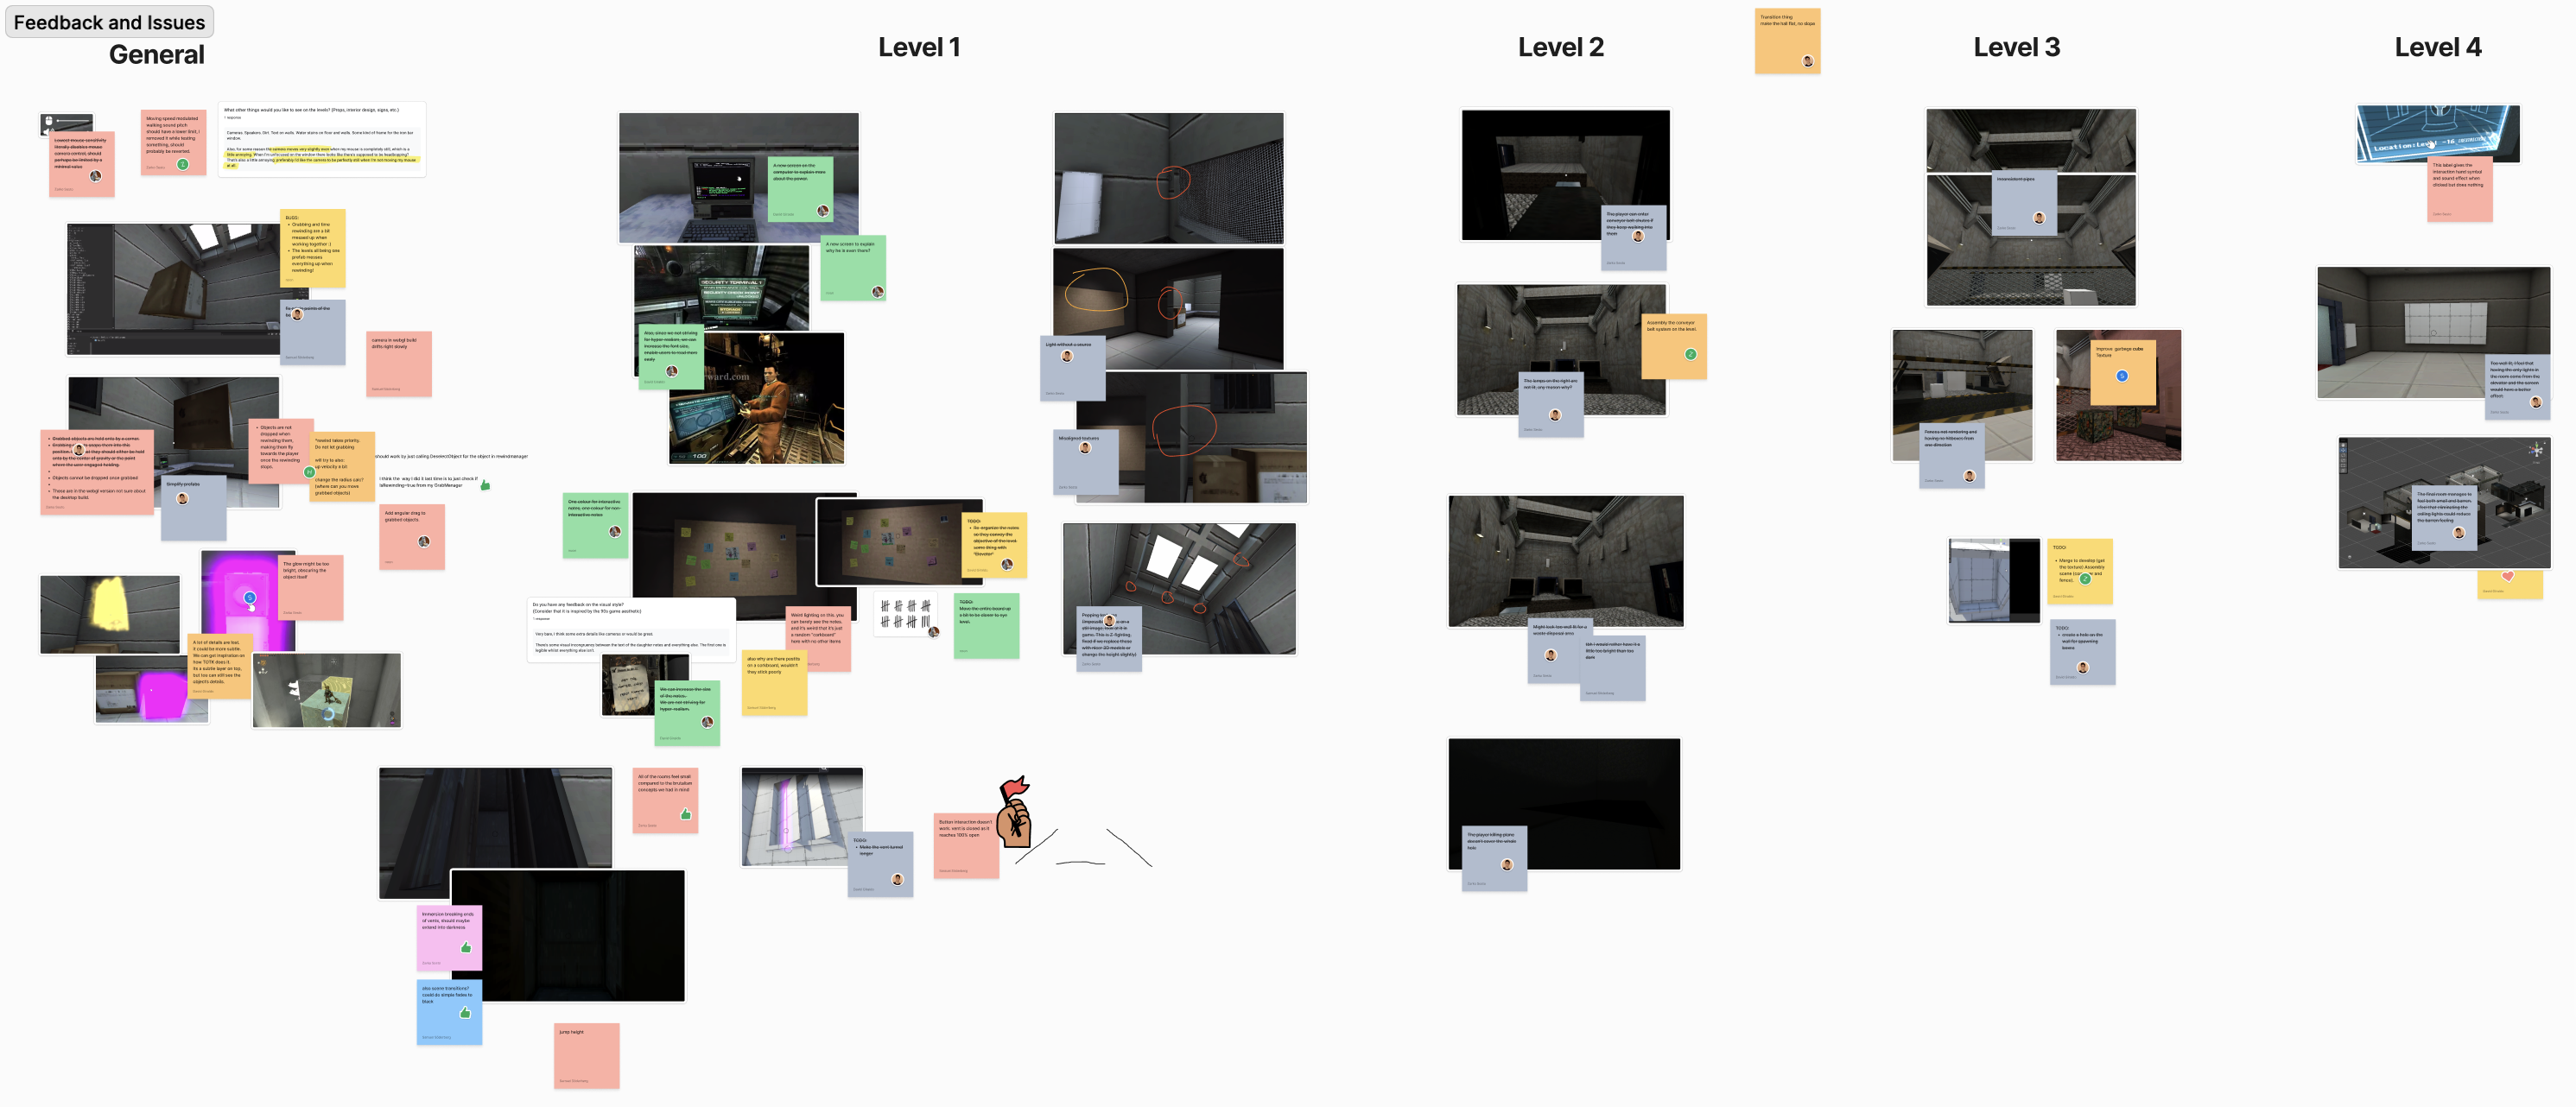
It was no surprise that we received a lot of feedback from friends, family, and team members. The methodology, publishing the new prototype on Itch, and having the team go through it and document each bug were effective and efficient ways to do game QA.
Among the many tasks each of us implemented, I enjoyed working on the last level and the main menu, which involved diegetic GUI, level transitions, and a fairly realistic elevator ride effect. Here are some highlights of those features:
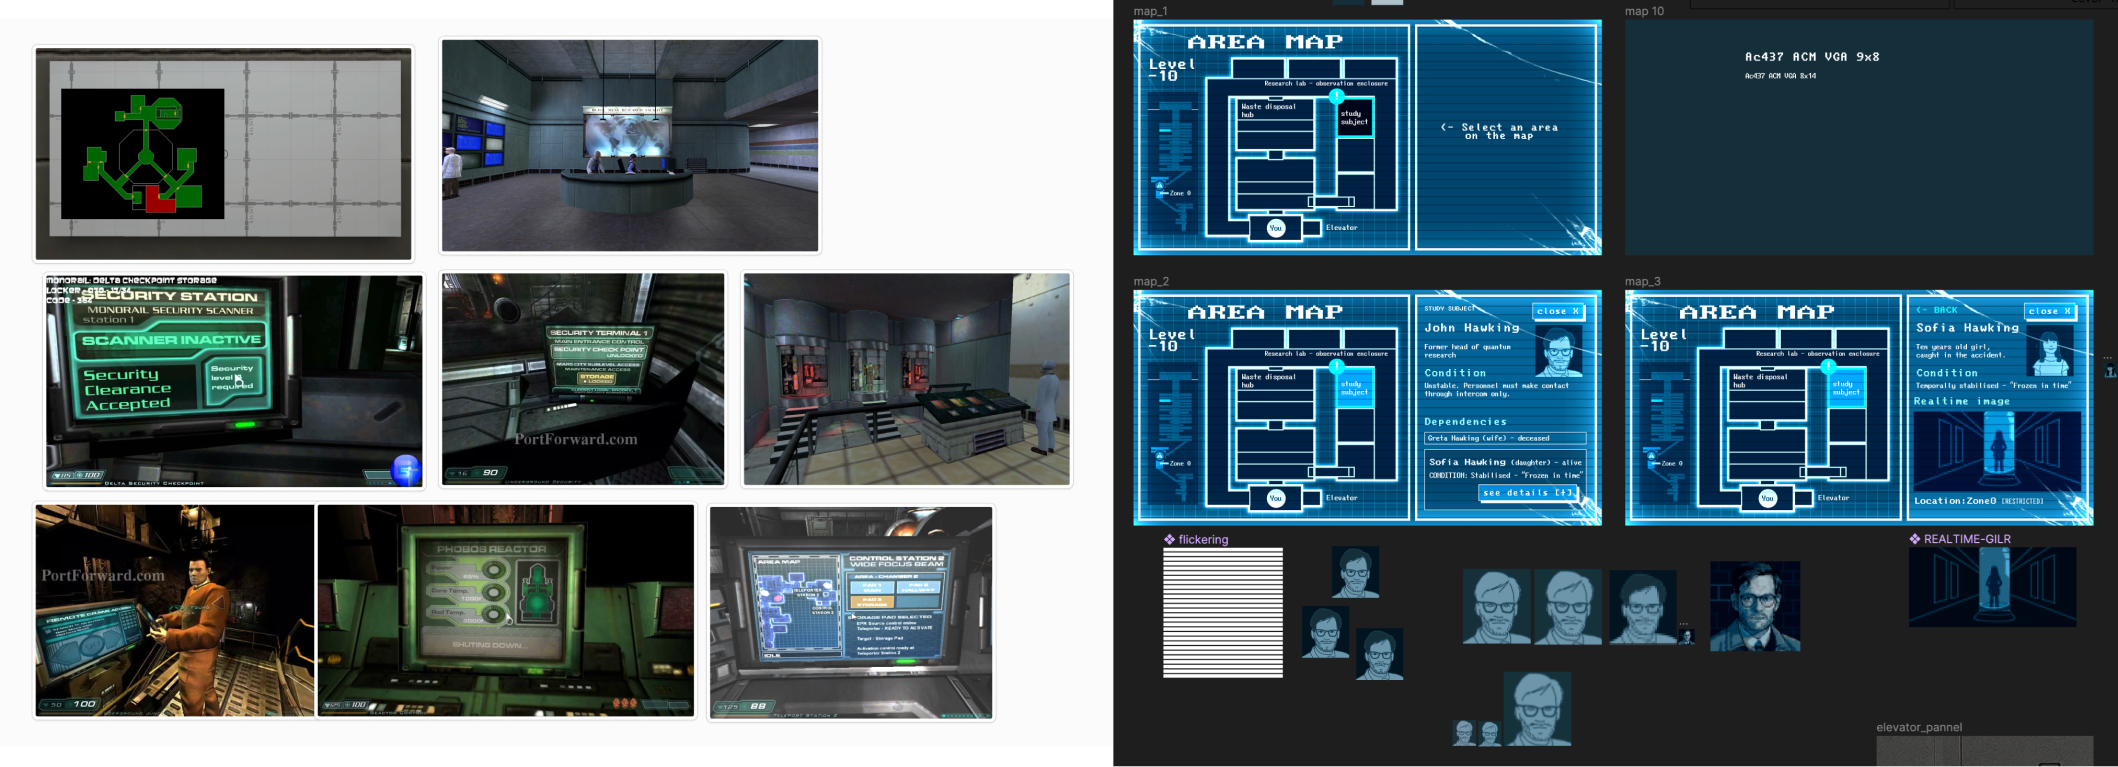
Diegetic UI refers to interfaces that become part of the in-game world, and both the character and the player interact, keeping the player immersed in the narrative. Dead Space is a fantastic reference for how to include gameplay stats and information inside the narrative. We decided to use this feature to give my insight into the character’s back story, his daughters, and the size of the facility he was trying to escape from.

Following our architecture rules, I created two new classes to control the map. The class makes changes to the map’s display using render materials. You can find the detailed implementation at MapScreenController.cs. Then, a set of game objects with a custom component MapInteractable, use UnityEvents to trigger the MapScreenController methods that changes the map’s materials.
MapScreenController.cs code snippet
[SerializeField] private Material[] m_screenMaterials;
private MeshRenderer m_meshRenderer;

m_meshRenderer = GetComponent<MeshRenderer>();


private void UpdateMeshScreenMaterial(int index)
{
  m_currentScreenMaterial = m_screenMaterials[index];
  Material[] materials = m_meshRenderer.materials;
  materials[m_screenIndexInMaterials] = m_currentScreenMaterial;
  m_meshRenderer.materials = materials;
  Debug.Log(m_meshRenderer);
  Debug.Log("Currently at screen:" + m_screenMaterials[m_currentScreen]);
}

public void GoBackScreen(){...}
public void CloseScreen(){...}
public void SetScreen(int screenIndex){...}
Thanks to NooИ’s clear architecture, I was able to implement the components while keeping a consistent and readable code. I could have also used in-world canvases instead of materials, but as a learning exercise, it was worth it. If the map had been curved, the materials would have been the way to go.
We wanted to finish the game by giving a hint that the character was on a new quest to rescue his daughter. Thus, looking for a way to go down into the facility after seeing the map seemed plausible, hence the elevator. The straightforward approach would have been creating an elevator system, but the beauty of video games is that simple solutions can create a perception of reality. Therefore, instead of moving the elevator with the player, I added windows to the cabin and moved the tunnel outside from bottom to top.
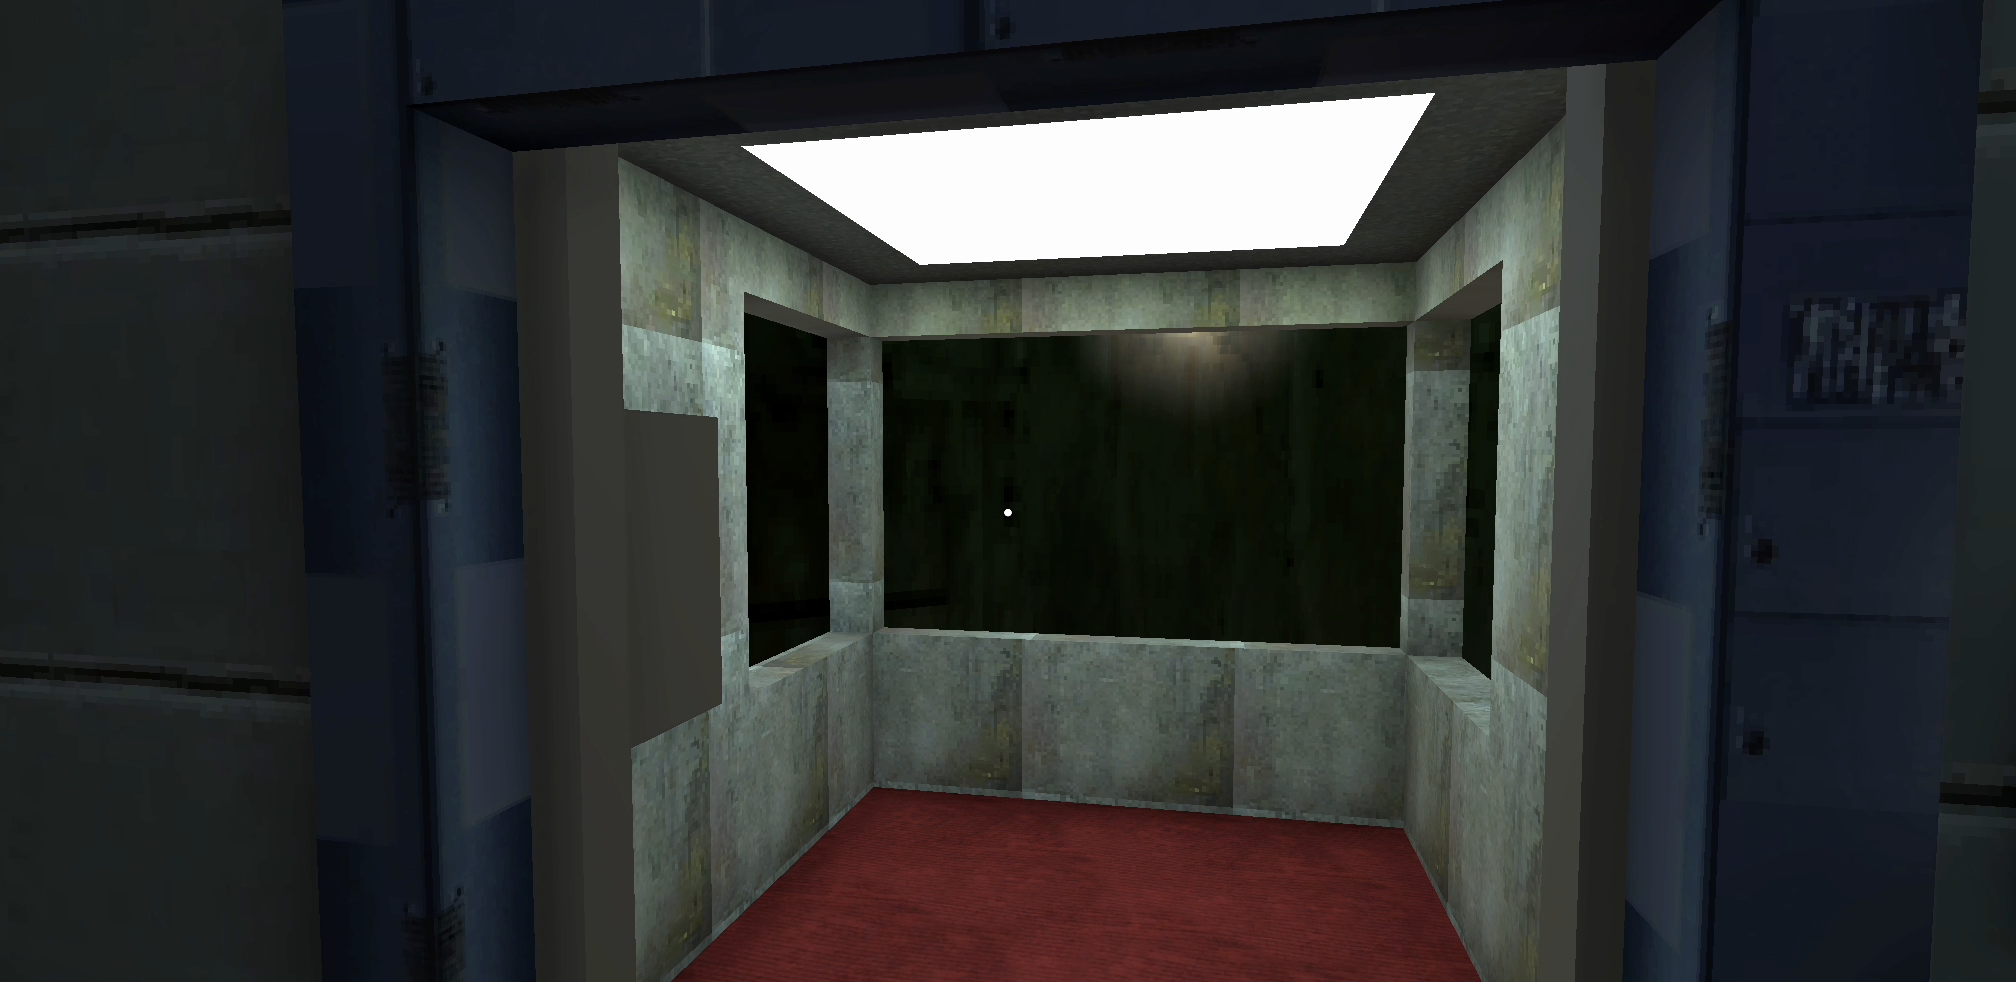
The Animator.Play() allowed me to run the “opening doors” animation if the current animation clip was different from the “opening doors.” That last validation avoids restarting the clip halfway, creating a glitch effect of the door restating without the animation having finished.
ElevatorDoorController.cs code snippet
m_animator = GetComponent<Animator>();
//..

public void OpenDoors()
 {
   //Checks if the current state is the same as the openingAnimation
   if (m_animator == null) return;
   if (m_animator.GetCurrentAnimatorClipInfo(0)[0].clip.name == m_openingAnimationClip.name) return;
   m_animator.Play(m_openingAnimationClip.name, 0, 0.0f);
   m_animator.speed = 1;
 }
Finally, to avoid disrupting the game flow, I added the credits on the tunnel, concluding the game smoothly.
I implemented a Singleton SceneTransitionManager to handle smooth fade-in and fade-out transitions between levels.
public class SceneTransitionManager : MonoBehaviour
{
/* more code */
public void FadeIn()
{
  if (m_fadingCanvas == null) Debug.LogError("The Fading Canvas is missing");
  m_fadingCanvas.gameObject.SetActive(true);
  if (m_transitionsAnimator) m_transitionsAnimator.Play(m_fadeIn.name, 0, 0.0f);
}

public void FadeOut()
{
  if (m_transitionsAnimator) m_transitionsAnimator.Play(m_fadeOut.name, 0, 0.0f);
}
The lift animation moved a trigger collider to tell the game when it was time to load the next scene. A component in that collider called the FadeOut() method from the singleton Instance of the SceneTransitionManager, starting the fading-out of the screen.
if (SceneTransitionManager.Instance != null) SceneTransitionManager.Instance.FadeOut(sceneToLoad);
Using the StateMachineBehavior, I checked for the moment the fade-out was finished to move to the next scene.
FadingOutState.cs code snippet
public class FadingOutState : StateMachineBehaviour
{
 override public void OnStateUpdate(Animator animator, AnimatorStateInfo stateInfo, int layerIndex)
 {
   if (SceneTransitionManager.Instance == null) return;
   if (stateInfo.normalizedTime > 1) SceneTransitionManager.Instance.NextScene();
 }
}
I realized the map in-game screen had a lot of potential to be used as the main menu GUI. My assumption was that presenting a diegetic menu from the beginning would be a hint to the player that similar in-game screens (like the map on the fourth level) might be interactive. The dietetic main menu is controlled by a UIDiegeticMainMenuManager.cs component.
The menu’s taxonomy keeps a simple information architecture consisting of the following sections:

There are many other things I could discuss from this experience, and I will soon share an overall reflection on the process.
Did you like this post? Tell us
Leave a comment
Log in with your itch.io account to leave a comment.