


Play asset pack
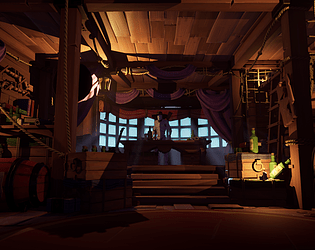
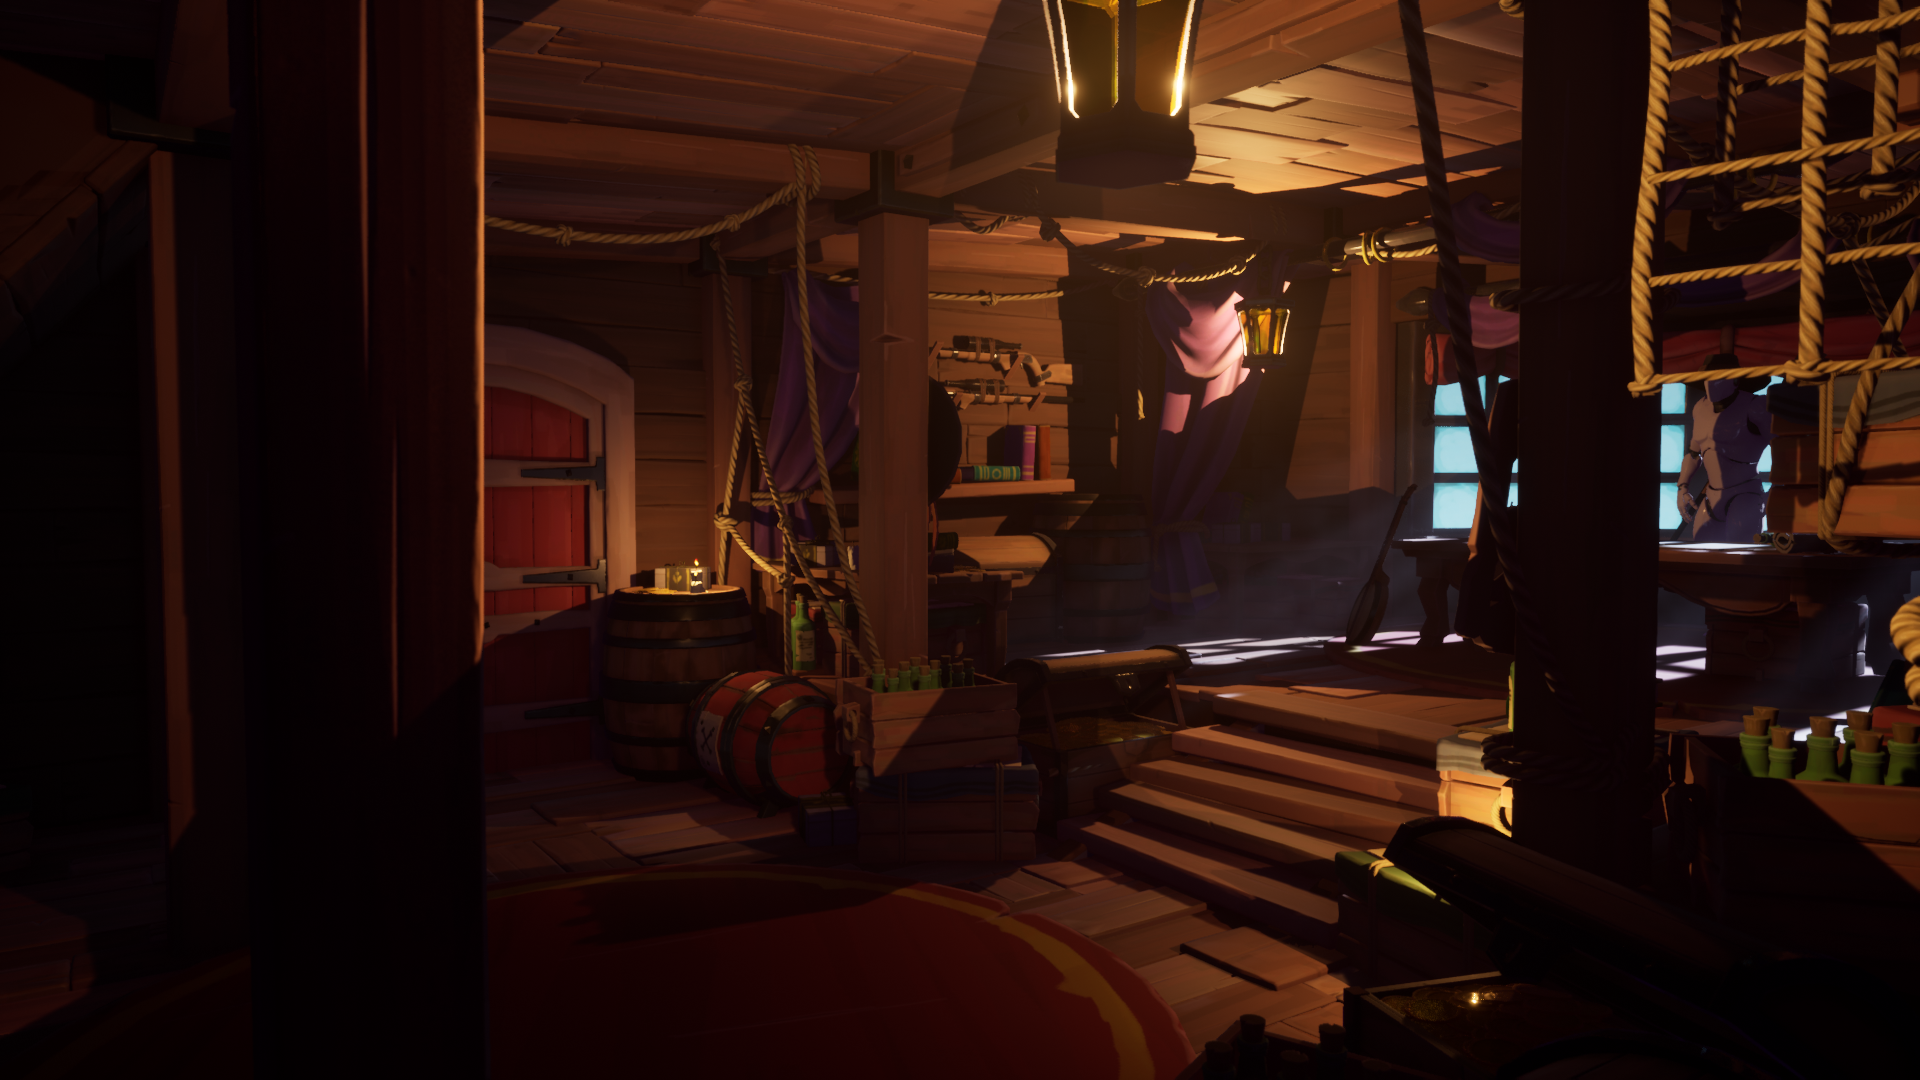
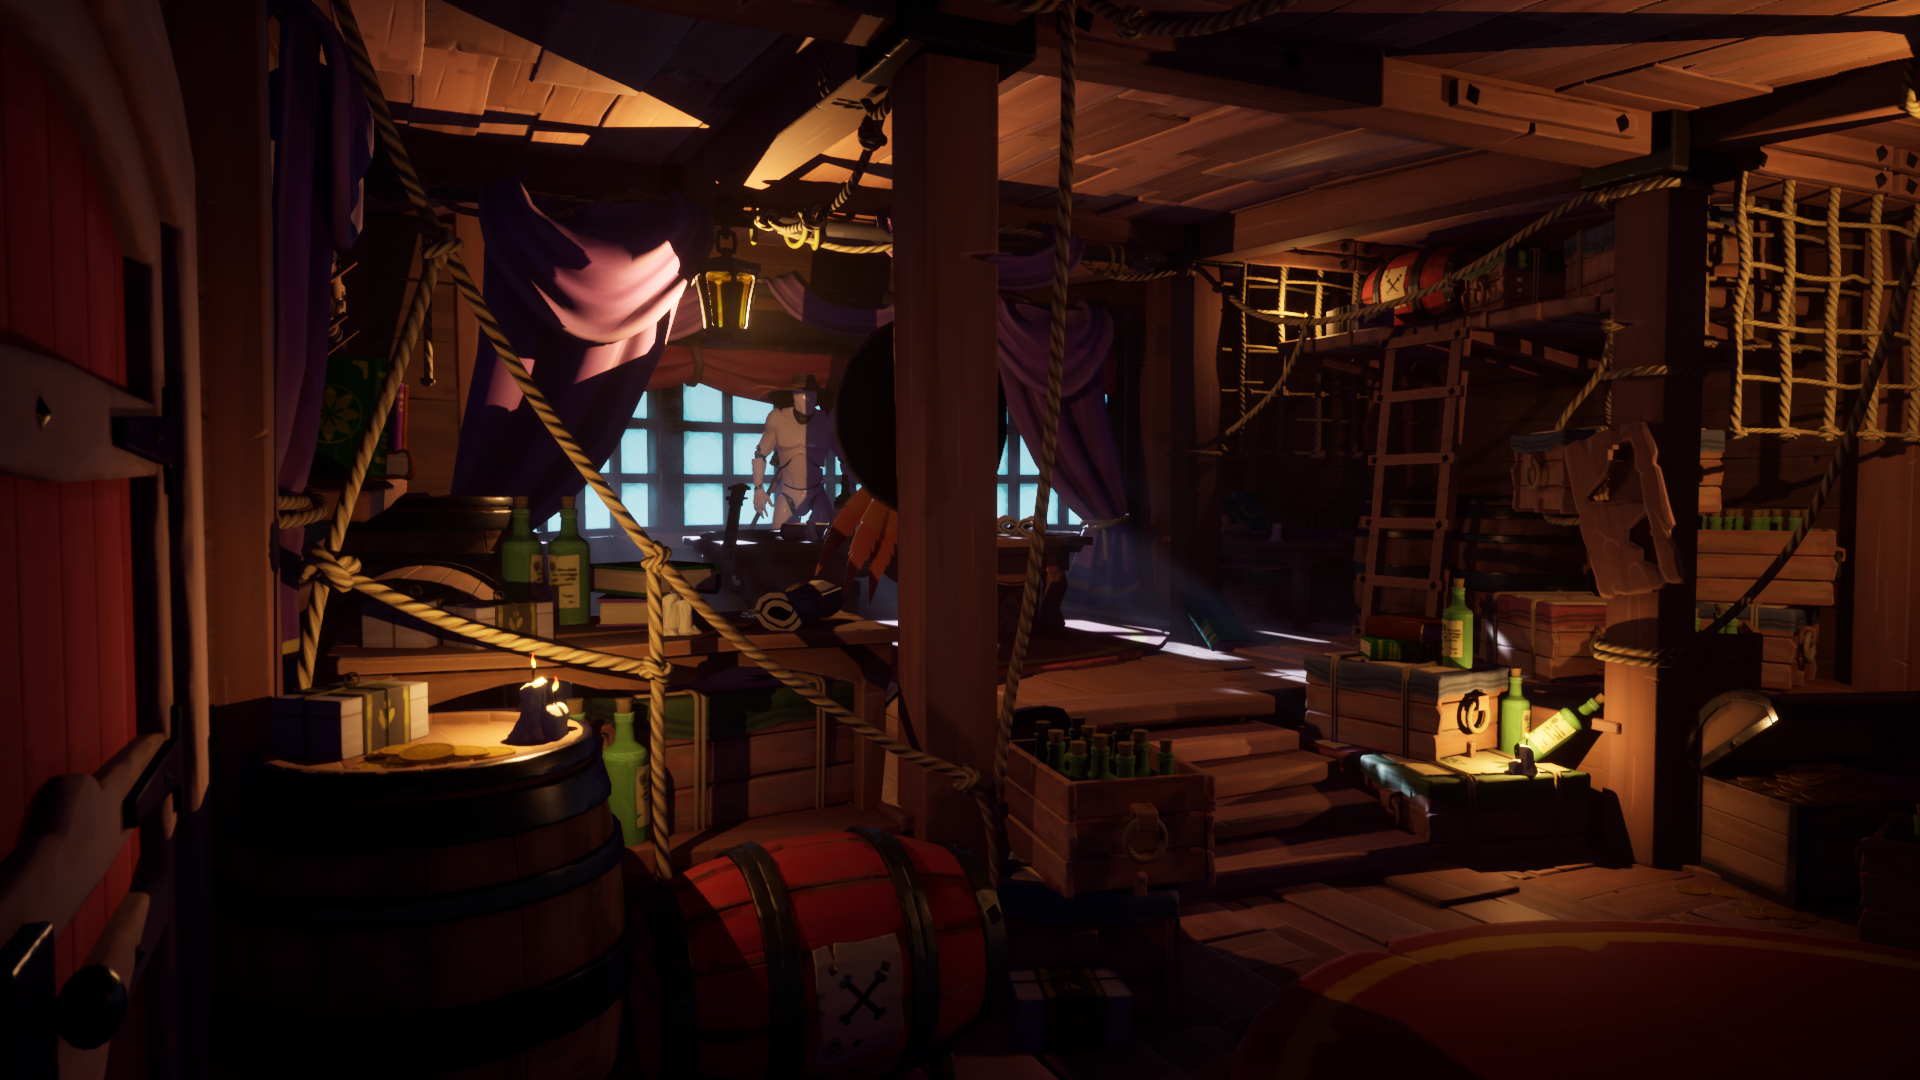
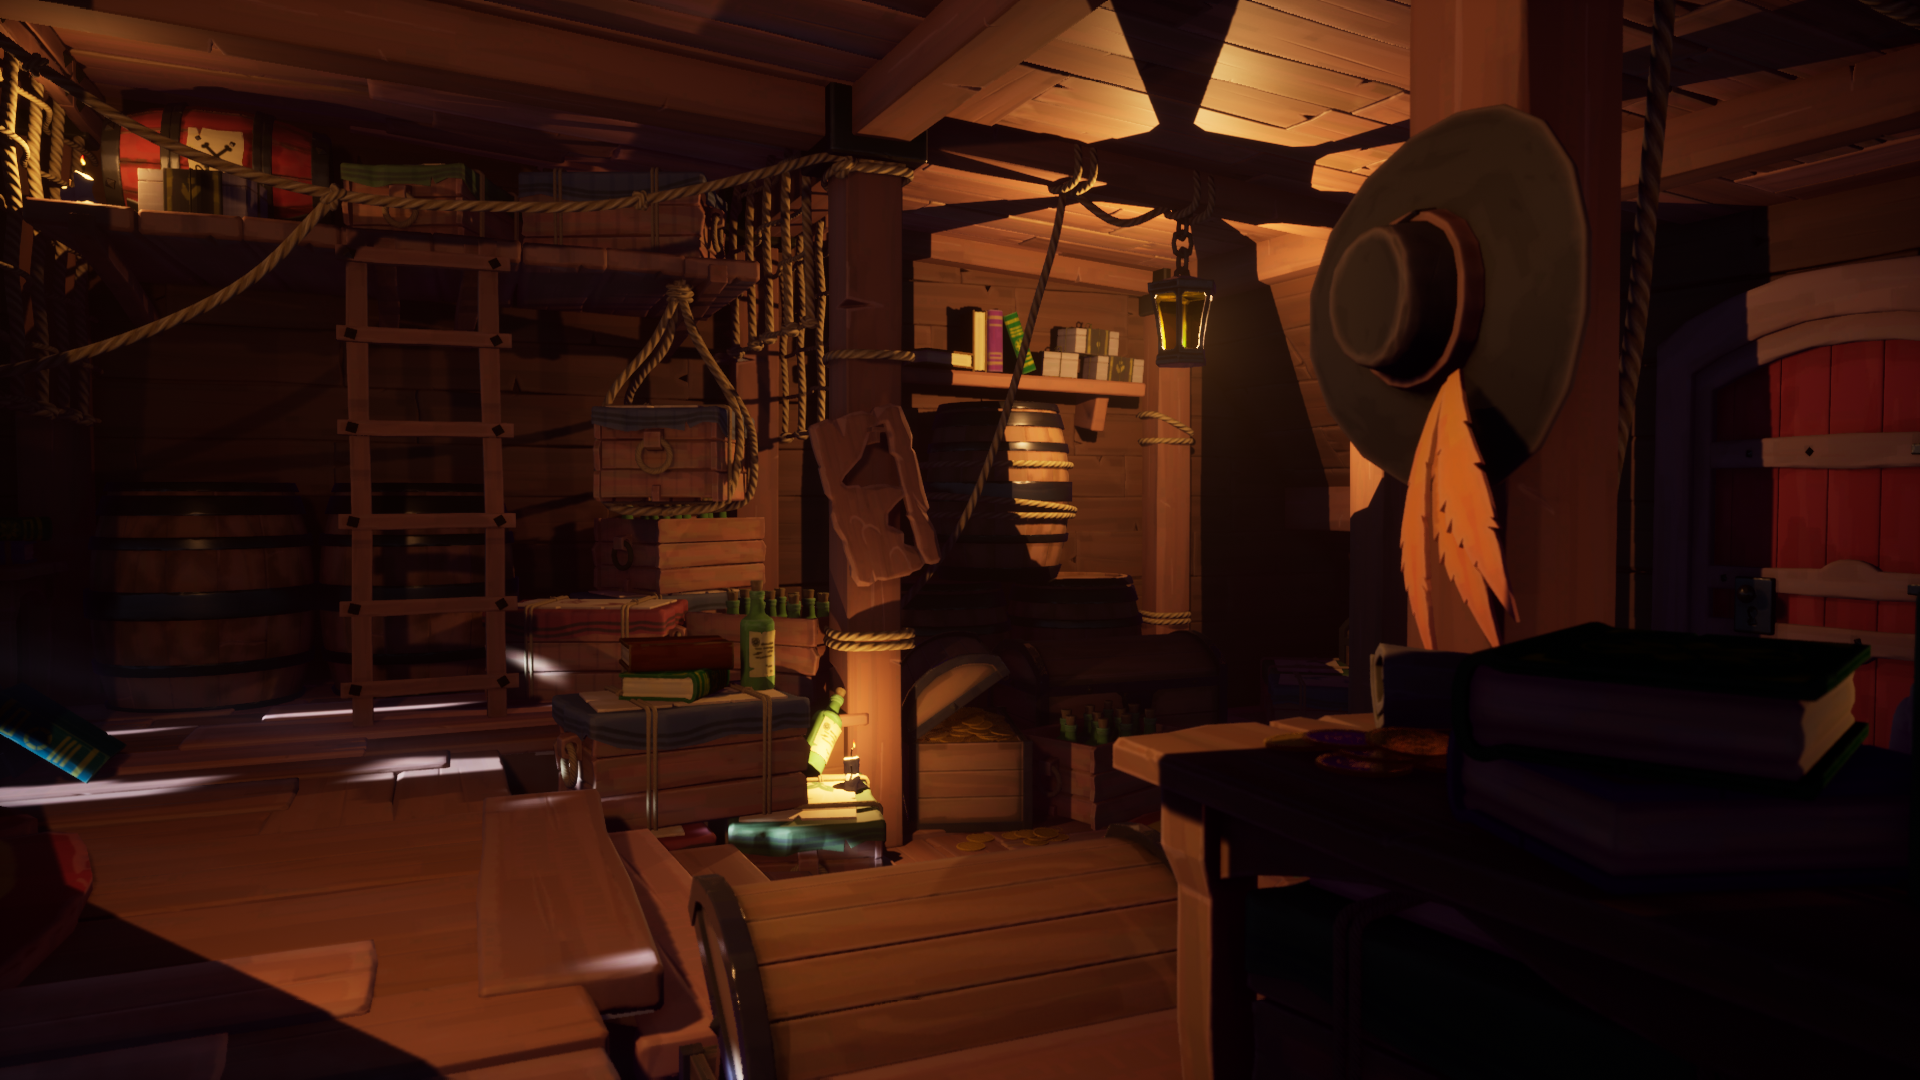
Captain's Quarters's itch.io pageResults
| Criteria | Rank | Score* | Raw Score |
| Research + Development | #16 | 3.536 | 5.000 |
| Documentation | #40 | 2.828 | 4.000 |
| Overall | #43 | 2.546 | 3.600 |
| Technical | #43 | 2.121 | 3.000 |
| Presentation | #46 | 2.121 | 3.000 |
| Creative | #49 | 2.121 | 3.000 |
Ranked from 1 rating. Score is adjusted from raw score by the median number of ratings per game in the jam.
Judge feedback
Judge feedback is anonymous.
- Submission Title: Captain’s Quarters Submission Tier: Search for A Star Assessor: Dominic Shaw Environment Artist @ Firesprite Research + Development There was some really nice research done in this project and can you really tell that you researched the art direction and took the time and attention to match the quality of Sea of Thieves. I think it was smart to find in game references of the style of props to try and match them, however I think that you should have researched some real world references of the props as there might have been some elements that you like in the real world reference that wasn’t included in the existing props in the game. I liked that you watched the GDC talk that Ryan did because it really shows you tried to properly understand the style of the game before starting work which is great. Creative Art The artwork that you have done in this great and it really feels like a Sea of Thieves environment! You have taken the time to really nail each stage of the development process which is awesome to see. Everyone on the Rare art team has a different workflow when it comes to creating the props and some use the same workflow that you have done in this project. Here is a great tutorial in case you didn’t see this whilst doing your research https://www.artstation.com/artwork/Ka6R8G. I noticed that you modelled the cuts into the base geometry before taking this into Zbrush. personally, I like to take simple shapes into Zbrush and sculpt the damage and make the cuts using the slice brush tools that Zbrush has, here is a tutorial on it https://www.youtube.com/watch?v=WVKL_2t01fY. I will then worry about the low poly afterwards and retop the high poly using the decimation tool and maya’s quad draw tool. The sculpting that you did was really nice, however I think that you could have gone stronger in some areas so that the plane changes really show in the low poly. You have done it all great, just a little too subtle in areas. The texturing you did was really cool and you got the colour variations spot on! It was good to also see that you used the smart materials in Painter well to speed up your workflow. For the brush stroke feel, normally we would use a square shaped brush with low opacity. Your unreal level was great and really interesting to look at, however I think that there was a few too many dark shadows so you could brighten up your skylight to fix this. I noticed that it was at 0.3 so you could put this back to 1. Technical Art You clearly understand the game art pipeline, you have used the smart material well in Painter and I think that you could potentially try out Substance Designer for the floor material rather than placing planks together. You channel packed well but you need to make sure that you turn of the ‘sRGB’ value on all of your channel packed textures. You do this by changing the texture compression setting to ‘Masks’ in the texture settings. I noticed that you made all your textures in Painter to the export size so it was good that you were keeping texture sizes in mind, however you could have made everything at 4k and exported them at 4k then change the max texture size in Unreal. This was you have more freedom to adjust the texture sizes on the fly. This can be found in the texture settings and is called ‘Maximum texture size’. It was good that you did some colour variation for the cargo crate prop for reusability but rather than bringing in three different textures for each colour, you could have textured your cloth to a mid-grey value then exported a mask from Painter of where the cloth was and used that mask in your master material to overlay a colour. Please feel free to contact me on Artstation if you want a full breakdown of how to do this. Documentation The documentation was broken down really well and the amount of research done into this project was great! Final Presentation The final presentation was nice and interesting to look at, the main changes that I would make is to remove the white box character and brighten up the skylight to remove the dark shadows. Other than that some really good work.
Challenge Tier
Search For A Star
Leave a comment
Log in with itch.io to leave a comment.
Comments
No one has posted a comment yet