Want to read this on my website instead?
Hello. I’m Everette, aka Digx7, and I’m looking for work in the games industry. In the meantime, I’m working on various projects.. This is my Dev Diary for 7/5 through 7/18
This week felt like a bit of a lull. I had planned on working on an art pack but never started. Not really sure why but I couldn’t really find much motivation to work on game dev related stuff.
That’s not to say I did absolutely nothing this week. I had a job interview, tried out some digital art techniques, and improved this website.
The job interview was for an IT/Consultant position at OCUnited [^1] which is the parent organization that runs the RFKC camp [^2] that I have volunteered at before. I wasn’t sure what to expect going in, but afterwards it’s clear that their need is less technical and more admin work for their suite of business tools that they use. That’s all I’ll say on those specifics for now.
Regardless, I felt it went well. It’s still up in the air if it will end up being volunteer work or part time paid work (their a non-profit with no budget so I get it even if I’m a little bummed). Honestly, I’d take minimum wage pay if it was offered. Still during the interview they showed me the tools they were using and we started looking into ways to optimize them.
The meeting went for about an hour and a half and I’m meeting with them next week to continue helping them with their tools. So keep an eye out to see where this goes.
On an unrelated note I’ve been drawing a bit more recently. On a whim I looked up and found the best free digital painting software: Krita [^3].
I don’t know why but recently the process of rendering out a digital image (going from sketch to full color) finally clicked with me. For a long time I’ve been thinking of drawing in terms of just lines or line work as that’s most of what I have done.
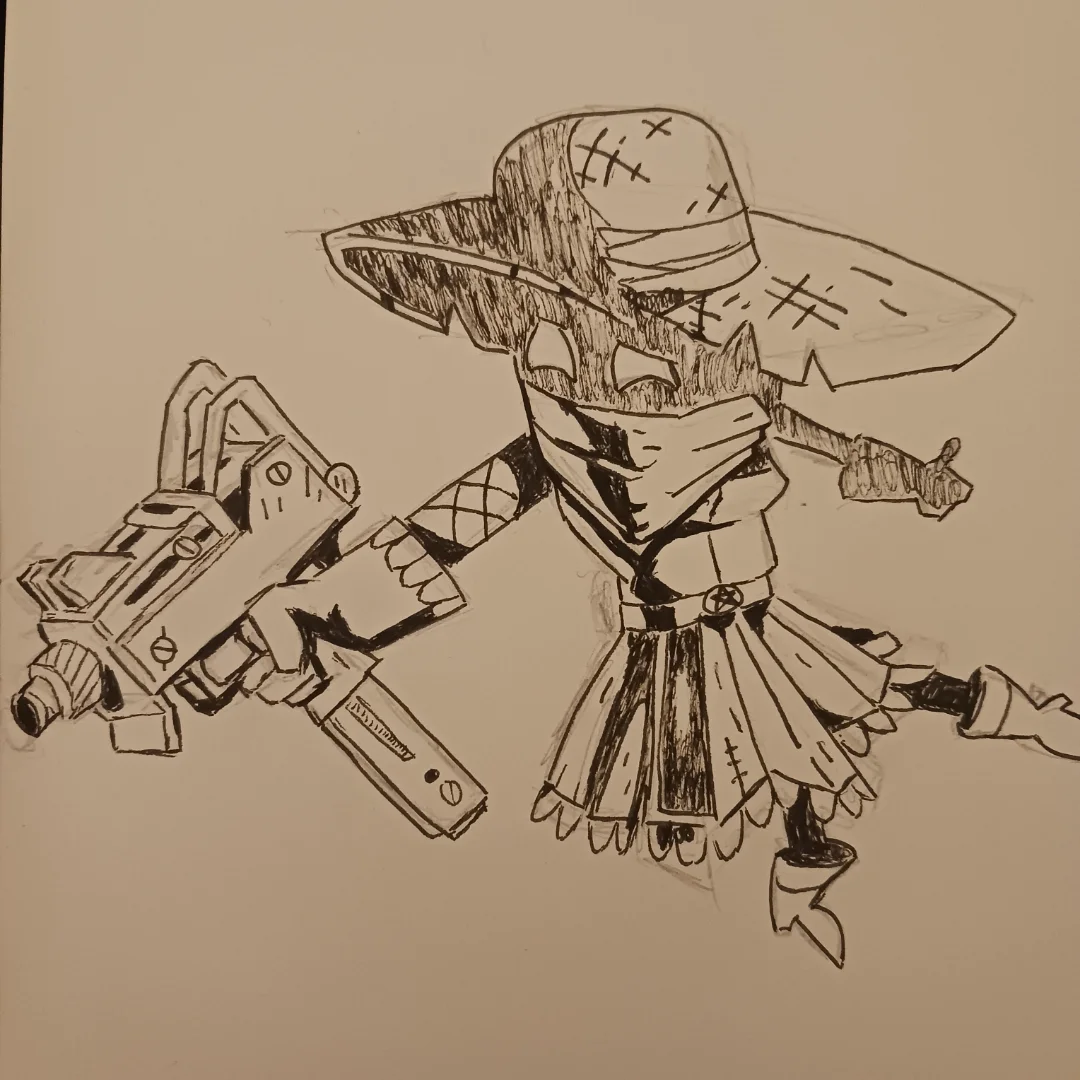
But recently I’ve been using colored pencils to at least add basic color to my drawings.
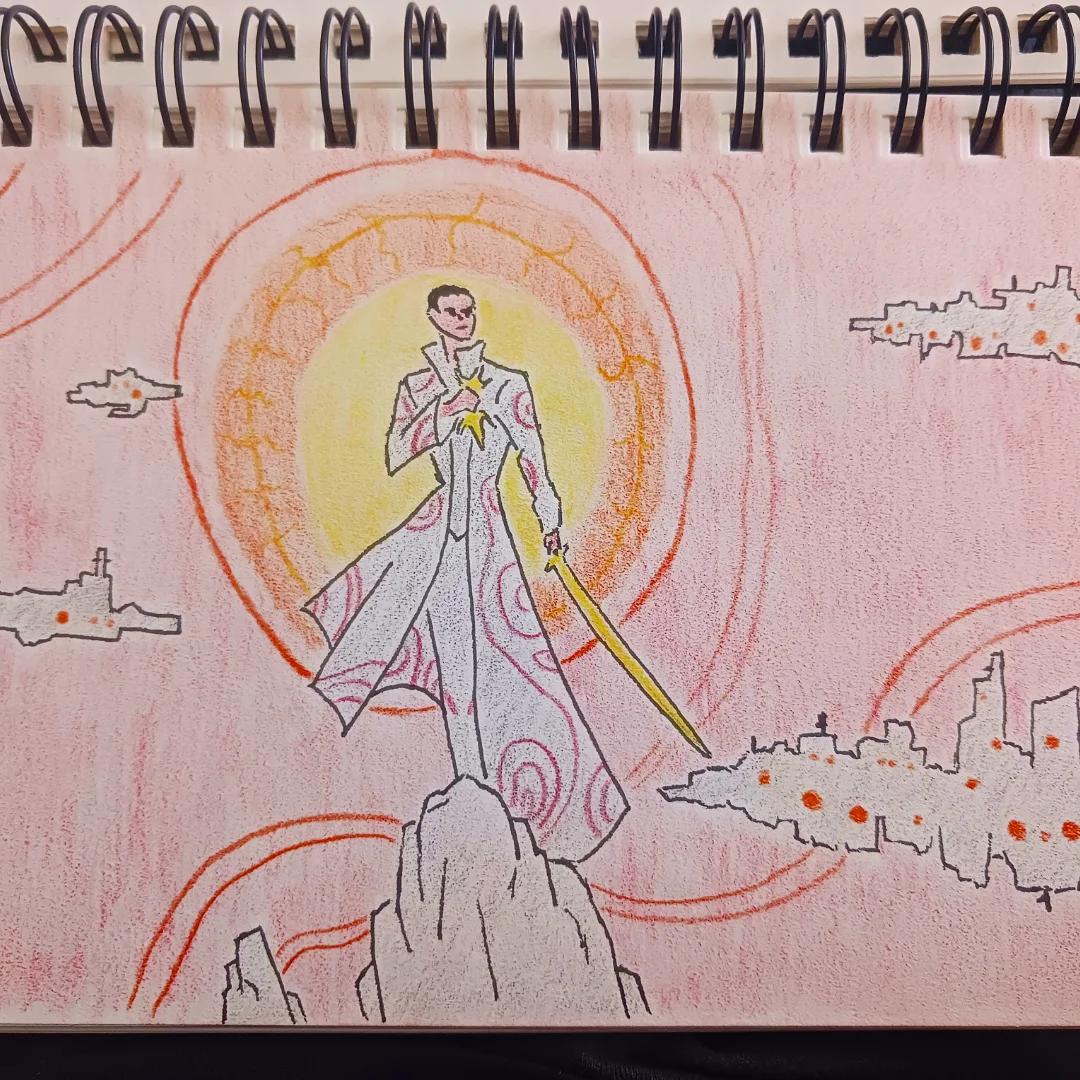
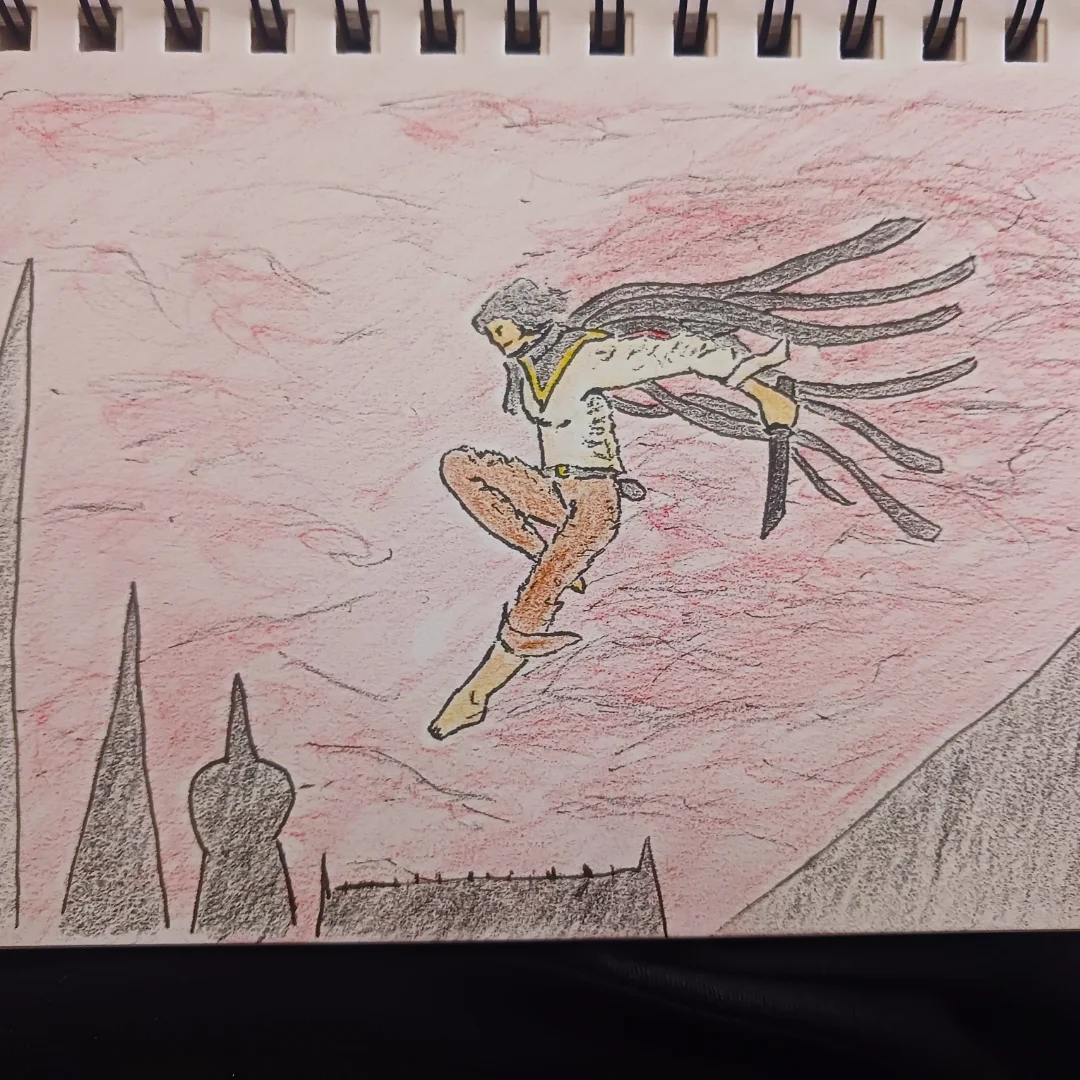
Through that I was led to Krita [^3], and in Krita [^3] they have a bunch of different odd brushes that (with my mind on not just line work anymore) I could now see how I could use them to make all kinds of interesting textures in my drawings.
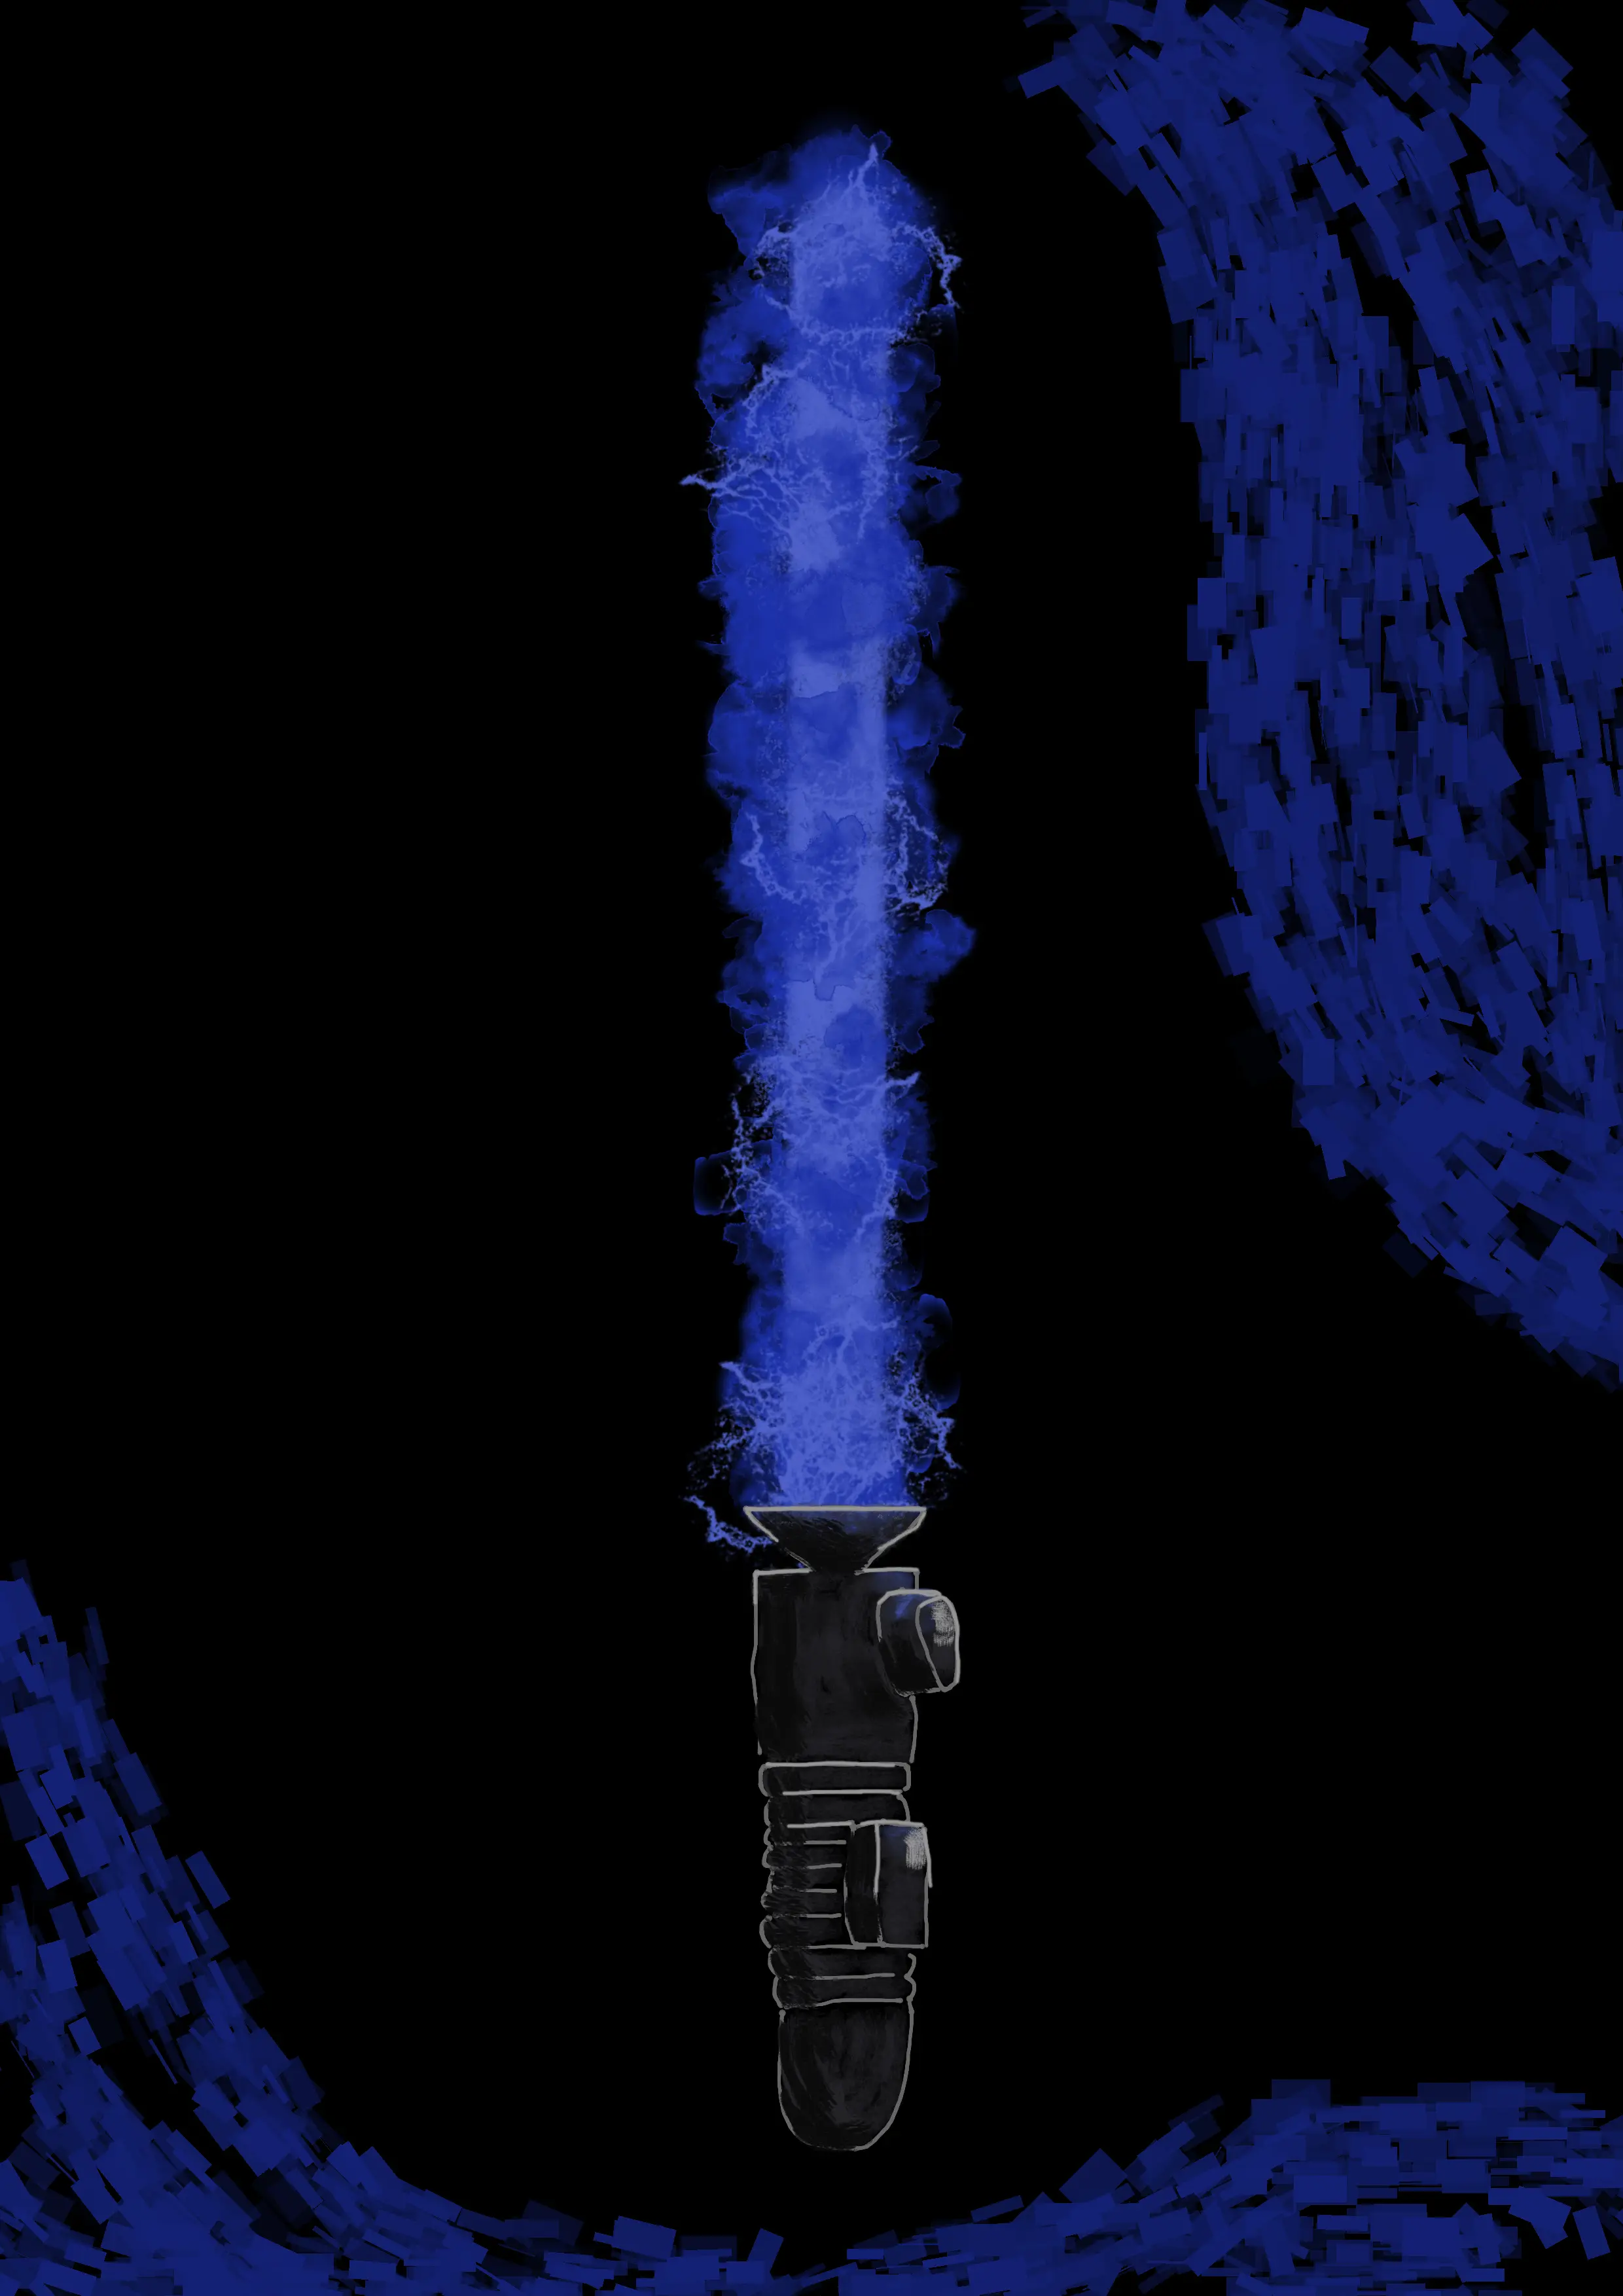
As an experiment I tried using no conventional brushes (pens or pencils) to make the above image. The blade is a combination of paint splatter brushes to give it that flowing feel, and the hilt is a couple of chalk like brushes. The pattern in the background is another brush that felt like it just fit. Overall I was really happy with how the blade turned out, not so much the hilt. I wanted a metallic look to the hilt but couldn’t think of a good way to do that.
Afterwards I wanted to test a few different shading or rendering styles in Krita [^3]. So I sketched up this pose of Ion from D2 using the following reference images.
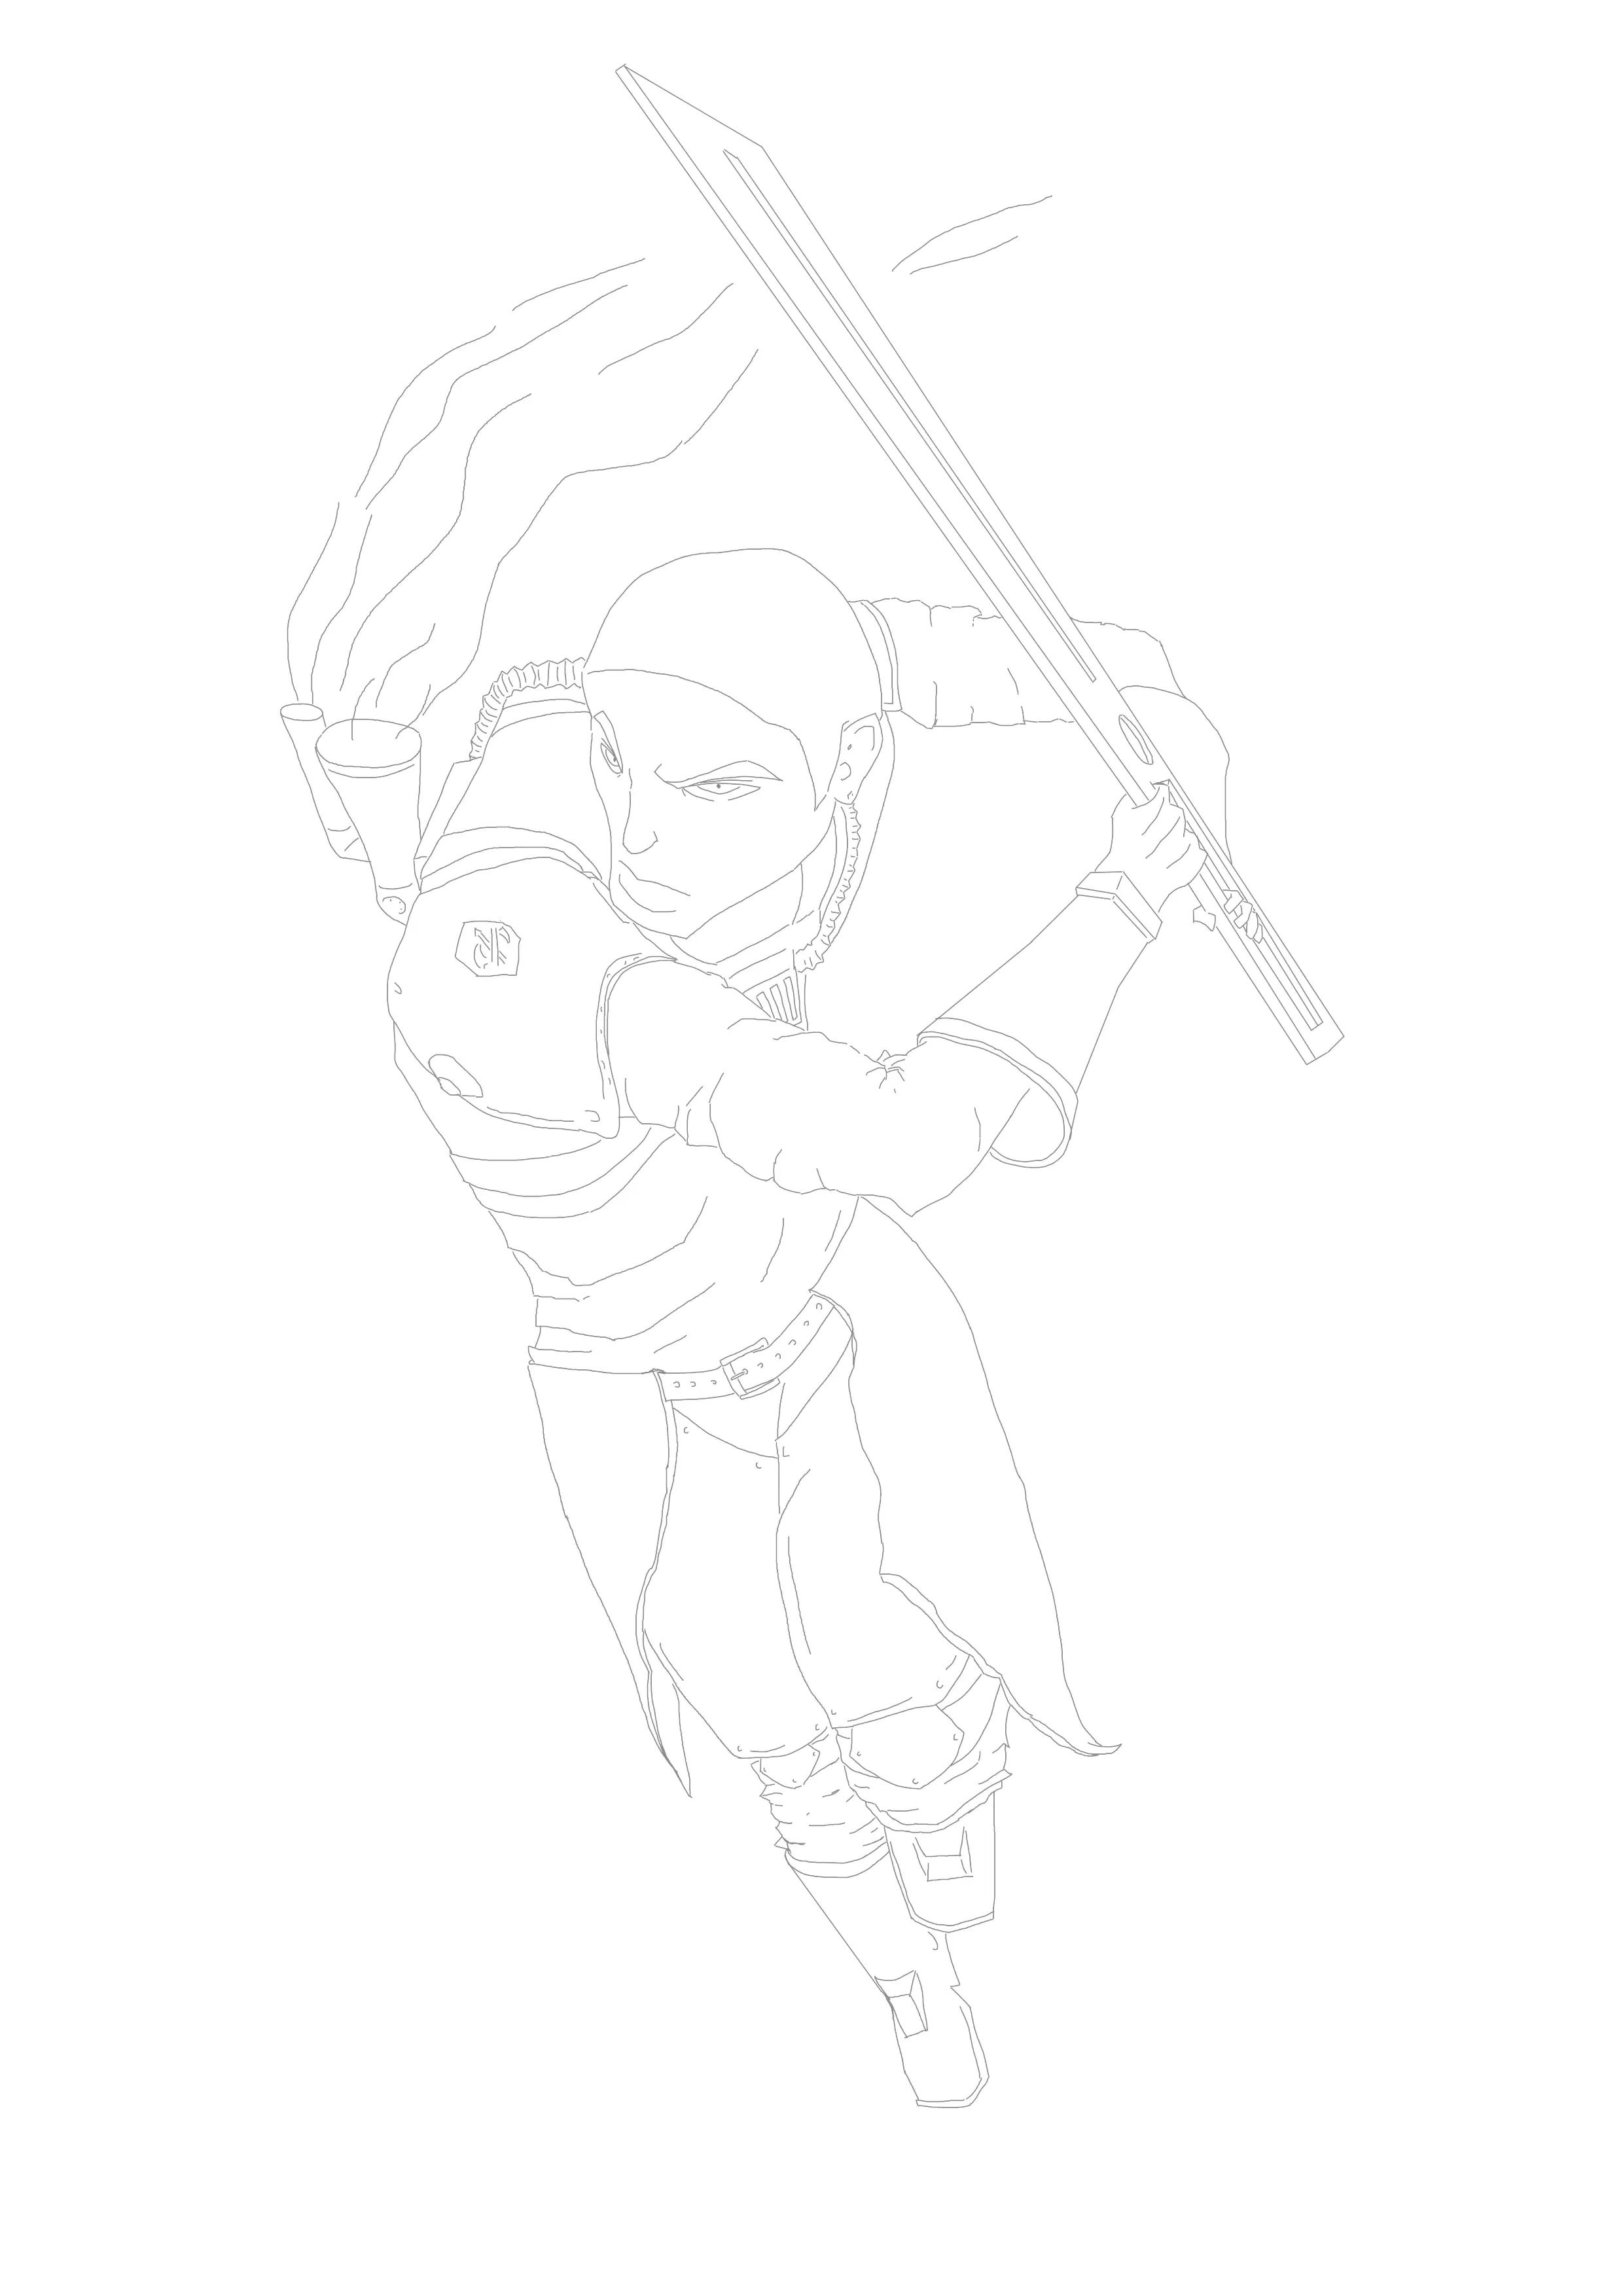
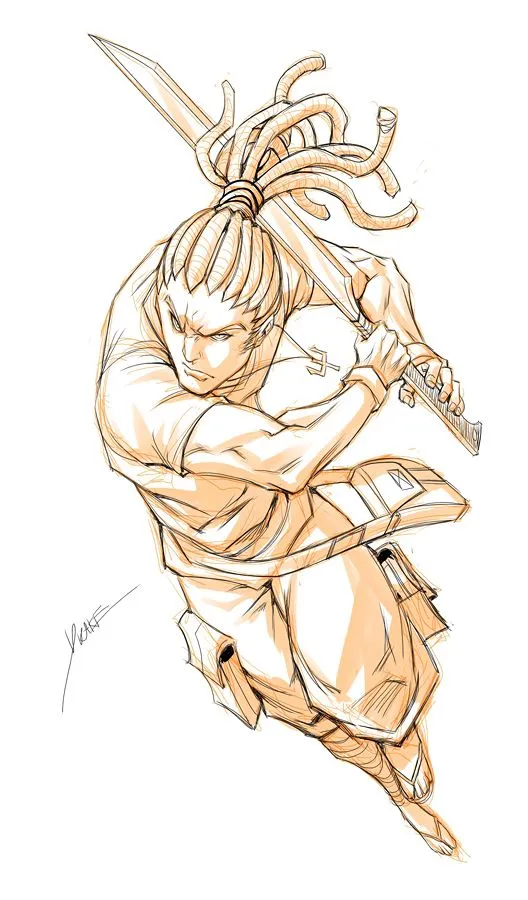
From there I tried a few different shading or rendering styles.
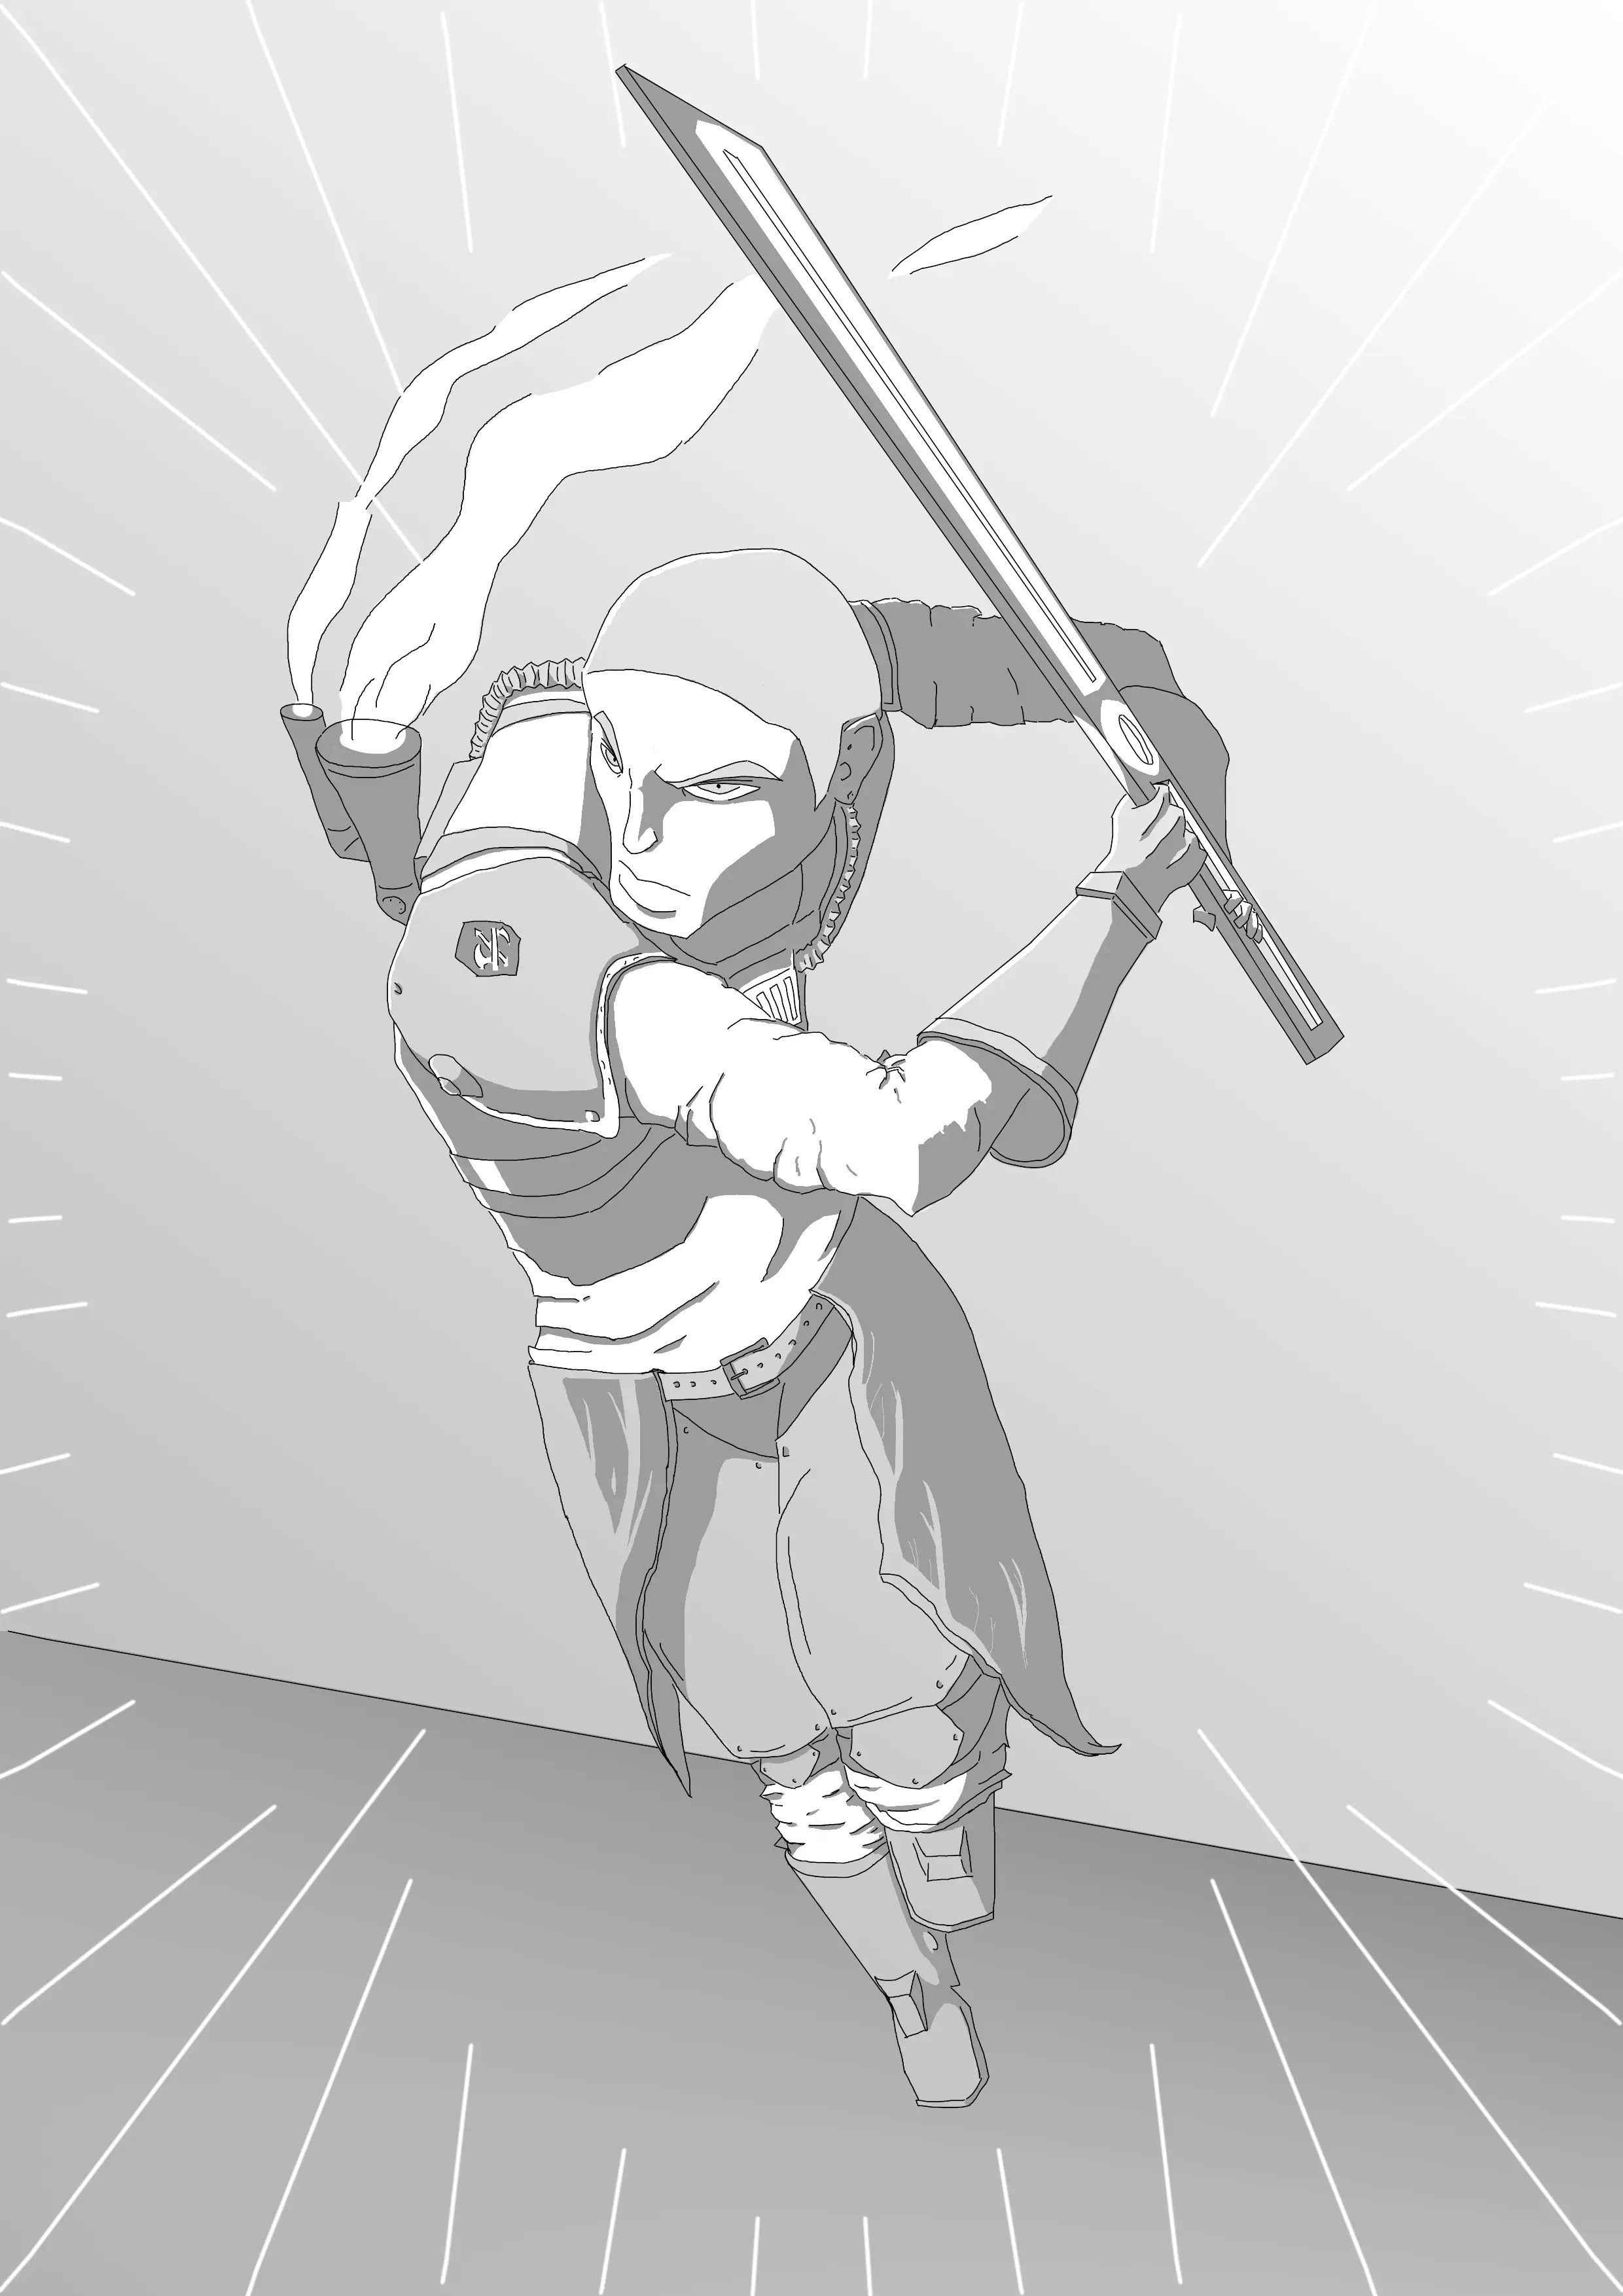
The first style I’m calling GrayScale shading (not sure if it has an actual name), it’s a style often seen in simple comics or manga [^4] as a quick way of separating backgrounds and shapes well preserving line work. Well at first I thought it only used flat tones of gray I’d also see examples that use gradients as well, noticeably on backgrounds. So the background is 2 separate gradients to make up the floor and the sky. The gray is all the same tone, I guess you could use darker and lighter tones, but most examples I’ve seen stick to just 1 or 2. In the end I see how this could be a really fast shading process once you get used to it.
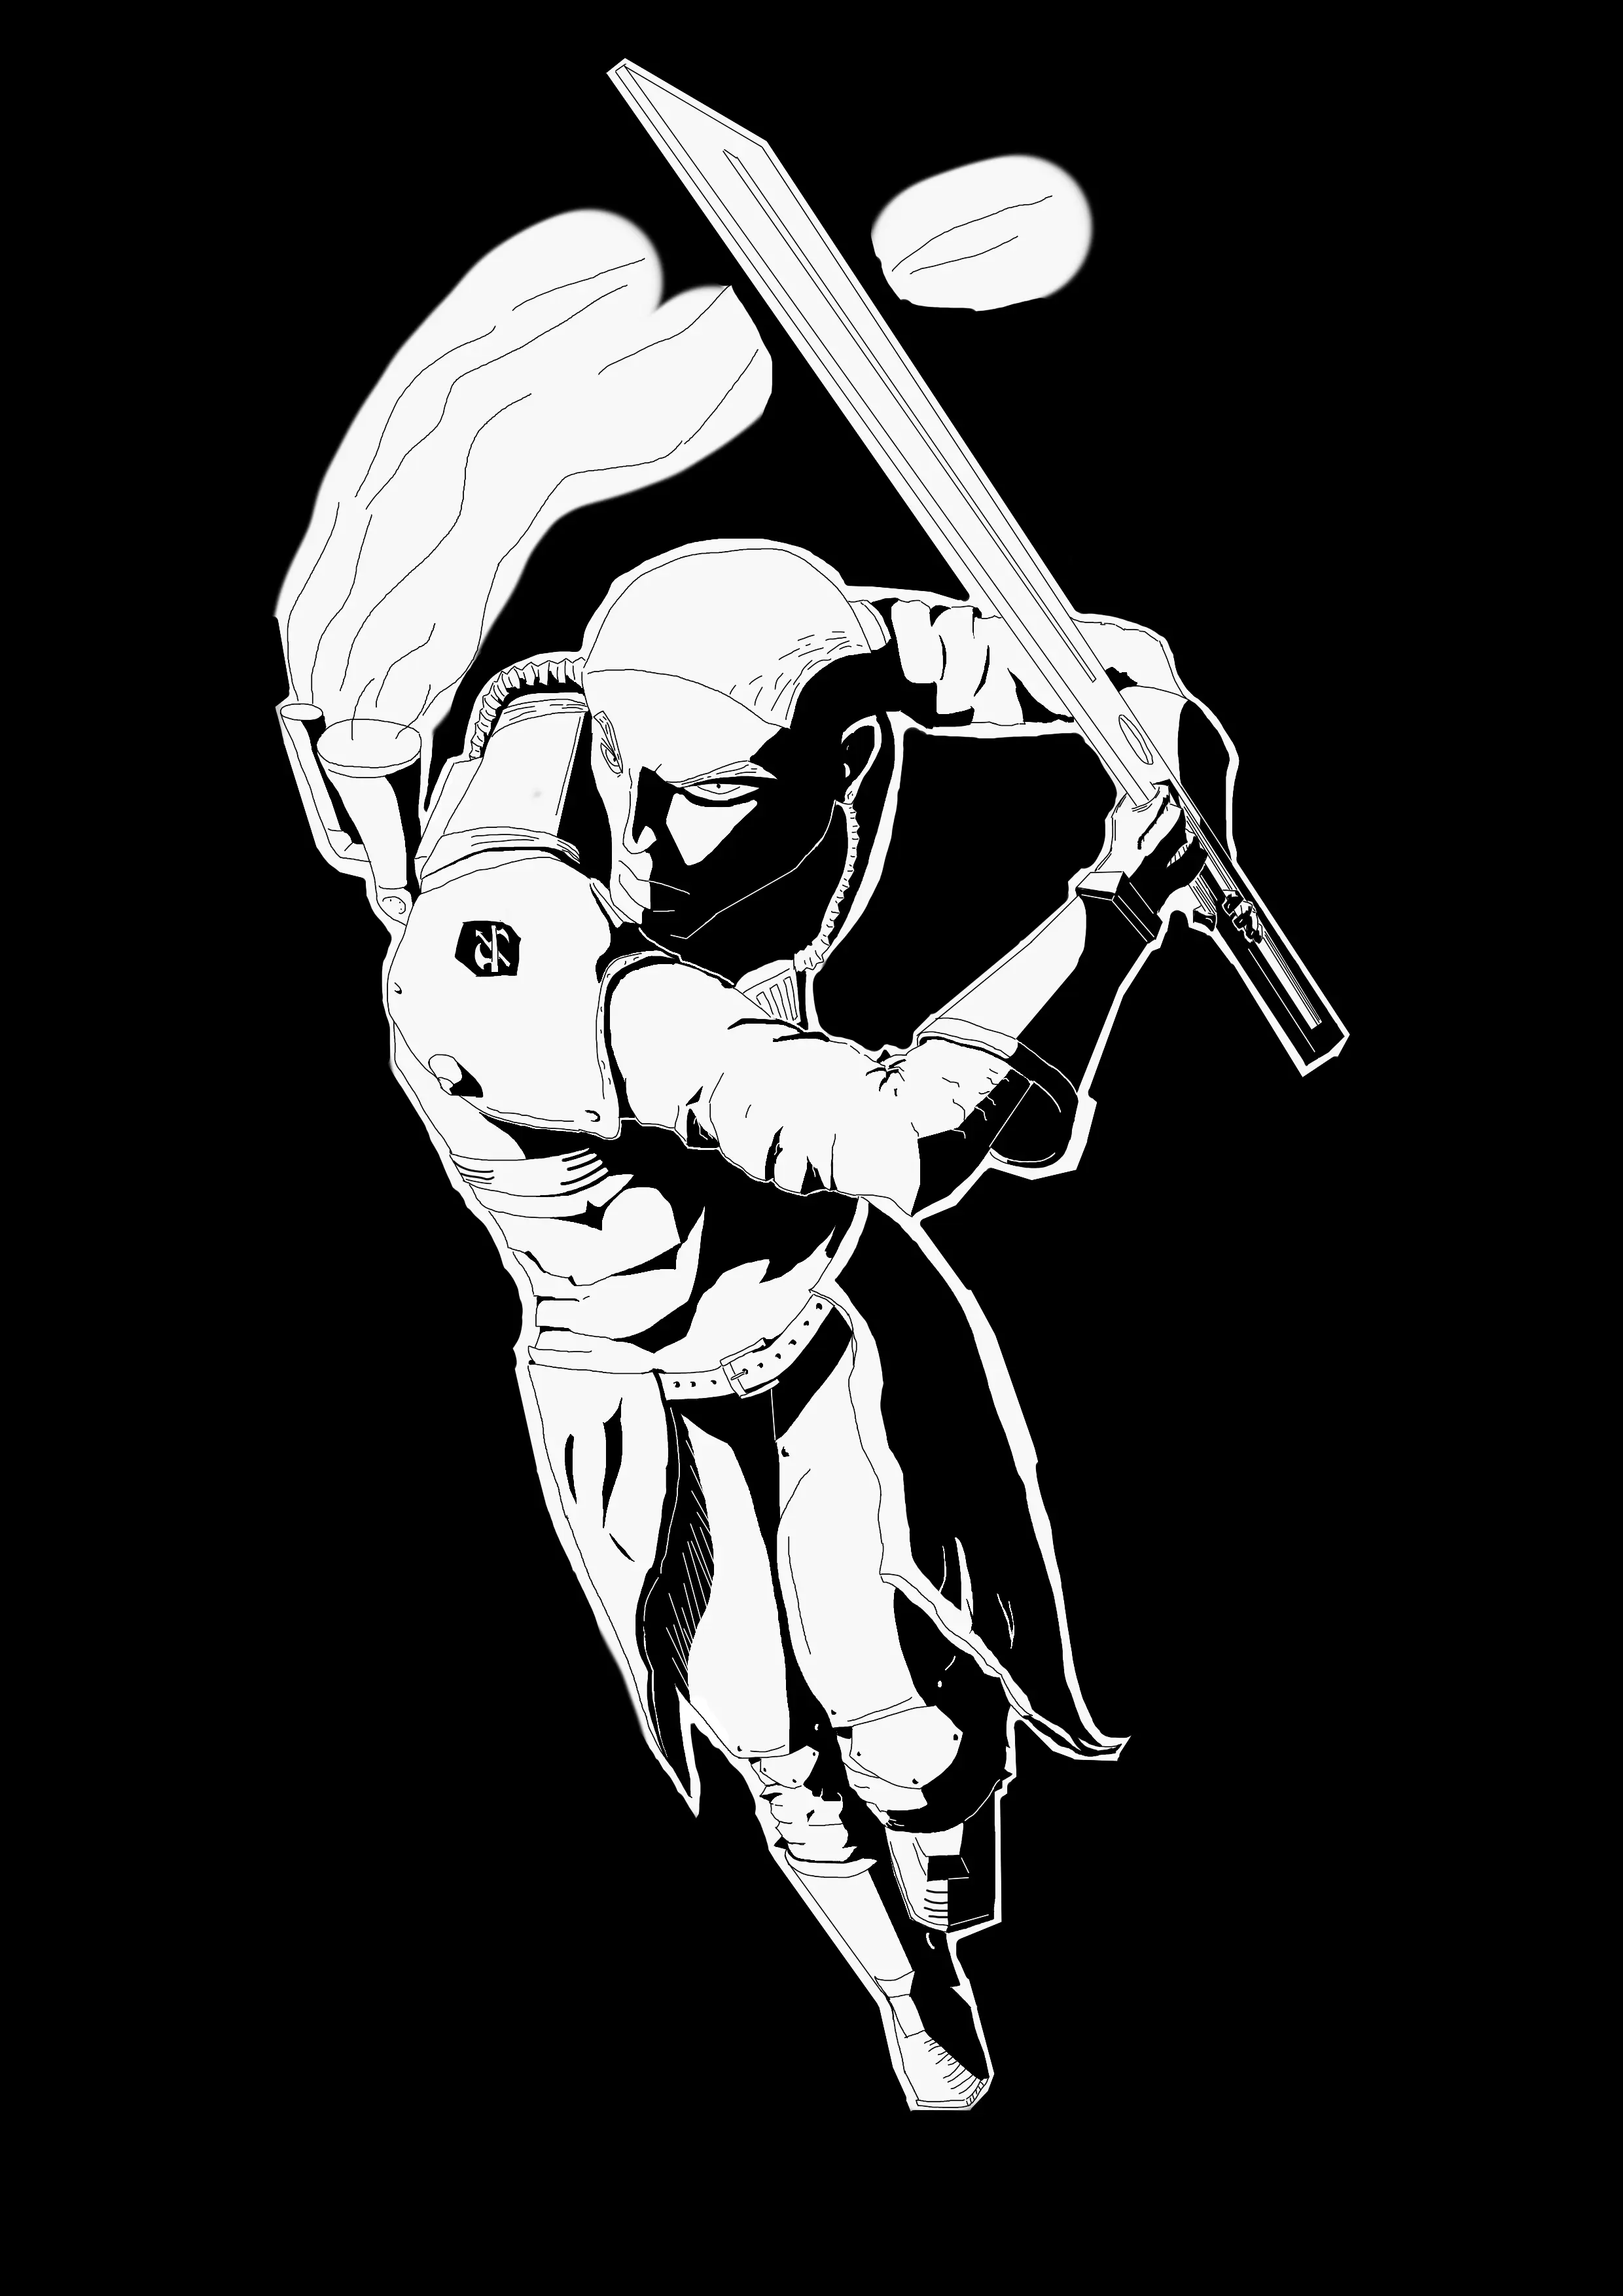
This style is closest to what you might find in a marvel or dc comic. I’m calling it dynamic shading though I don’t know that it’s normally called that. This shading style makes use of fully black inked in spots for the darkest areas and a variety of line and cross hatching for the inbetweens. This style is closest to inking in real life. [^5]
Interestingly because it makes use of line thickness and actually relies on imprecise line work I found emulating this digitally to be extra challenging. If your lines are to clean the image ends up looking like a coloring book. One work around I’ve seen but not emulated well is doubling up on certain lines. Also getting the variety in line thickness is also a challenge, especially for the cross hatching which normally involves a ton of line tapering. This last part might have been harder because I was drawing with a mouse rather than a pen or tablet.
Regardless, well I don’t feel bad about the result. I definitely feel like I could improve a lot on this particular art style. I’m also realizing that this is far from the only art style used in comics and I don’t have to use it if I don’t want to.
In the end this was a fun experiment and I’m curious as to what using this art style in game would look like. My current project is using pixel art but all the 2D art could be swapped out with digital art like this instead. I’m honestly considering it as despite all the work in pixel art I’ve done I just not really feeling it. And this digital art is closer to the type of art I like to make IRL anyway. One hang though is I’m not sure what using this art in production would look like. I feel like complex animation would be out of the question, though I could work around that.
If I go down this route I’d like to pick up a drawing tablet to at least try that, the cheapest ones are $40-$50 so I’m honestly considering it. [^6]
I’m trying to work on writing every Saturday so I don’t fall to far behind. In the process of writting the previous week I wanted to update a few things on my main website.
By the time you are reading this those changes will already be in place.
The first change was making it so blogs can now link to both the next and previous blogs at the bottom of the page. You should be able to see this down below.
This will not be the case for every blog but merely those that are in the same series (right now thats just my Dev Diaries).
The second feature I added was giving this blog an RSS feed. So now you can add it by clicking the RSS button at the bottom of any blog page. I still want to improve the css for this button but for now it exists.
Actually adding the feature was incredibly easy (infact it was already happening without me realizing it). It turns out theres a plugin called jekyll-feed [^7] that I was already using without realizing it. This plugin automatically genereates an RSS file based on the meta data and content of your posts. I was able to implement this feature by using a combination of the jekyll-feed [^7] documentation and a blog post about the topic by Dzhavat [^8].
So feel free to add this site to your RSS feed to stay up to date.
If you are not reading this blog on my website then you will not see these features (obviously).
This week felt more productive. I finally opened up Unity again and was surprised to find that I still could make sense of the code and where the project was.
I started off the week by finally whiteboxing the forest and adding basic combat encounters. The rest of the week was spent testing out a new art style and process using Krita[^3] for my artwork.
The last time I opened up Unity I was whiteboxing all the areas for chapter 1. So far I had whiteboxed the entire town, but I still needed to whitebox the outside areas, the forest, the caves, and the ruins.
Each of these areas was also a place where they player can have combat encounters. Part of my uncertianty in blocking out these areas was in how (or if) the transition between combat and exploration would work seemlessly (its been months since I touched the combat code).
And yet it worked.
Turns out I had made combat system solid enough to let you transition from exploration, to combat, and back again. There were only one or two bugs I had to fix, but beyond that there was no issues.
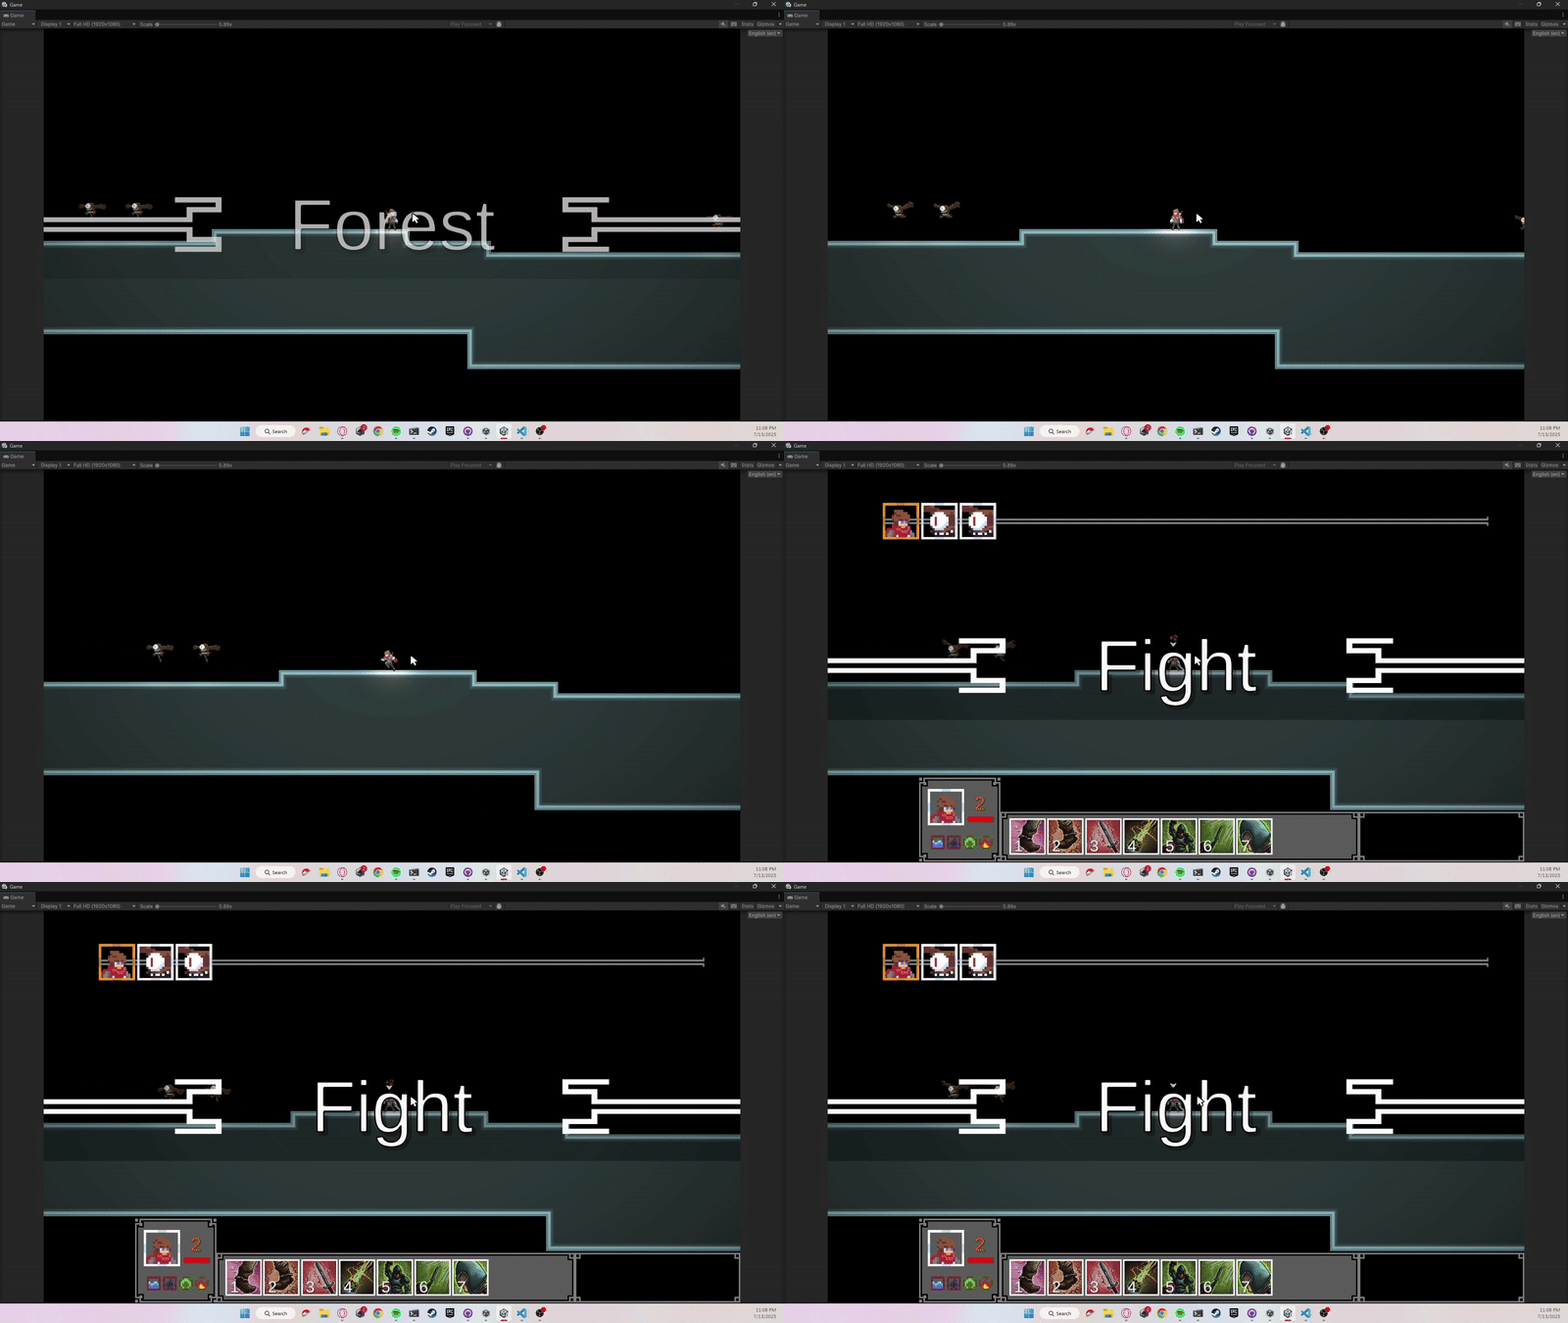
Whiteboxing the forest required me to think a differently than whiteboxing the town. The town required only pathways between key locations, which were seperate rooms the NPCs just stood in, the forest required those locations to be combat arenas.
Large arenas where interesting turn based battles can take place. I am still unsure what exactly makes for an interesting combat encounter in this game. Is it key enviromental hazards? Is it unique status effect interactions? Is it scale? I don’t know just yet. (I probably should know by now)
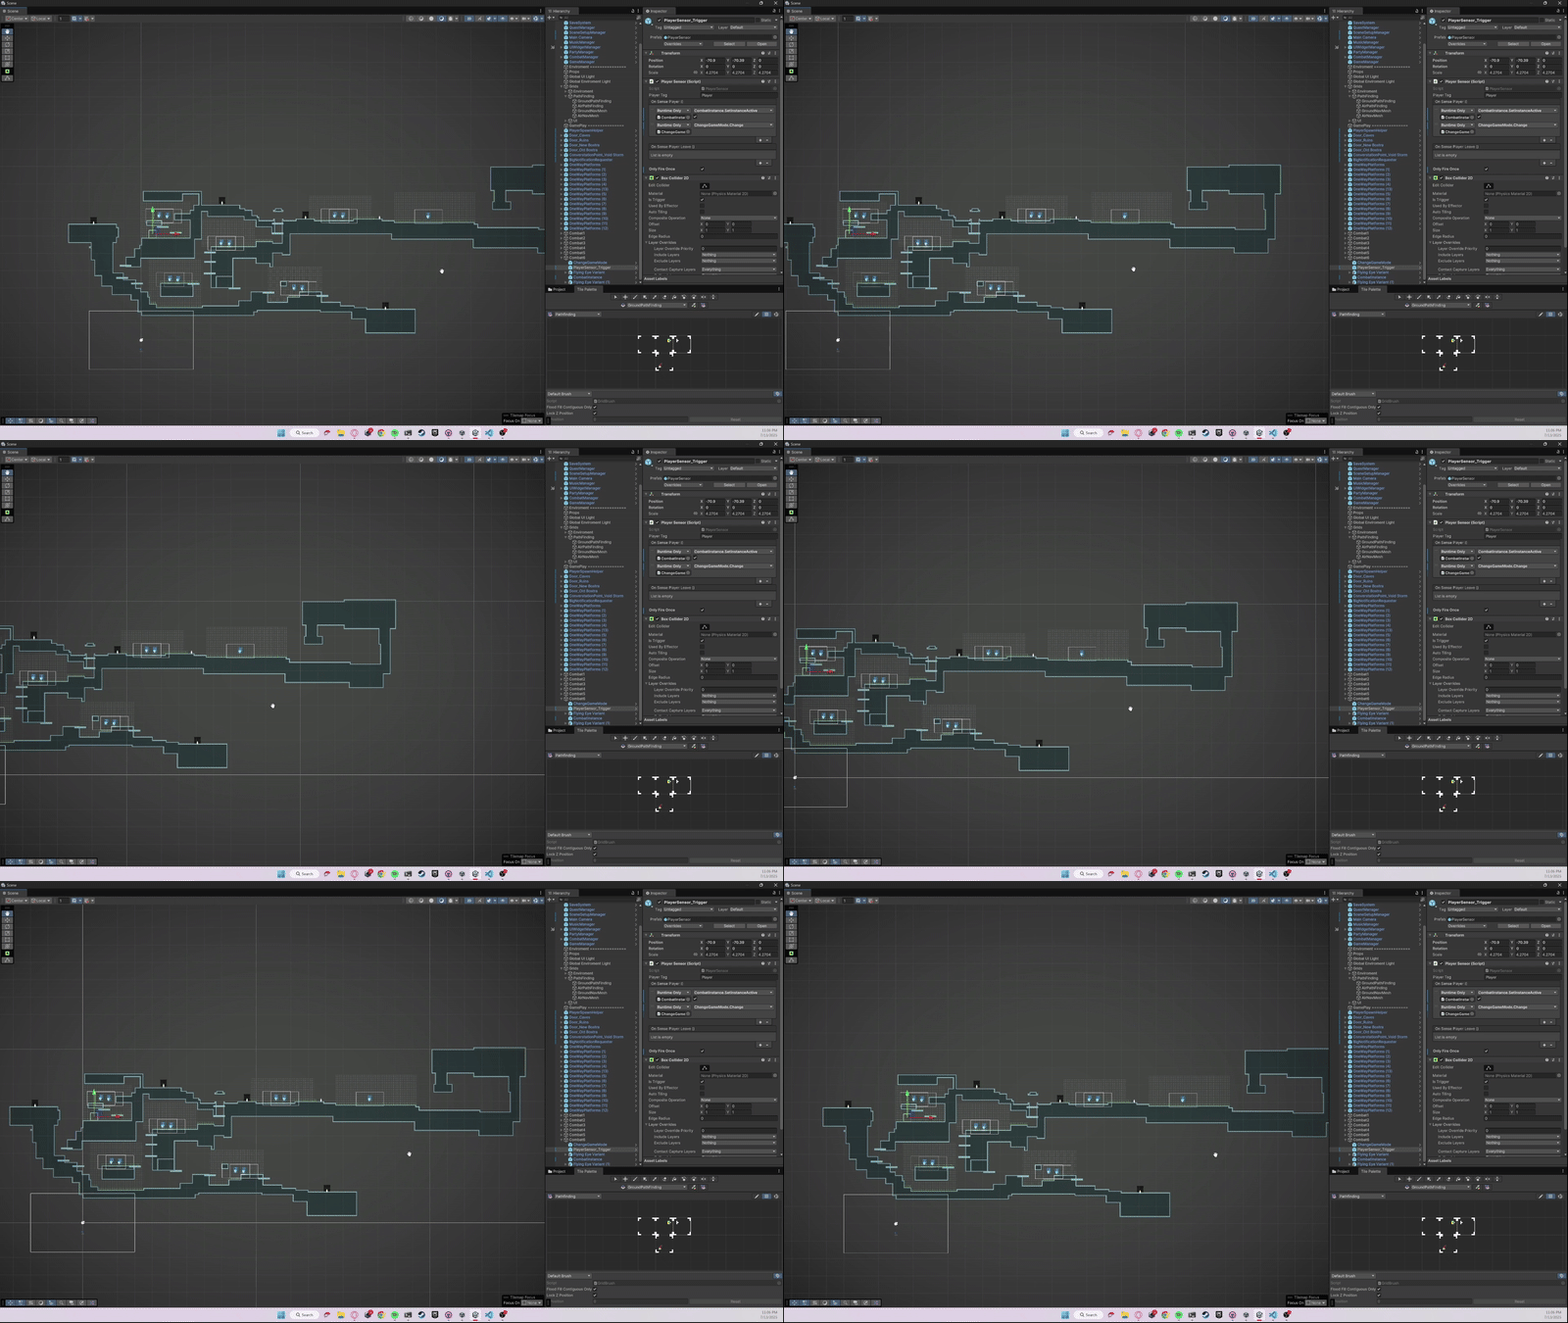
Regardless whiteboxing the forest requires me to make interesting coridors between these arenas. It also requires me to consider what exact combat encounters I want, who your fighting, why, and what unique challeges are provided. For now I know I want some battles in the forest, near a field, in some caves with bandits, and near some underground ruins entrance. So I’ve put in basic spots for those right now. I still need to design an implement the exact enemies later. I might also add more combat encounters in the future.
After spending the previous week messing around with Krita and making digital art, I wanted to see if I could use it to make art for this game. After all this time I still wasn’t full commited to pixel art yet and wasn’t happy with any of the results I could produce.
So I tried it.
I made a new branch of this project and tried it using similar techiques and workflows I had been using with Aesprite for the game. I wanted to answer the following questions:
Could I store the raw Krita files in my project so they would automatically work with version control? Yes.
Could I export the files directly into Unity? And if so would all the import settings and placements stay even if I changed the file? Yes and yes.
Does krita support animation? Yes.
Could I make it work with Unity? Yes-ish (the way krita exports animations is by exporting each individual frame as an image, so no spritesheets. This means as long as the frame count didn’t change, the above assumtions held)
Could I make tilemaps work? Yes (But I would need to pay special attention to the dimentions to make sure all the tiles are the same size)
Having tested out the above questions I proceded by making an idle animation of Six, a ground tilemap, and some background enviroment props for the forest.
I really wanted to push the painterly/illustration artstyle that Krita would allow me to pull off. So for the charcter I played around with adding some dynamic shading and a paintbrush like texture. For the background props I decided to use no line art to help the character (with their line art) stand out, but I still used painterly texters that I could get with Krita.
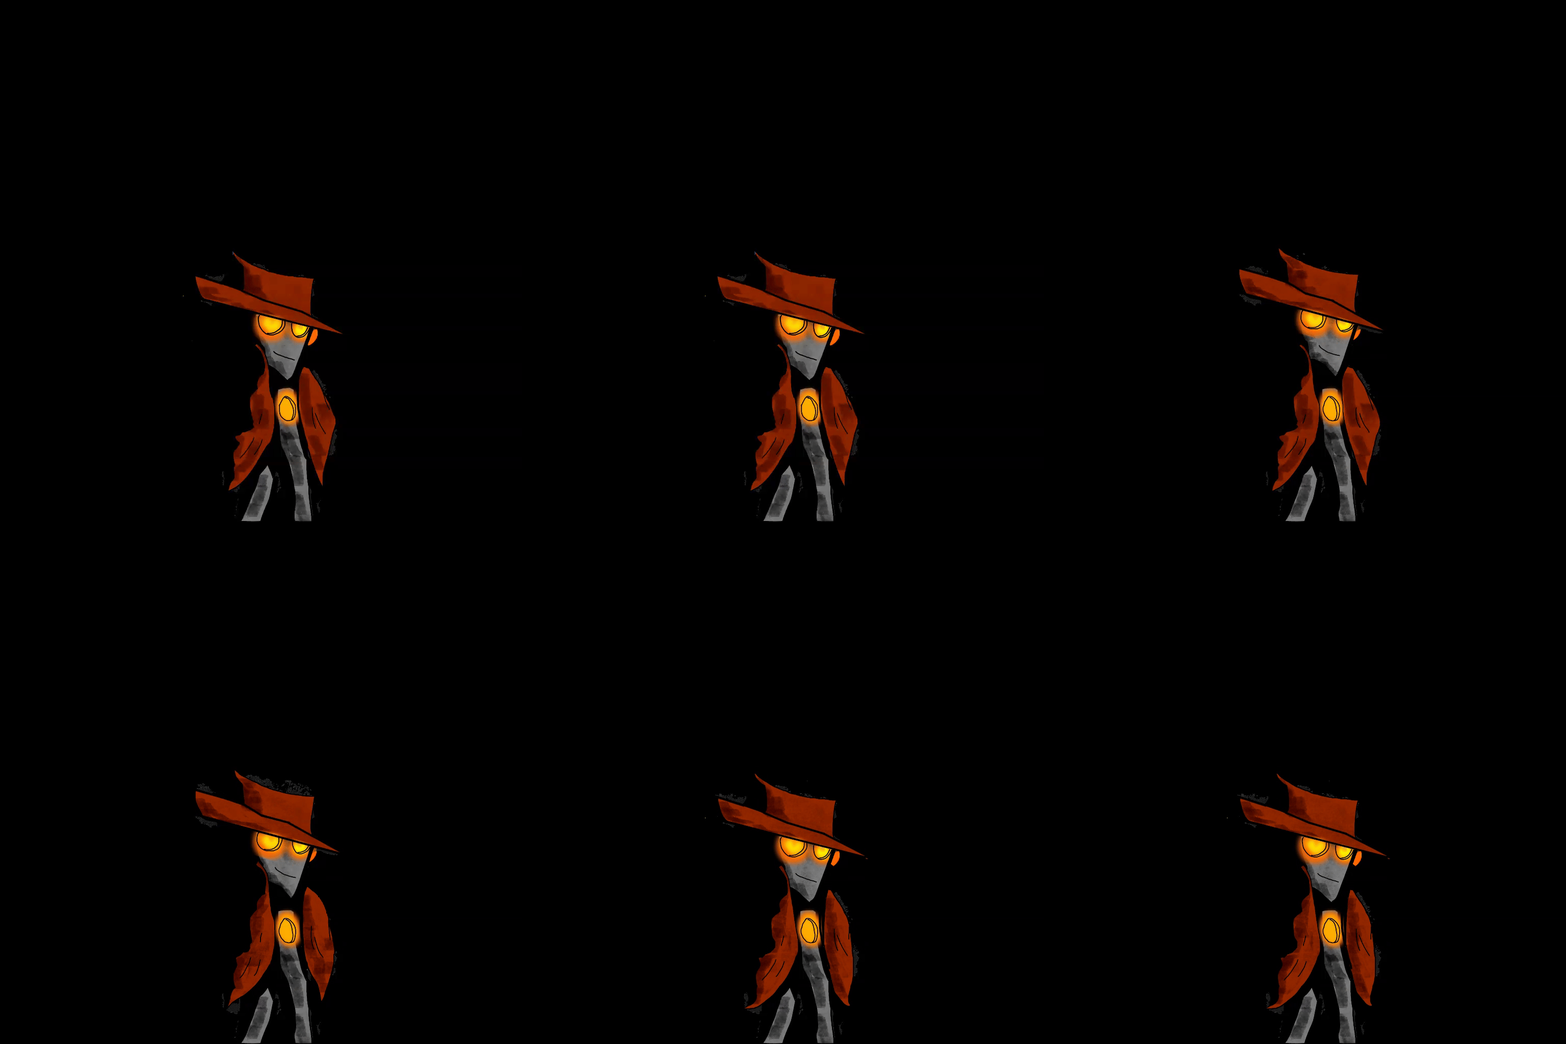
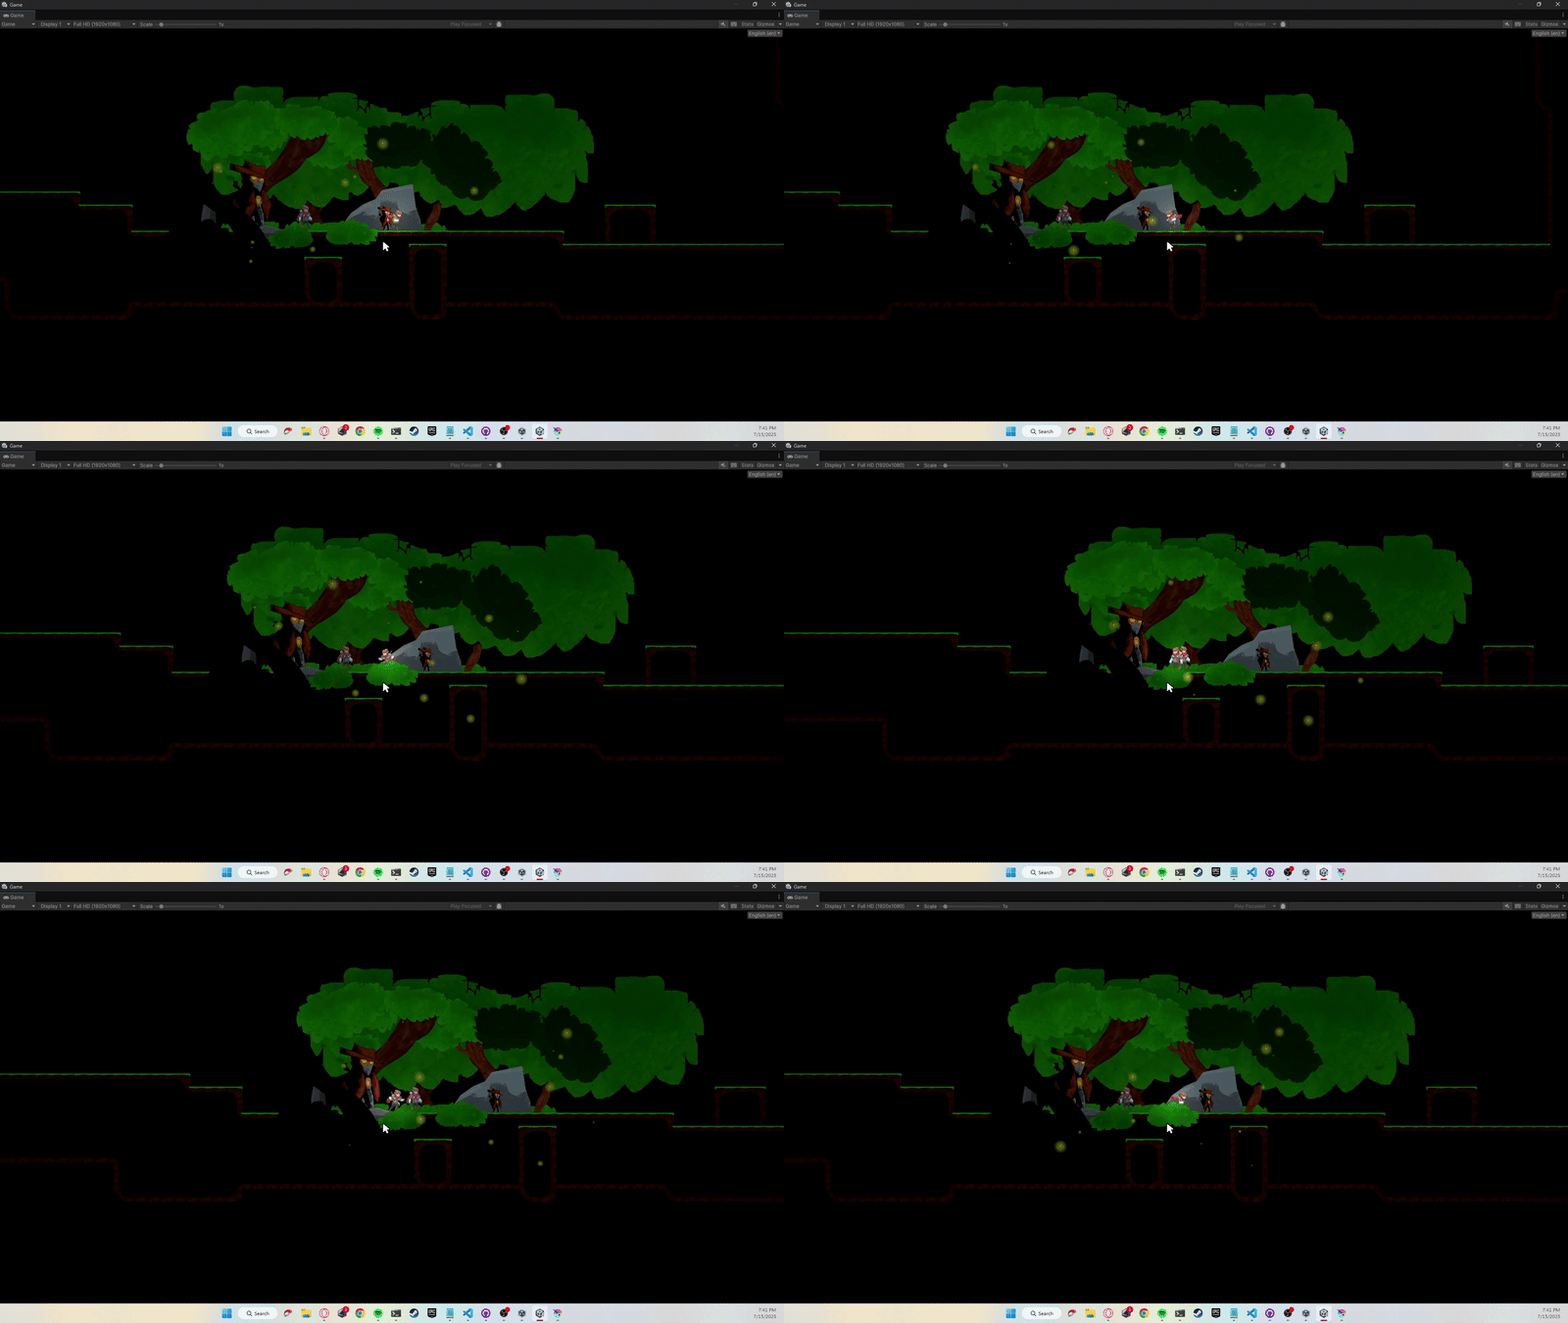
Honestly, I was quite happy with the results. I could see myself producing decent artwork this way much faster than if I used pixel art.
It also felt like a huge relief, and quite liberating, to use esetially the same artstyle that I use for IRL drawings for artwork in this game. I don’t know that I can put into words how good this felt. It wasn’t an amazing euphoric moment, but it felt really good.
With the artstyle tested and the workflows proven I got to work creating better background art for the forest. Well the above example works, one thing that I didn’t like was the fact that the character does not pop against the background as much as I would like.
It was in thinking about this that I realized I would need to pay special attention to my color palletes and color choices when working the art for this game. Not just for each art asset but for how those assets would look side by side in the final game.
I began by gather some reference images of what other 2D games did for background art in forest or jungle settings.
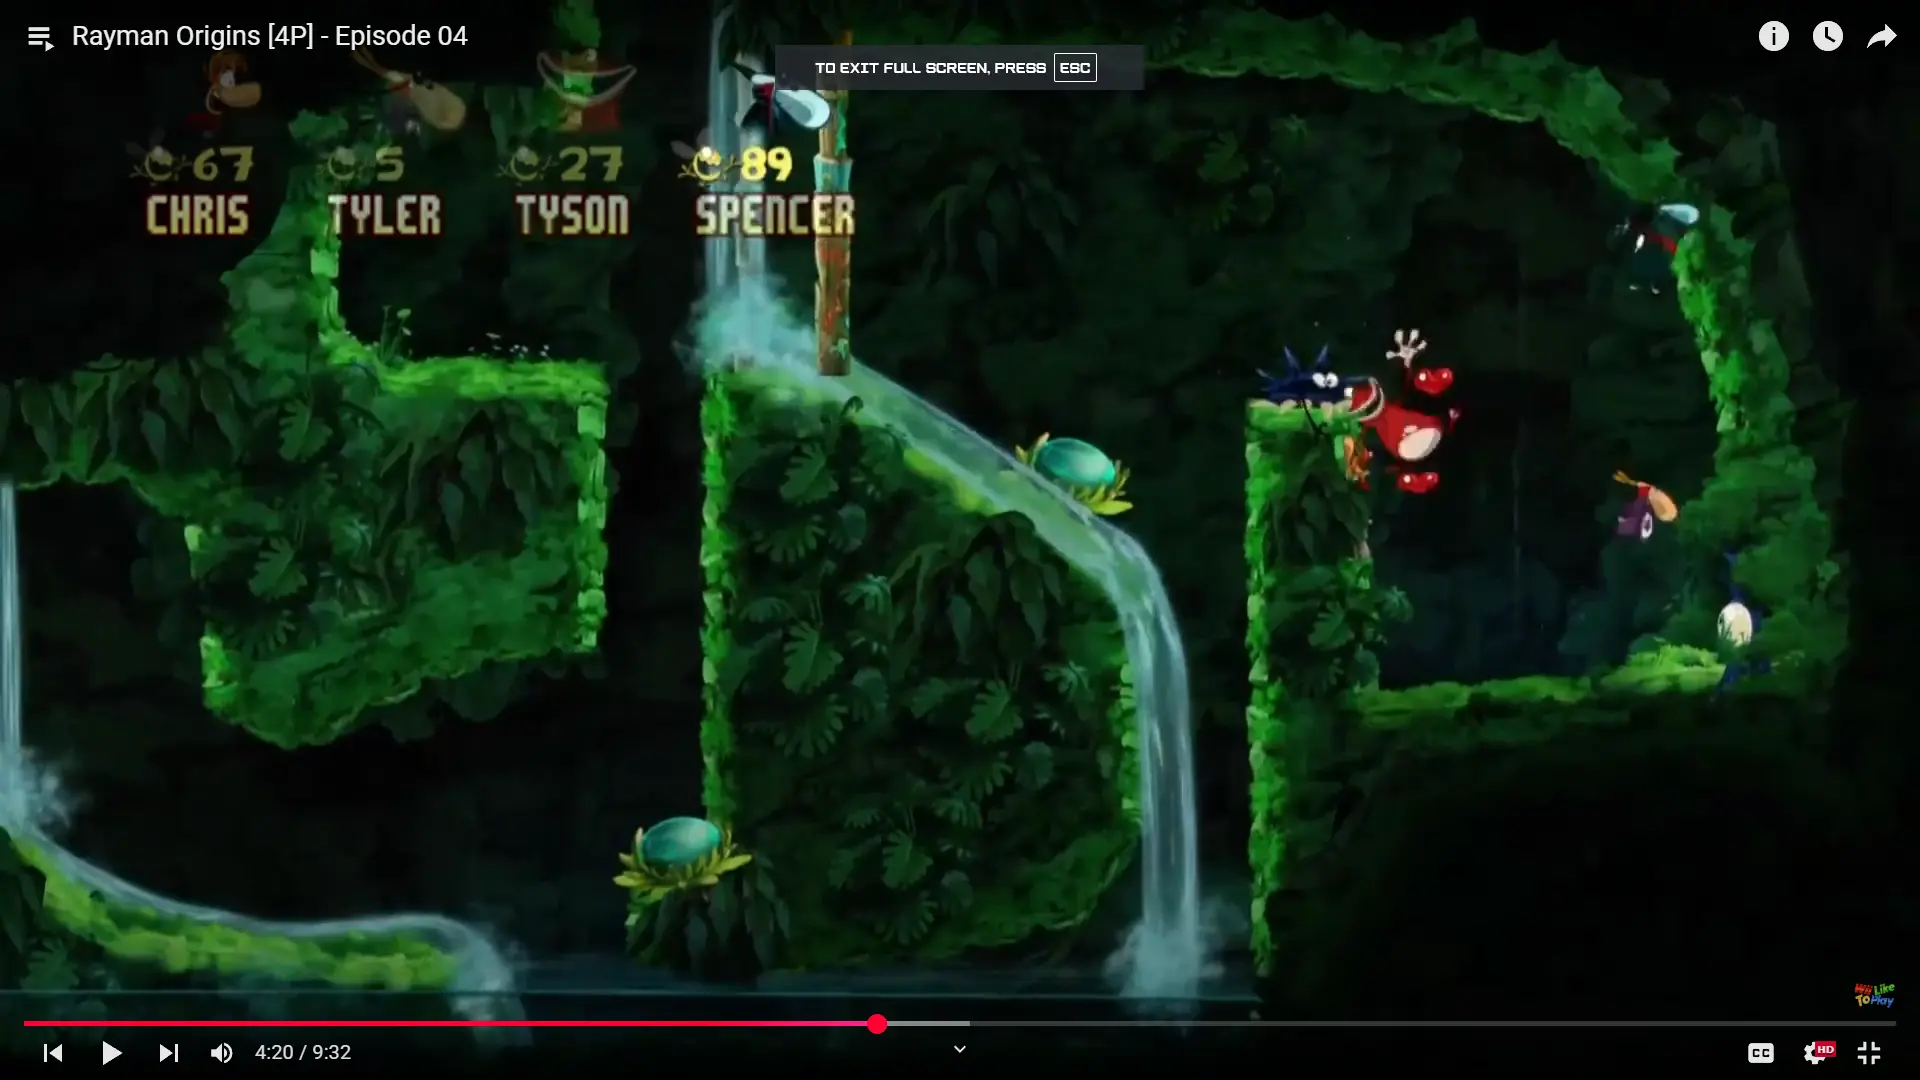
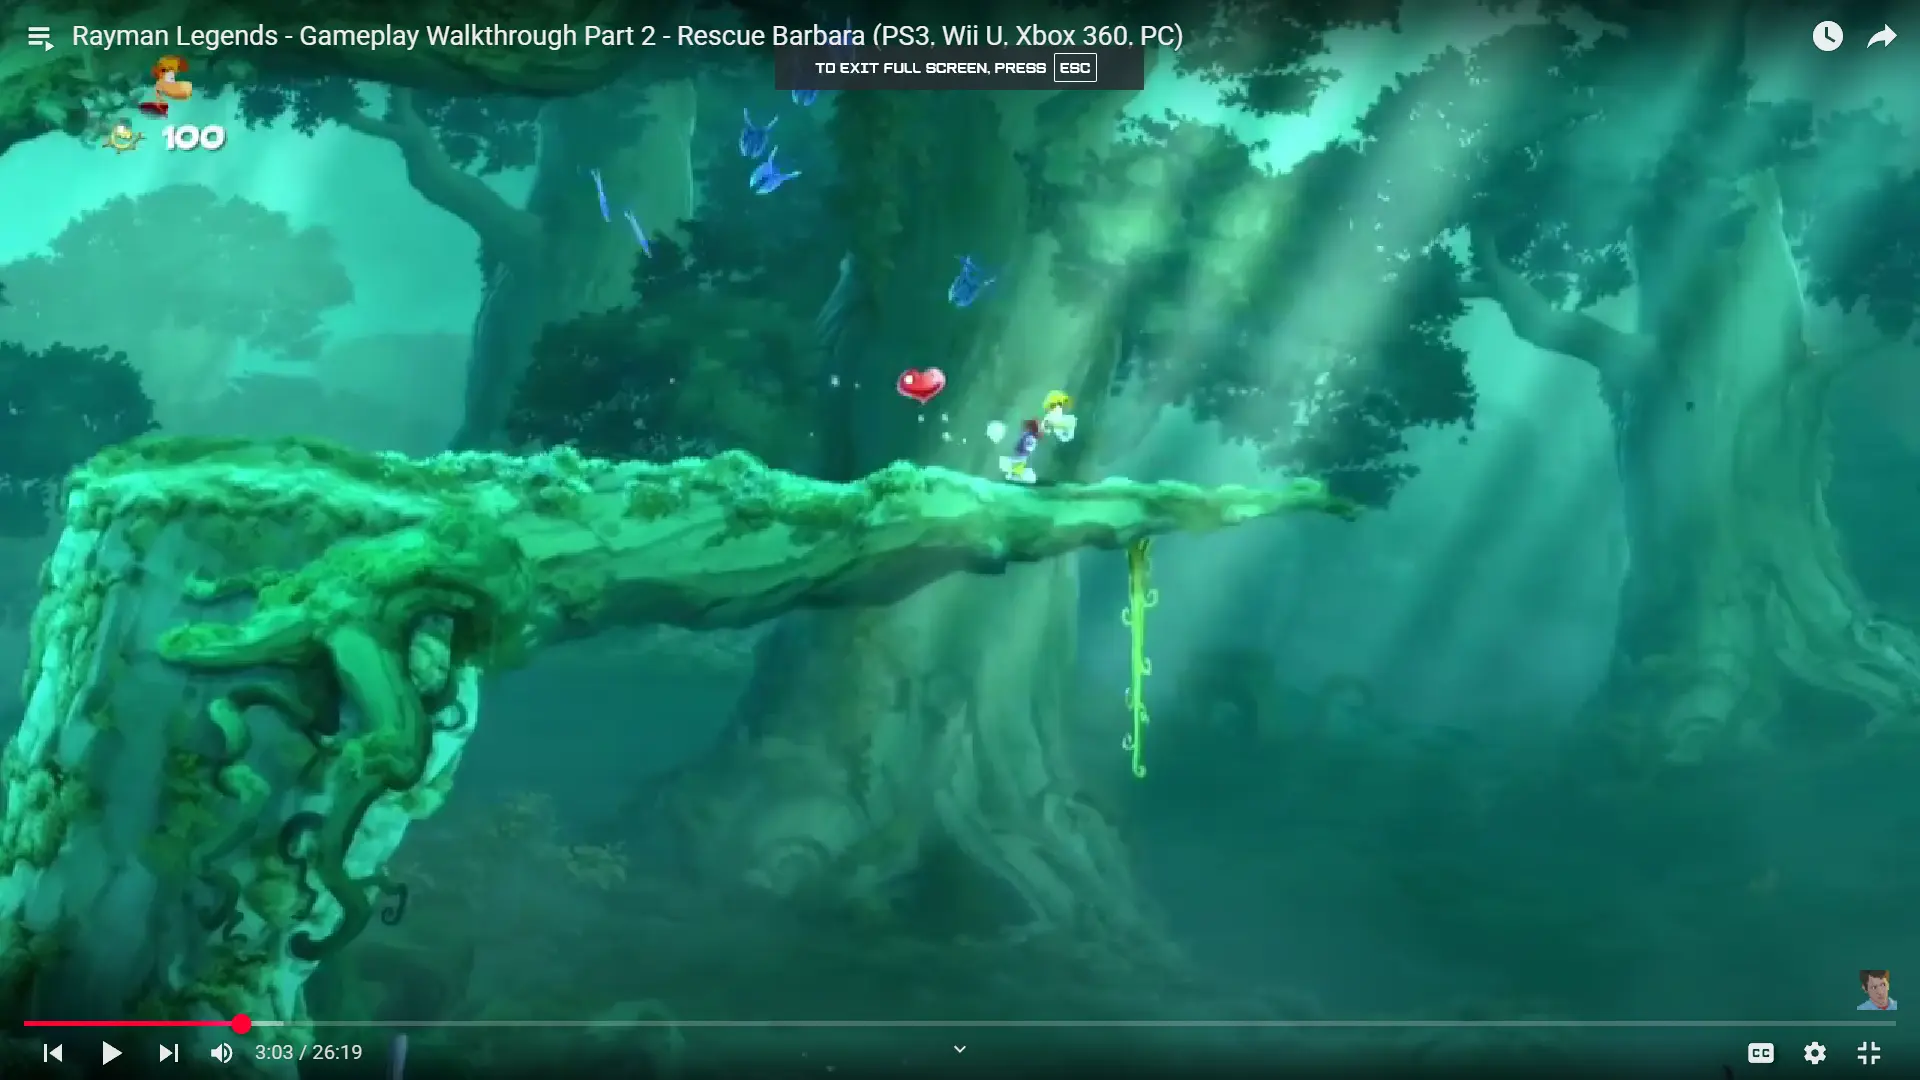
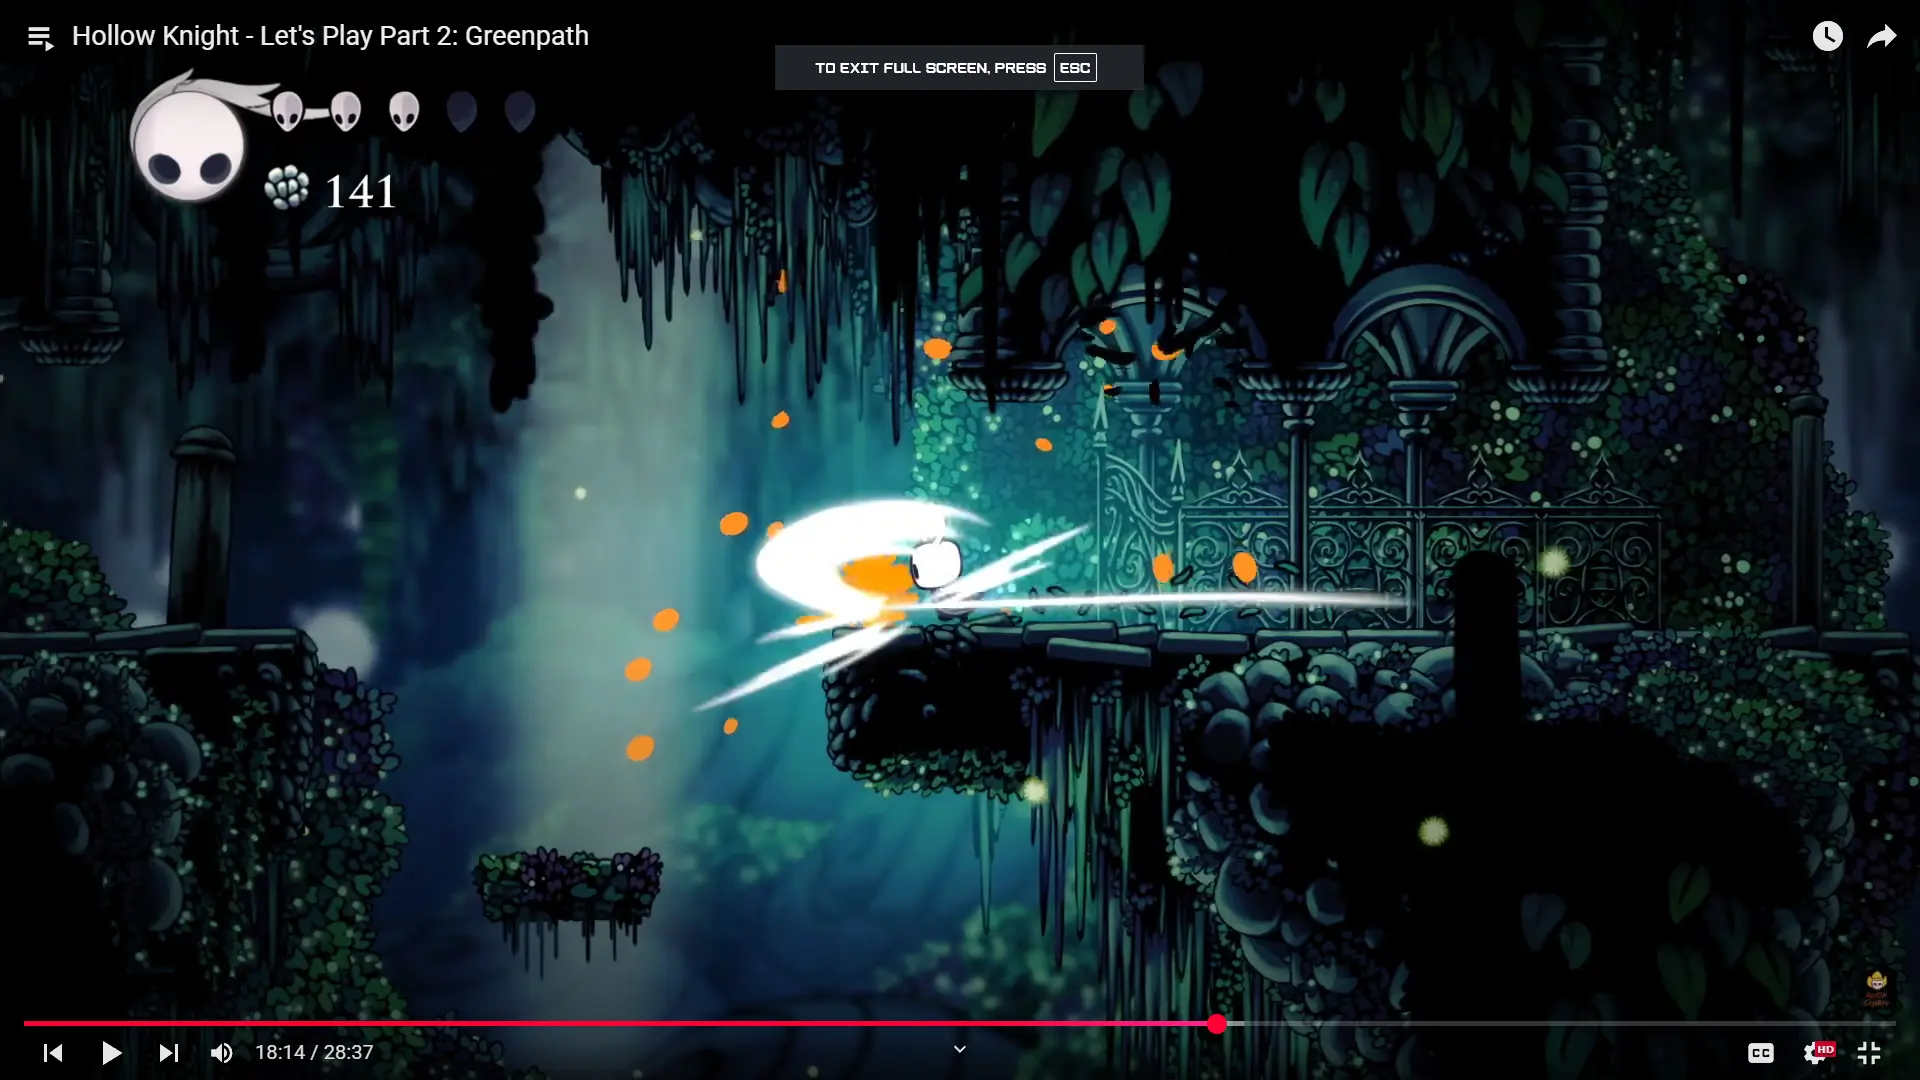
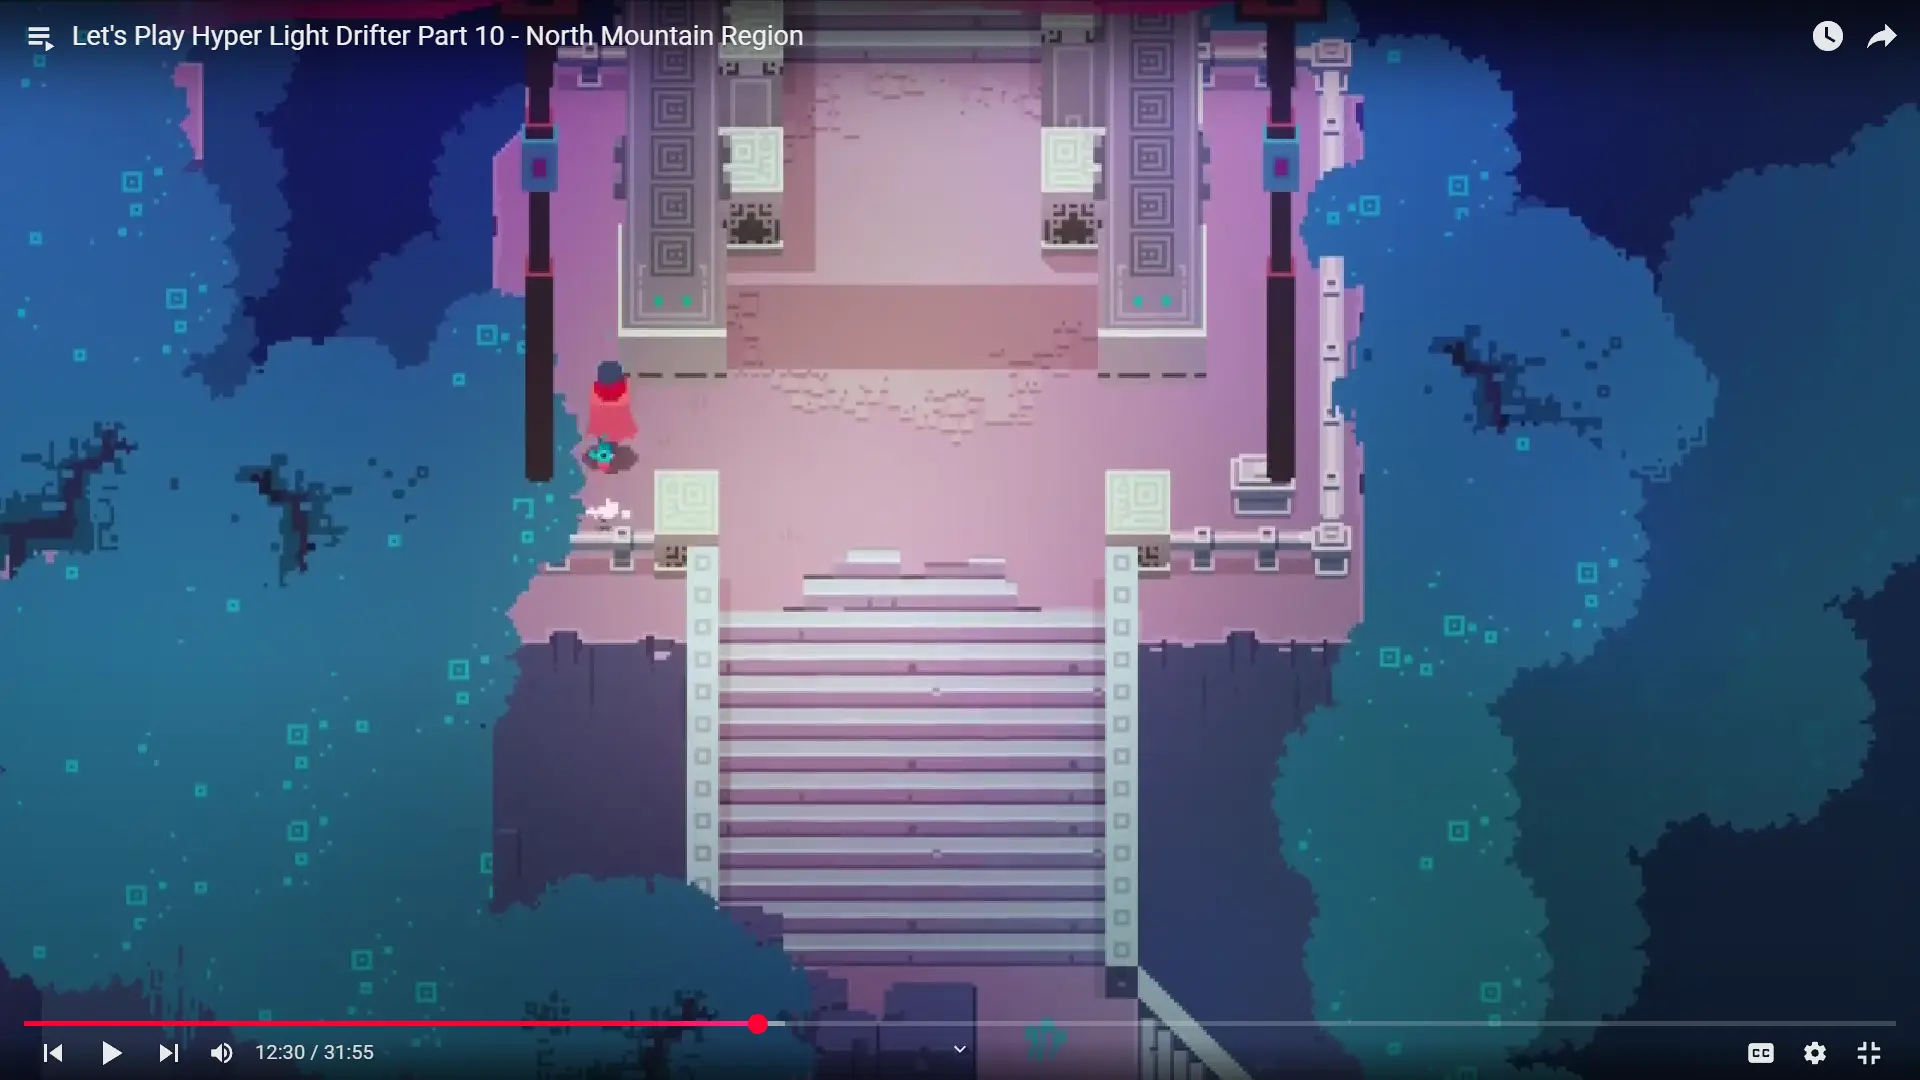
Two things imediatly caught my attention:
Even before looking up the reference images I already had an idea that the backgrounds would be desatured. They use this to draw you eyes to the brighter more satured elements, which are the parts of the game enviroment the player can interact with, like the ground or objects of note. Interesting enough games like Rayman actually use this to have parts of the foreground hide secrets the player can find.
Lastly, I was supprised to note that most games use brighter elements towards the center and darker elements towards the border.
In a forest the leaves are green and the tree bark is brown. So this is how I colored my background assets. Interestly most game I found didn’t do that. They had the background be primarely one color. Or I should say, various shades of one color. For forests they would use green as the base color, with a lighter or more washed out version of it to indicated wood or stone. Given the shape and composition of the background you could tell it was a tree but it also didn’t draw your eye the way the foreground elements did.
This blew my mind as it feels so counter-intuitive. Yet looking at various examples it worked.
After studying these reference images I began to implement what I saw.
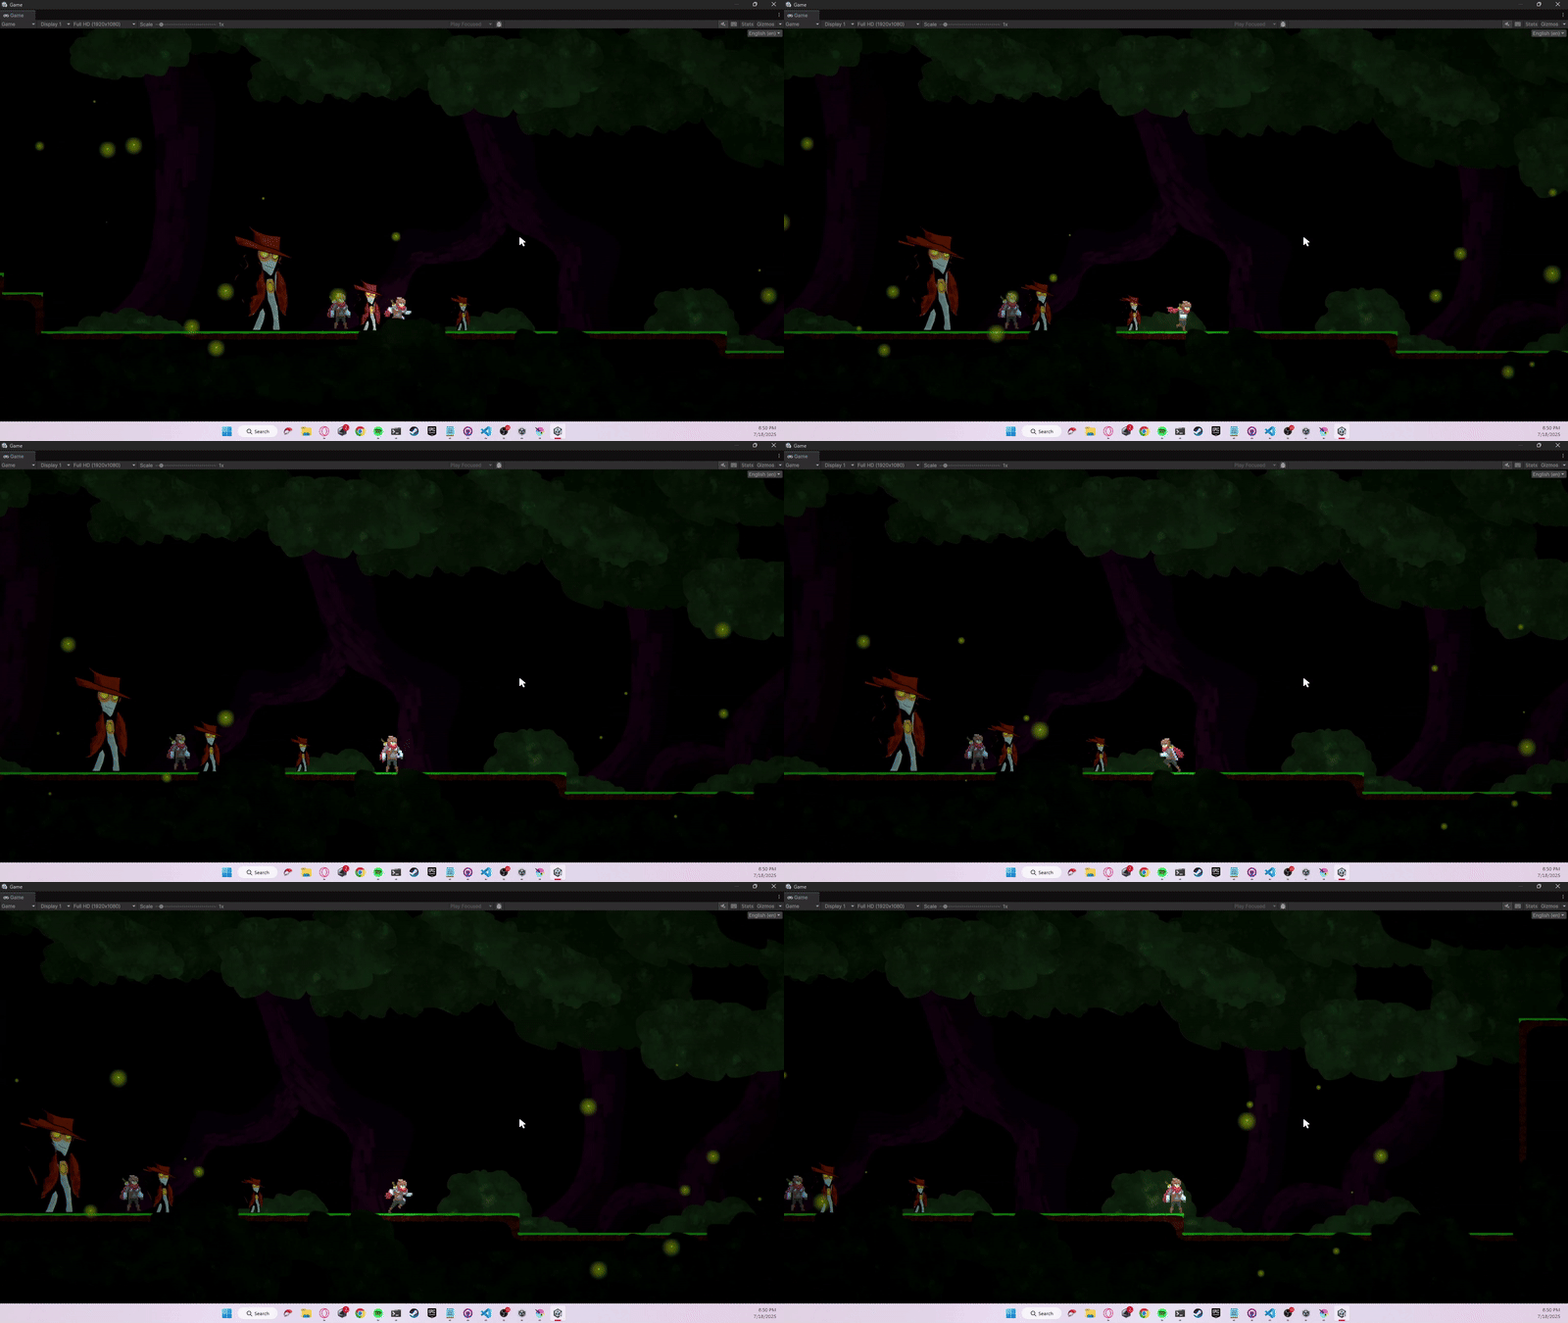
I made new background props well focusing on using a few very desatured greens for the trees to try to not draw attention to them. I started with the base color being the darkest shade of green and used some paint splater textures to add on the lighter elements.
The branches where interesting. I could have made them a shade of green as well, but I decided against that. Instead of brown I wanted to make them an alien purple, so I did.
The resoning for this is that I actually want to draw attention to them, slightly. To indicate that this is not a normal forest you would find anywhere here on earth. This is a Fantatsy game, why would it have to look like our enviroments. I also wanted to later convay with the town that the buildings are made using this unique wood, and purple would easily convay that.
Even still I paid special attention to use only a few very desatured purples when making it. This way it draws your attention by being purple, but still blends into the background by being desatured.
After this I began looking into solutions for Parallaxing different layers to add depth.
In therory parallaxing is simple. You just have different layers move at different speeds in different directions when the camera moves.
Challenge comes in when you want consistance, and to be able to start with the camera in any location.
Parallaxing is when the different layers of an enviroment appear to move at different speeds, as the camera moves, to create a sense of depth. In practice this means that all background layers are following the camera at a slower speed, this gives them the illusion of scolling by slower than the middleground (where the player is). The foreground layers are moving in the oposite direction of the camera to create the illusion that they are scrolling by faster than the middleground (where the player is).
So all you need to do is move these layers appropriately when the camera moves.
But what if the camera doesn’t always start in the same location?
In my game the player will be able to move and explore the world in a number of different ways and be able to backtrack through most enviroments. Since they can start enviroments at different locations, the camera will start at different locations. Meaning the maximum possible delta of the camera in any given direction could change every time the scene is loaded.
Lets say I have an enviroment that is a long corridor along the x-axis. Lets divide it up into 10 equal segments. Assuming the player could start this enviroment at segment 1 or at segment 10.
In the case where the player starts at segment 1 they can only move along the x-axis towards segment 10. Since the camera follows them, this means its maximum possible delta (how much and were the camera can move) from its starting point is 1-10 in a positive direction. The camera can not ever move in a negative direction. Since the background parallaxing elments always follow the camera and the foreground elements always go in the opposite direction of the camera this means that: the background elements can only move in a positive direction and the forground elements can only move in a negative direction.
In the case where the player starts at segment 10 theey can only move along the x-axis toward segment 1. Since the camera follows them, this means its maxium posible deltat from its starting point is 10-1 in a negative direction. The camera can not ever move in a positive direction. Since the background parallaxing elements always follo the camera and the foreground elements go in the opposite direction of the camera this means that: the background elements can only move in a negative direction and the forground elements can only move in a positive direction.
These case hold true for any two starting segments and holds true if you add in the y-axis as well.
This creates the problem in not having your parallax layers be in consitant positions, when the camera is at the same loction, if the camera starts at different locations.
This is not a problem if one has no desire for a consistant parallax effect regardless of starting location, for example if you had a simple infinite scrolling background.
However, for my case I do want consitent results regardless of starting location.
At the time of writing this I am still working out a solution to this problem.
My guess is that I will need for the parallaxing to take into account the offset of the cameras starting location from some given location (likely the world origin) and start the scene by snapping the parallax layers to some position based on that. This also means it will be hard to view this in the editor in the scene view as I am placing the elements down. Since where the layers are placed in the scene view might not line up with where I want them to be in the final game. I will likely need to make a editor tool to let me preivew where they will be for a given camera location.
I’ll be sure to write about whatever solution I end up using.
Regardless, that’s all for this entry. Not sure what I want to focus on for the next few weeks. Possibly another art pack. I’d like to participate in the GMTK game jam at the end of the month. No guarantees that either will happen, just my thoughts at the moment.
And as always: Don’t Stop Creating.
[^1]: OC United [^2]: RFKC [^3]: Krita [^4]: The Pros and Cons of Greyscale Comics [^5]: Digital Inking Tips From a DC Comic Artist [^6]: Drawing Tables for PC [^7]: Jekyll-feed [^8]: Adding an RSS feed to GitHub Pages
Did you like this post? Tell us
Leave a comment
Log in with your itch.io account to leave a comment.