Hello, I would like to talk about post-processing components in unity in this Blog. It is a fascinating component. This thing can give us some cool cinematic effects. The version I use myself is 2022.3 and using URP.
So, let's start configuring it.
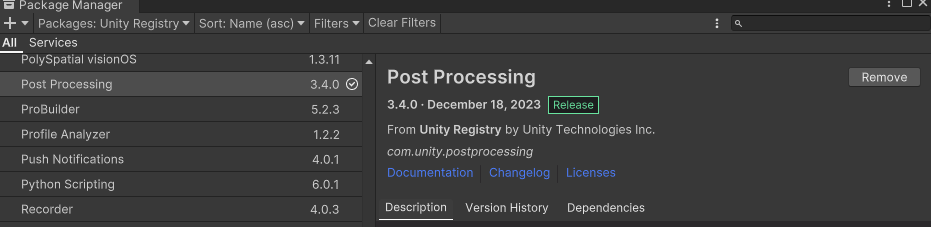
Let's go to Unity, find Windows in the main menu, and then find Package Manager in its secondary menu.
Then, please install the post-processing component inside the Unity Registry. That way we can use it in Unity.
Next, let's create a Volume in Hierarchy and give it a name you like. Then, create a new profile and add override.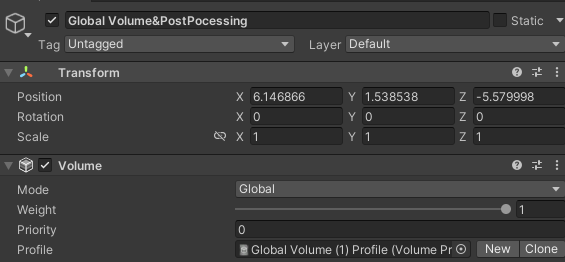
If you want to simply have the post-processing cover the entire game scene, simply choose the isGlobal option.Or if you only want to enable it for certain scenarios, you can write a script to handle it as well as adjusting BlendDistance to make it work for your ideas.In addition, make sure that the volume's layer is in the same layer as the camera's layer!
Then we can add PostProcessing effects to our scene!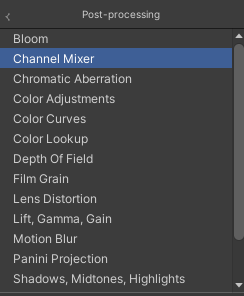
I'll mention some of the more common effects I use:
Chromatic Aberration: It produces red and blue tracks on the edges of objects, like the tiktok logo.
Vignette:This option adds dark corners to the game scene.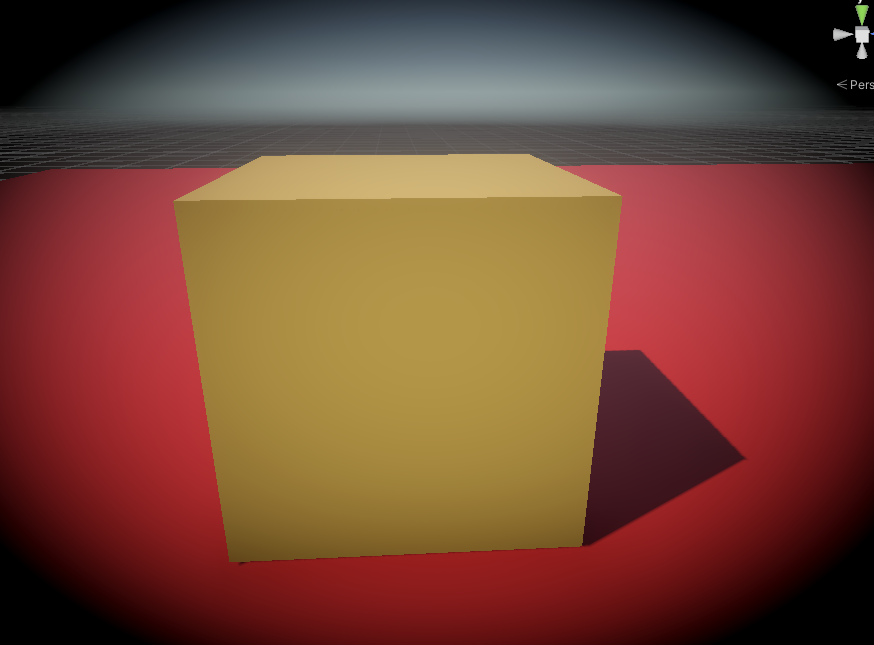
If you want to go deeper in these effects,detailed explaination of these effects can be found on the unity website.
By combining these effects, we can come up with a lot of cool cinematic shots. Also, PostProcessing is a very easy to understand and fun component. I'm sure you'll use your creativity to make masterpieces!
Did you like this post? Tell us

Leave a comment
Log in with your itch.io account to leave a comment.