I am engaged in an epic and crucial project: to publicly release 20-or-so CC-licensed tracks usable on real Sega Mega Drive (Genesis) hardware (https://safetystoatstudios.itch.io/free-vgms). This project is the result of a lot of grumbling about the availability of such music and a borderline obsessive need to fix it myself.
One crucial skill needed to create Mega Drive music is the ability to use one of a few capable chiptune trackers. I found the learning curve for this category of tools to be very steep, and I would like to record my findings in a manner digestible by people with a similar experience and learning style. In particular:
I hope that I can make the reader more comfortable with a confusing tool in the hopes that you will:
Prerequisites
I'm assuming that the reader knows a tiny bit of music theory. If you've taken 1 month of piano lessons when you were 10 years old, that's probably enough. If not, you will benefit from learning how a keyboard is laid out and what tempo is.
You'll also want to familiarize yourself with the Mega Drive's sound hardware. A good source is the "Audio" section of https://www.copetti.org/writings/consoles/mega-drive-genesis/.
Finally, it will be helpful to understand how to read and write hexadecimal numbers.
Why DefleMask?
There's a few different trackers that you can use for this purpose. We use DefleMask, which would be the "industry leader" if you could call Mega Drive chiptune tracking an industry. You could also use Furnace, which is free and basically equivalent (things might just look a little different).
One fun thing about DefleMask is that it's kind of unstable (at least on Mac) so if it's not behaving correctly, you might have to quit and restart.
Setting Up
Let's fire up DefleMask. It looks like this:
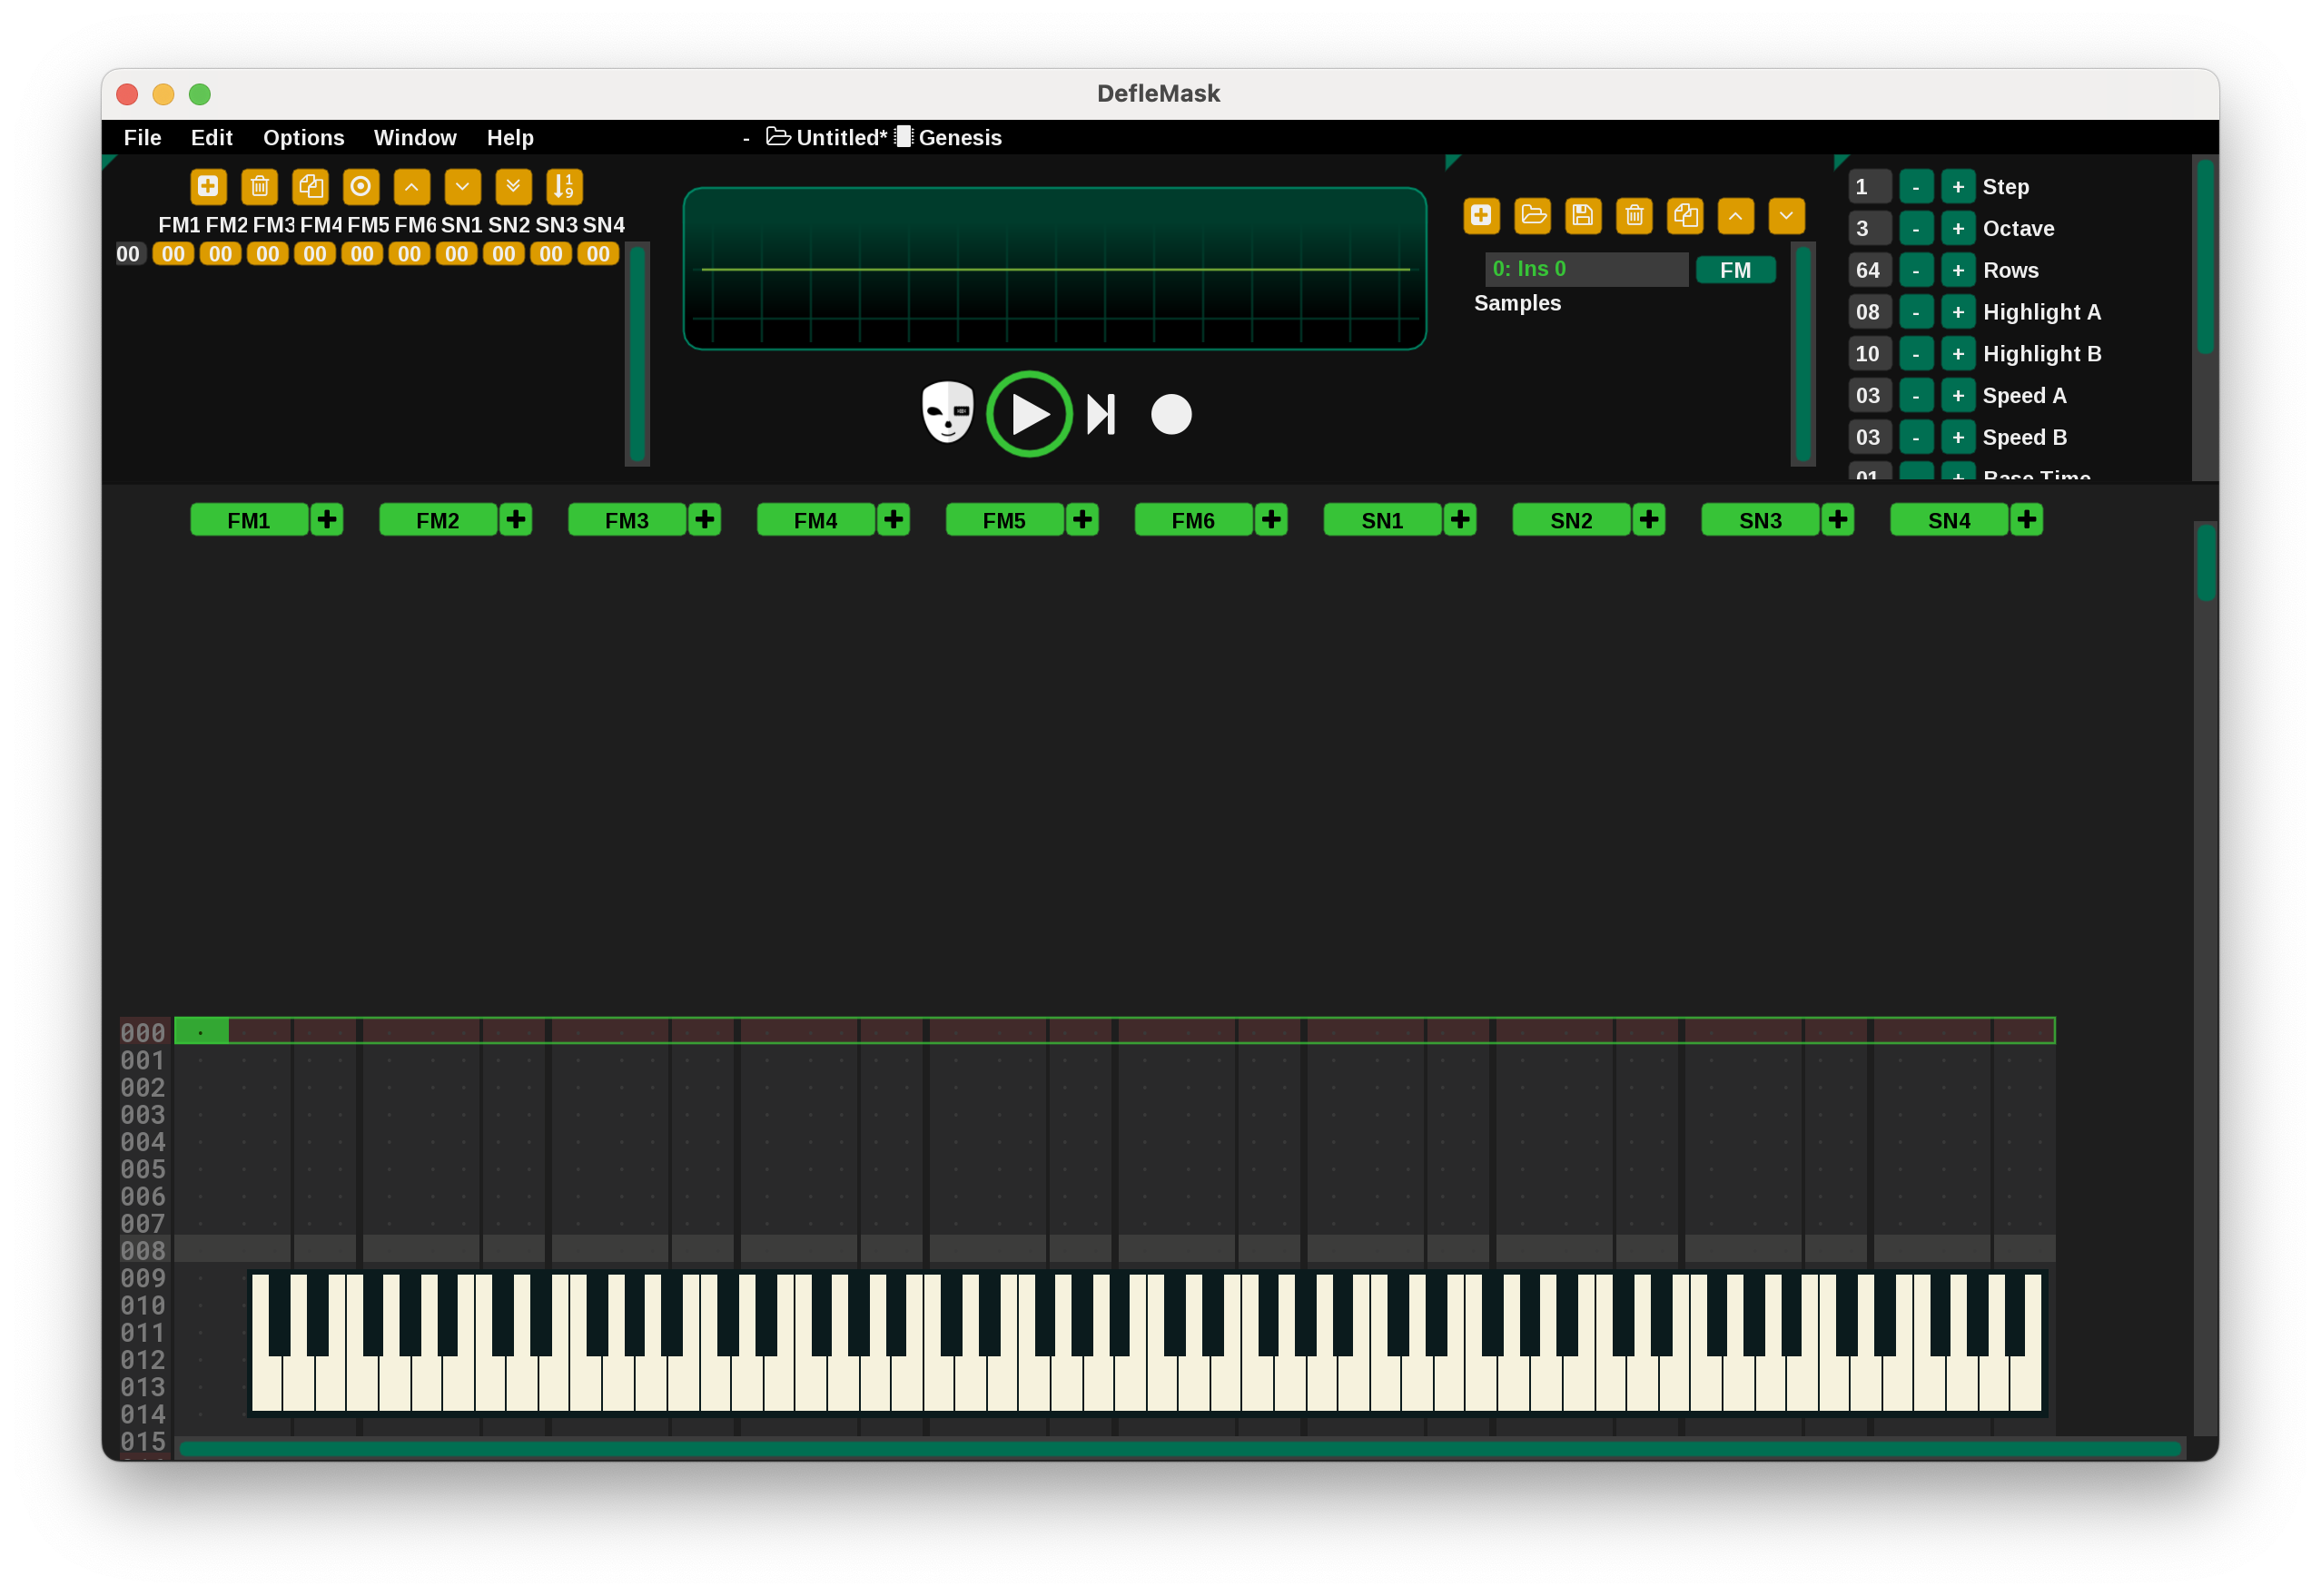
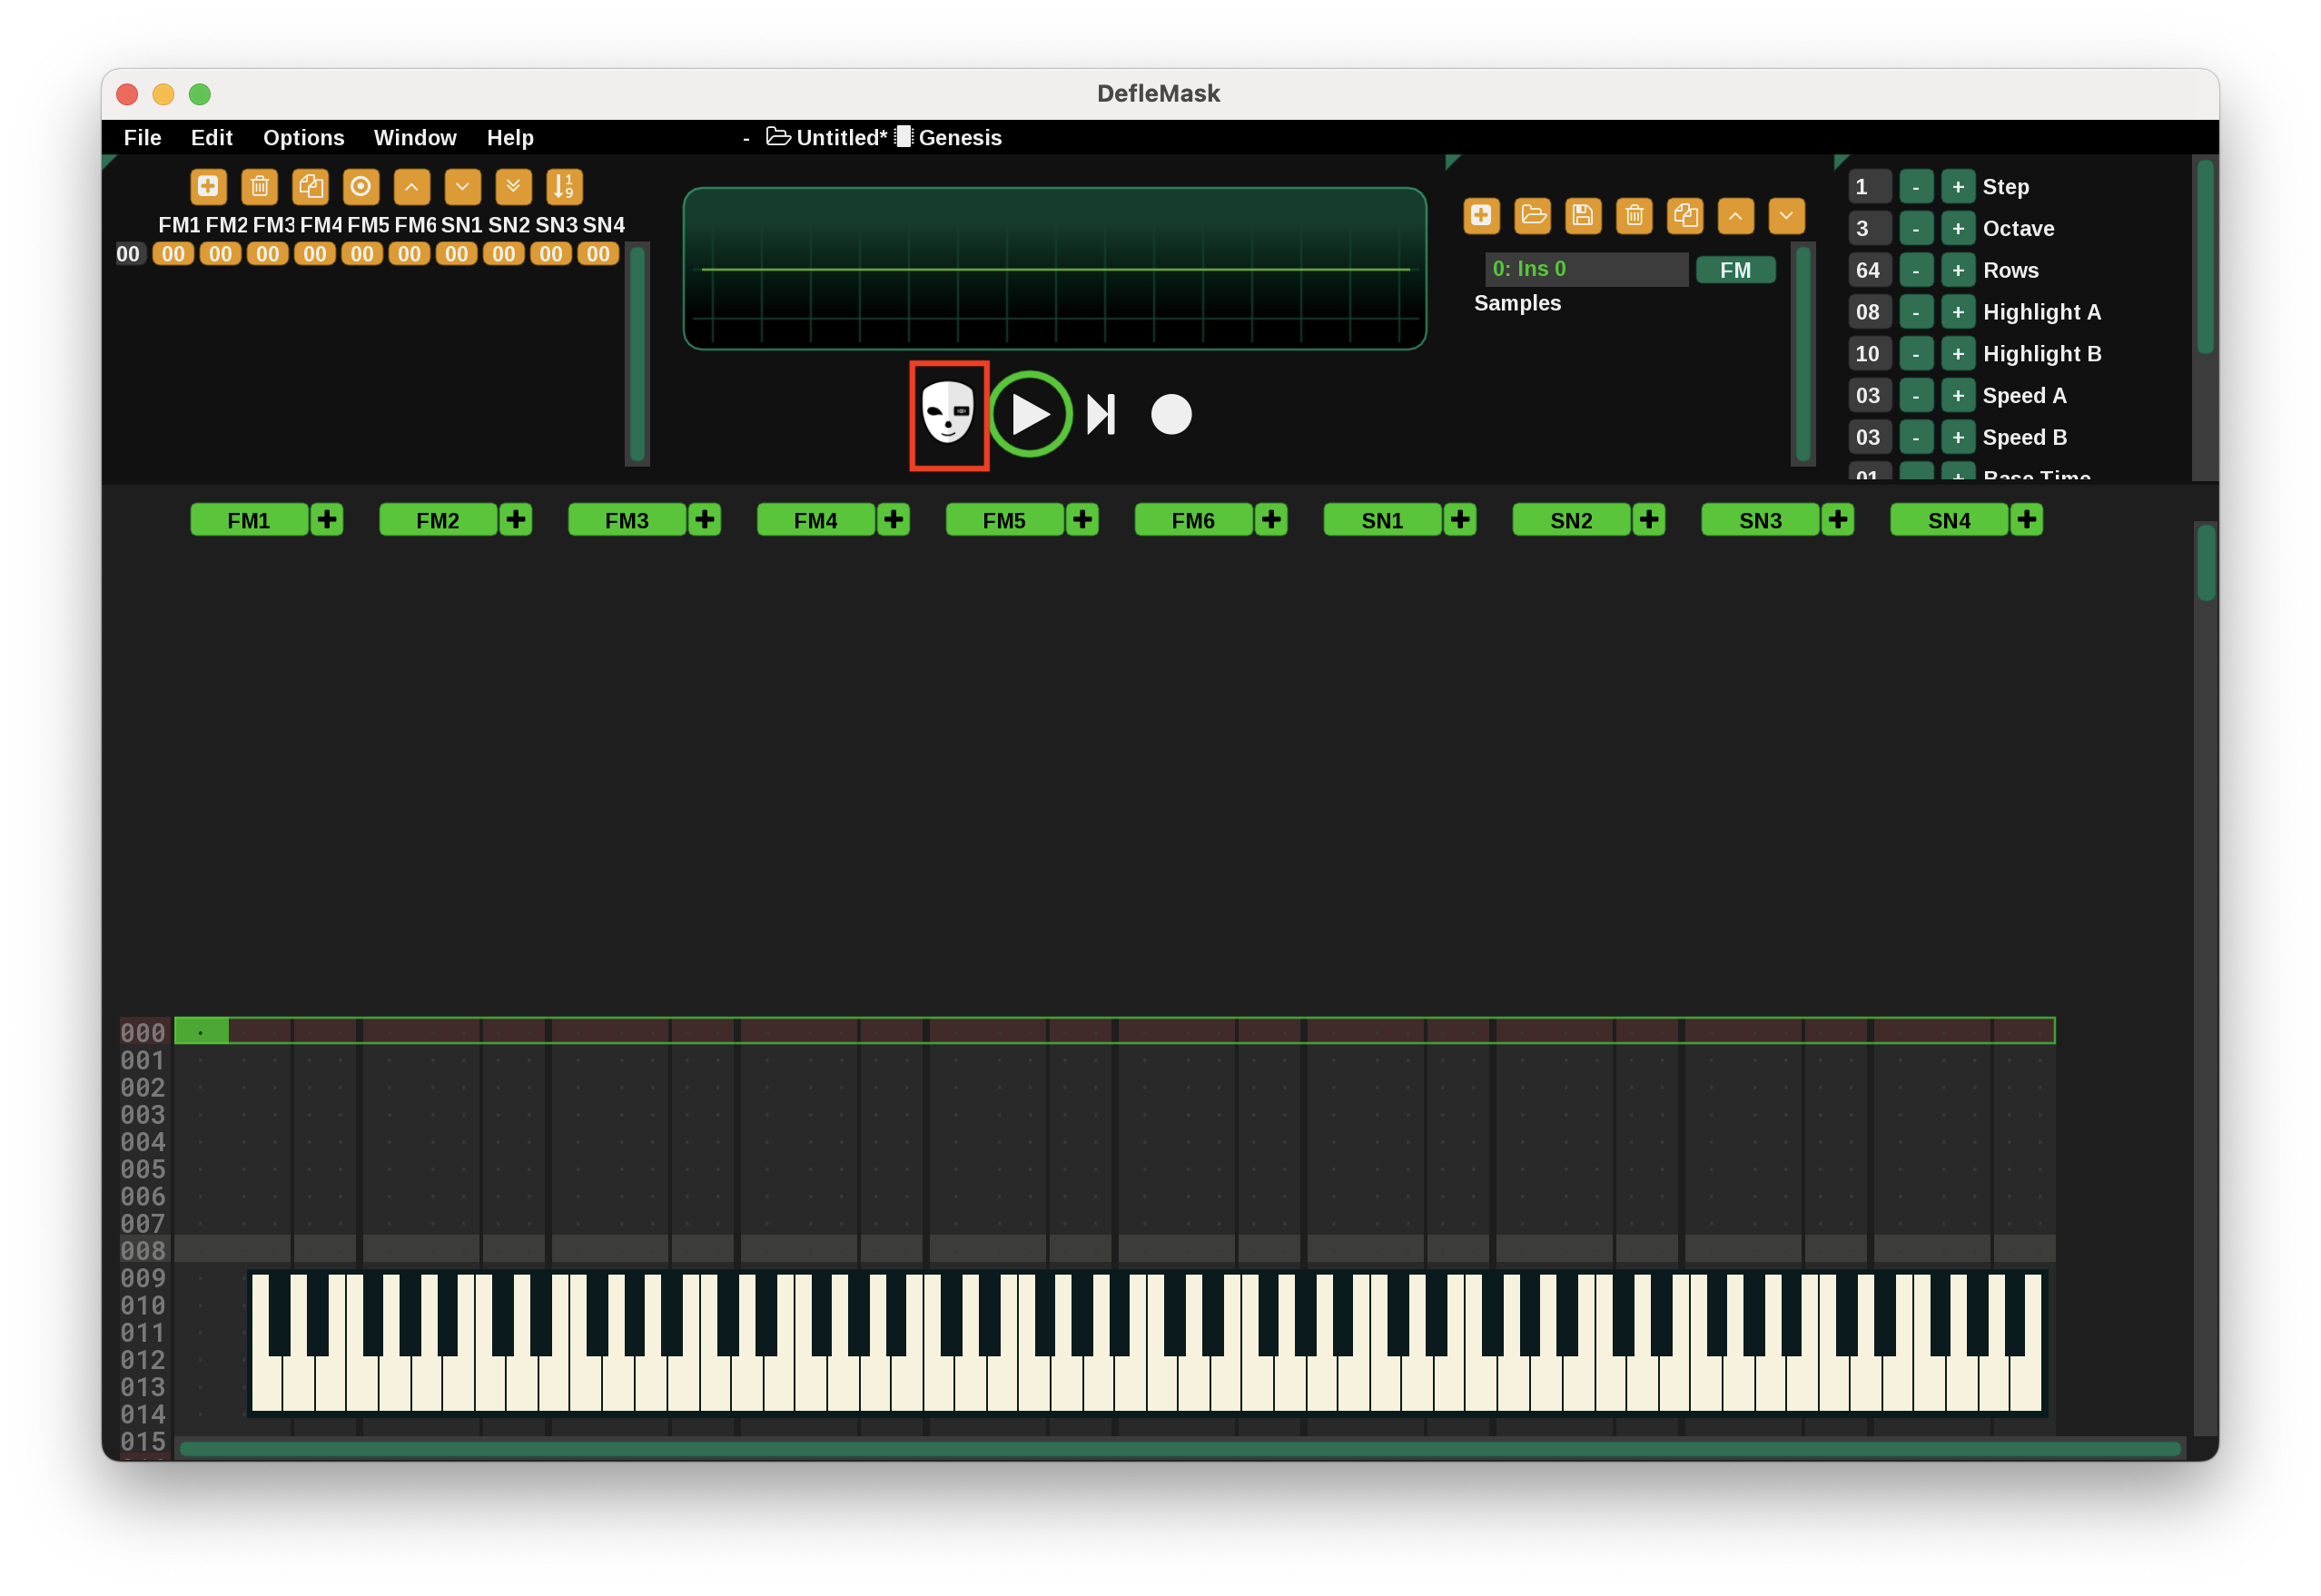
Wow, there's lots going on in here. Don't worry; we'll go through it piece-by-piece. First, we'll make sure we're targeting the correct hardware. DefleMask supports a number of different sound card configurations. Go ahead and click on the mask icon (highlighted with a bright red box in the below picture).
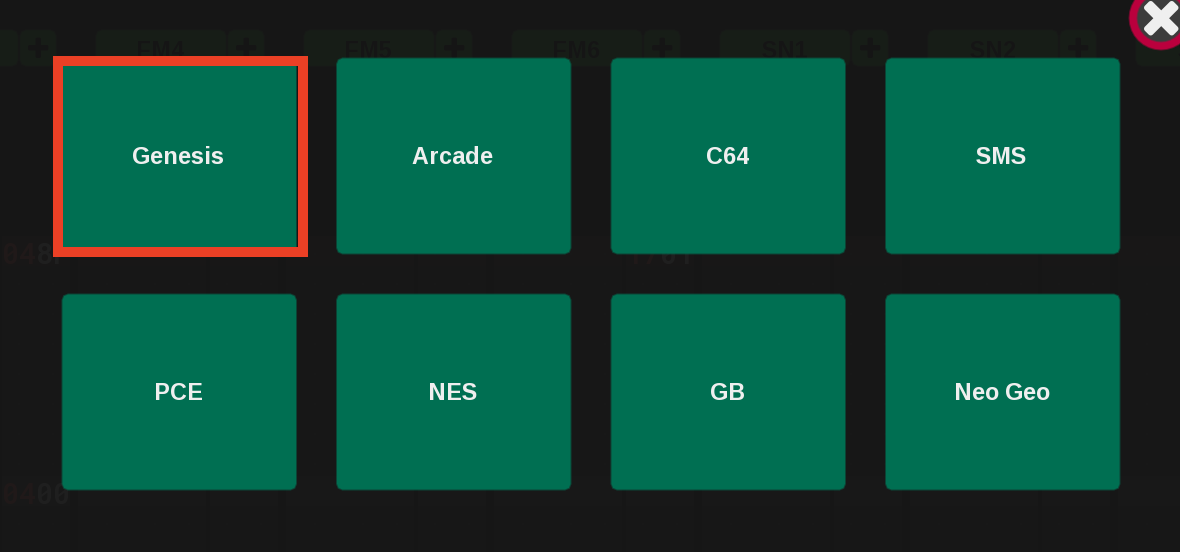
 Then click: "Genesis"
Playing One Note
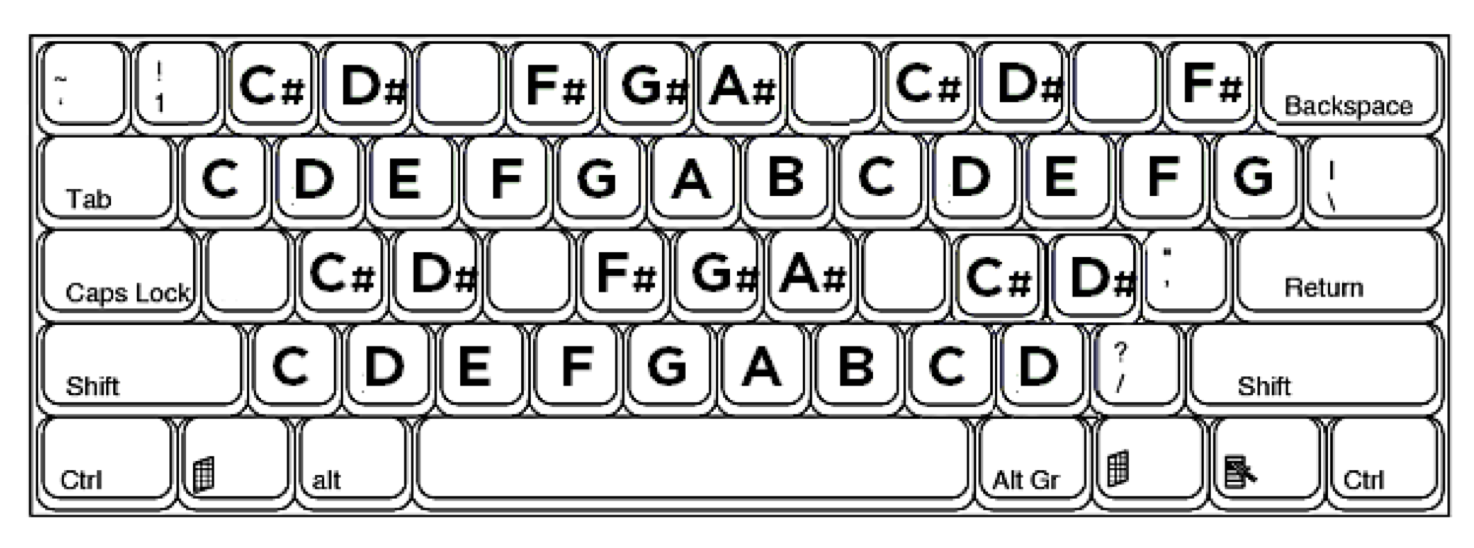
Our next step towards unveiling our unlimited creativity is to play a single note. There's a few ways to do that. First, pressing certain keys on your computer keyboard triggers a note as if it was actually a musical keyboard. For example, pressing the "z" key will play a "C" note. The following diagram is cribbed from the manual and shows where on the keyboard different notes are mapped. I hope the DefleMask people don't mind me using their diagram here.
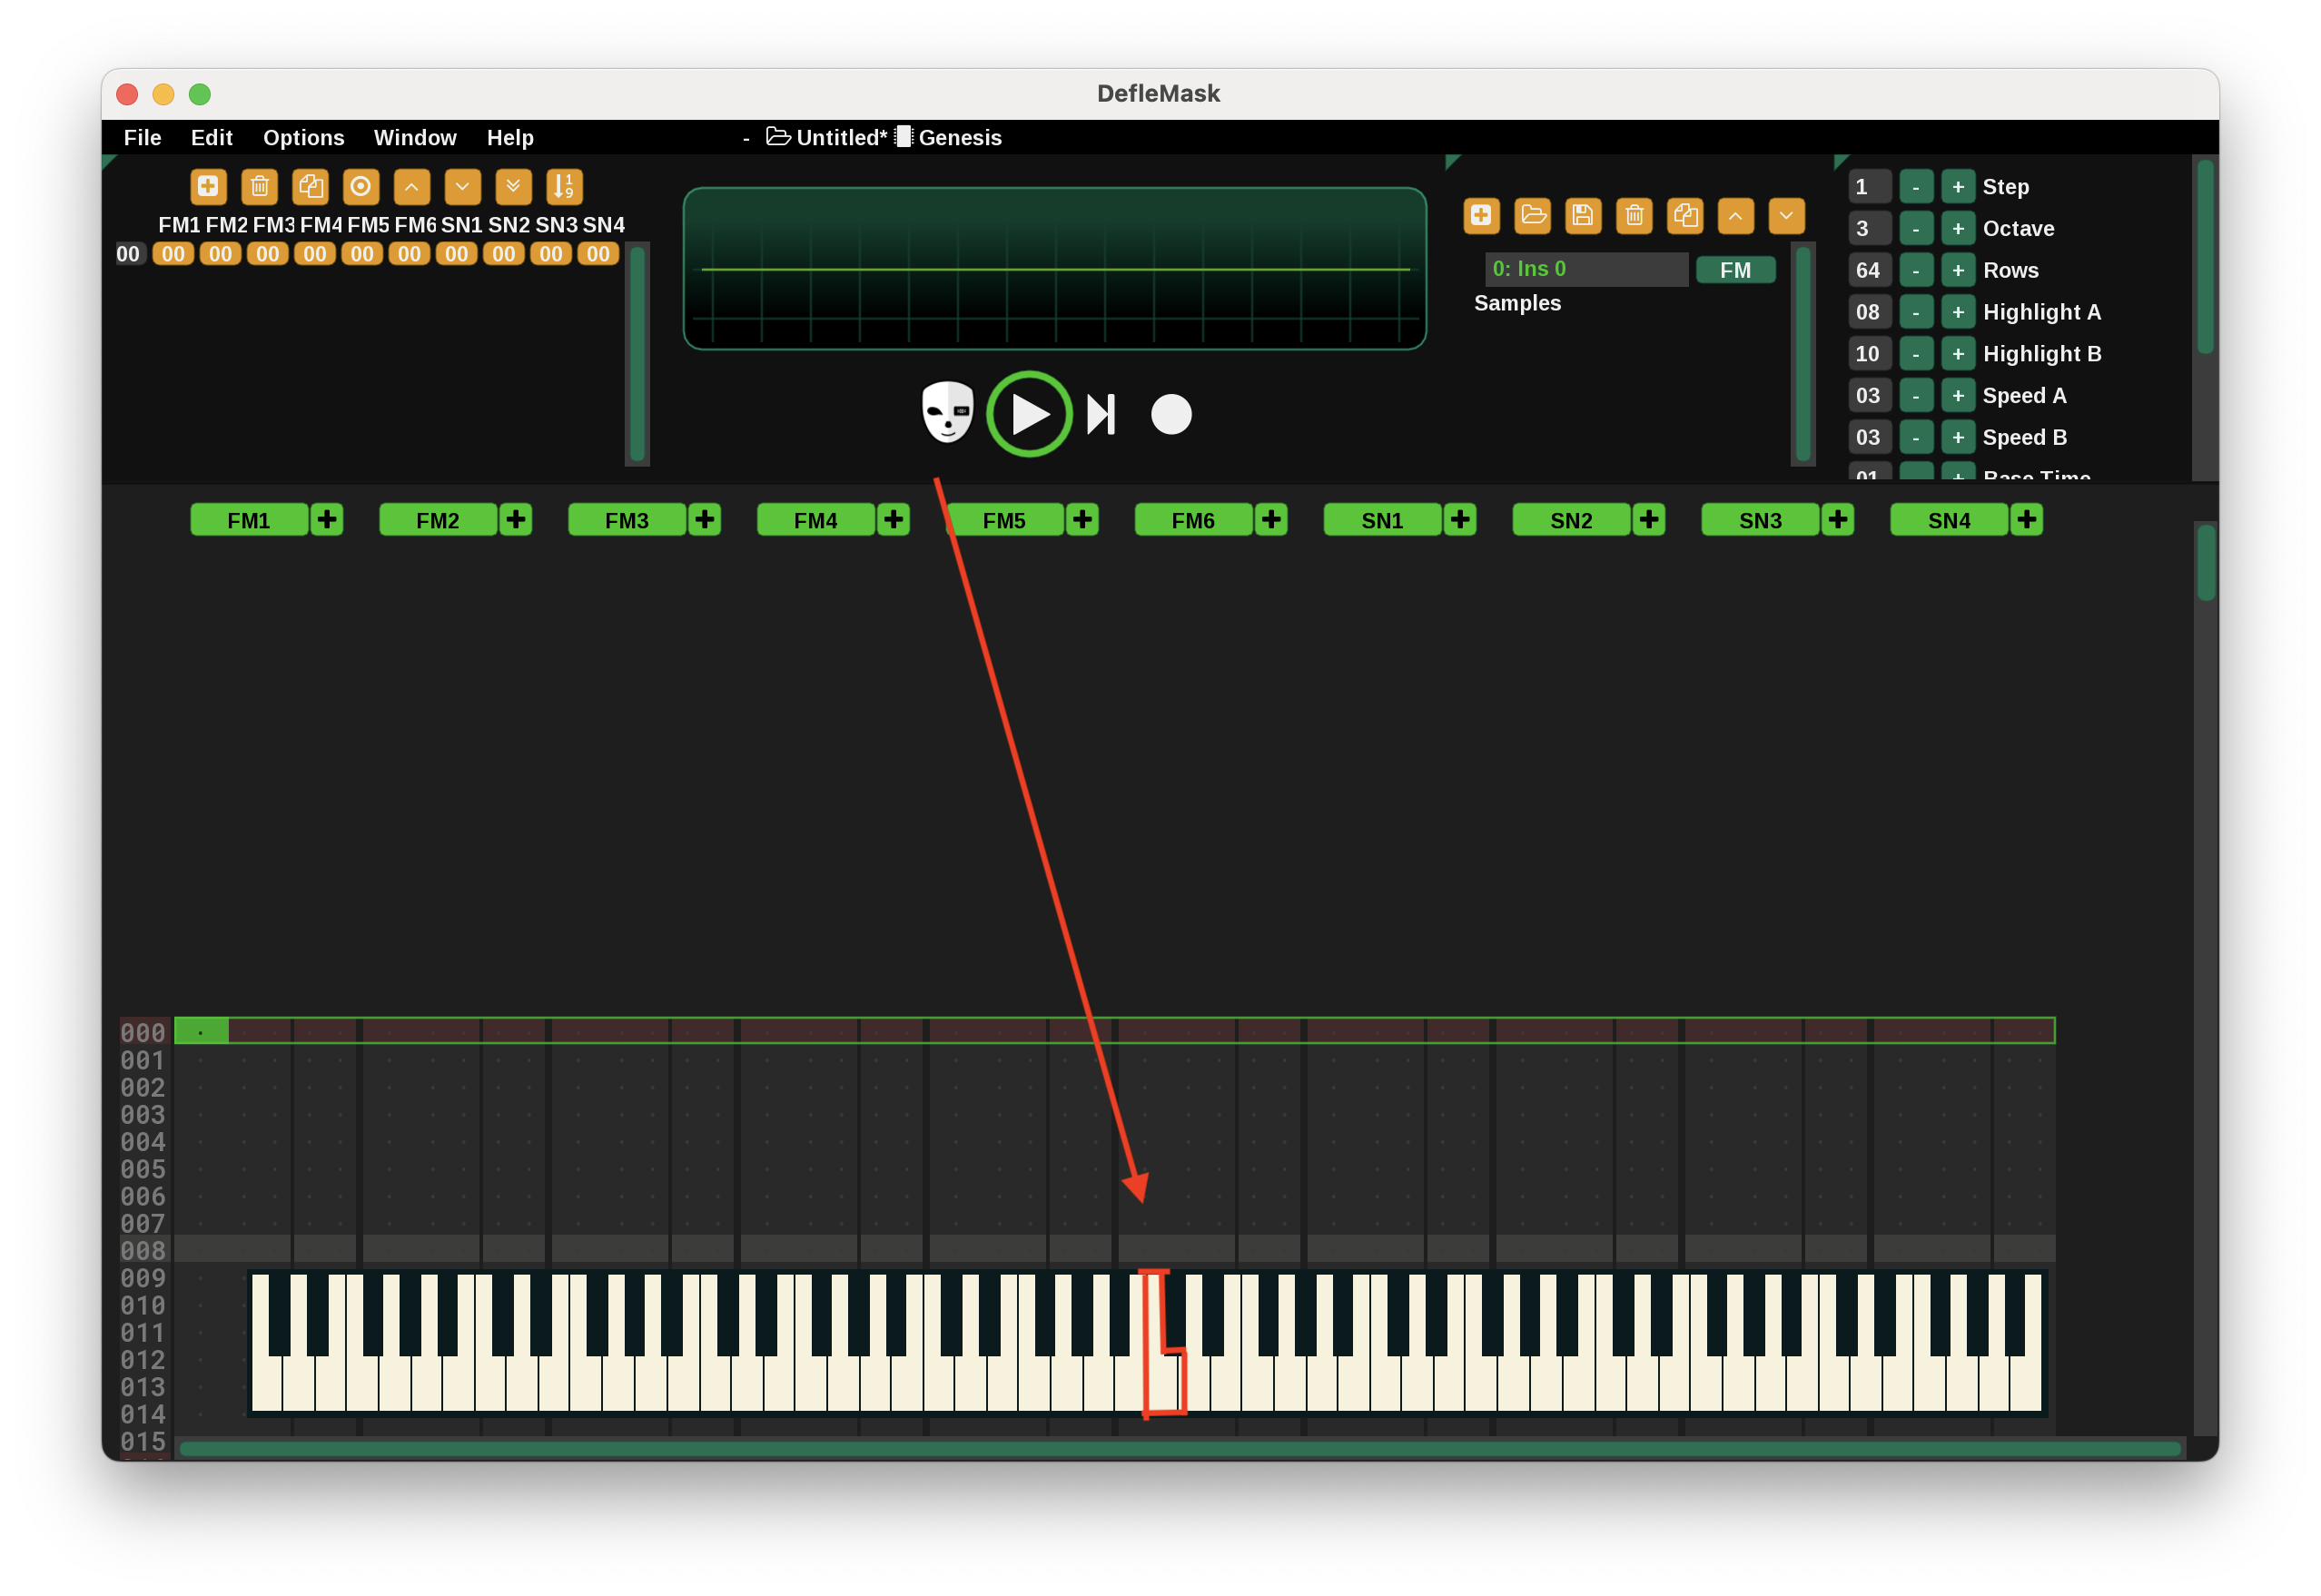
The second input method is using the onscreen musical keyboard at the bottom of the screen. Clicking on a key plays the corresponding note. For example, try clicking on the middle C key, which is in the bright red box in the below diagram.
The third method would be to acquire a physical, musical keyboard that has MIDI output and connect it to your computer. This is definitely the best way to input notes if you're familiar with how to play piano, etc. I don't have a MIDI keyboard, so I use the onscreen keyboard and just input notes slowly.
Okay Lets Actually Record Something
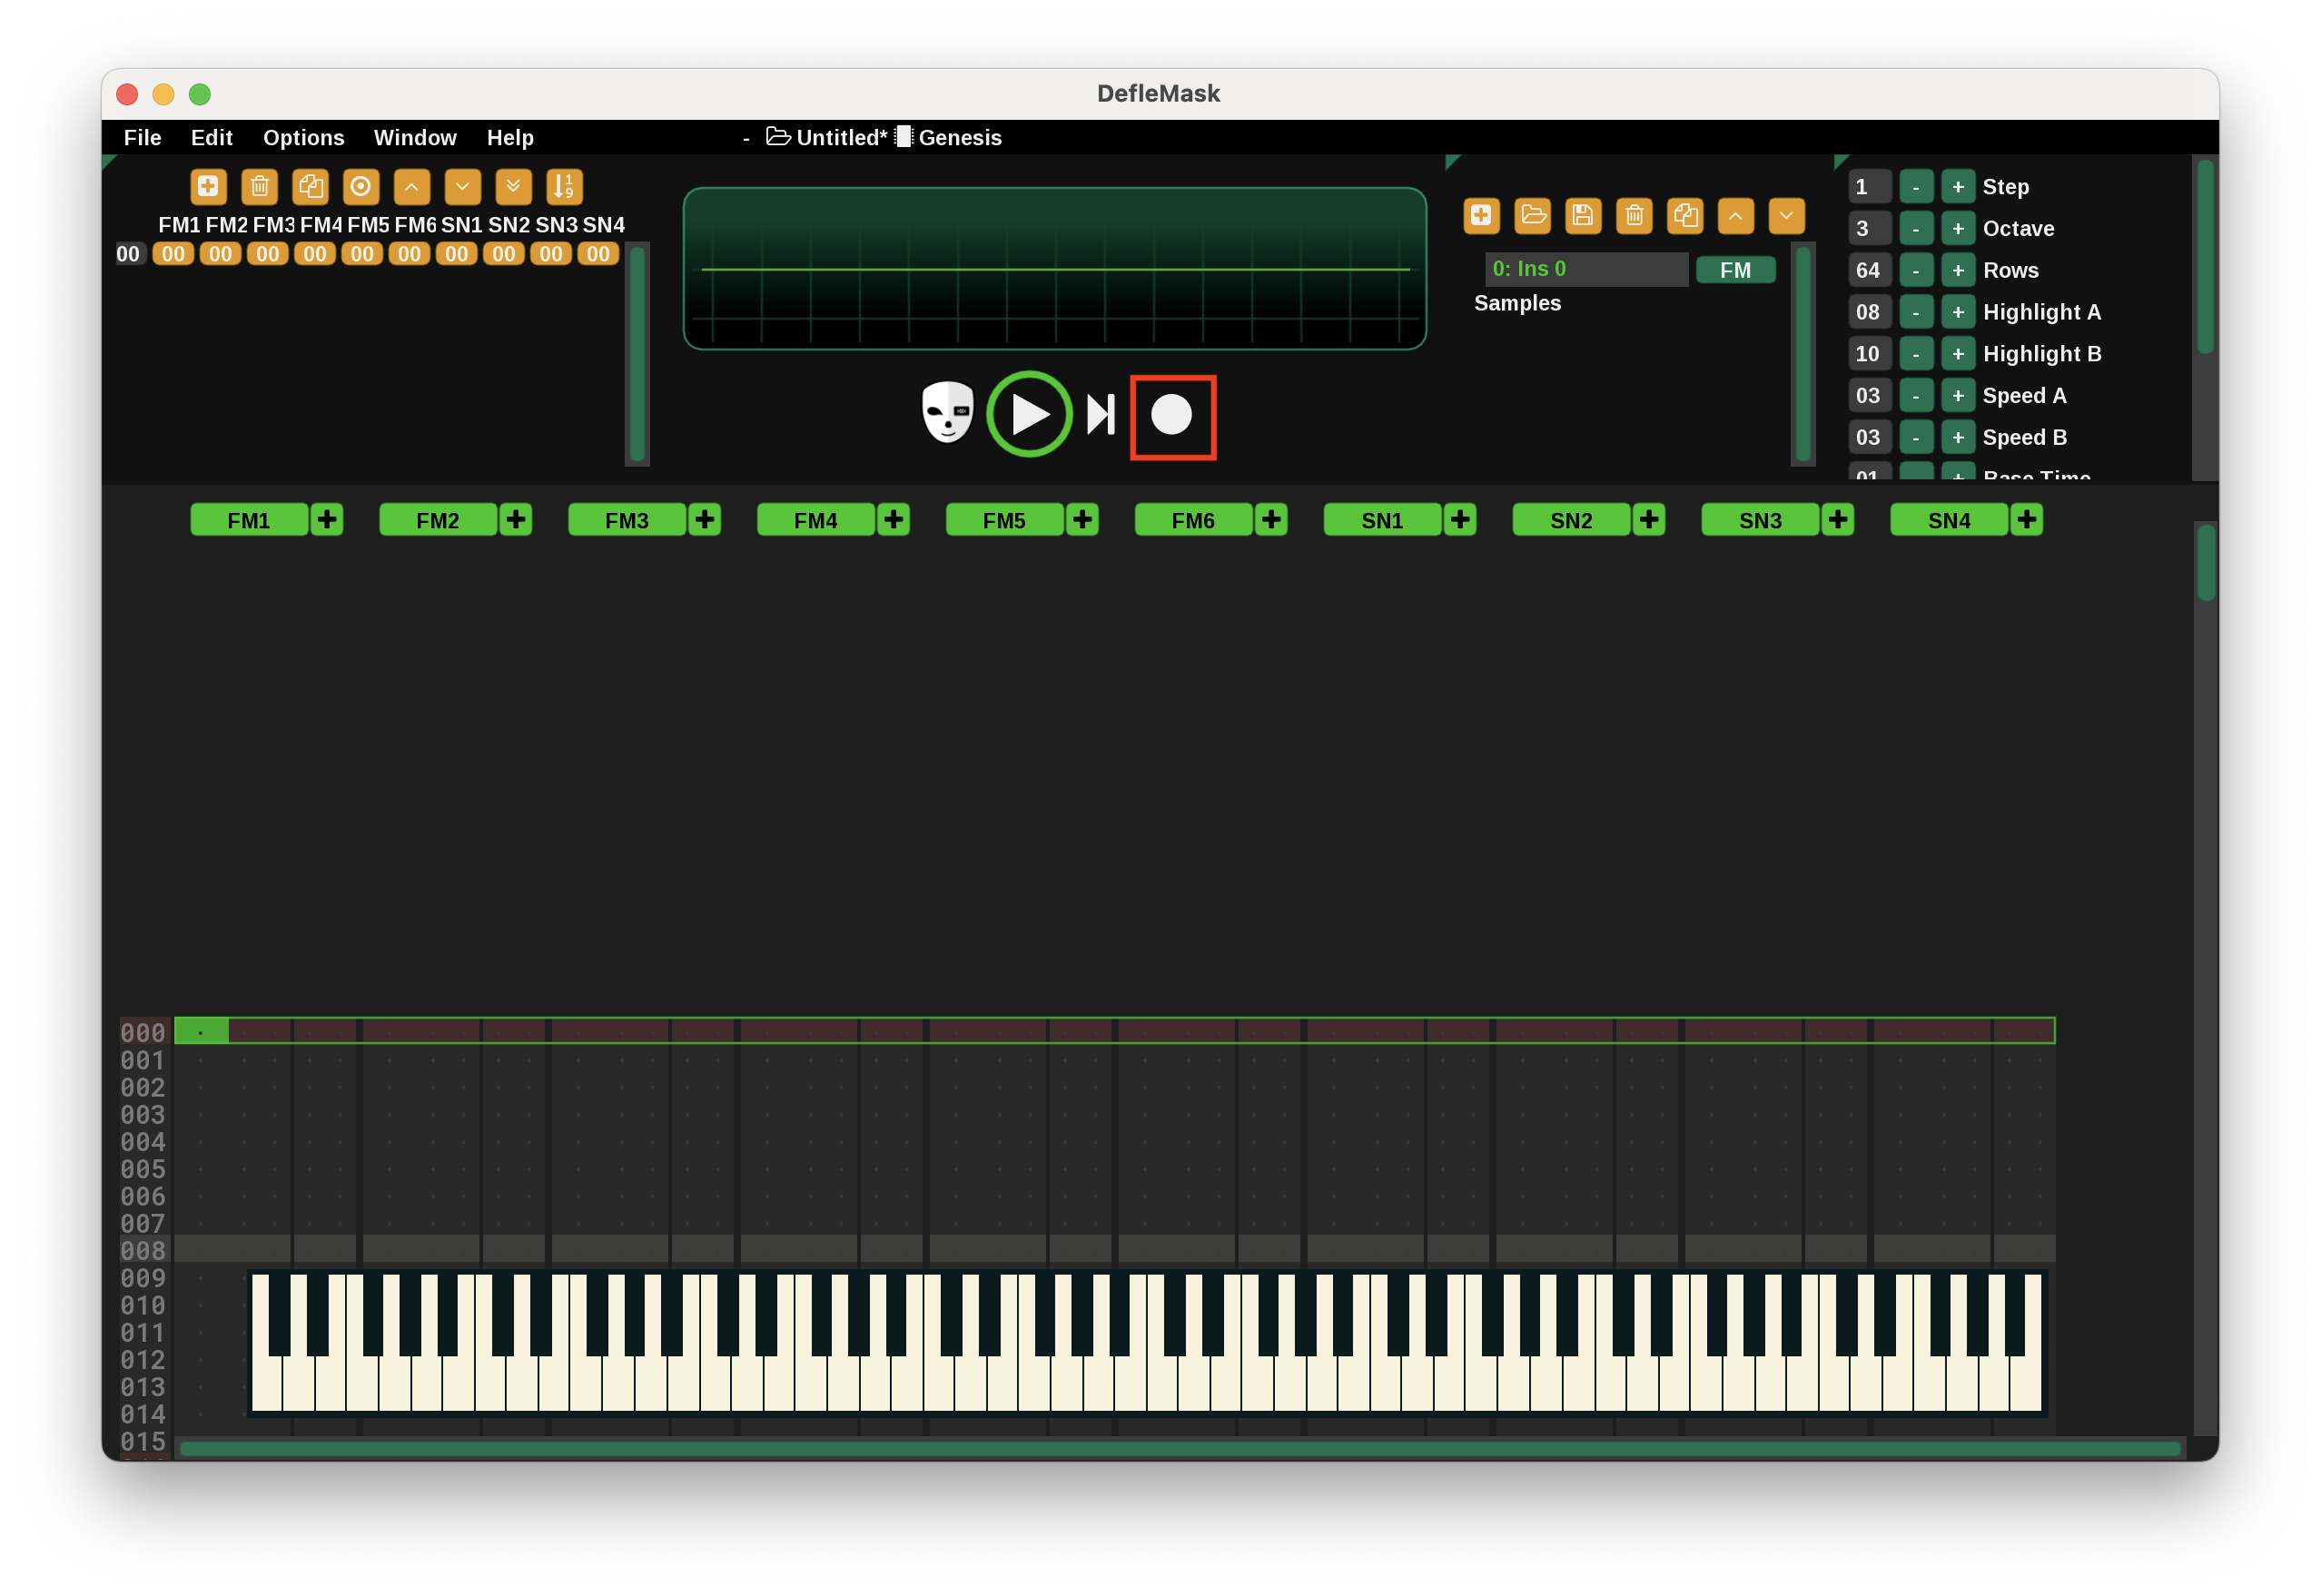
Ideally, at this point you've been able to click an onscreen key or press a button and produce a note. That's super. Now, let's actually record something. Go ahead and click on the "record" button (boxed in bright red below).
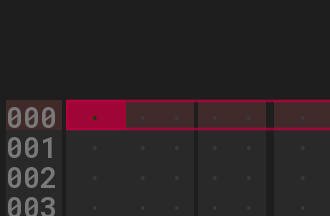
About 2/3 of the way down the screen on the left side, there's an "000". Click immediately to the right of that "000". The left part of the cell should be highlighted in red like this:
Now, click on the middle C on the onscreen keyboard. You should see the cell populated like this:
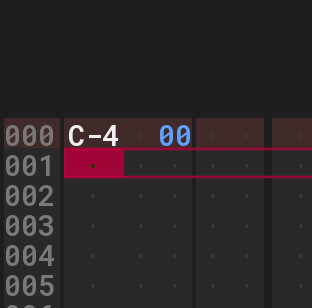
There's a lot of different numbers and letters that can fit into a single cell. They don't all need to be populated in every cell. Here, the notation signifies the note recorded (C), the octave (4) and the instrument number (00). A few additional comments on this:
the below picture (borrowed from the manual) depicts a cell fully filled in:
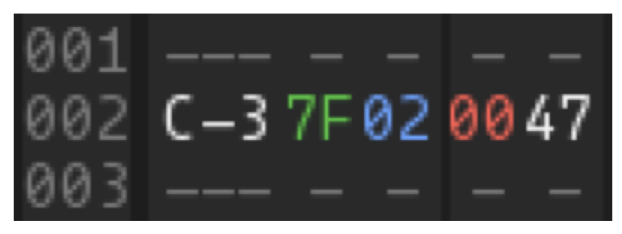
This notation means:
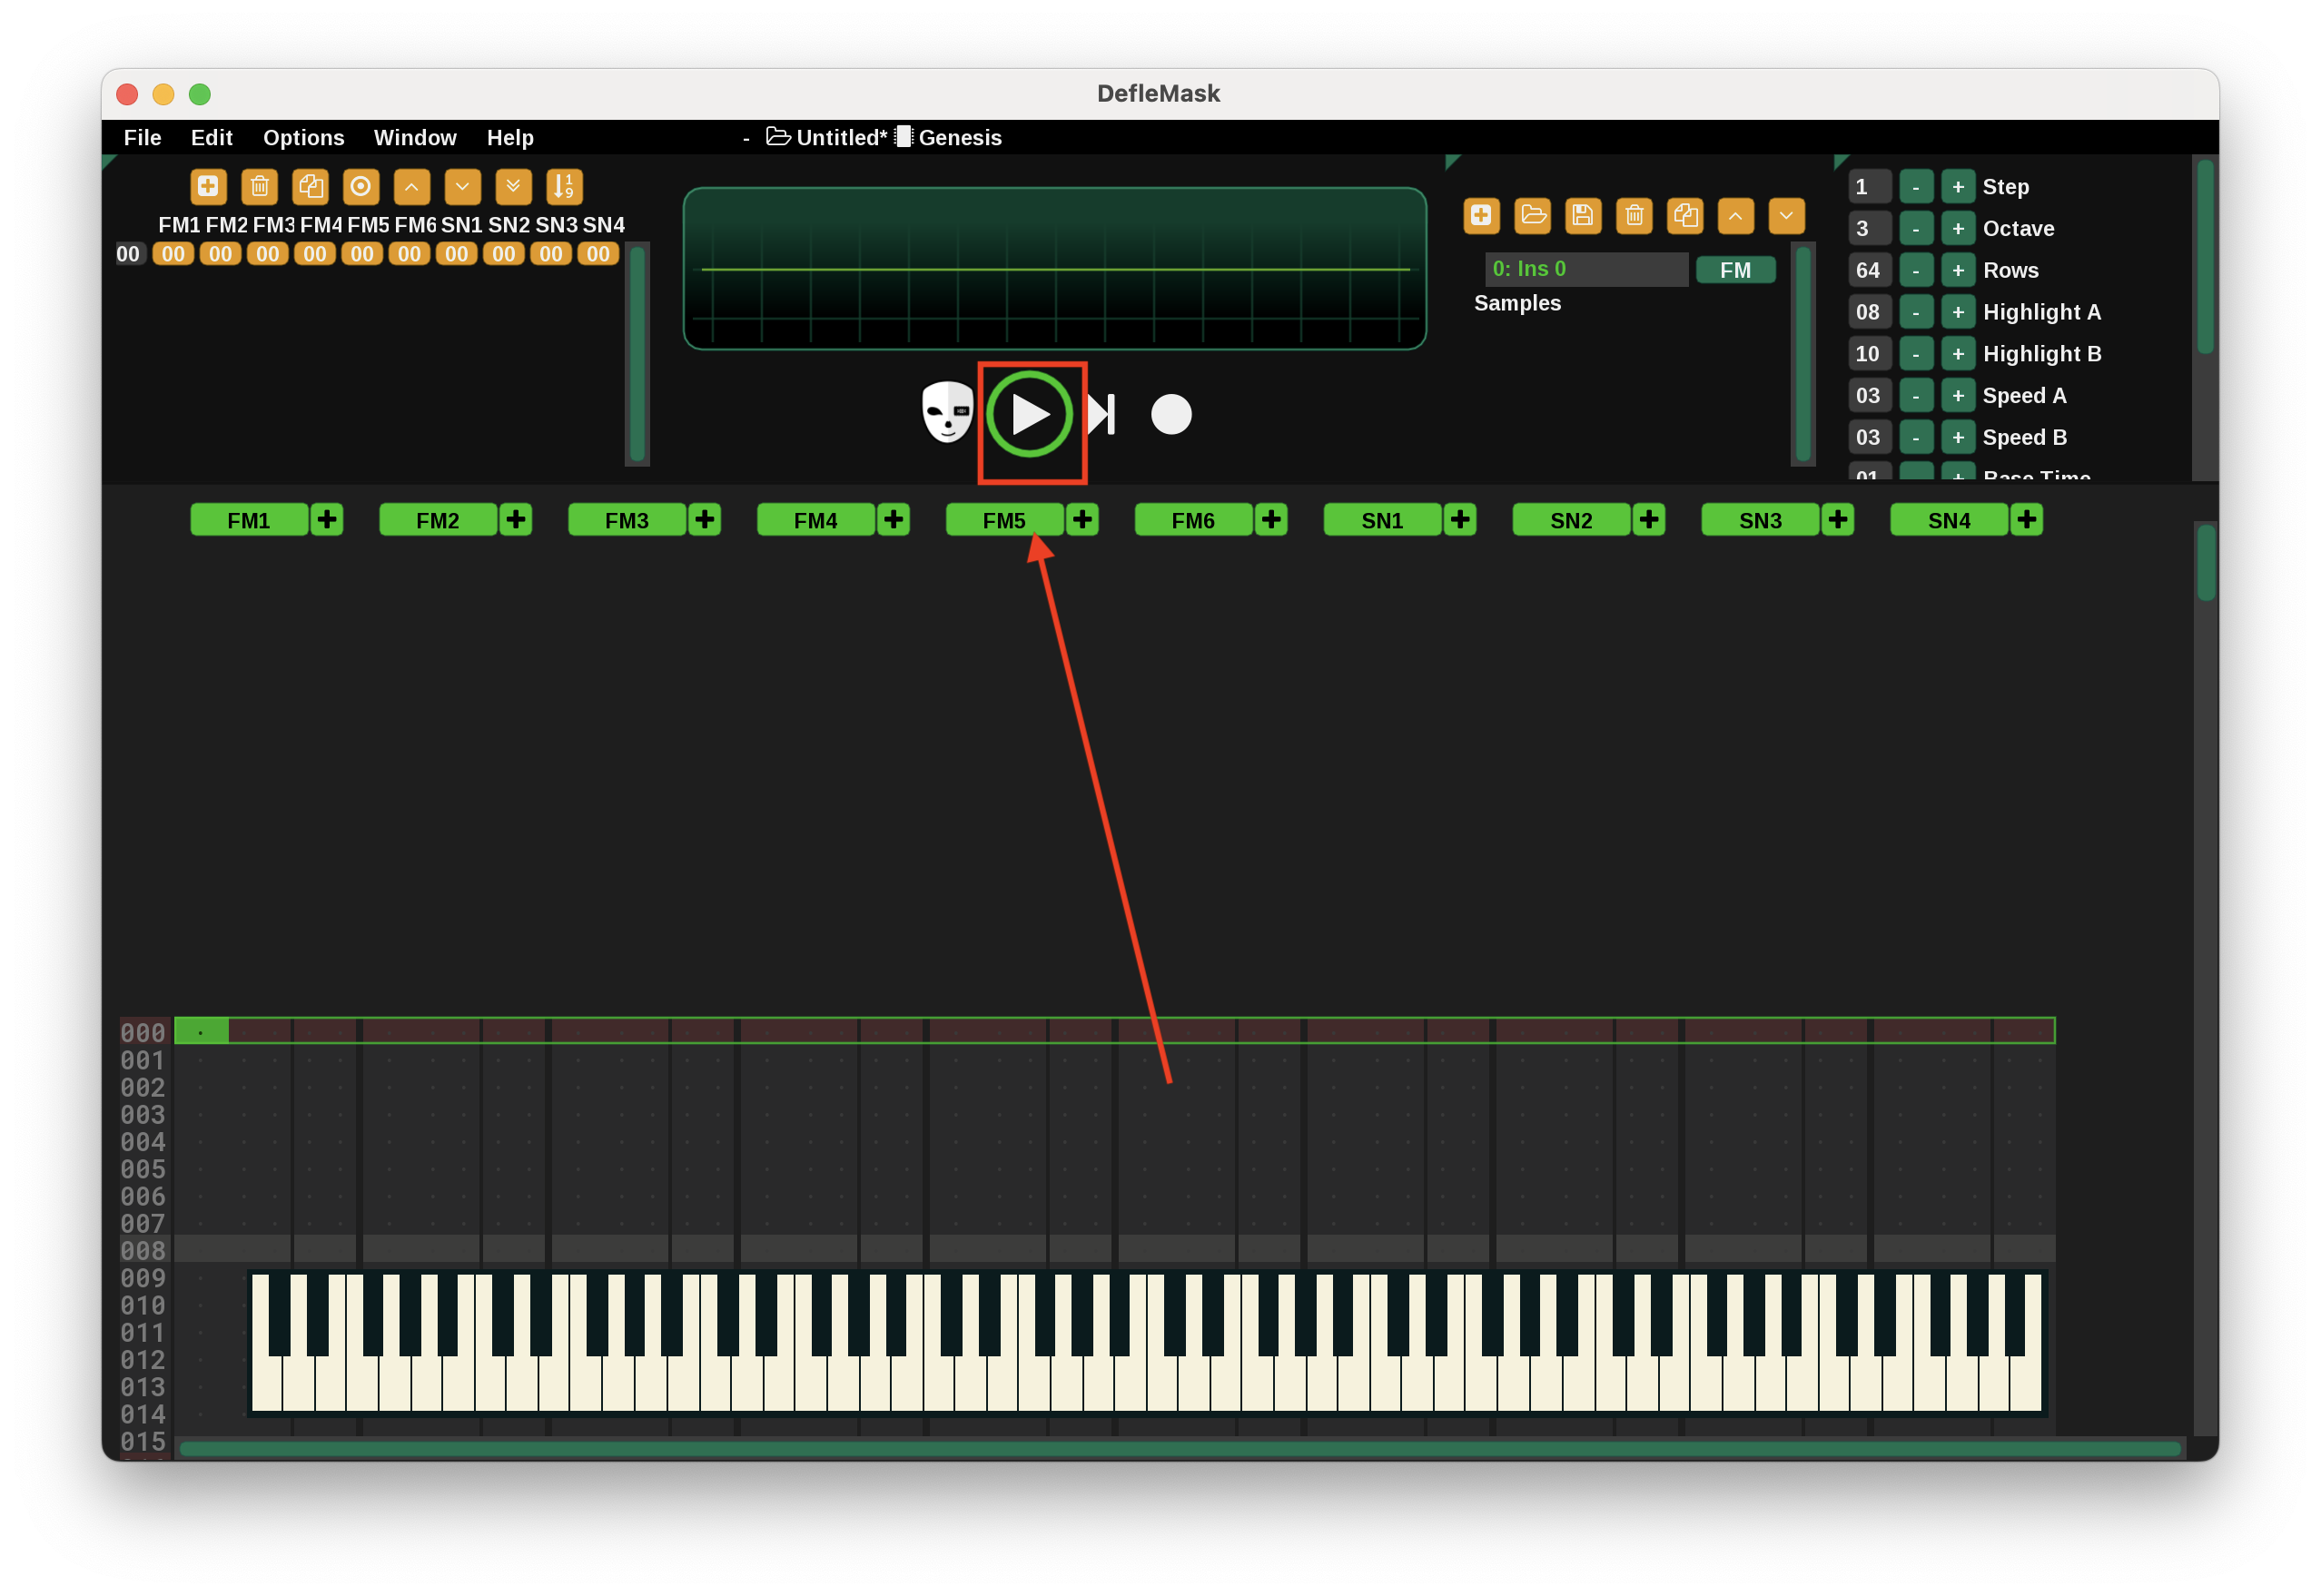
Great! Let's hit that big play button in the center of the upper third part of the screen. It should play a C! Click again to pause.
Changing Instruments
When you played that note, you should have heard sort of a generic synth sound. It sounds to me like an organ. The instruments are managed and labeled in the panel marked below:
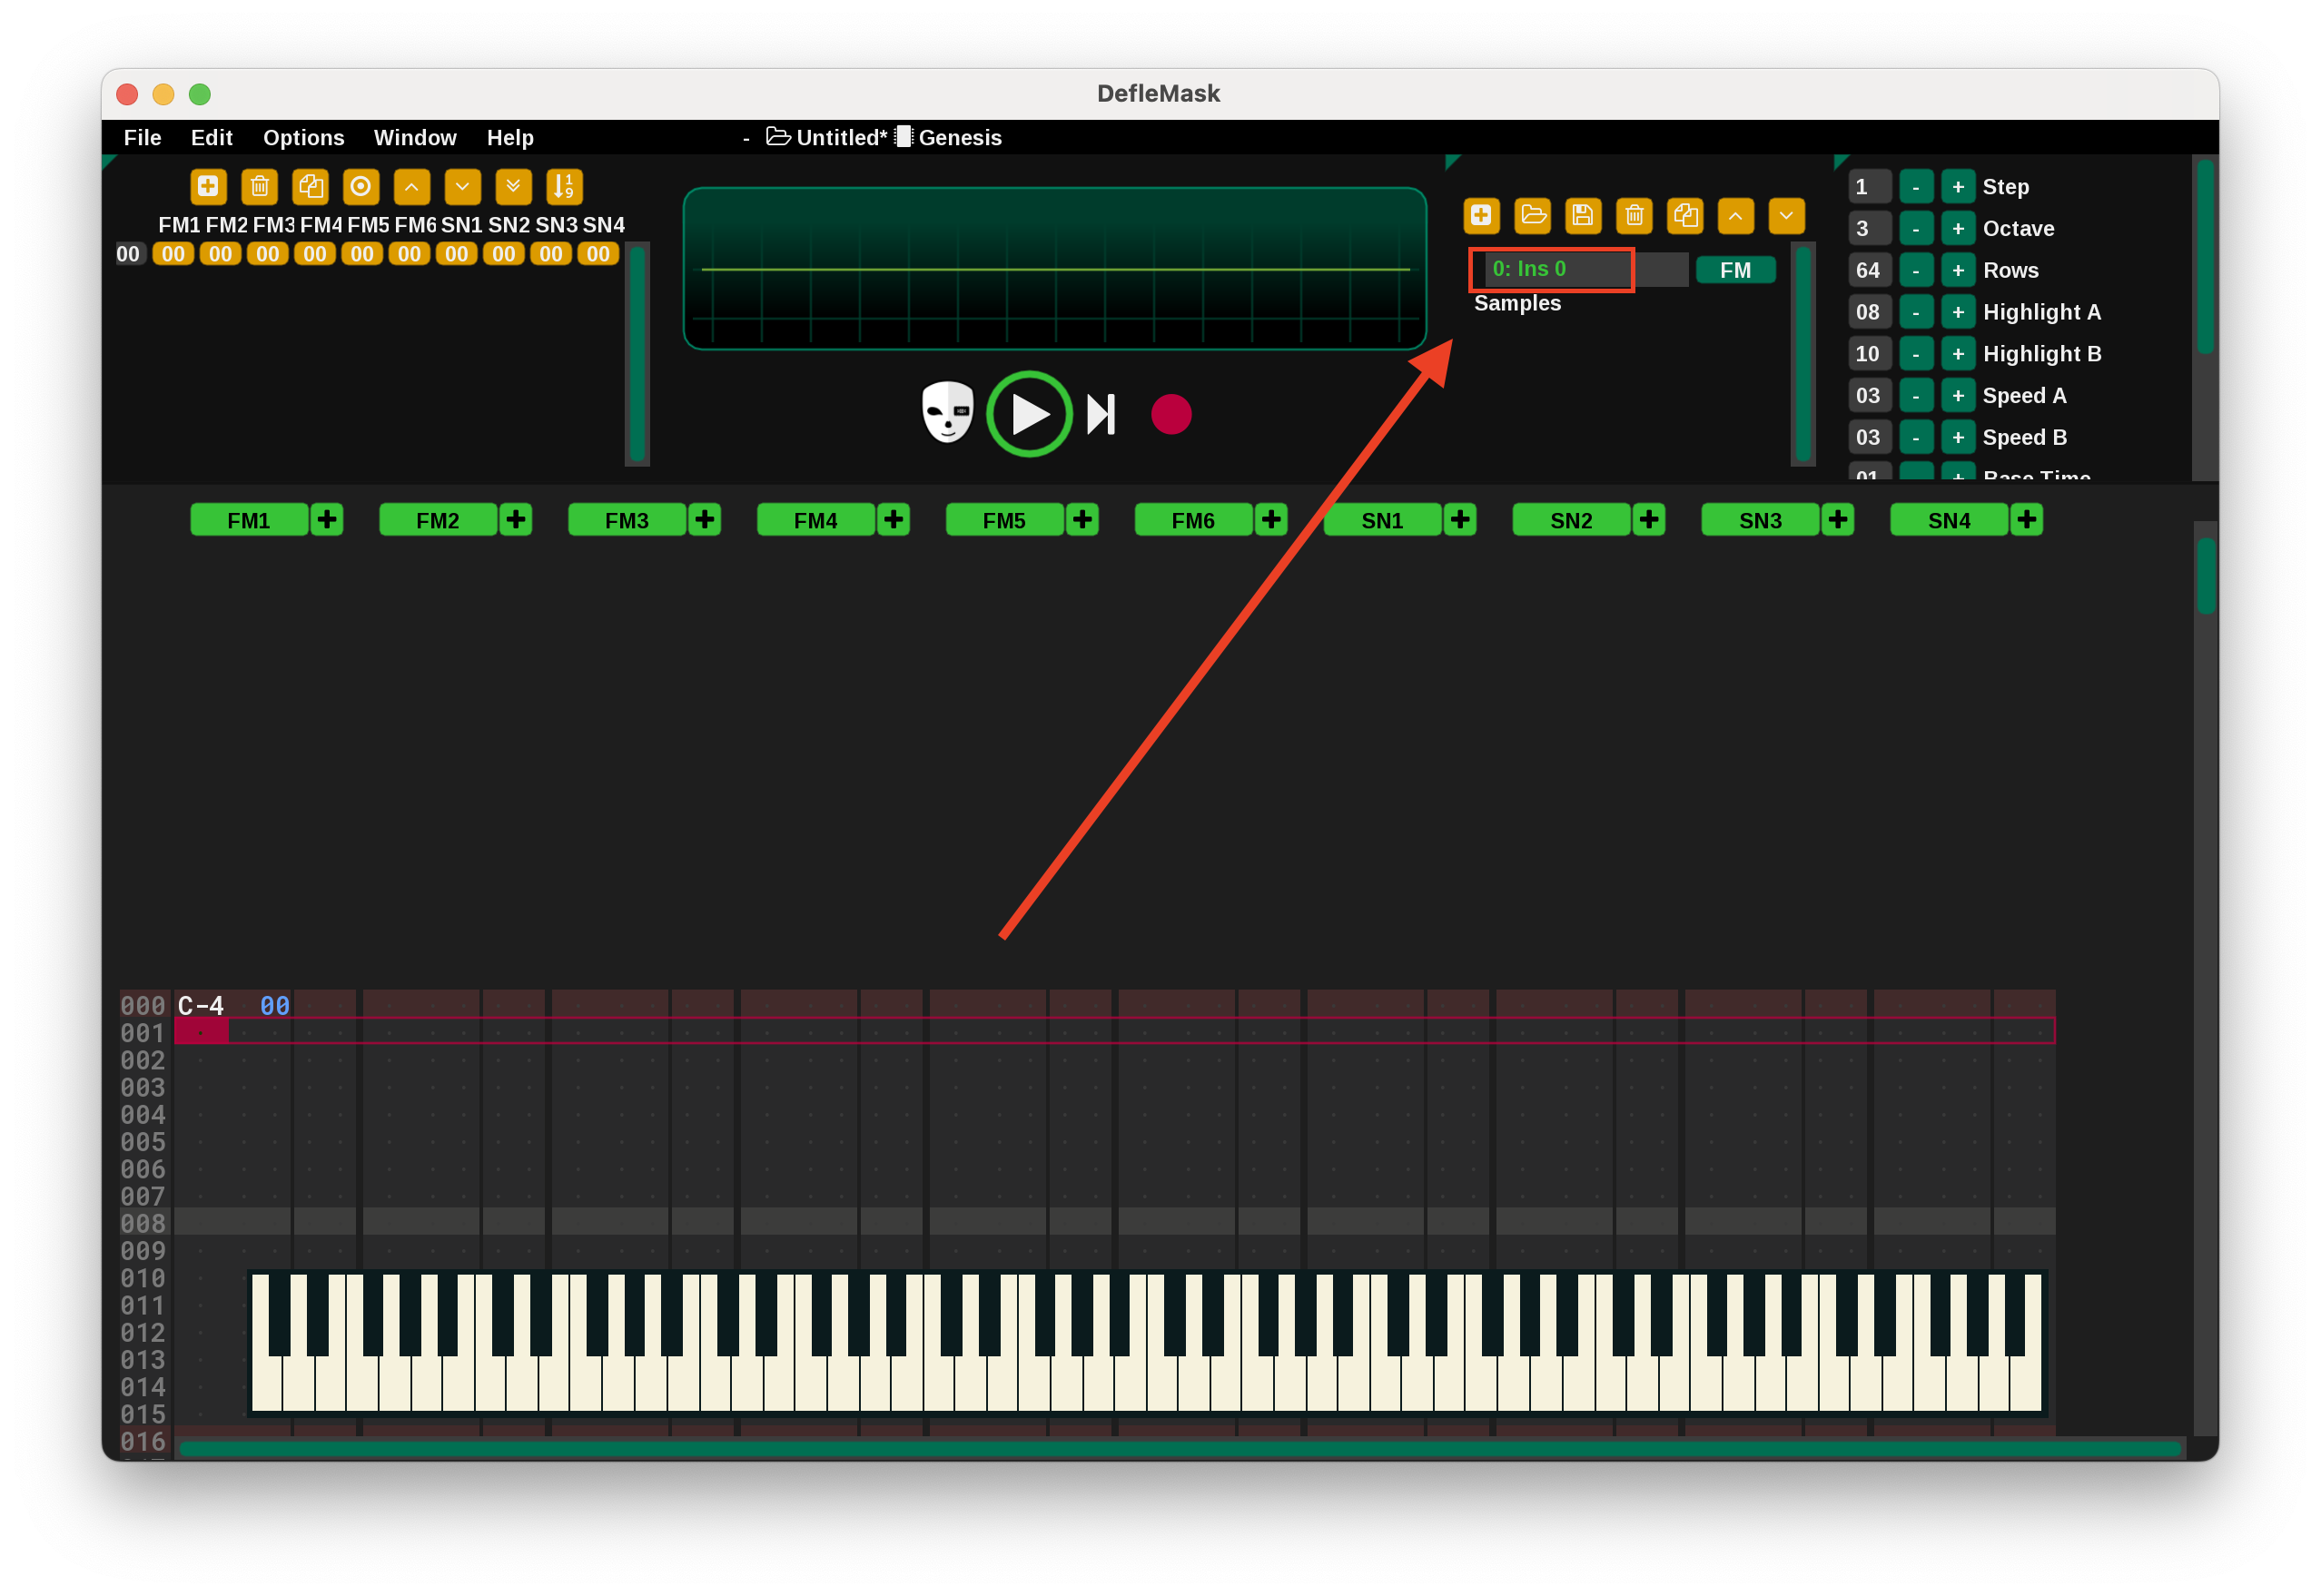
Currently, we have one instrument. It is instrument 0 and it's labeled "Ins 0". Let's try changing instrument 0's voice. Click on the "open" button highlighted below:
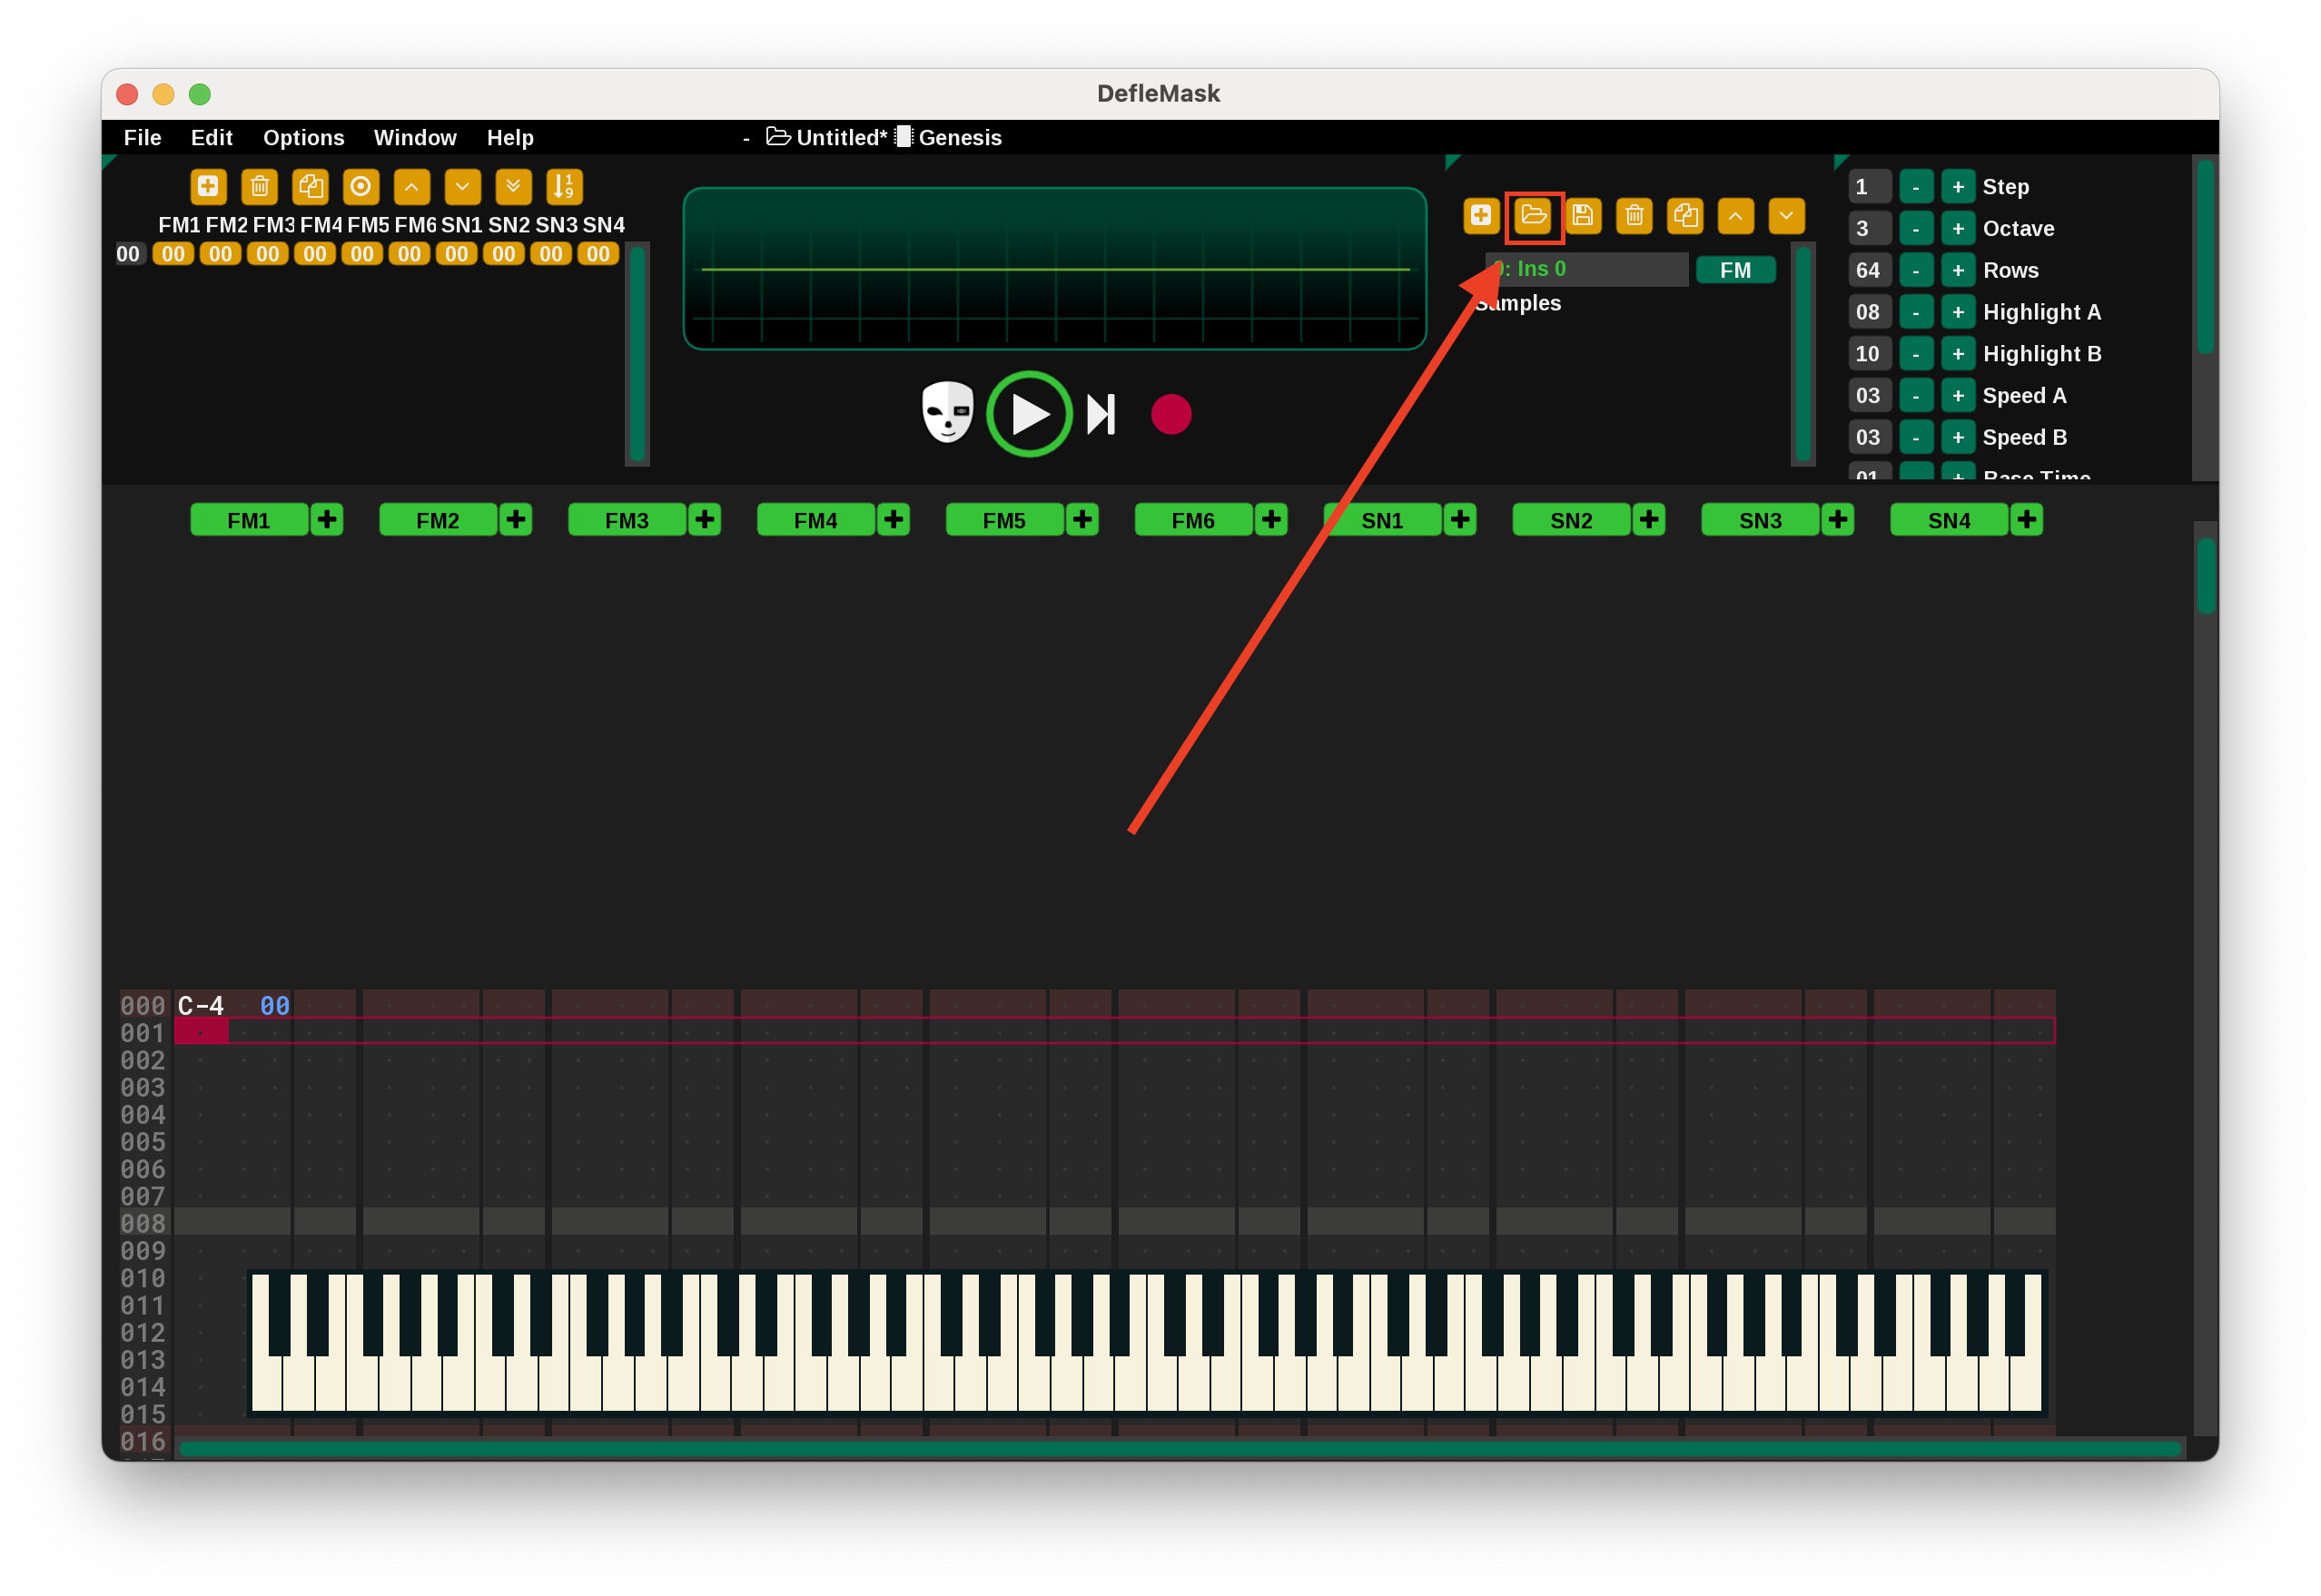
This will bring up a file selection dialogue. Open the "FM" folder, and then "Piano 1.dmp".
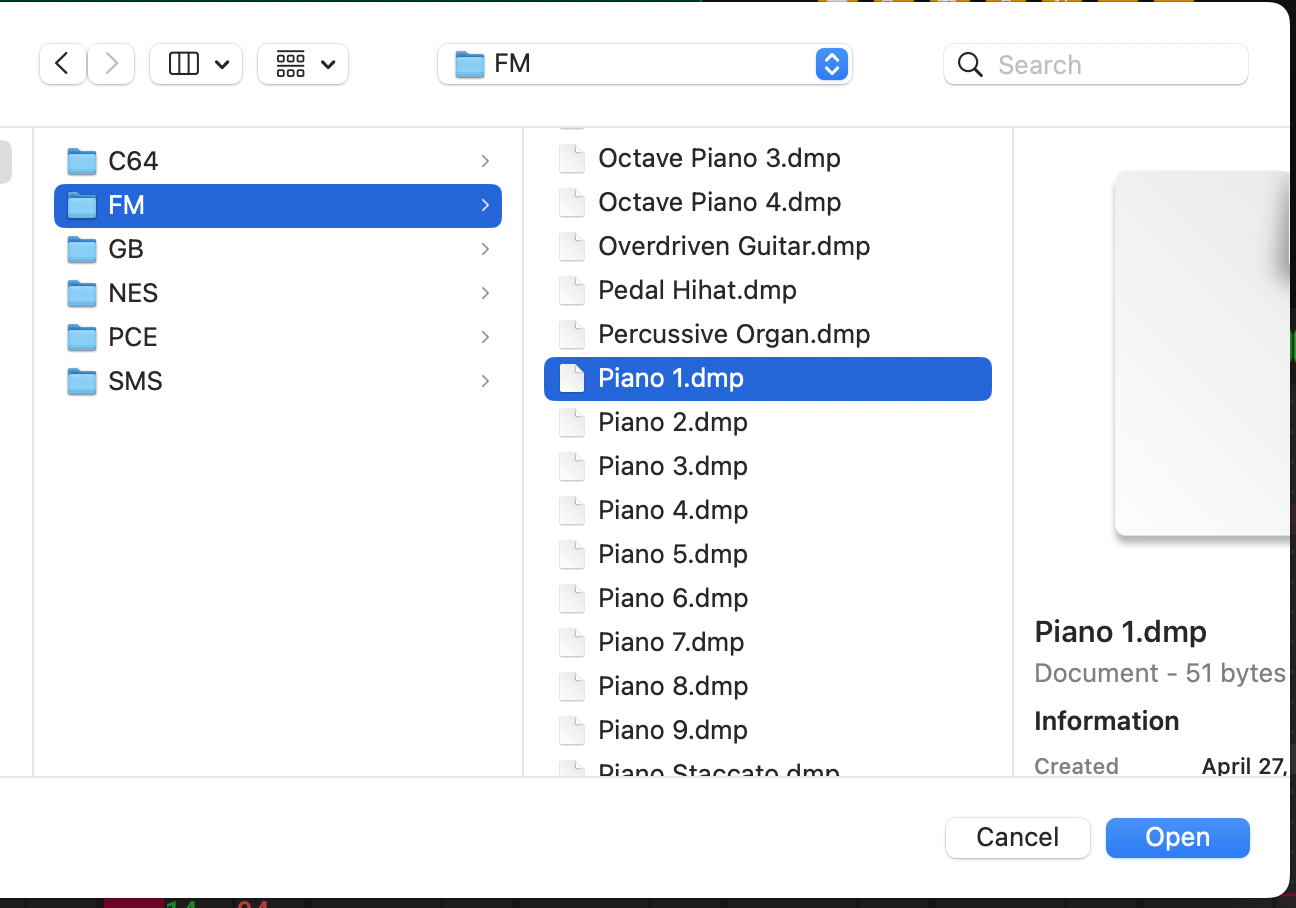
The label for instrument 0 has no changed to "Piano 1".
Press the "play" button again:
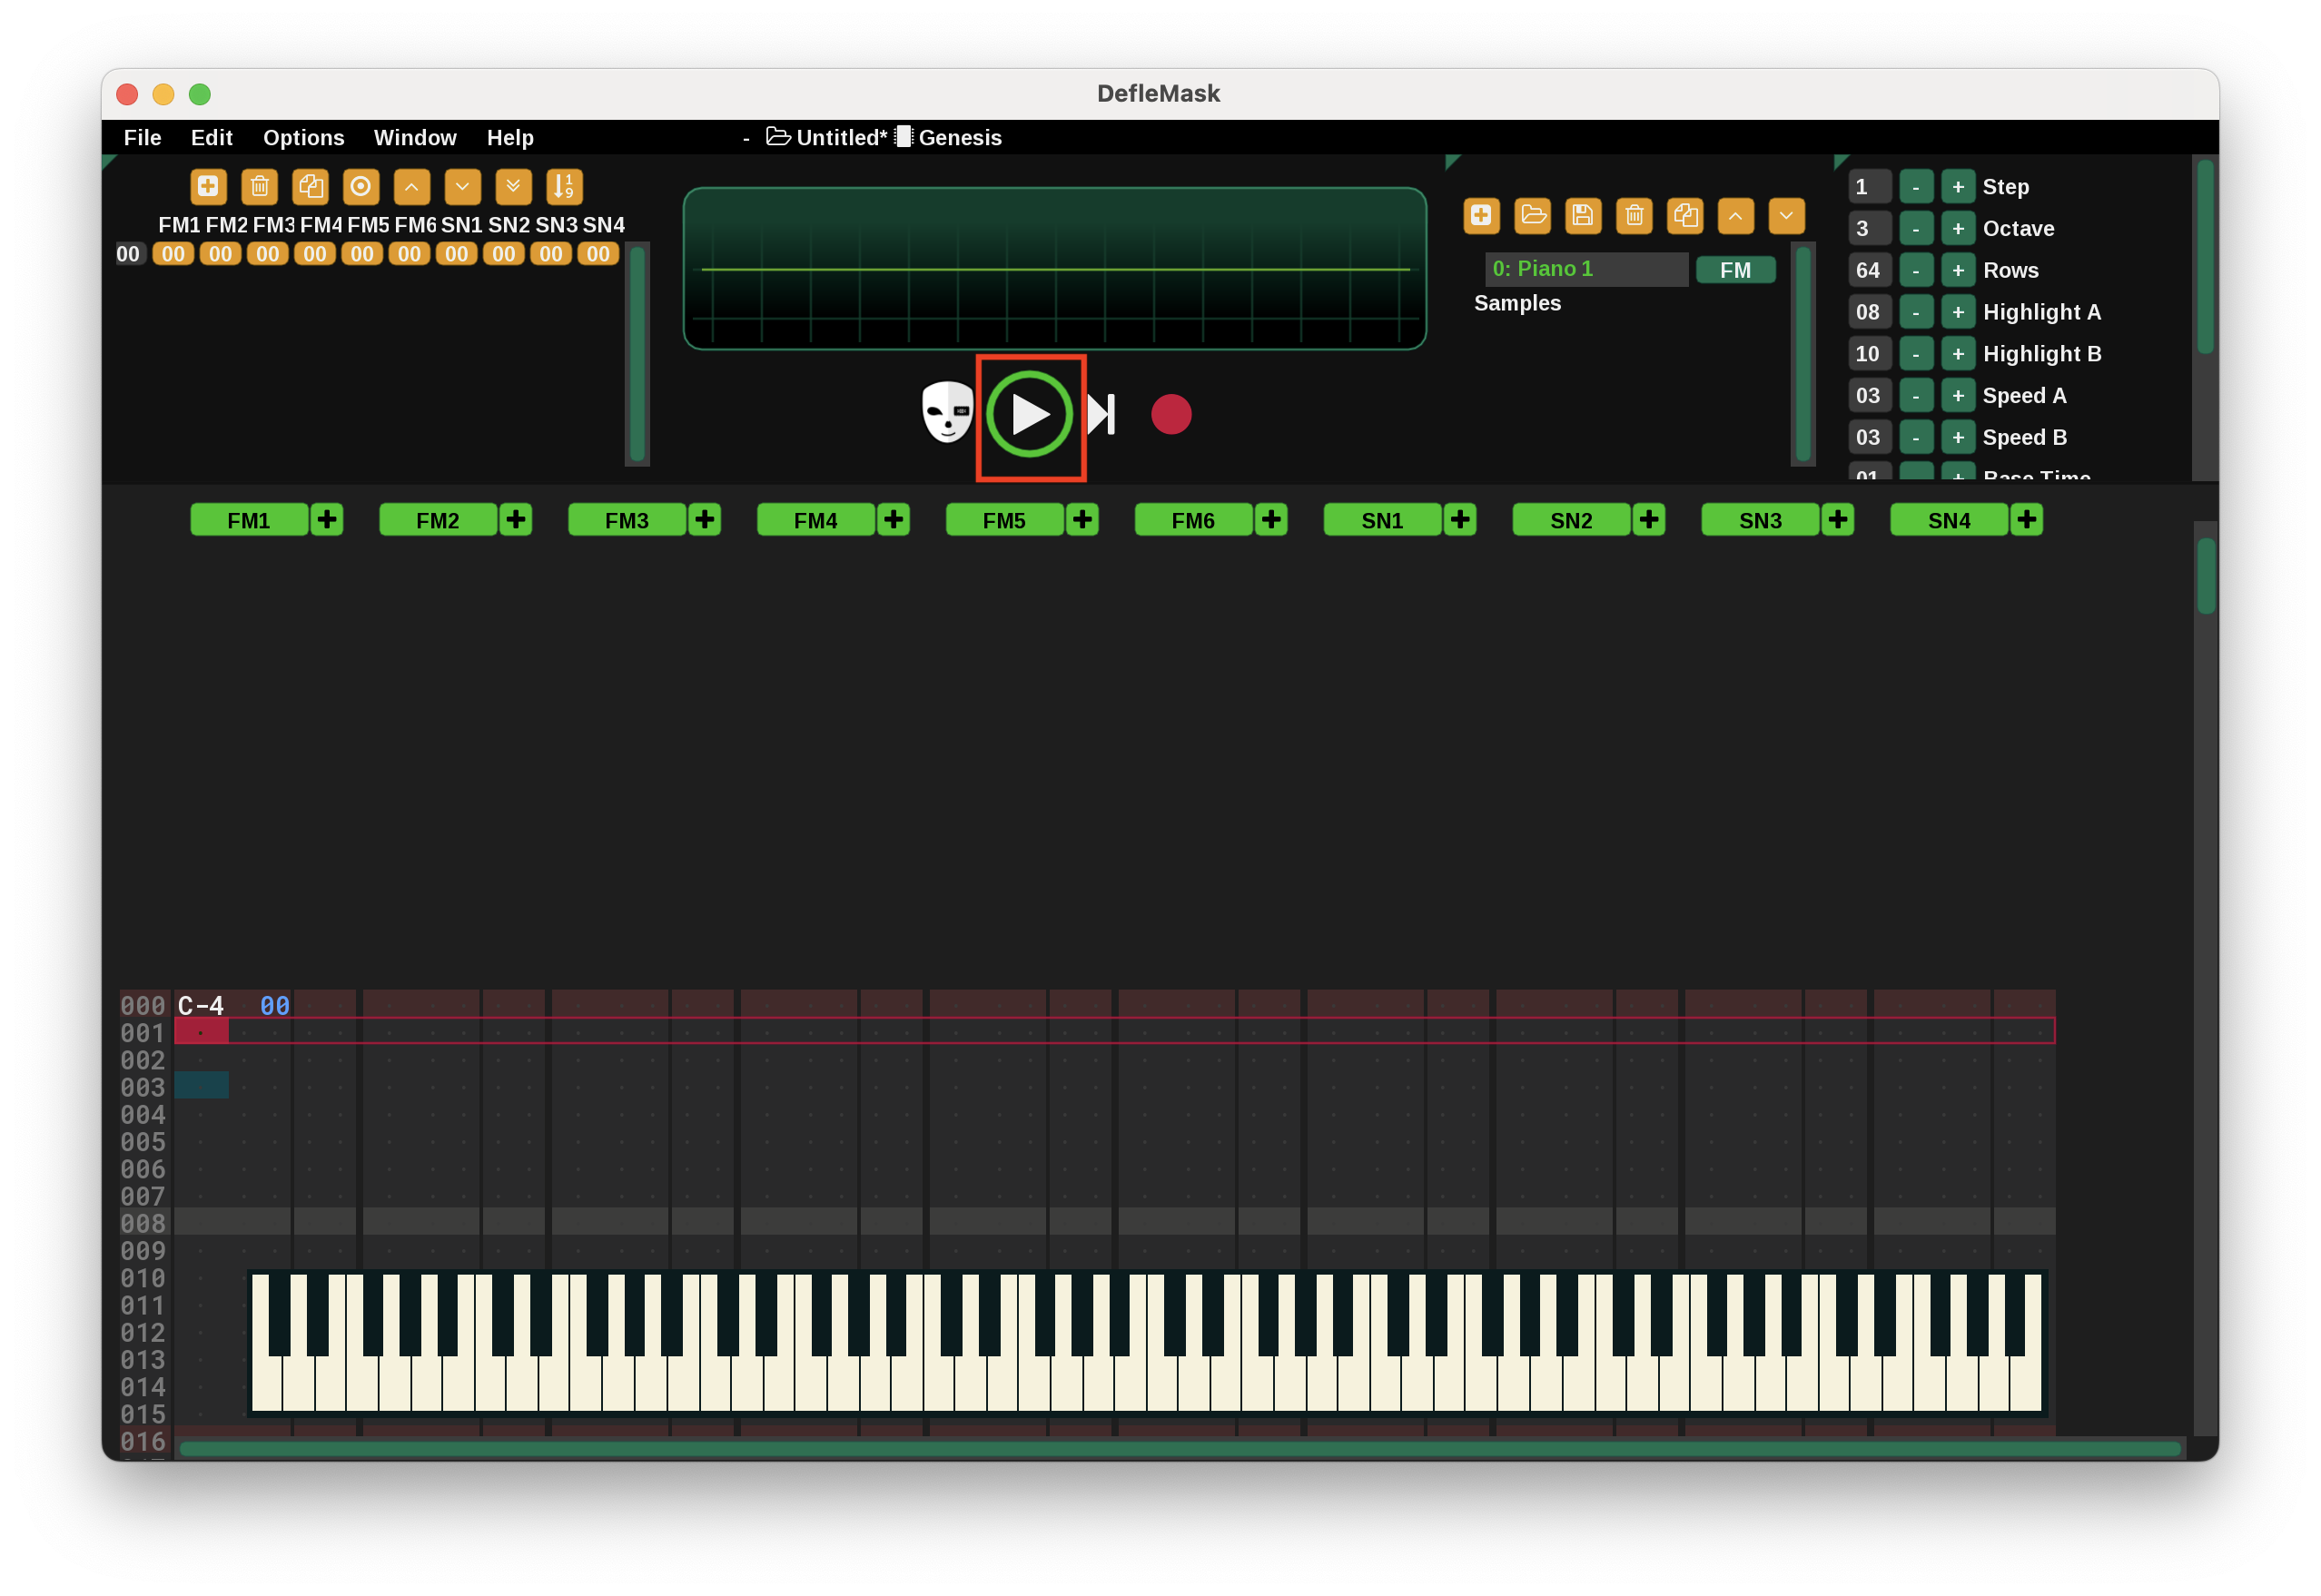
Cool. Now our one note sounds like a piano! Let's go ahead and click the onscreen keyboard to record more notes. Don't worry if your notes are different than mine:
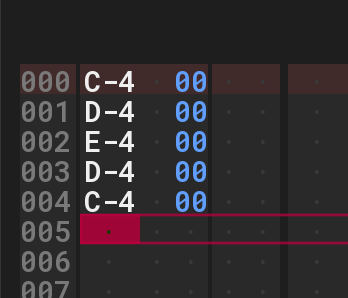
Now when you press the "play" button, you will hear a very quick run of piano keys.
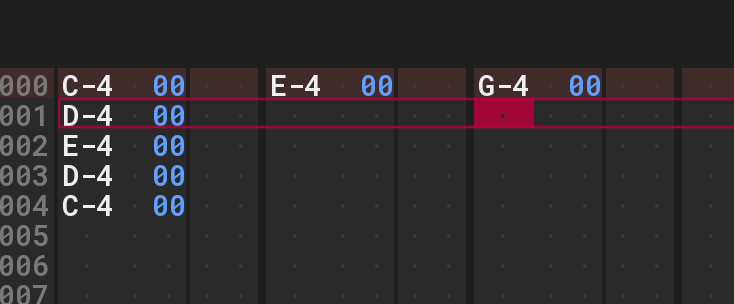
We can also play multiple notes simultaneously by utilizing additional channels. So far, all of our notes have been in the column labeled "FM1". Go ahead and click on the leftmost part of the first cell in the column labeled FM2. You should see the following subcell highlighted in red:
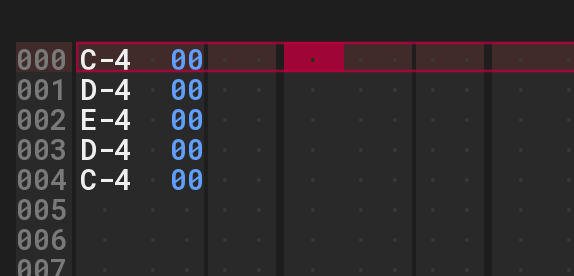
Then, go ahead and record another note. You could also add a note from FM3 to make a full chord.
Tempo
You've probably noticed at this point that the notes are being played very quickly. The default tempo is quite fast. We can adjust that by visiting the settings box:
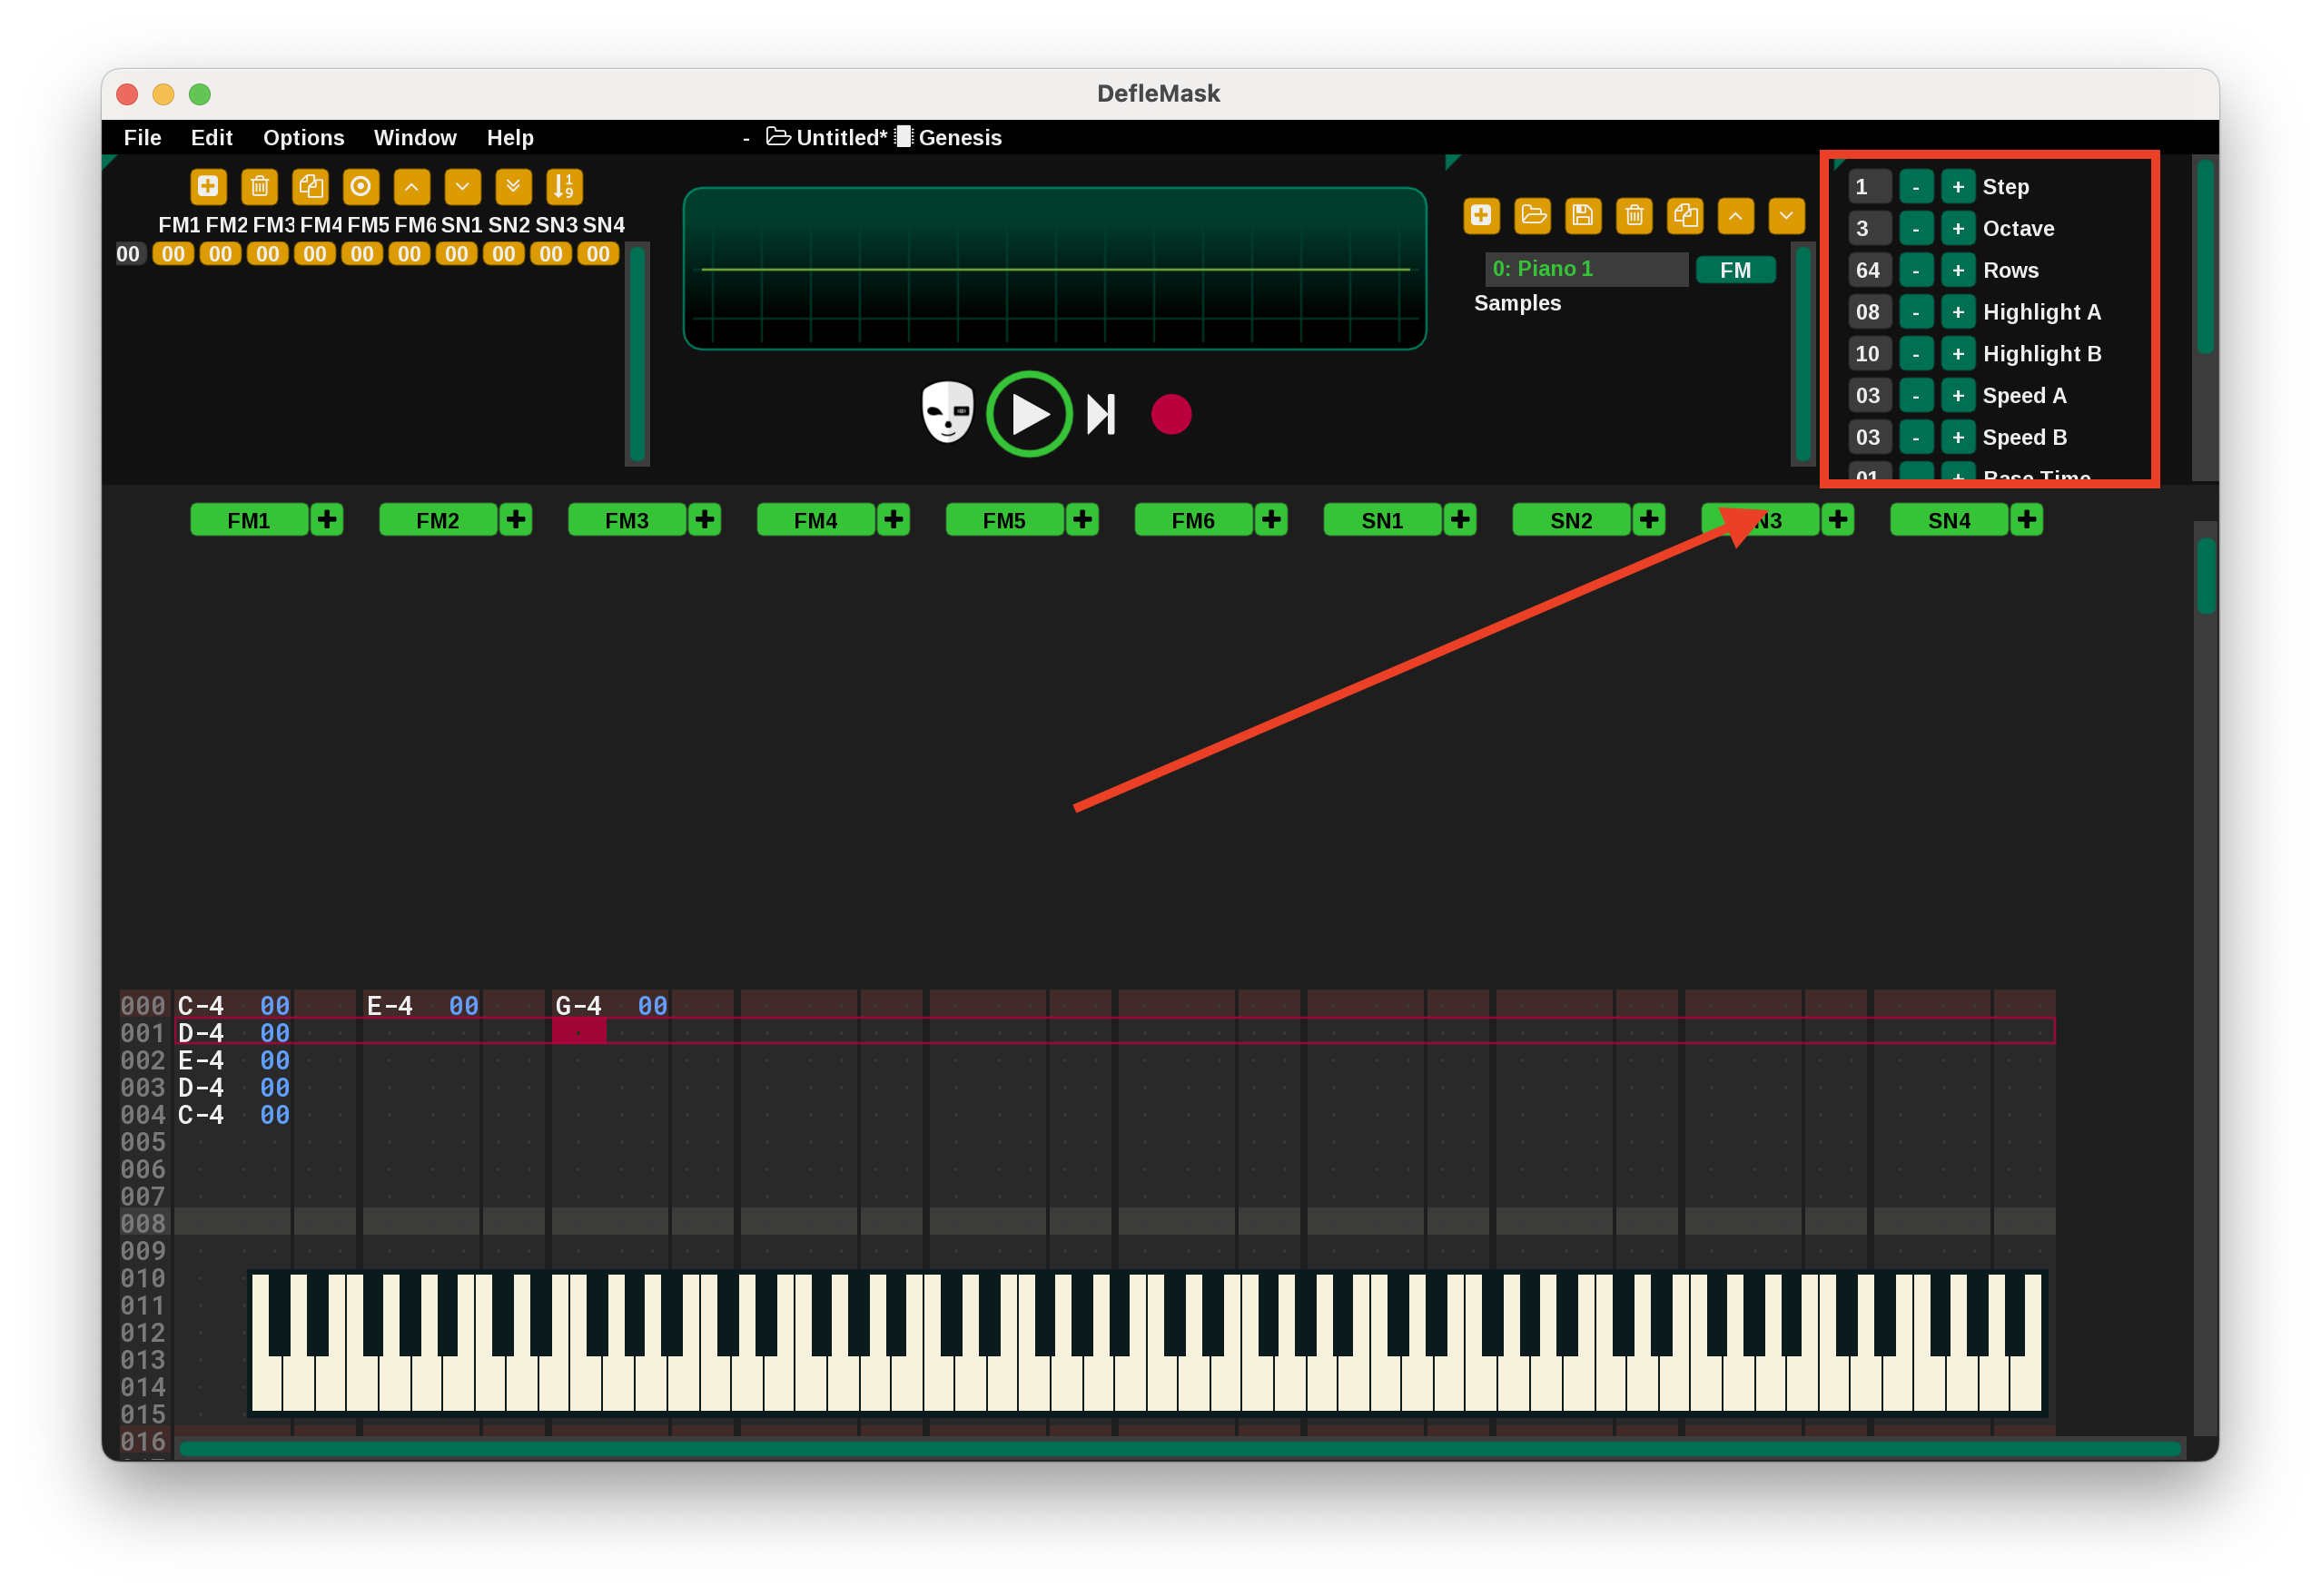
You don't immediately need to know what most of these numbers do. All we're going to do right now is increase "Base Time" to 4. Higher numbers here will decrease the tempo.
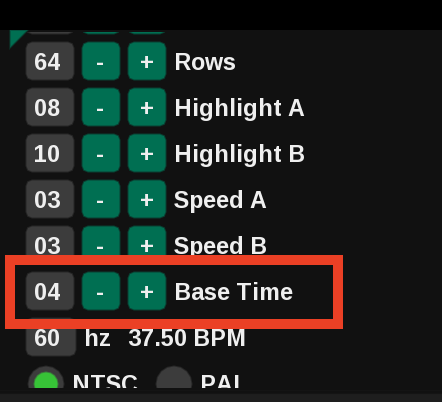
Press "play" again and note that the notes are being played at a slower pace this time.
Adding Another Voice
Let's add another instrument. Click on the "plus" button in the instrument panel:
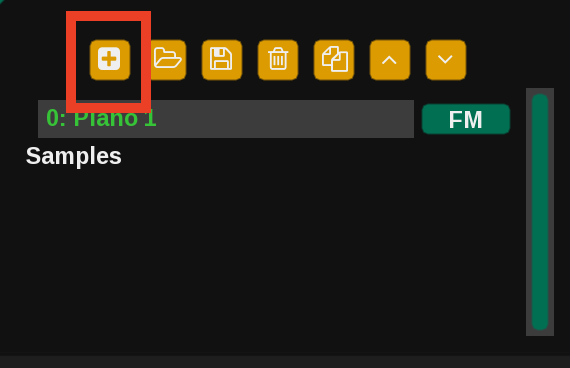
We have created a new instrument. The instrument is number 1 and it is labeled "Ins 1". Make sure the new instrument is highlighted and click the "open" button that we clicked earlier. Now open the "FM" folder and select "Kick 1.dmp".
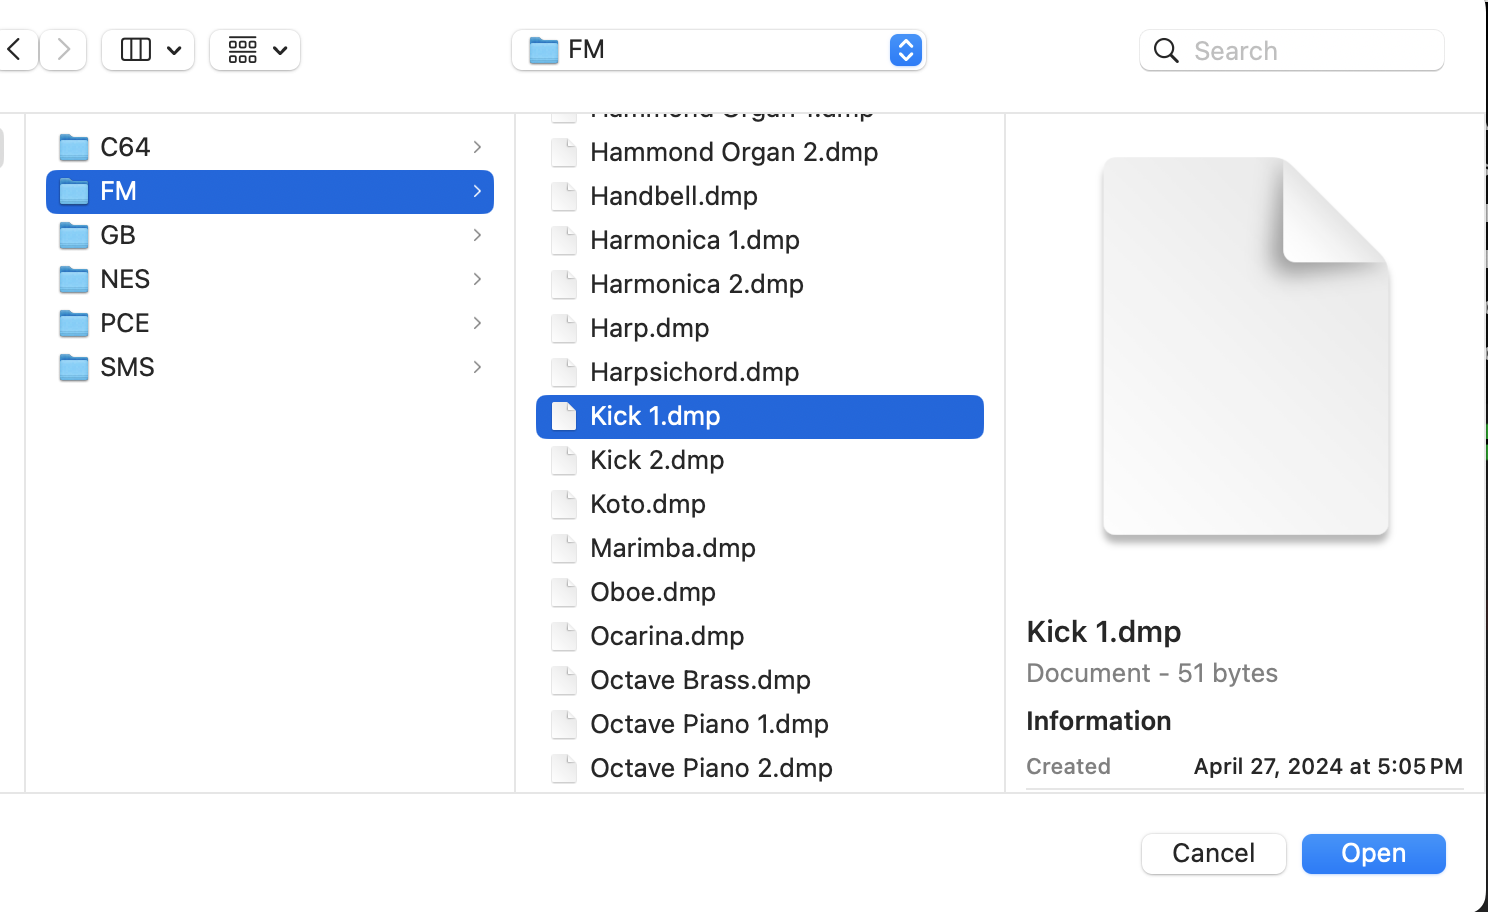
Now we have a kick drum voice available:
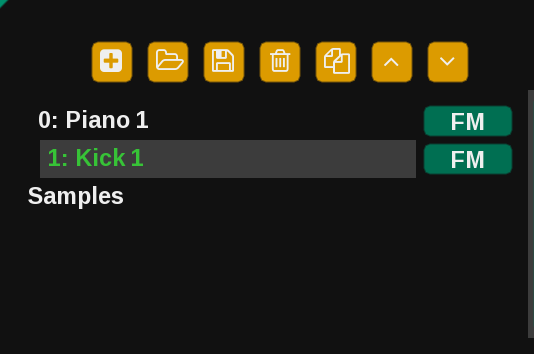
Let's change some of our existing notes to play on the kick drum instead of the piano. Click the record button to turn off recording. Highlight the instrument number in the first cell:
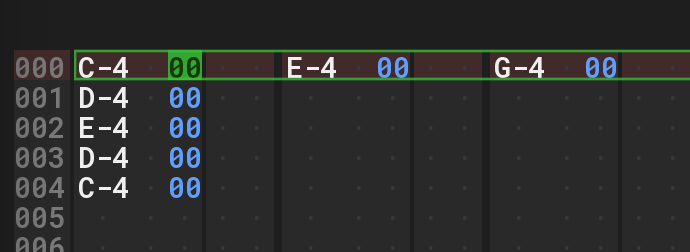
Then, we press the "increment value" key combination. On a full keyboard the combination is "ctrl+F2". On a Mac laptop keyboard it's "fn+command+F2". The "00" should change to a "01". After you've altered the instrument for one note, go ahead and change the rest. When you're done, go ahead and press record again.
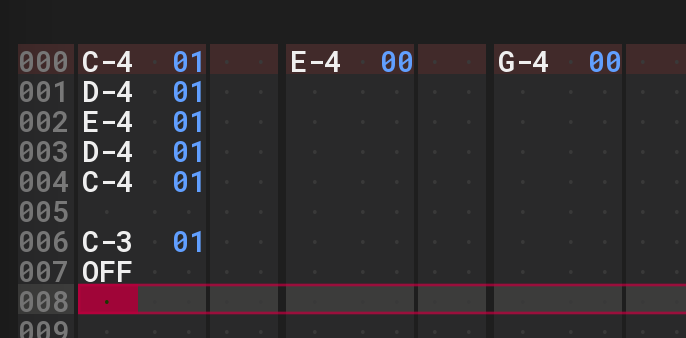
Highlight the left side of the FM1 column of row 006 and play a note. Notice that we recorded a new note, and the default instrument is now 01 rather than 00. You can change that back by highlighting the box that says "0: Piano 1" in the instrument panel.
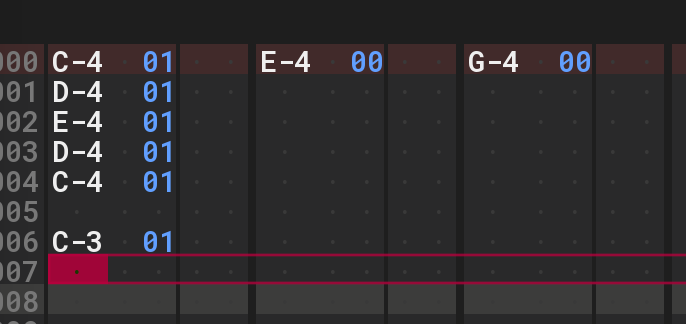
One miscellaneous thing that's important to know: If you want to turn a channel off, highlight the left side of a cell and press "tab" rather than recording a note.
Patterns
Rather than putting all the notes on the same piano roll, trackers like DefleMask organize portions of the song into "patterns." A pattern is a group of 64 beats (rows) which can be repeated throughout the song. (The length of the pattern can actually be adjusted, but 64 is fine for now.)
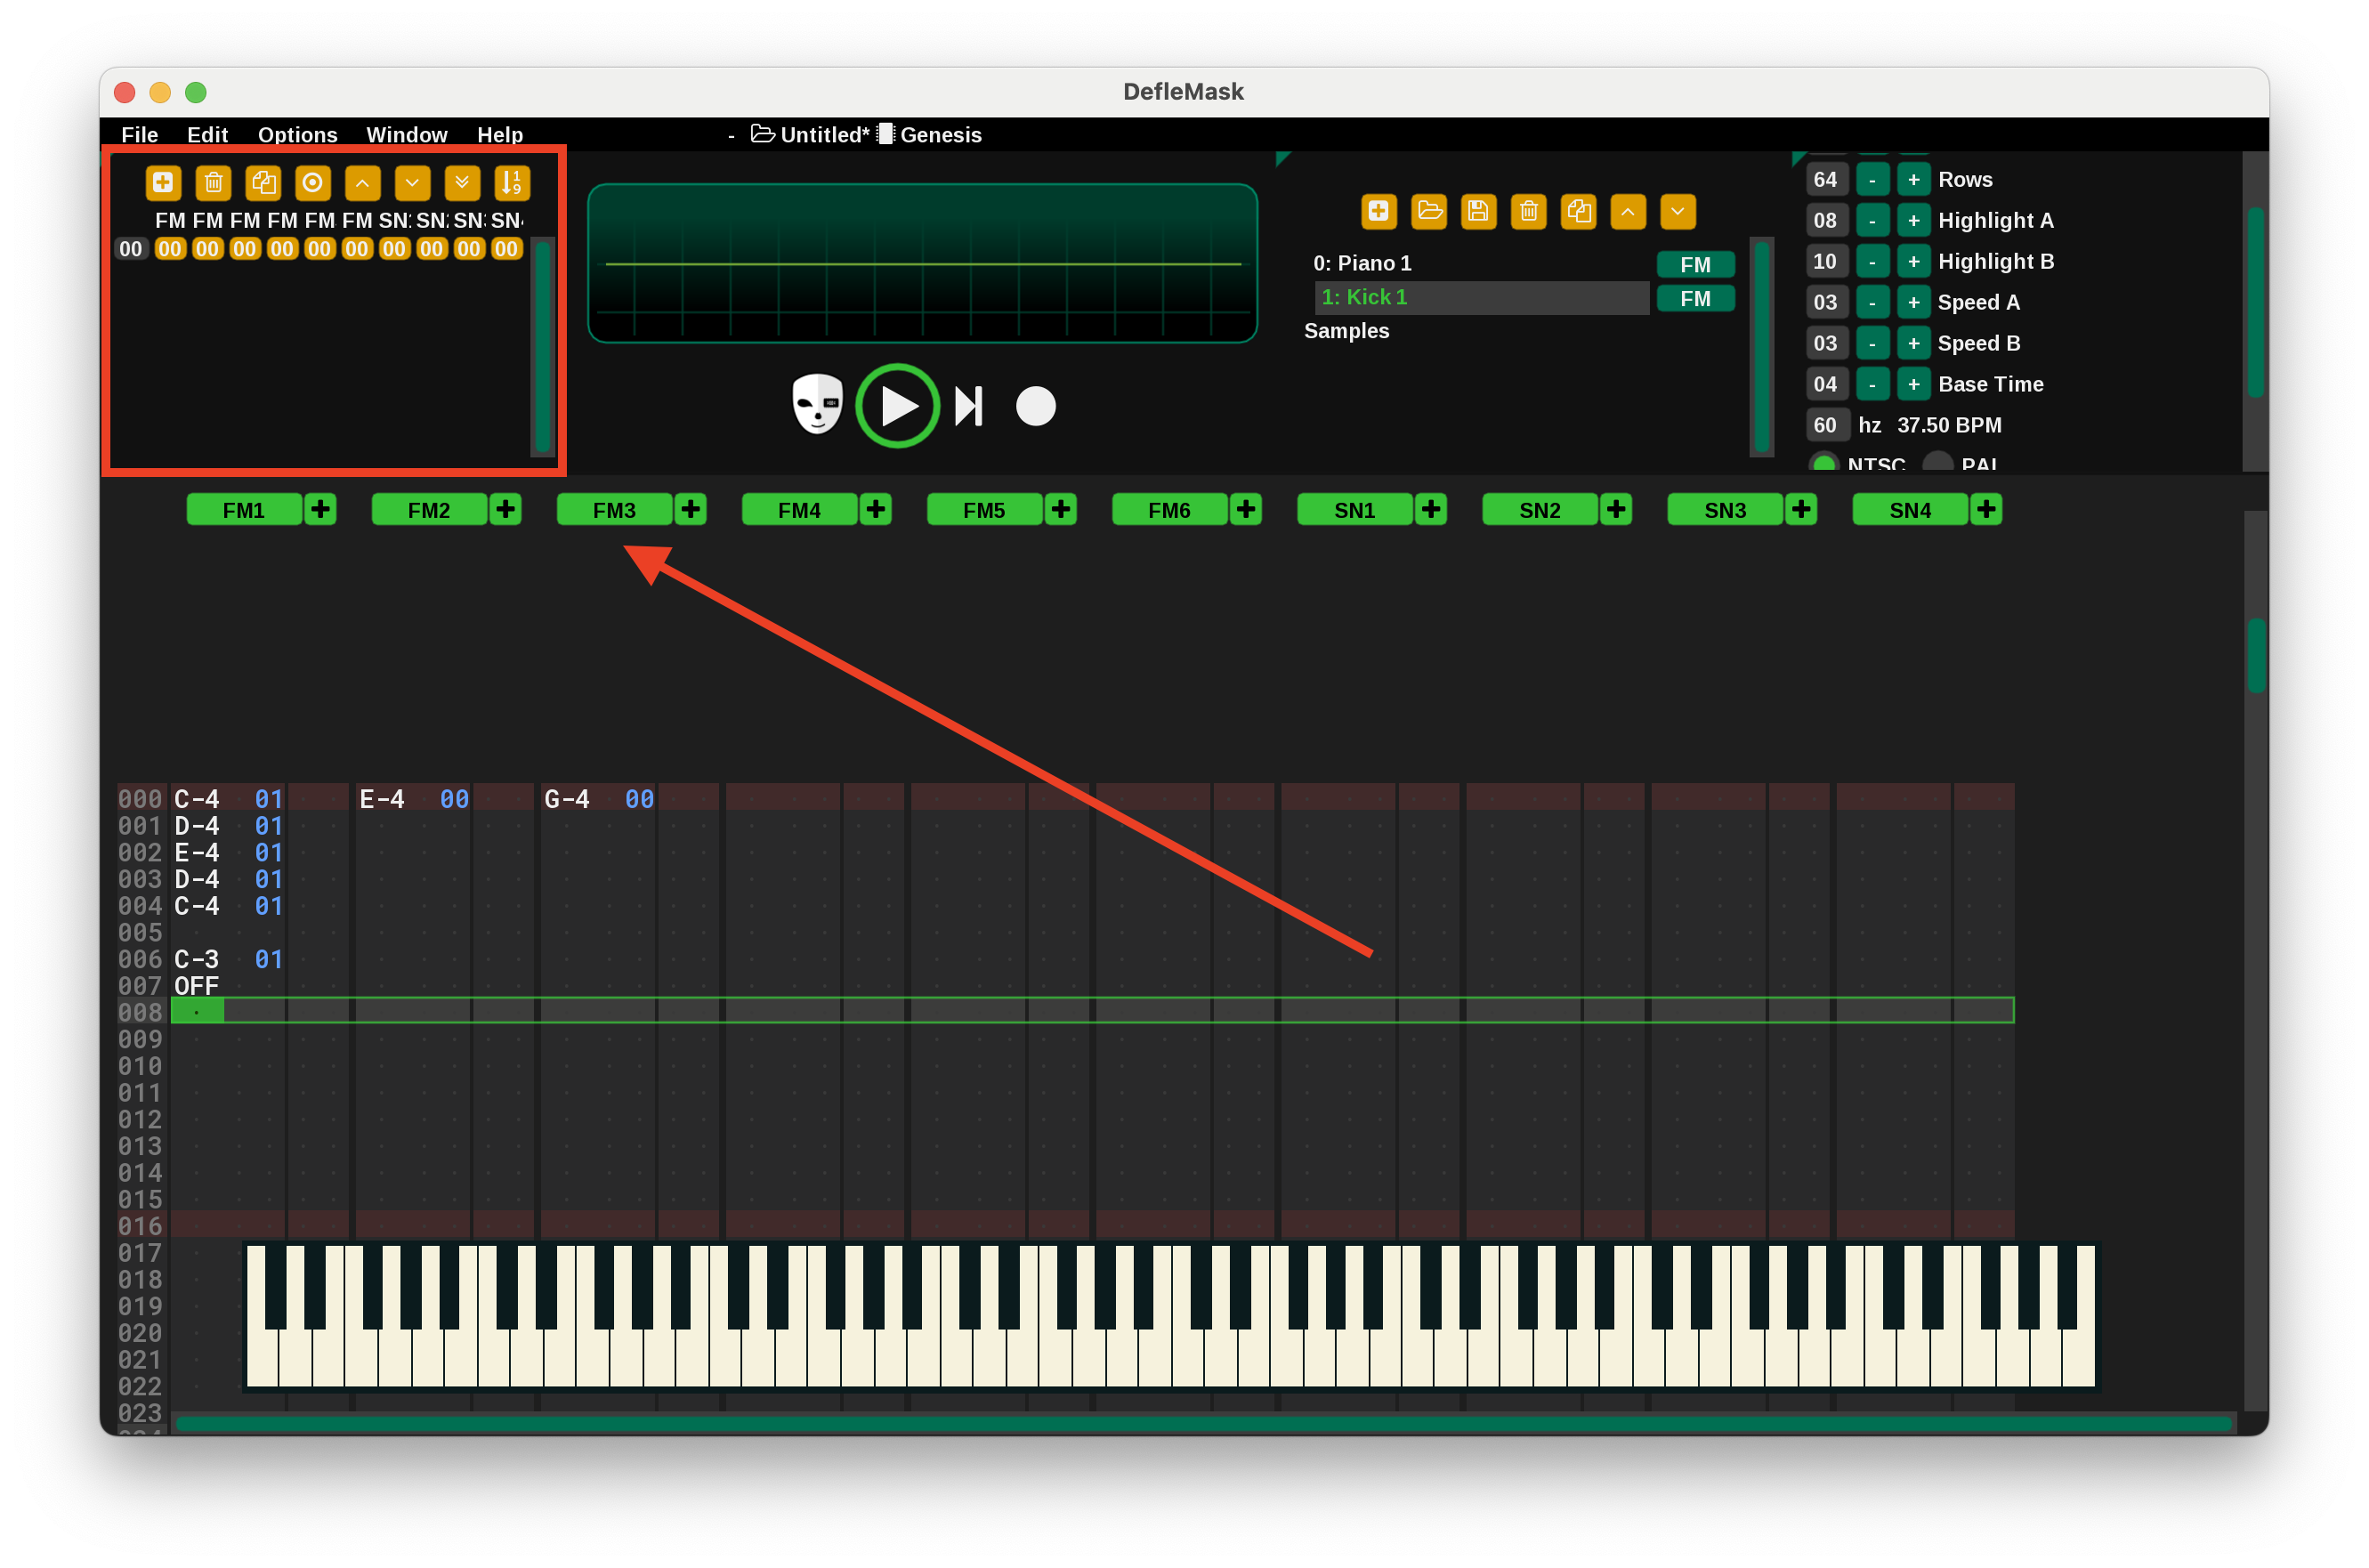
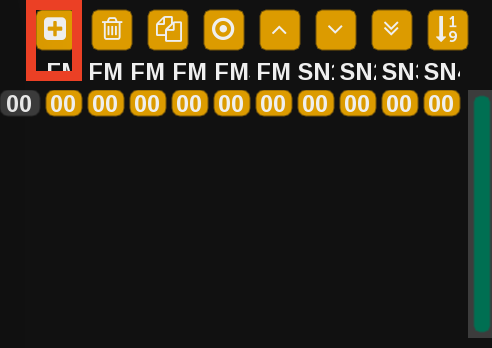
At present, we only have one pattern "labeled 00" so we can only have 64 beats in our song. Add another pattern by pressing the "plus" button.
Now we have 2 patterns, so our song can be up to 128 beats. You can move between the patterns by clicking on their respective rows in the patterns panel.
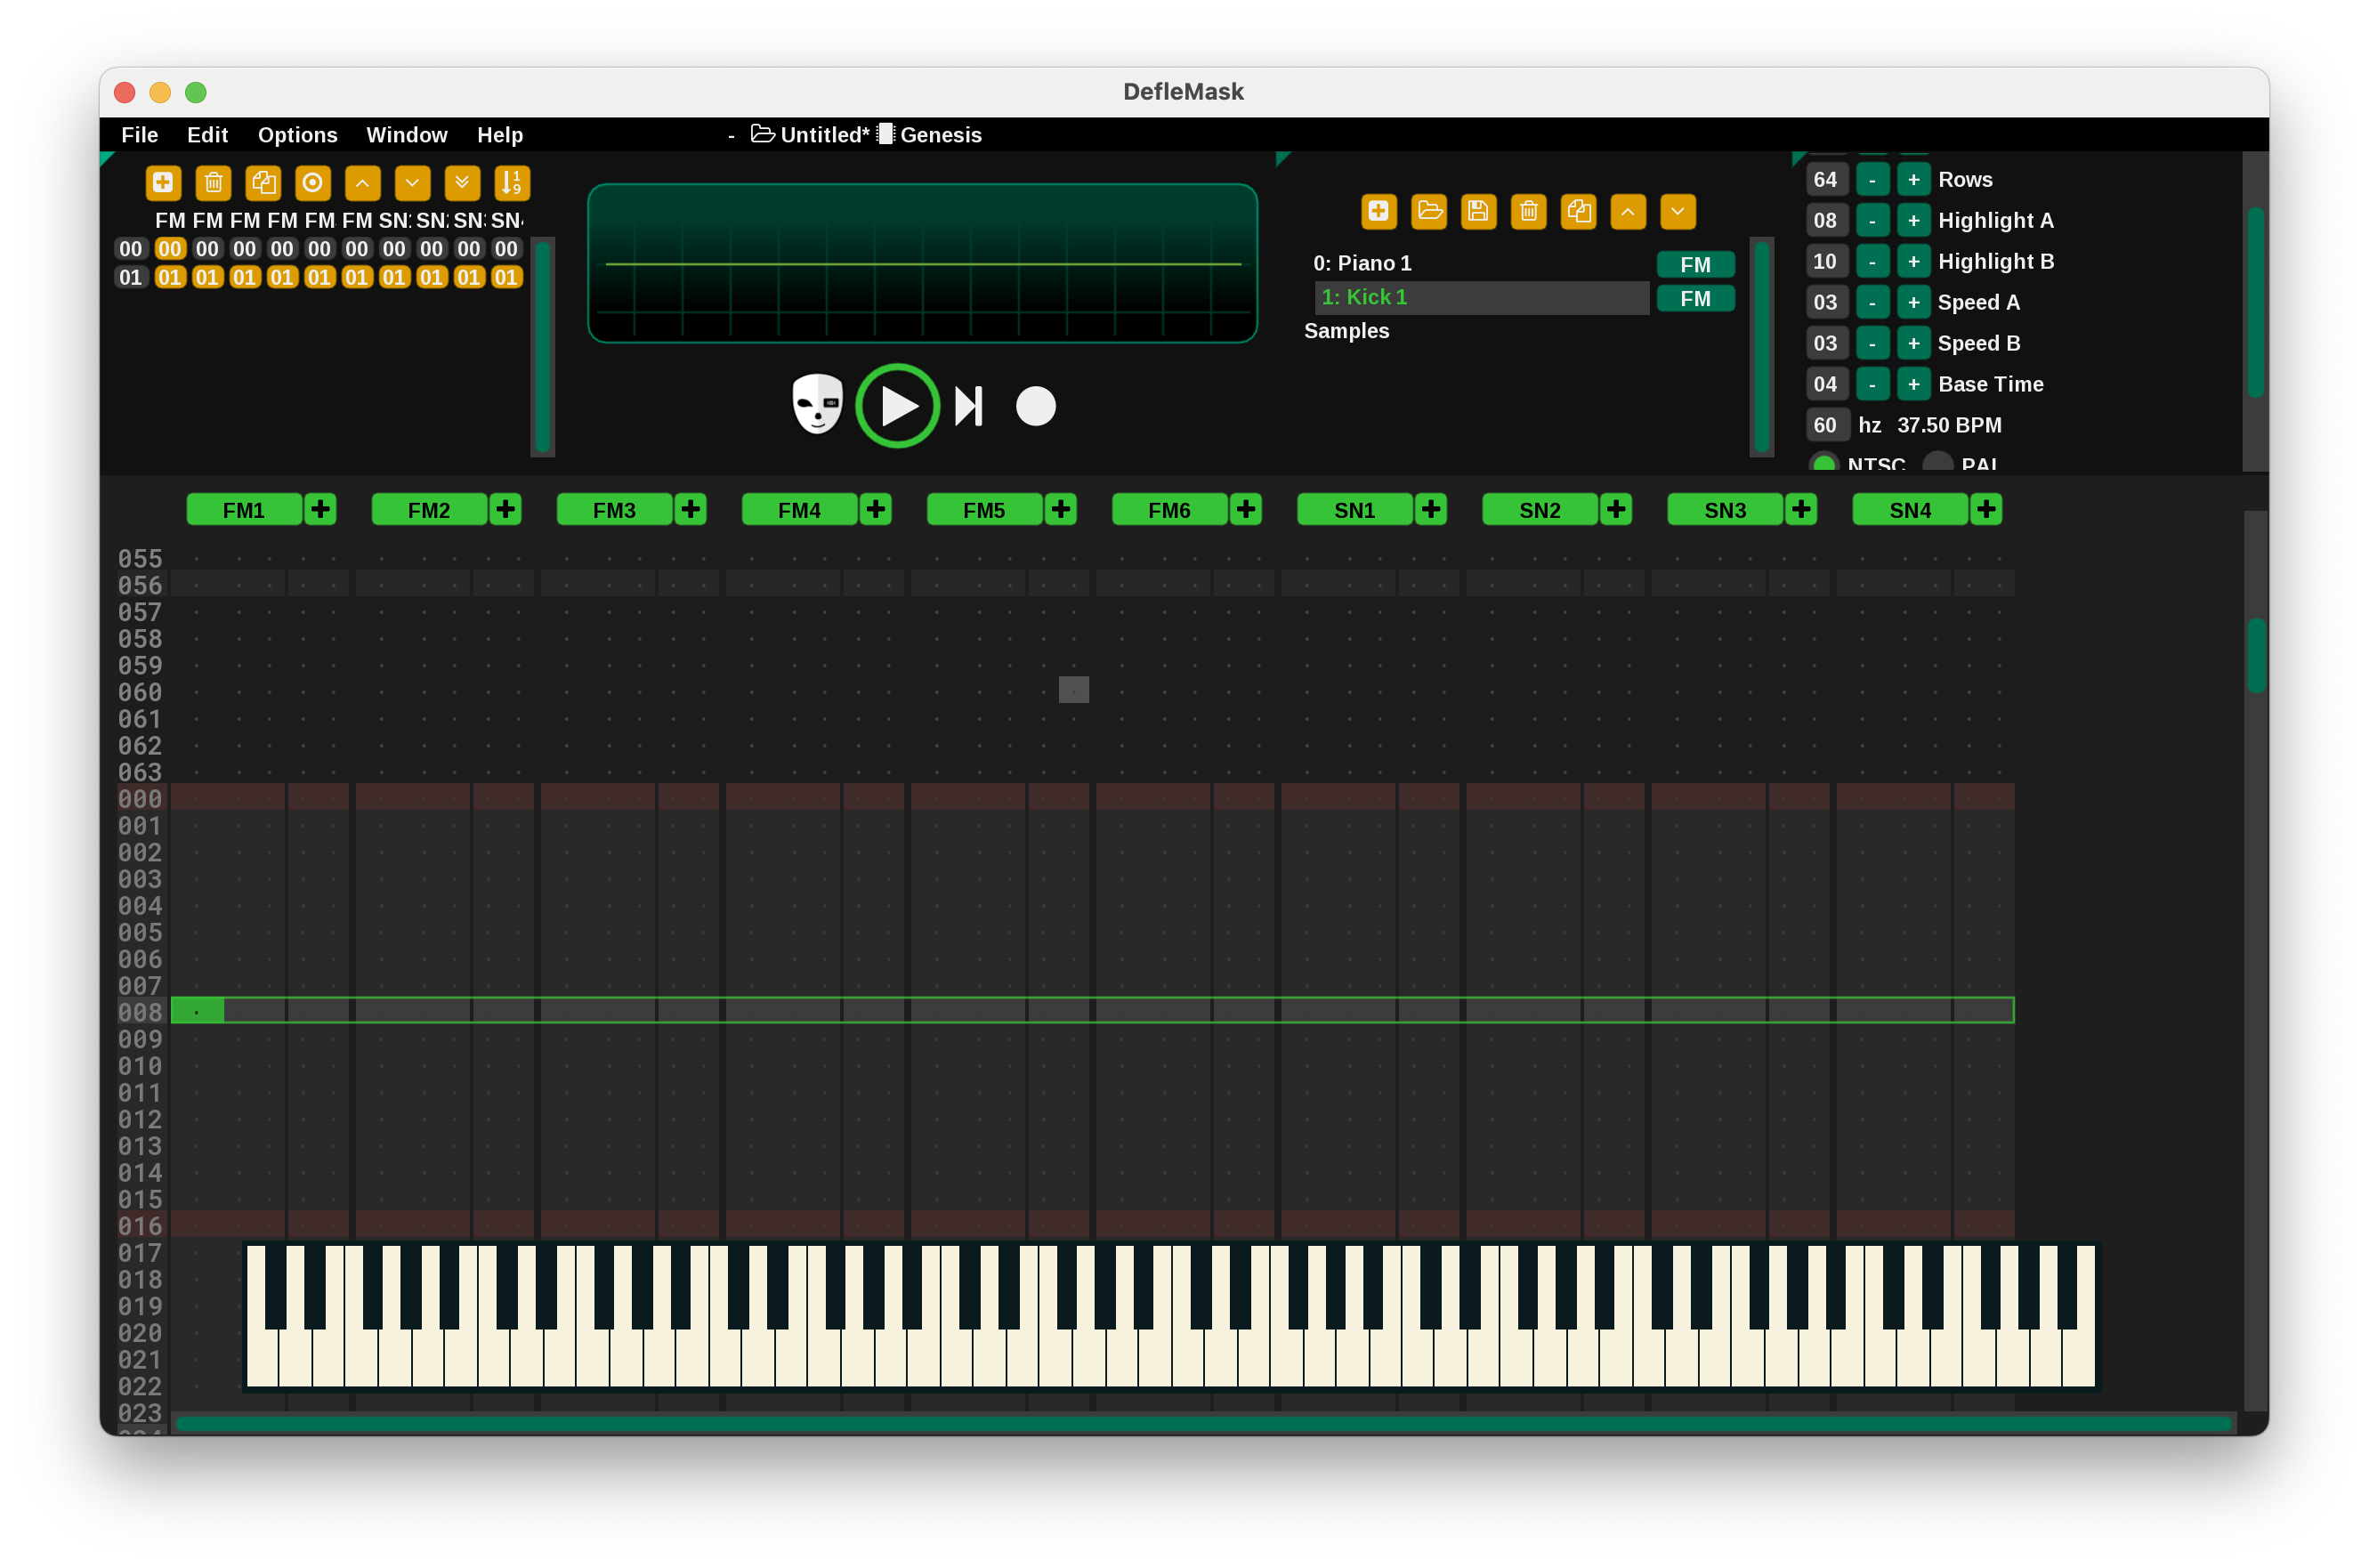
Notice that each row of this patterns table has an overall sequence number to the far left, and then each channel has its own number. Let's see what happens when we decrement the number for row 01 and column FM1. Right-click on the highlighted box here until it reads "00" instead of "01". (On a MacBook, that's two-finger tap rather than right click).
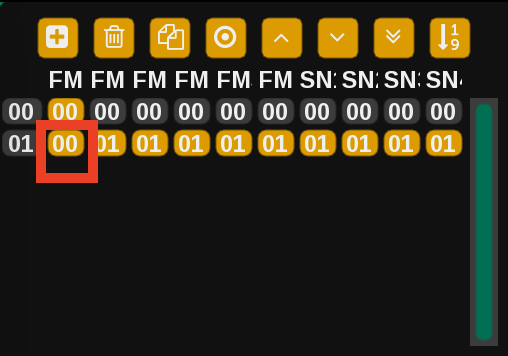
We see that the kick drum sequence we recorded previously is now being played both in the old pattern and the new pattern. We have told DefleMask that we want FM1 in the 2nd pattern to be the same as FM1 in the first pattern. However, we didn't make the same change to FM2 and FM3 so those notes are not repeated.
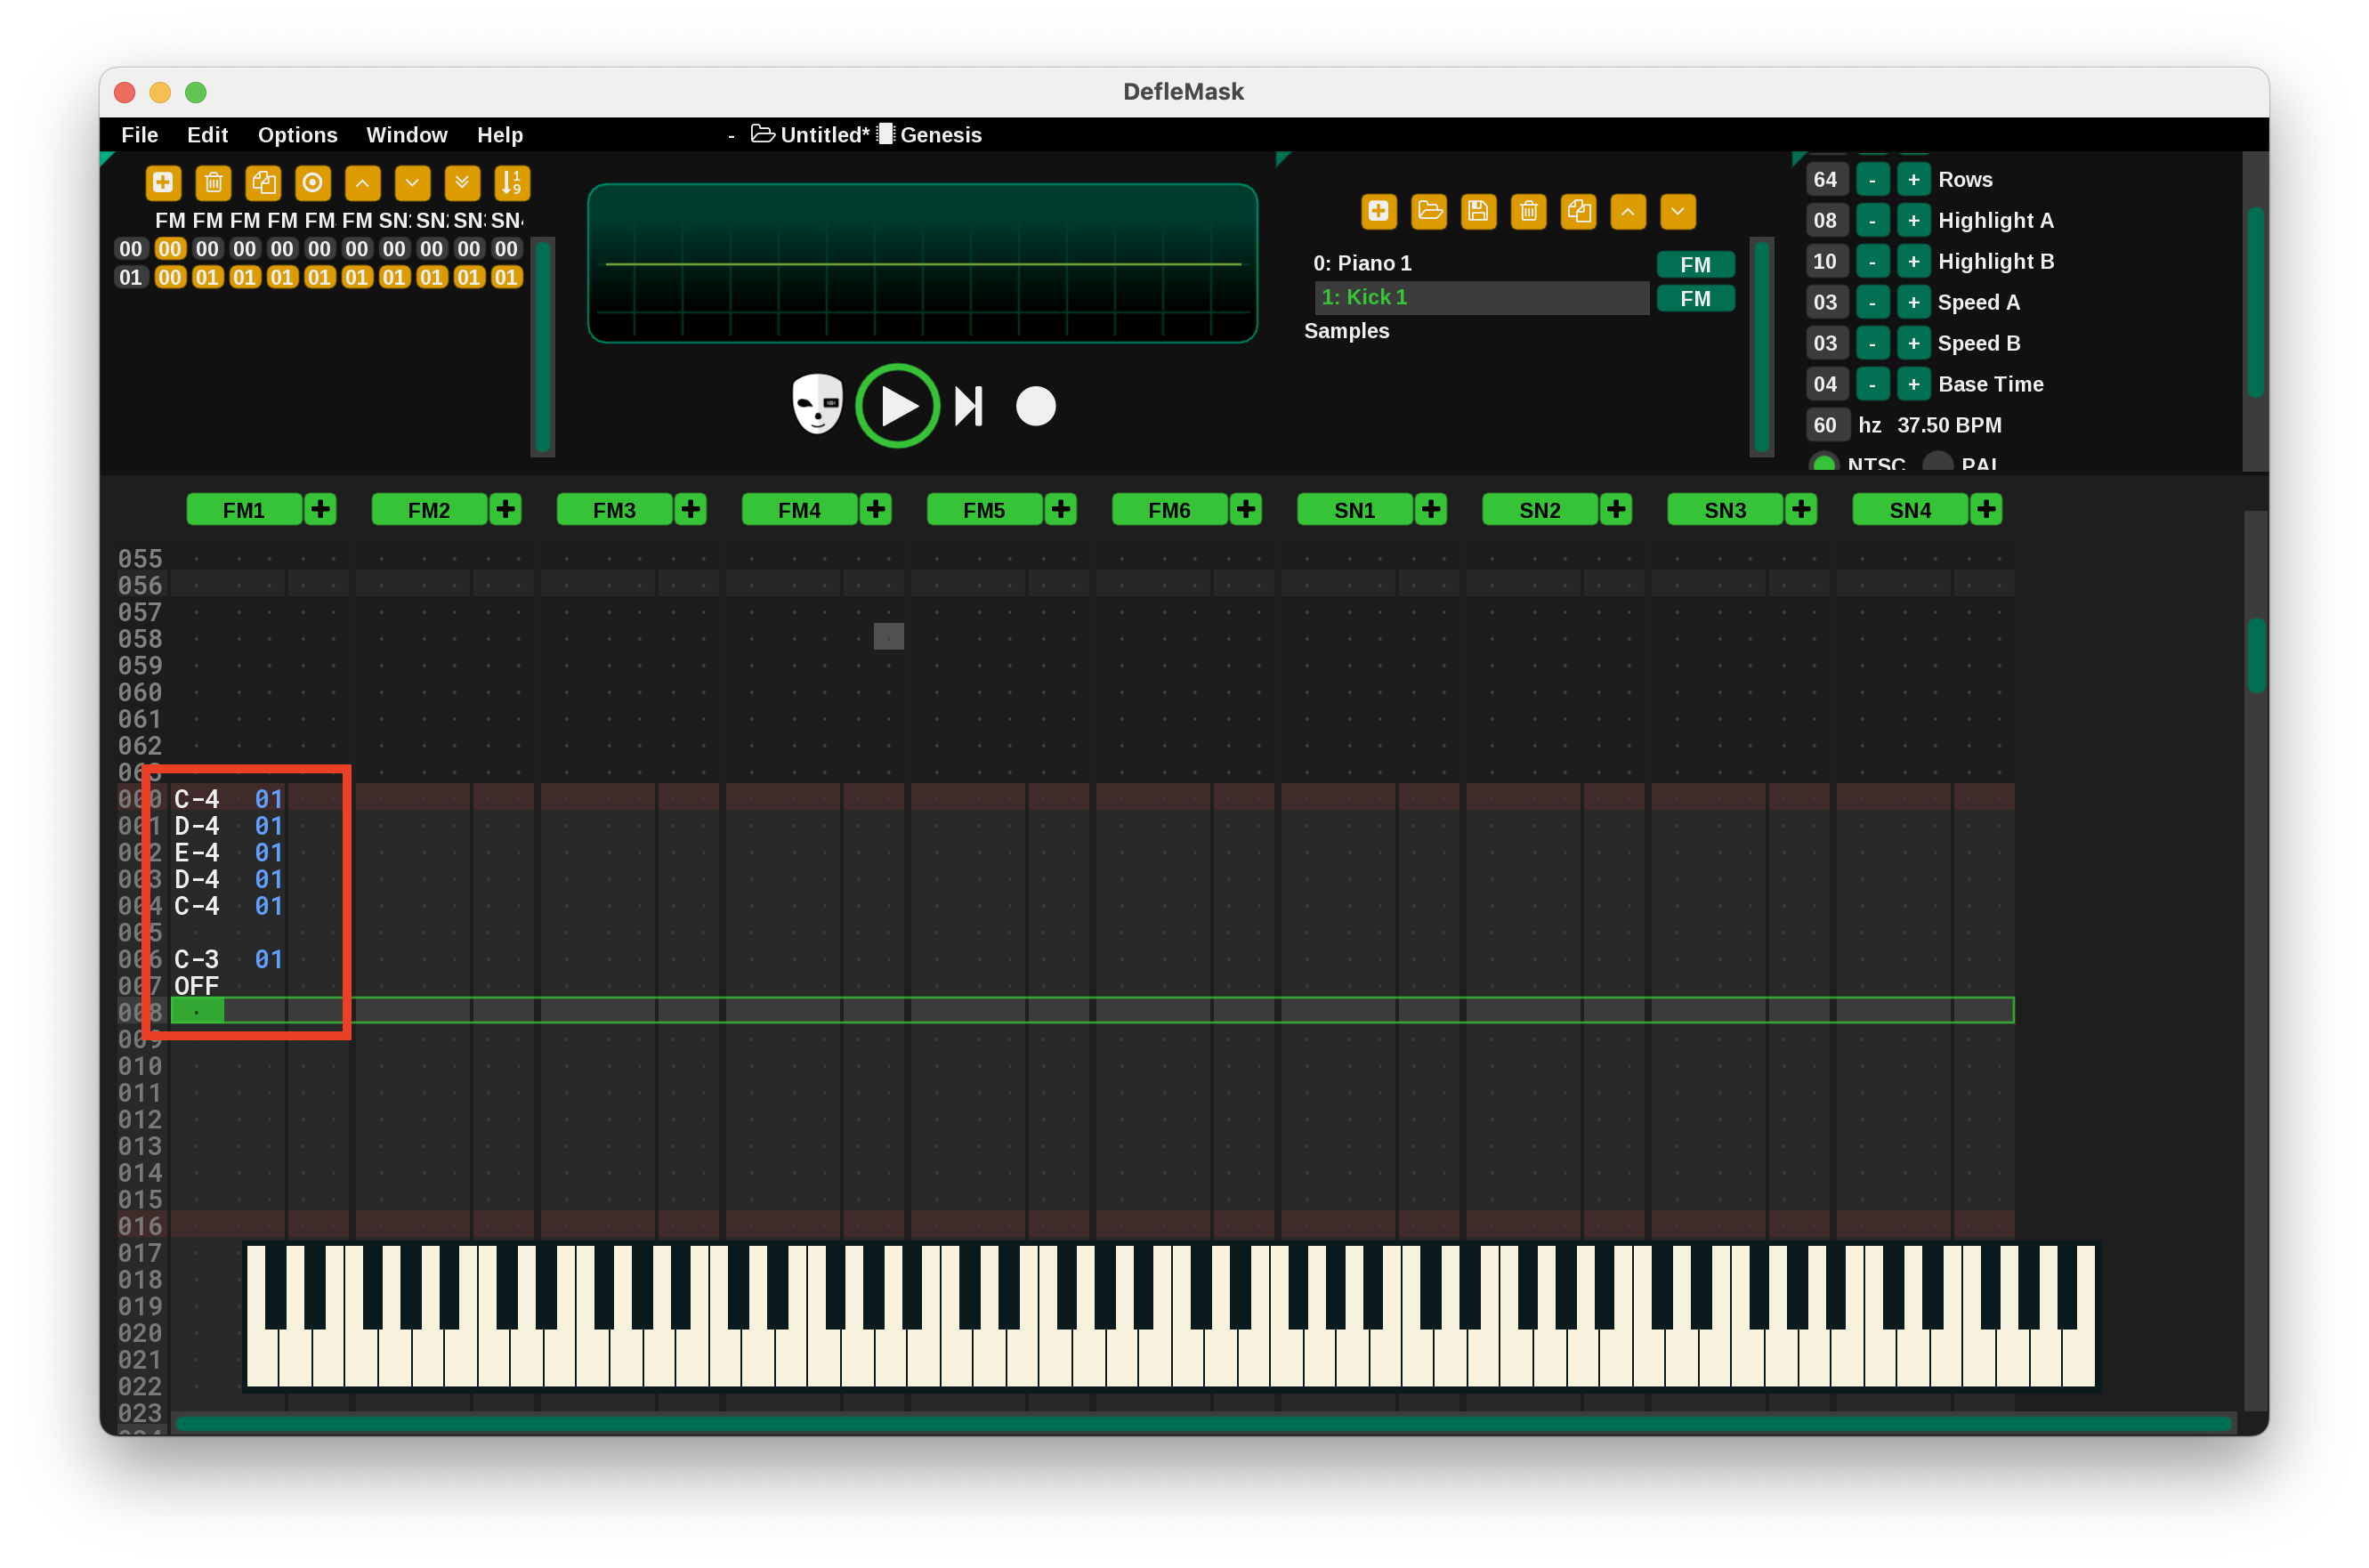
Patterns are kind of confusing, but very powerful. It's very useful to be able to reuse selected parts of a song. For example, you might repeat the same bass riff on every chorus, or the same drum pattern throughout a whole song. It would be tedious to copy-paste the same sequence of notes over and over, so it's useful to be able to describe the repetition in patterns instead.
Samples/Effects
The Mega Drive's sound card is able to utilize the FM6 channel to play samples (ie short wav files). This capability was often used to incorporate actual drum sounds or human speech into music. Putting samples in your music can really enhance the soundscape, so it's worth learning how to do it even though the interface is strange. Do note that you'll want to keep your samples short, since long samples will eat up your cartridge's memory pretty quickly.
Go ahead and double click on the "Samples" row in the instrument panel.
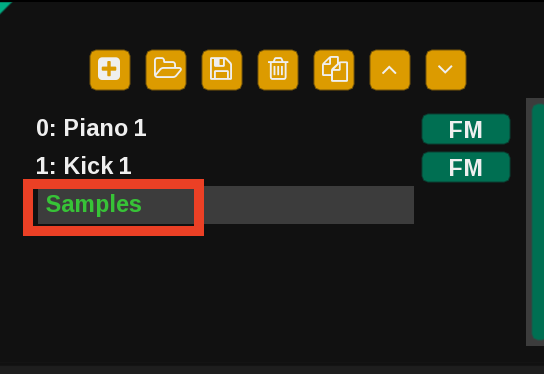
That should bring up the "Samples" dialogue. Add a new sample by clicking the "plus" button.
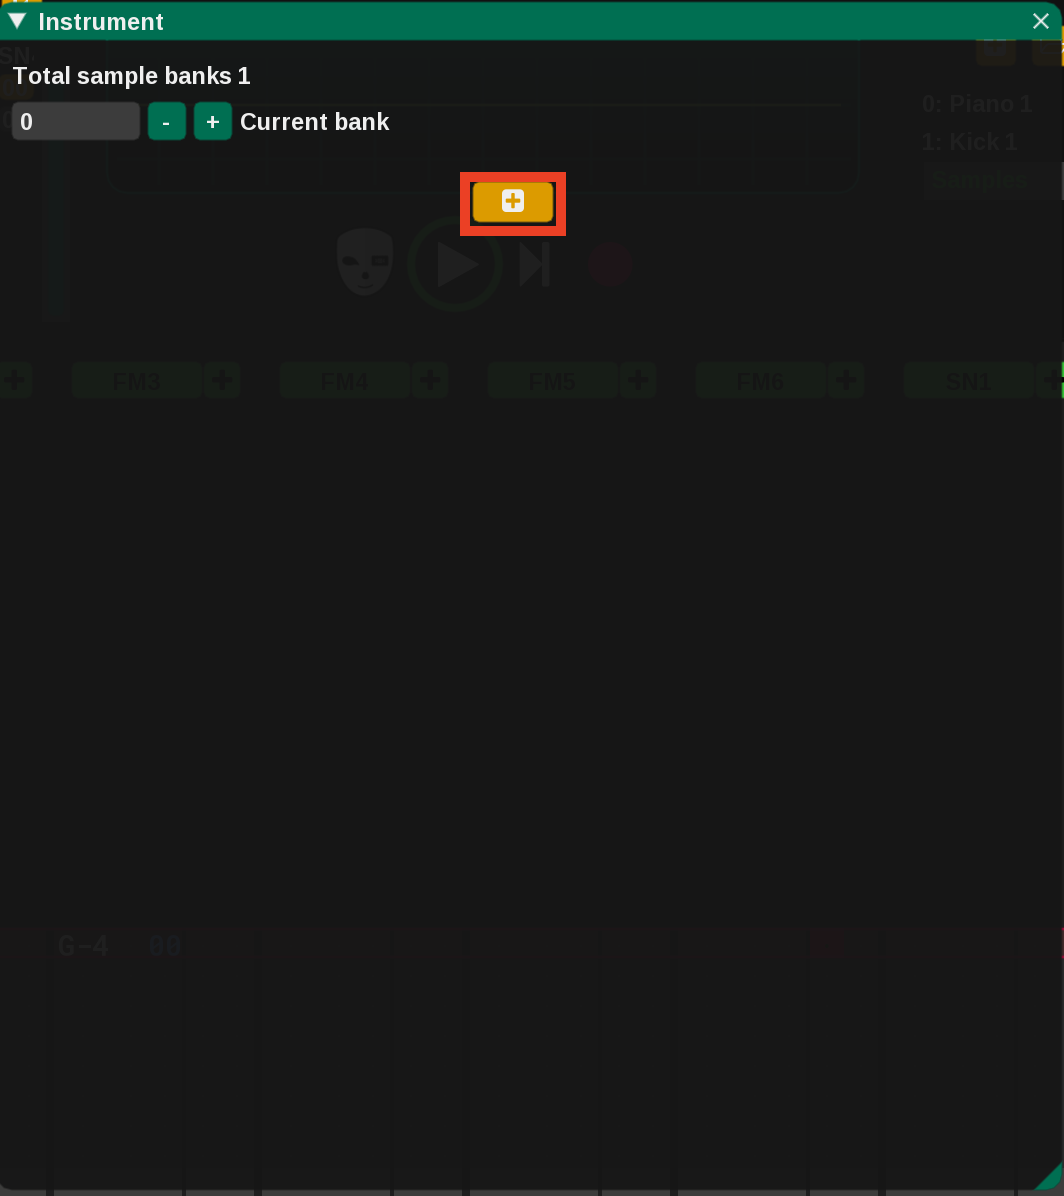
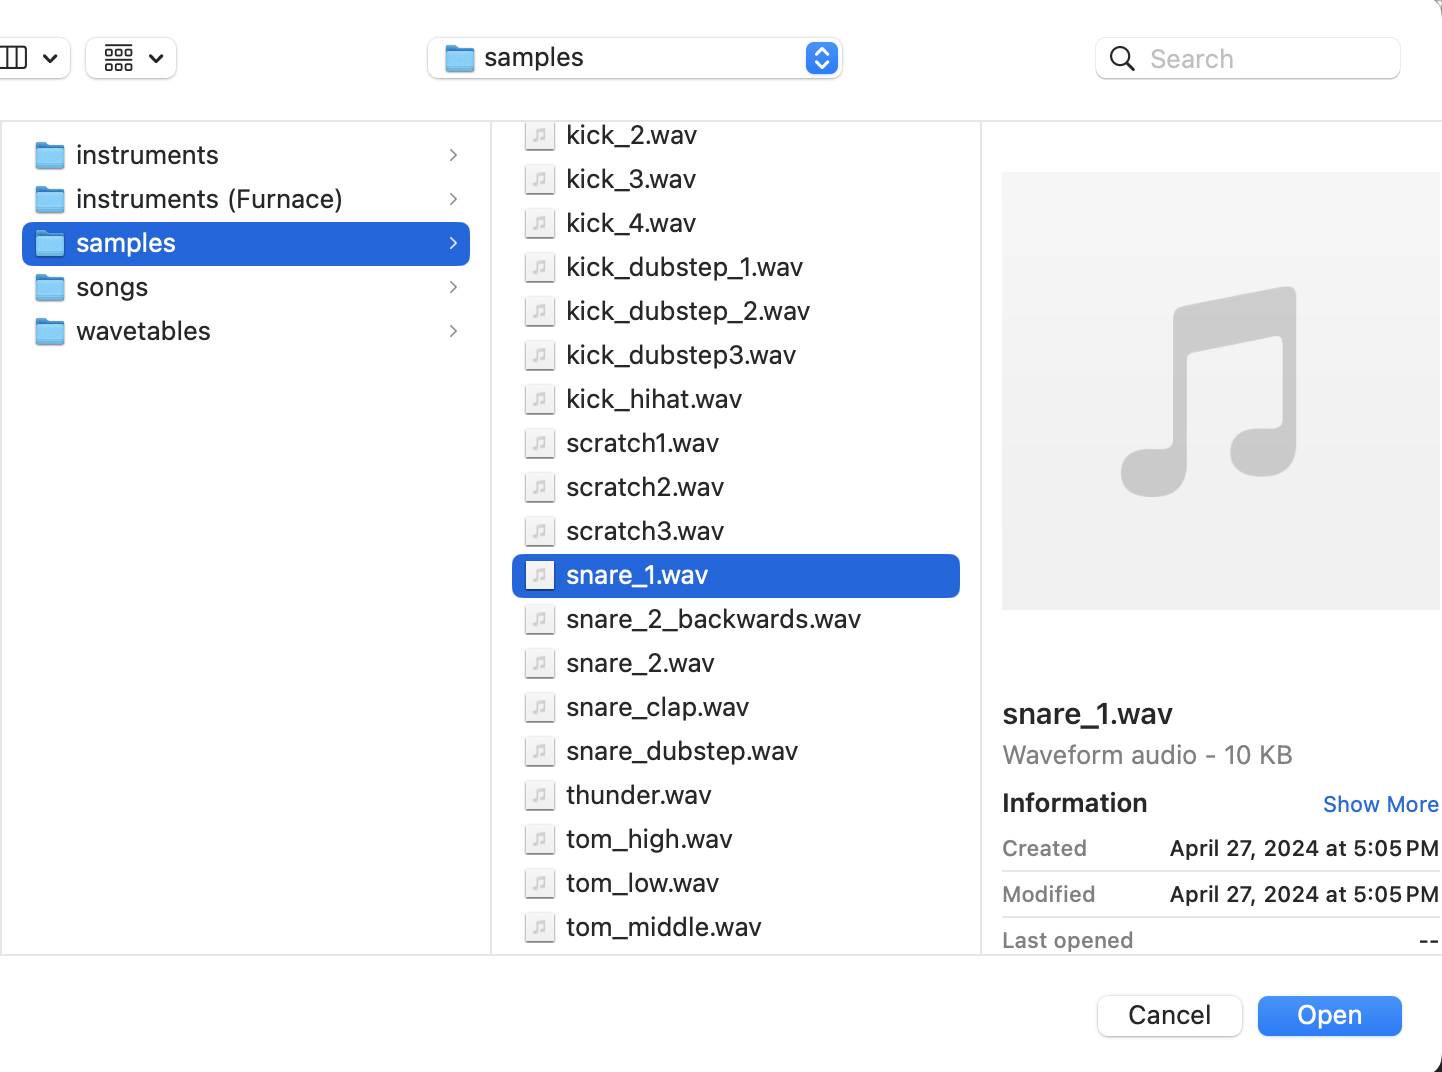
Navigate to the "samples" folder, and select "snare_1.wav".
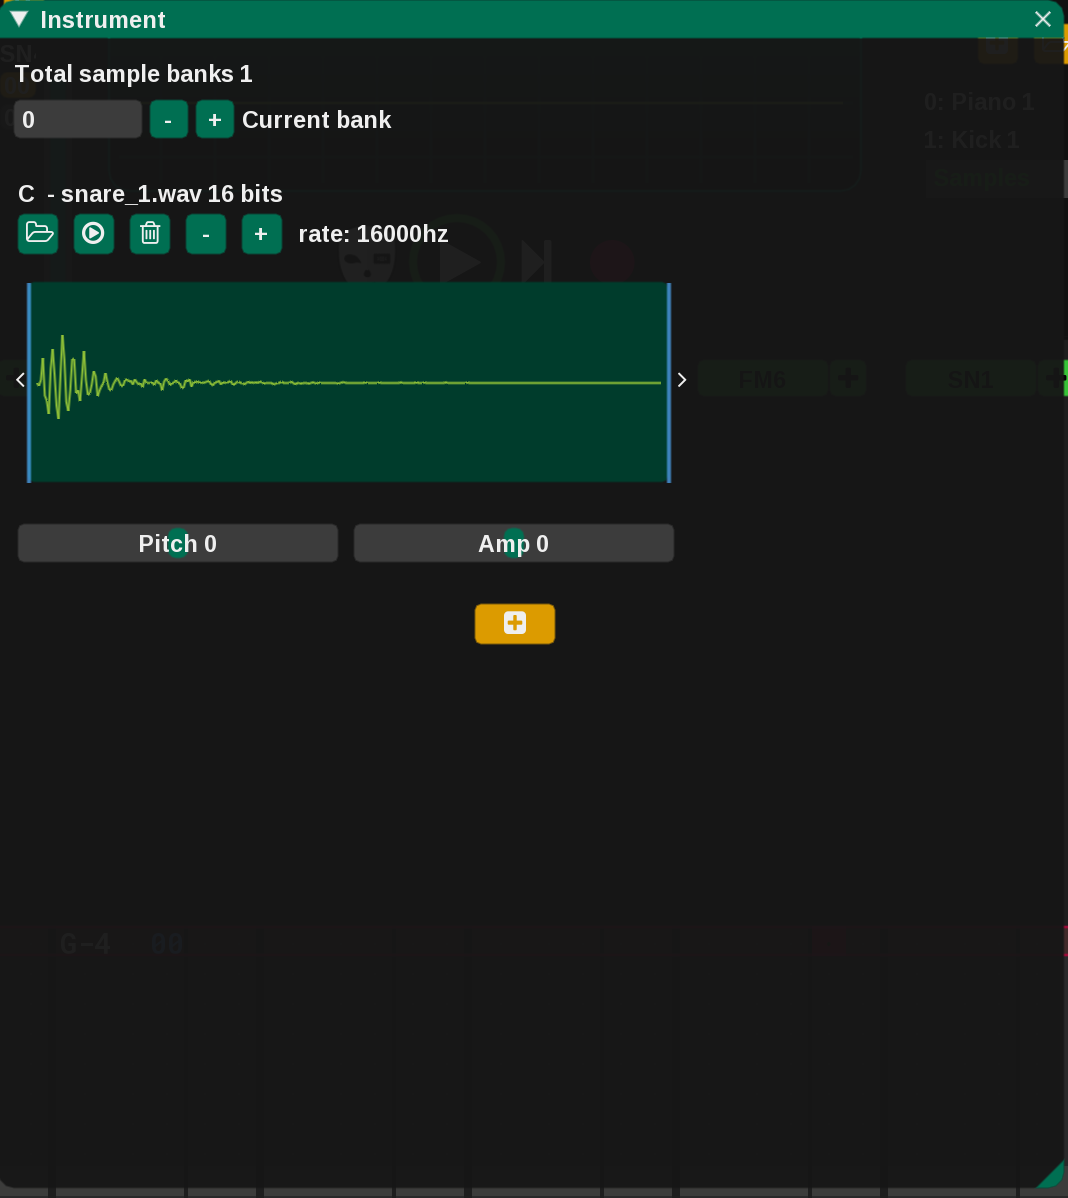
DefleMask loads our sample into a bank.
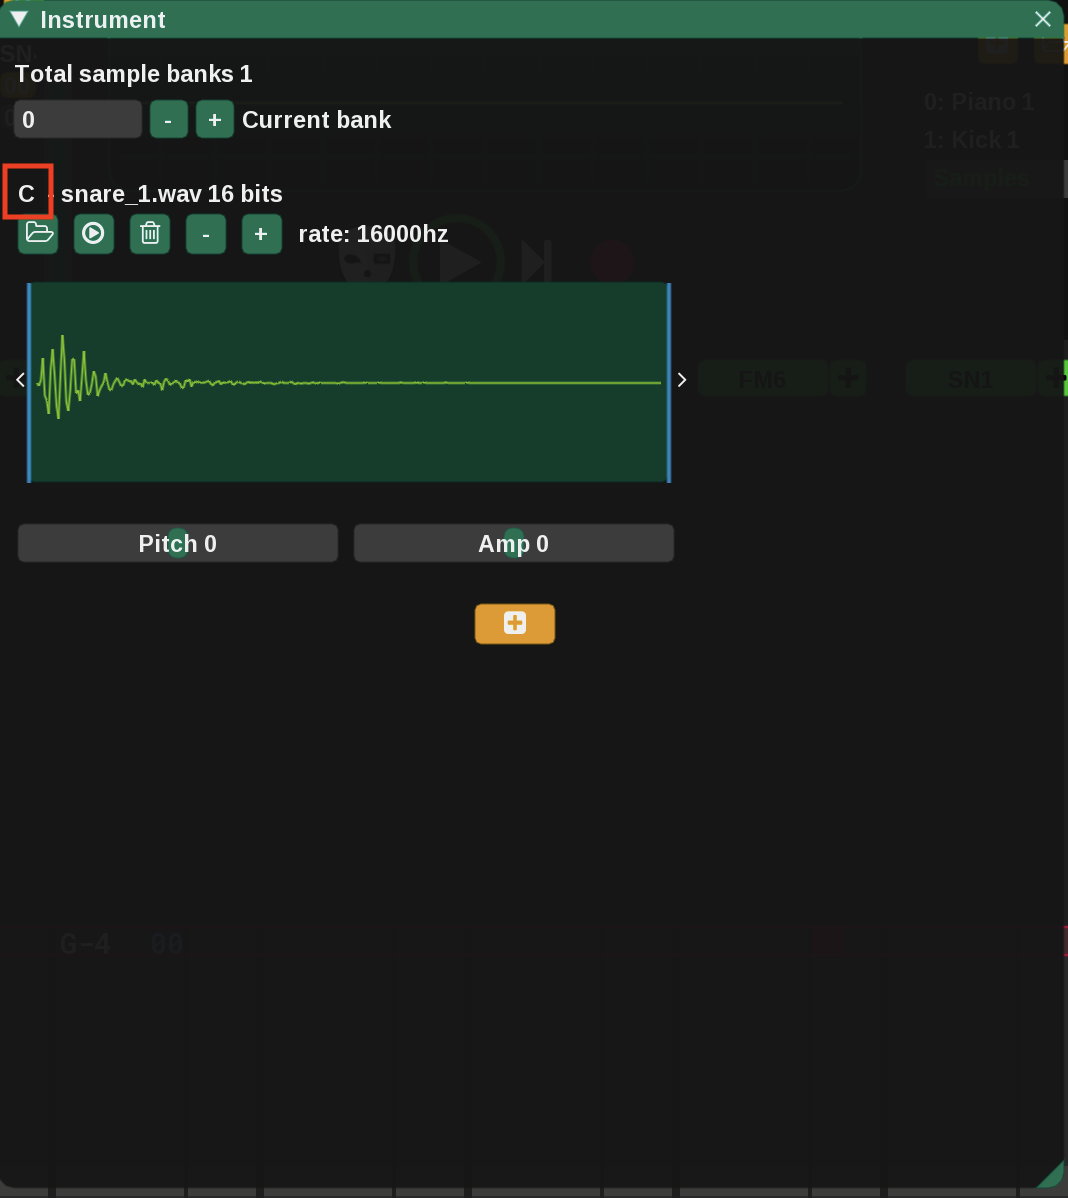
We can adjust a few settings here, but we'll leave everything as default for now. The important thing to notice at present is the "C" next to the name of the sample. Every sample will be assigned a note on the musical keyboard. In this case, our snare sample is assigned the note "C".
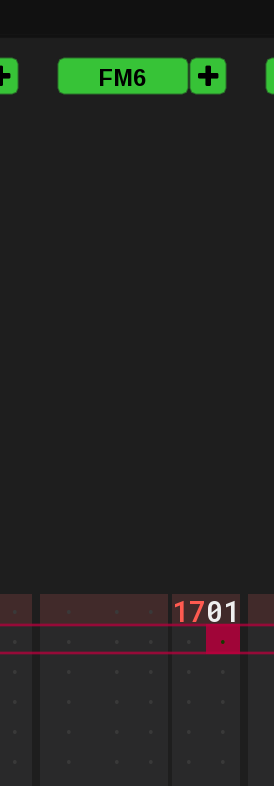
Go ahead and exit the window by clicking the "X" in the upper right. Now, we're going to enable sample play on FM6. This is basically a magic spell, so you wouldn't know how to do it without checking the "Genesis" section of the manual.
Go to the first cell of the FM6 column. Click on the second-to-right-most number and type "17". Then click on the rightmost number and type "01". It's kind of hard to explain, but ultimately the first cell of the "FM6" column should look like this:
Then, in the same column, click the leftmost part of a cell. Make sure that "Samples" is still highlighted in the instrument panel. Remember that our sample is stored under the note "C", so go ahead and play a "C" on the onscreen keyboard. I added the sample a few times here:
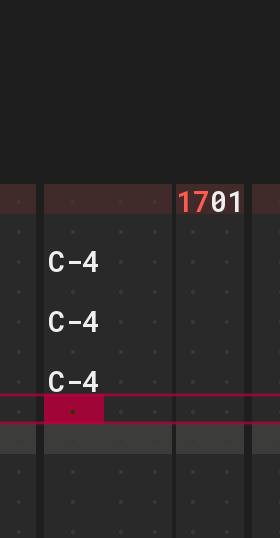
Now, when you press play, you should hear snare drums!
When enabling samples, we touched upon DefleMask's "effects" capability, since turning on samples is implemented as an effect. There's lots of other effects that can modify the way that notes are played (tremolo, vibrato, portamento etc). These are described partially in the "Effects" section of the manual and partially in the Genesis section (since some effects apply to all systems and some are system-specific). I won't dwell on it too long since it's not immediately crucial, but I'll note the basic process:
In the below picture, we turn on tremelo for our G by inputting effect "04", parameter "8F". Then, a few beats later, we turn off tremolo by inputing effect "04", parameter "00".
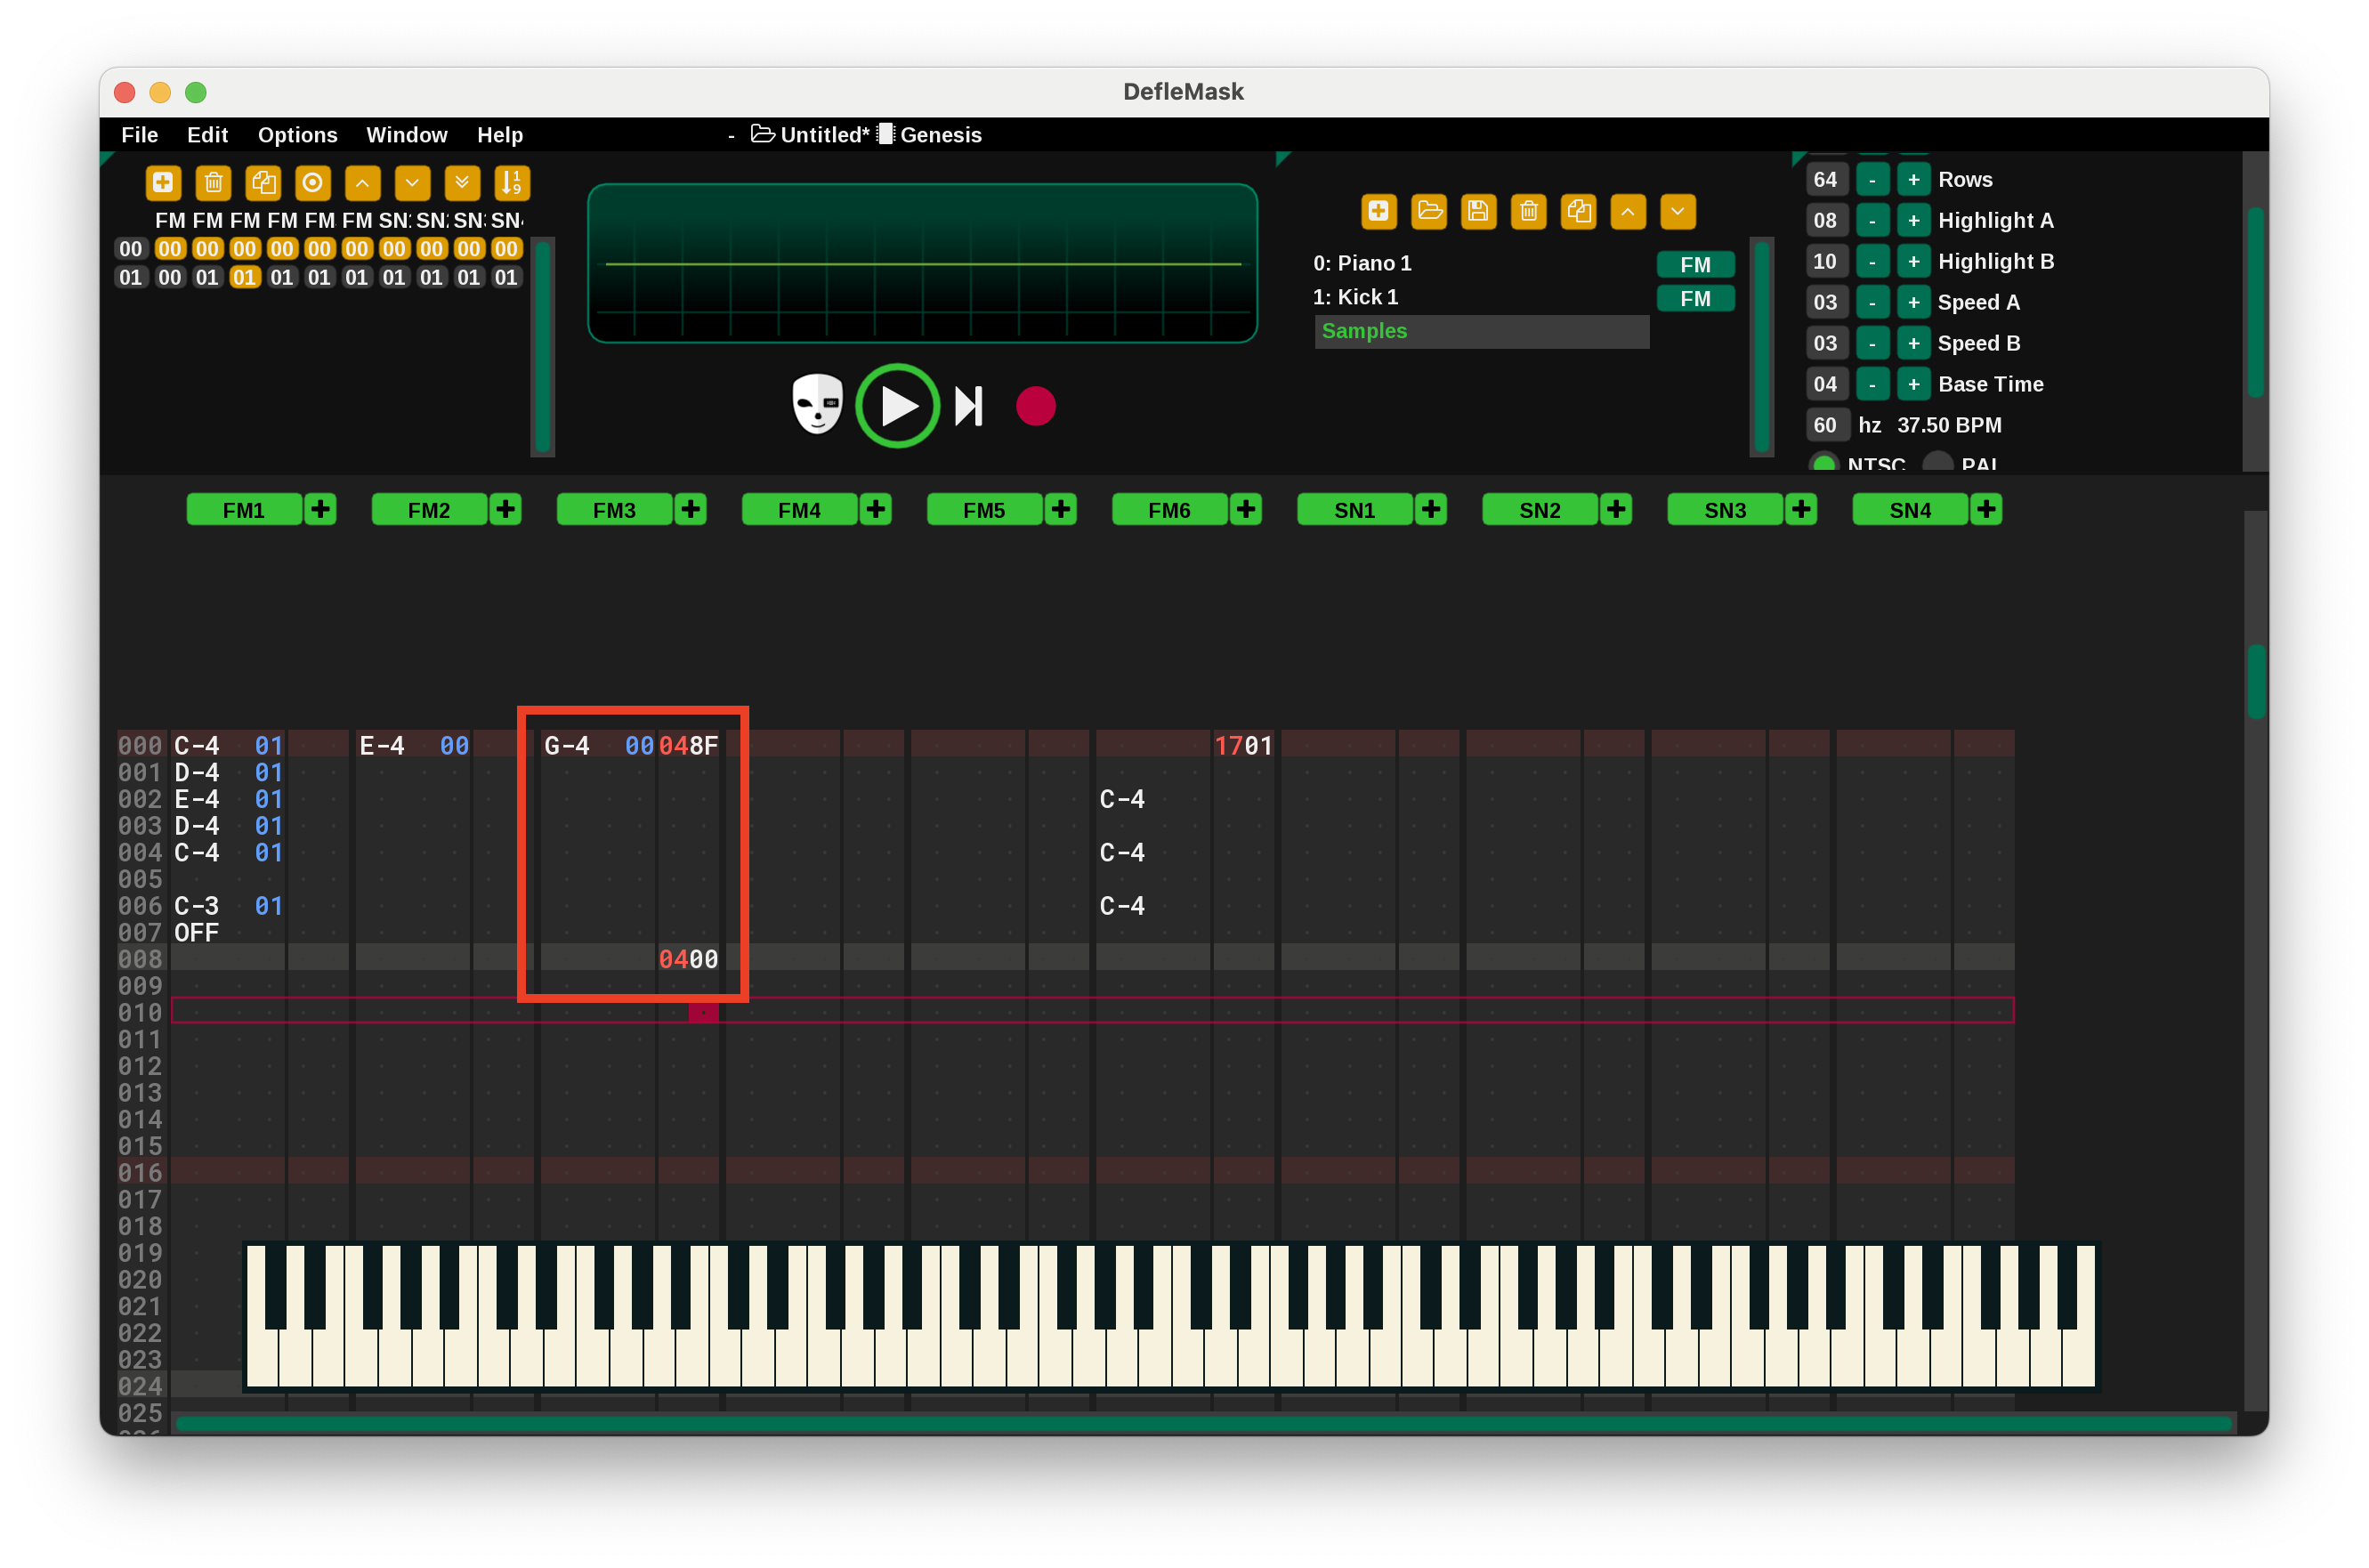
If that all was confusing, don't worry about it too much. You don't need effects to start. Perhaps someday, you will need a tremolo and a vibrato, and then you can study the effect capability more in depth.
Saving
Looks like we've made a masterpiece! Let's save it! When we click on "File" in the upper-left hand corner, we see a number of export file formats:
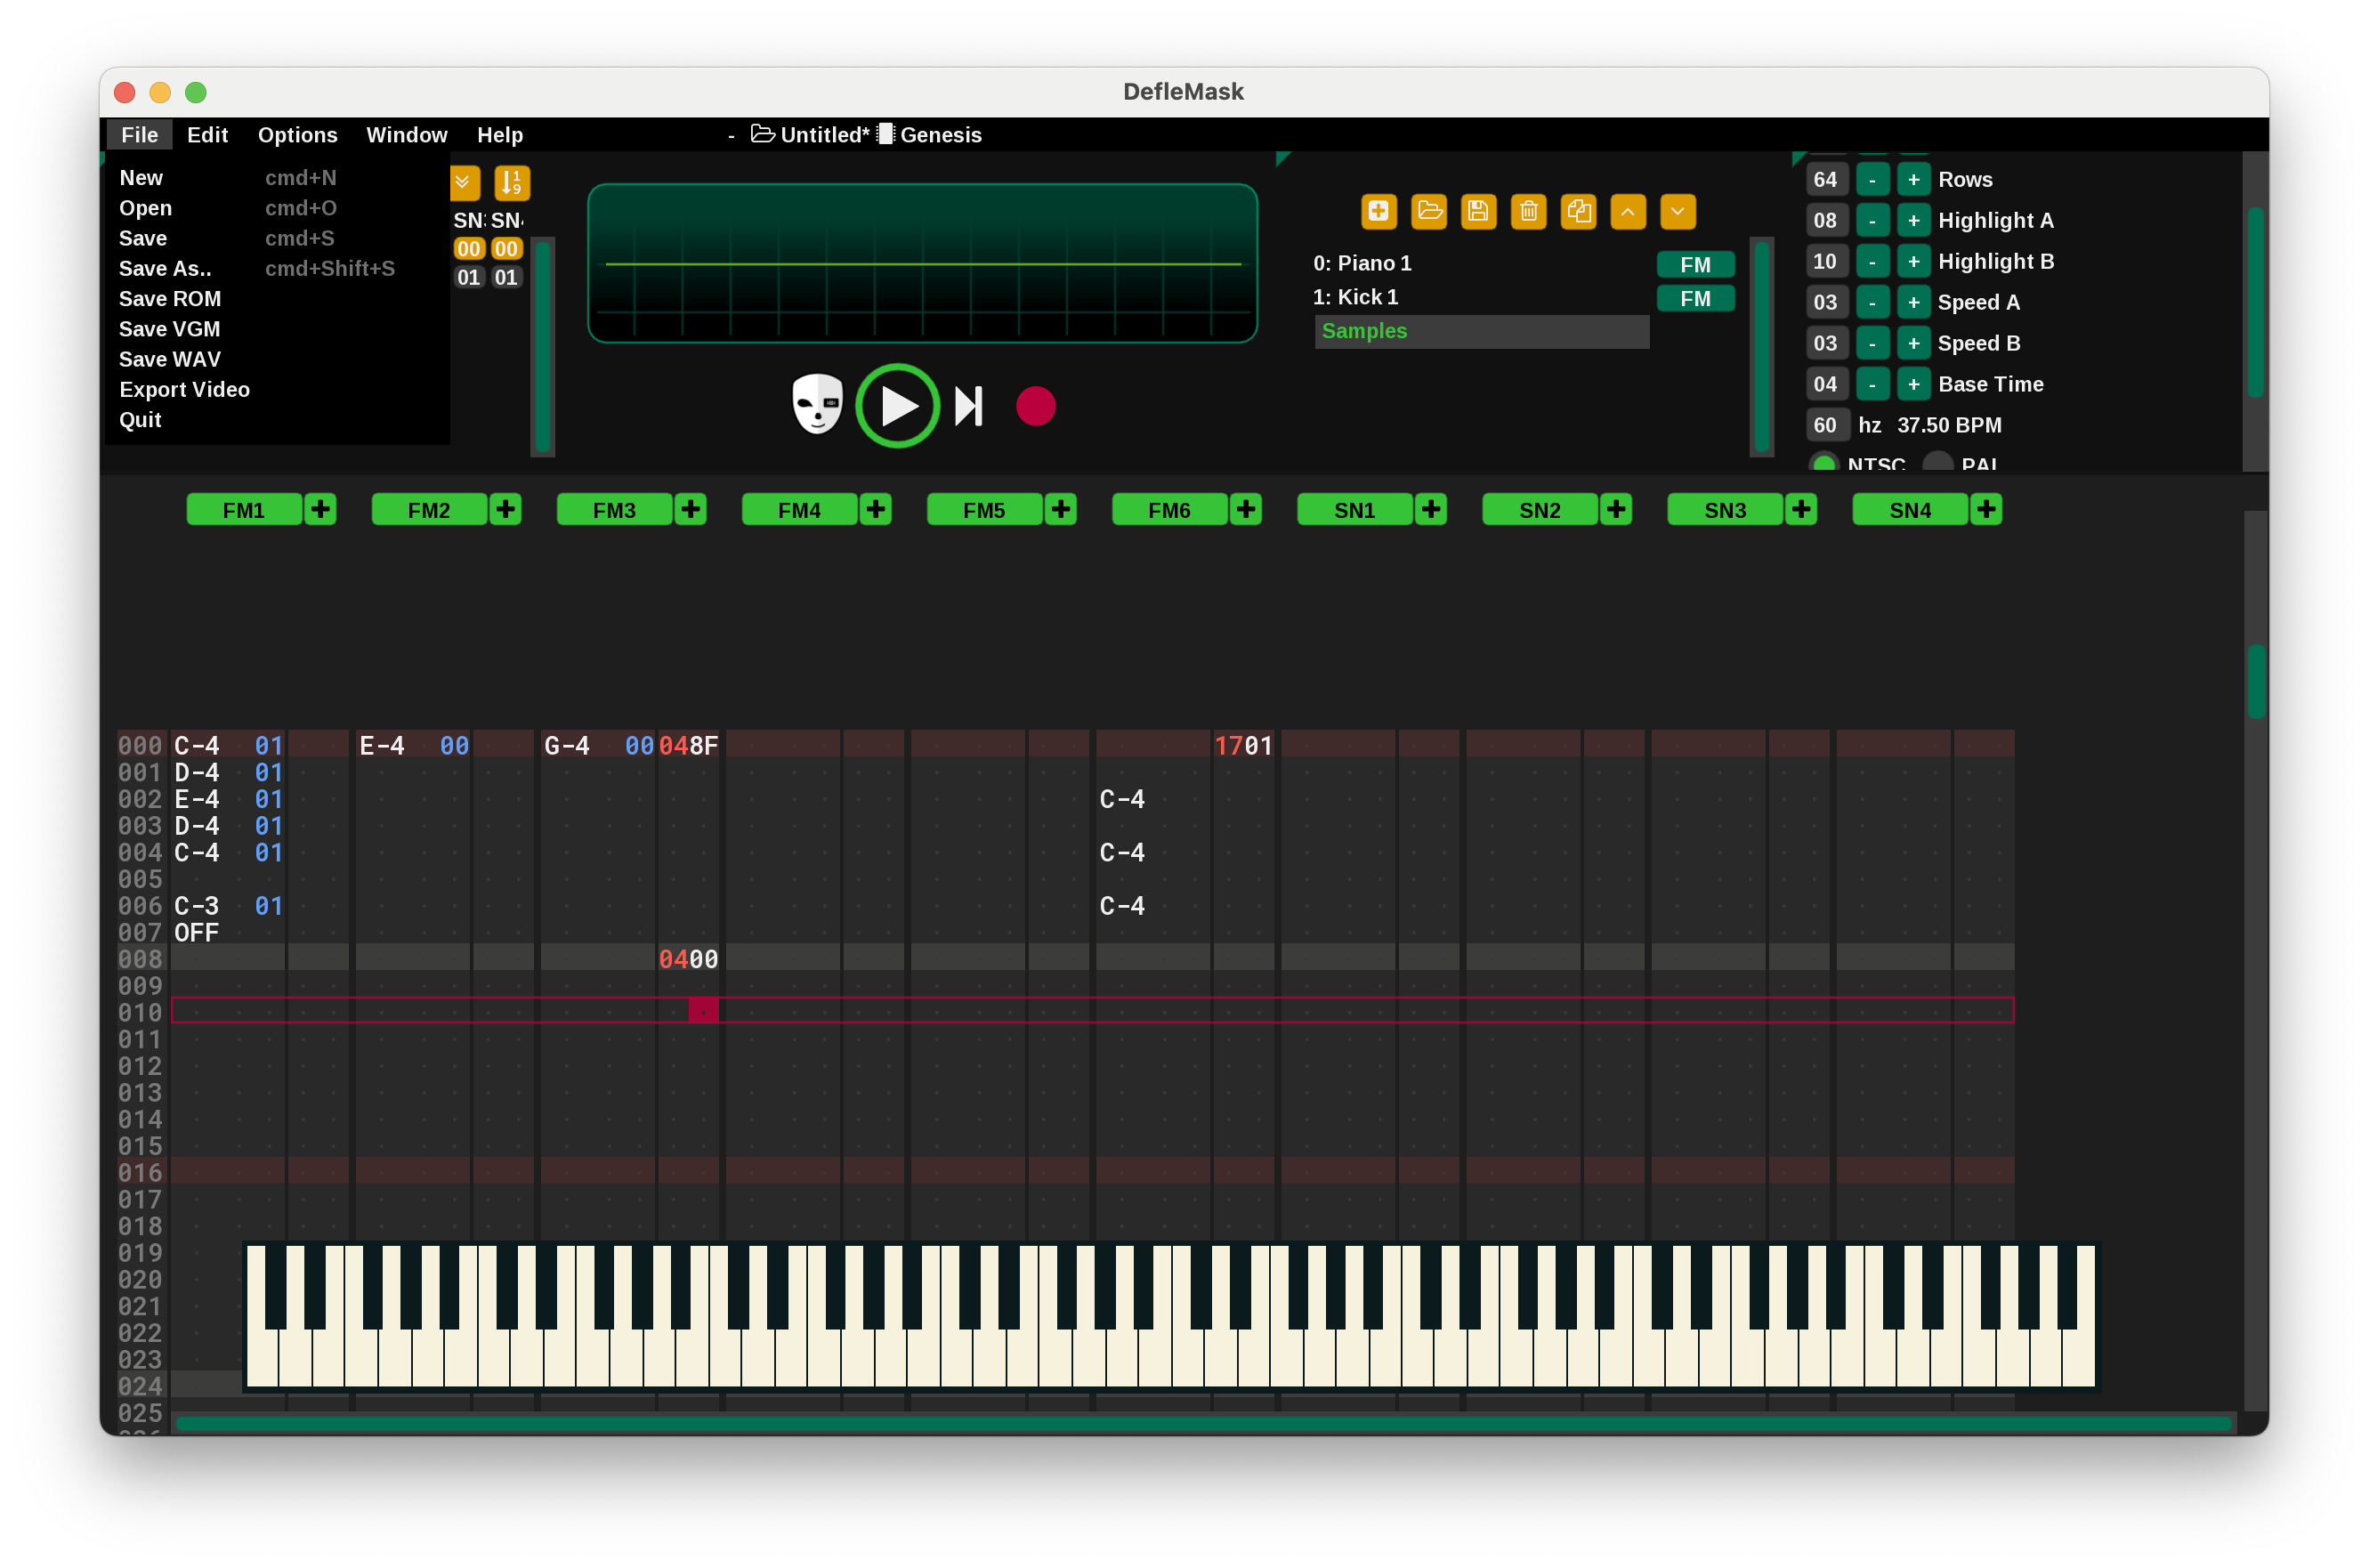
Here's what they do:
The Final Result
If you've followed the whole tutorial, you've possibly ended up with something like this:
It's not a masterpiece, but you are now empowered to create Mega Drive music! In some ways it's strange hardware, but I find the music it produces unique and beautiful. Hey, if you've made something cool, consider contributing to https://github.com/jerellsworth/free_vgms and making your work available to the community!
PSG Channels
Notice that everything in this tutorial used only the first six columns of the main interface, labeled FM1-FM6. These represent the 6 channels of the YM2612 FM synthesizer. The Mega Drive also features the SN76489 programmable sound generator (PSG). It can generate 3 square waves (represented by SN1-SN3) and white noise (SN4). I haven't mentioned these channels in the tutorial because I don't find them terribly useful. We can adjust the PSG sound a bit, but it's not nearly as flexible as the FM synthesizer, so in the end it's going to sound basically like a square wave no matter what you do.
If you use PSG channels, a few pointers:
Keyboard Shortcuts
A few additional shortcuts I've found helpful:
Move notes back: To move all the notes in a pattern back by one cell, highlight the first cell you want to move back and press backspace ("delete" on a Mac).
Move notes forward: To move all notes in a pattern forward by one cell, select the first cell you want to move forward and press insert. I have found no way to do this on a MacBook keyboard. The best equivalent I have is click+drag to highlight, command+x to cut, and command+v to paste one cell down.
Increment note: To increment any value by one, press Ctrl+F2. (fn+command+F2 on Mac). This does different things depending on what part of a cell you select. It will move a note to the next semitone, an instrument to the next instrument number, the volume up a notch, etc.
Decrement note: To decrement any value by one, press Ctrl+F1. (fn+command+F1 on Mac). See "increment note" for the values that this changes.
Increment octave: Increments a note by 1 octave; increments any other value by 10. Press Ctrl+F4 (fn+command+F4 on Mac).
Decrement octave: Decrements a note by 1 octave; decrements any other value by 10. Press Ctrl+F3 (fn+command+F3 on Mac).
Actually delete stuff: To delete highlighted values, press delete (command+delete on Mac).
Select "All": Press ctrl+A, (command+A Mac). The more times you press this combination, the more that DefleMask selects. The first is all instances of a specific value in a channel (e.g. all instrument numbers in FM1). The second press selects an entire column. The third press selects all columns in a pattern.
Edited 2024-01-23 for accuracy re: PSG channels.
Did you like this post? Tell us
Leave a comment
Log in with your itch.io account to leave a comment.
There's definitely no shortage of people making Mega Drive music using trackers and they're all pretty easy to find if you step into the furnace or deflemask discord servers. There's also some decent chiptune artists on freelance platforms like Fiver who can deliver vgm format. Unless I'm misunderstanding your post, what you're lamenting is the lack of free .vgm files available for use in Mega Drive games?
I do hope it's gotten easier to find vgms in the 1.5 years since I wrote this guide. I found them so difficult to find at the time that I even posted a bunch of free vgm files that I made myself to try to nudge the ecosystem in the right direction: https://safetystoatstudios.itch.io/free-vgms.
Ideally, I'd like community-contributed creative resources like this to be available in publicly searchable, indexed sites rather than hidden in somewhere in Discord, but I'm not going to complain about creative people giving away their work in the forums where they feel most comfortable.